Global Illumination tab
Global Illumination
Enable GI - On by default, there is only one choice of type currently: Monte Carlo
There are groups of settings for Monte Carlo Global Illumination.
Brute Force
- Intensity - A multiplier applied to overall GI brightness. Useful especially for interior scenes. GI is a type of illumination and like other lights, its intensity can be modified. However only an intensity of 100 % is close to physically accurate.
- Rays - It is the number of brute force rays to use per pixel sample when not using interpolated or in regions of interpolated GI when interpolated samples could not be generated.
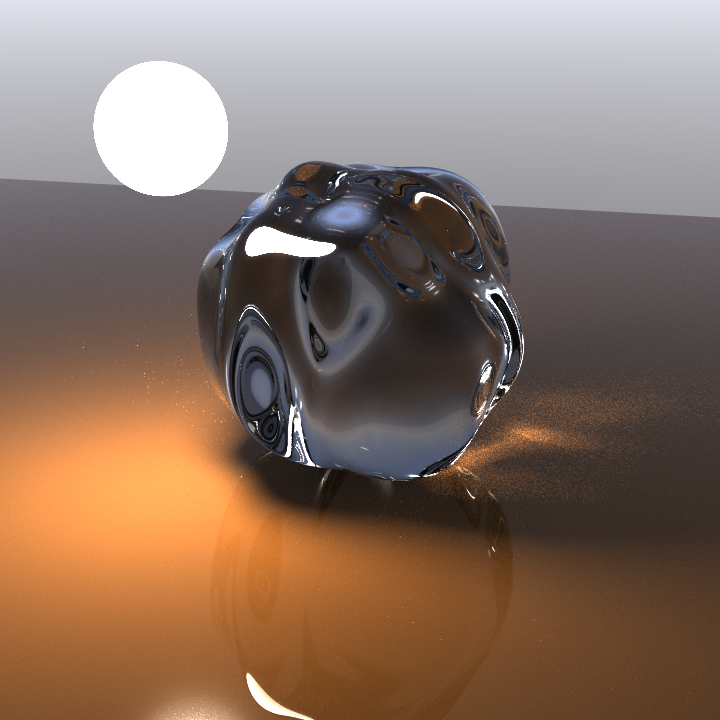
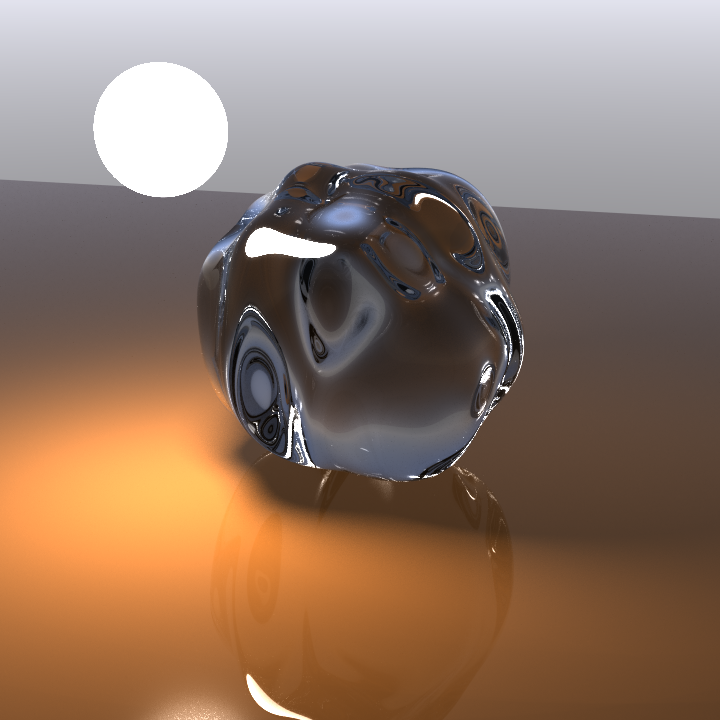
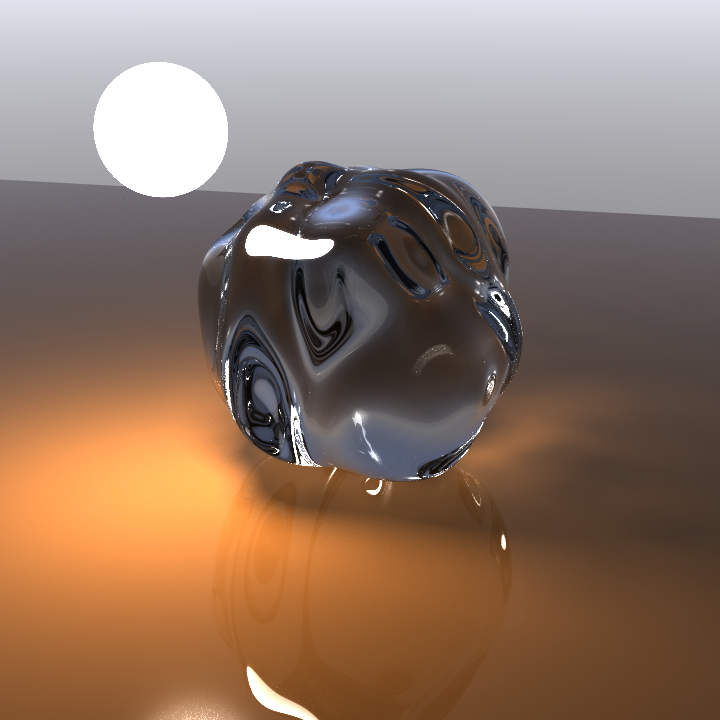
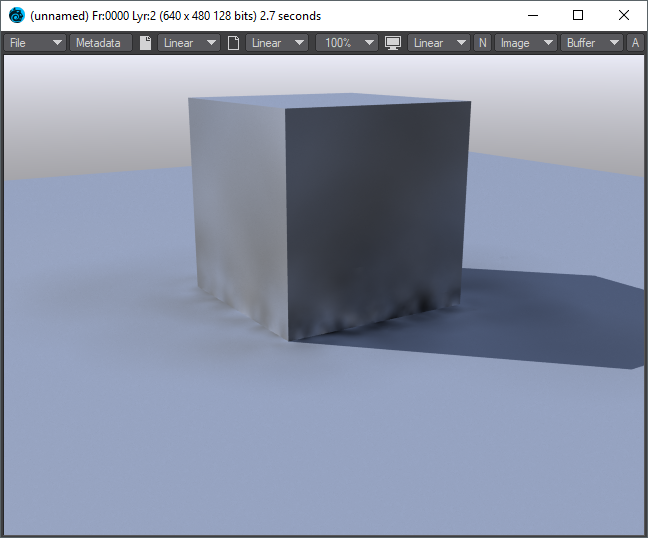
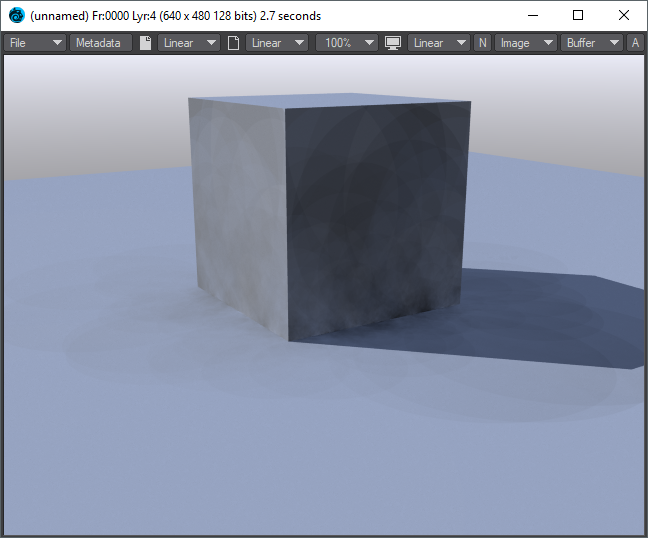
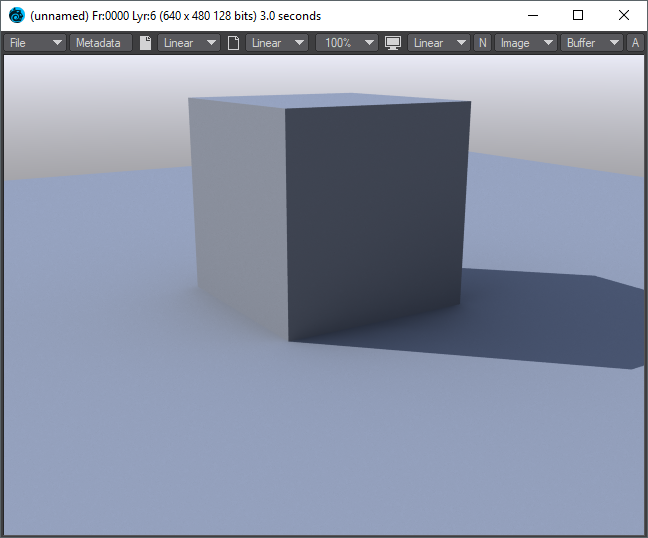
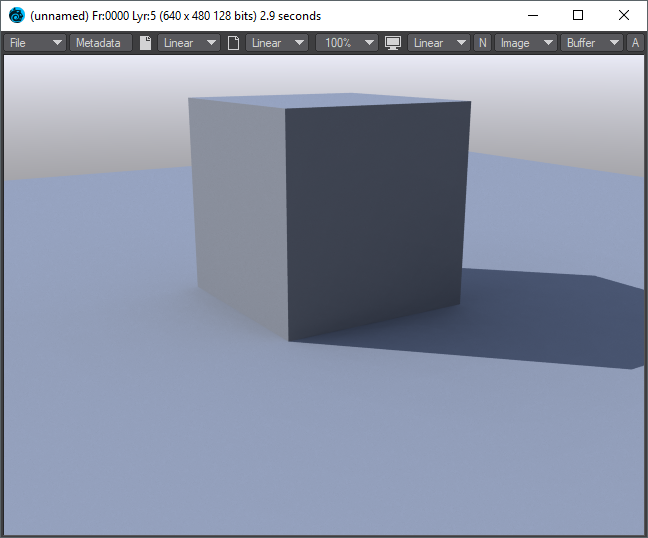
Caustics - Generally, a caustic occurs in the real world when light reflects off a curved surface or refracts through a transparent surface so that it is focused on a small area. Light through a wine glass is a good example. With a more complex surface, the caustic can create a random pattern like those seen on the floor and sides of a swimming pool. Switching Caustics on here will generate accurate caustics rather than the approximations seen in previous versions.
From left: Caustics in a brute force render; Caustics in an interpolated render with Minimum Spacing at 2, Maximum Spacing at 64; more evident Caustics with Min at 1 and Max at 5.
- Sample Backdrop - Whether or not to sample the backdrop at all.
If you have backdrop sampling for both the environment light and Global Illumination, the backdrop will be sampled twice (once by each system) and the brightness will be doubled. Remember to disable MIS in radiosity and set surfaces to raytraced only
- ISBG Sampling - Enables the importance sampled background (ISBG) samples below. This reduces noise when using an HDR backdrop image to illuminate the scene and also makes the illumination far more accurate. Specifically, it will examine very bright hot-spots to help generate more accurate lighting/shading from those hot-spots.
ISBG Samples - Sets the number of importance samples for the image.
ISBG can slow down interactivity in some situations. If you try to change the backdrop image with VPR active it must be recalculated every time you change it, so if you are going to change images, switch back to OpenGL to do it.
- Affected by Volumetrics - Allows volumetrics to be included in the global illumination calculation. This can slow rendering but is more accurate if there are volumetrics in the scene.
Interpolated
When you engage the Interpolated button, new settings become available.
- Primary Rays (PR) - the number of evenly-distributed Global Illumination rays sent out for evaluation. As you might expect, the higher the density, the more accurate, but the longer rendering will take.
Secondary Rays (SR) - This is the number of rays cast per primary ray when Diffuse Bounces is set to more than 1. Exterior scenes don’t always even need secondary bounces, but where used keep this value low, single digits will often suffice. Interiors will want more but probably still less than 100.
In 2015 and earlier versions of LightWave, the Indirect Bounces setting on the Global Illumination tab controlled how many bounces were rendered. That setting is now on the Render tab and named Diffuse Bounces. It performs the same function.
- Minimum Pixel Spacing (MinPS) - Controls how tightly GI samples are packed near corners and measured in pixels. You typically should not need a value of less than 1. Larger values reduce the number of GI samples near corners which makes the GI less accurate but also can decrease render times.
- Maximum Pixel Spacing (MaxPS) - Controls the maximum distance in pixels between interpolated Global Illumination samples. Larger values (100 is typical) reduce noise in large flat areas. Lower values make shadows more accurate but need more primary/secondary samples to reduce noise.
- Angular Tolerance (AT) - is set in degrees and controls the density of samples on curved surfaces such as a sphere or a cylinder. It is the maximum variation allowed in the sample direction in order to blend. Smaller tolerances will cause more samples to be used on curved surfaces.
Interpolation Softness - Makes interpolated samples "softer" in order to give more control over the appearance of the rendered result.
- Use Bumps - Will use bump maps to generate ray samples. This can create vastly longer render times so only use it if absolutely necessary
- Behind Test - checks the ray samples determining whether or not the rays should be blended. Important for things like pieces of paper on a desk, but this feature will rapidly slow down scenes that have a lot of thin overlapping geometry, such as plant leaves.
Ray Recursion is the upper limit on the number of Diffuse Bounces you are allowed. For example, if you have a Ray Recursion Limit set to 1 and Diffuse Bounces set to 8, only one Global Illumination bounce will be calculated. However, if you have Ray Recursion Limit set to 8 and Diffuse Bounces set to 4, you will still get four bounces of Global Illumination.
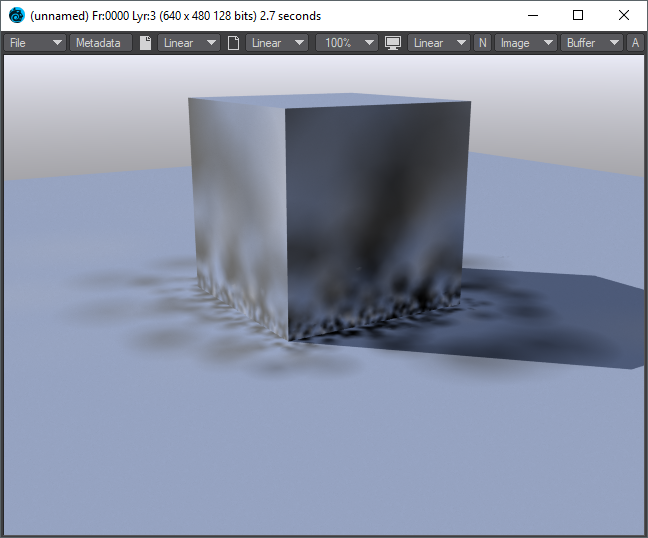
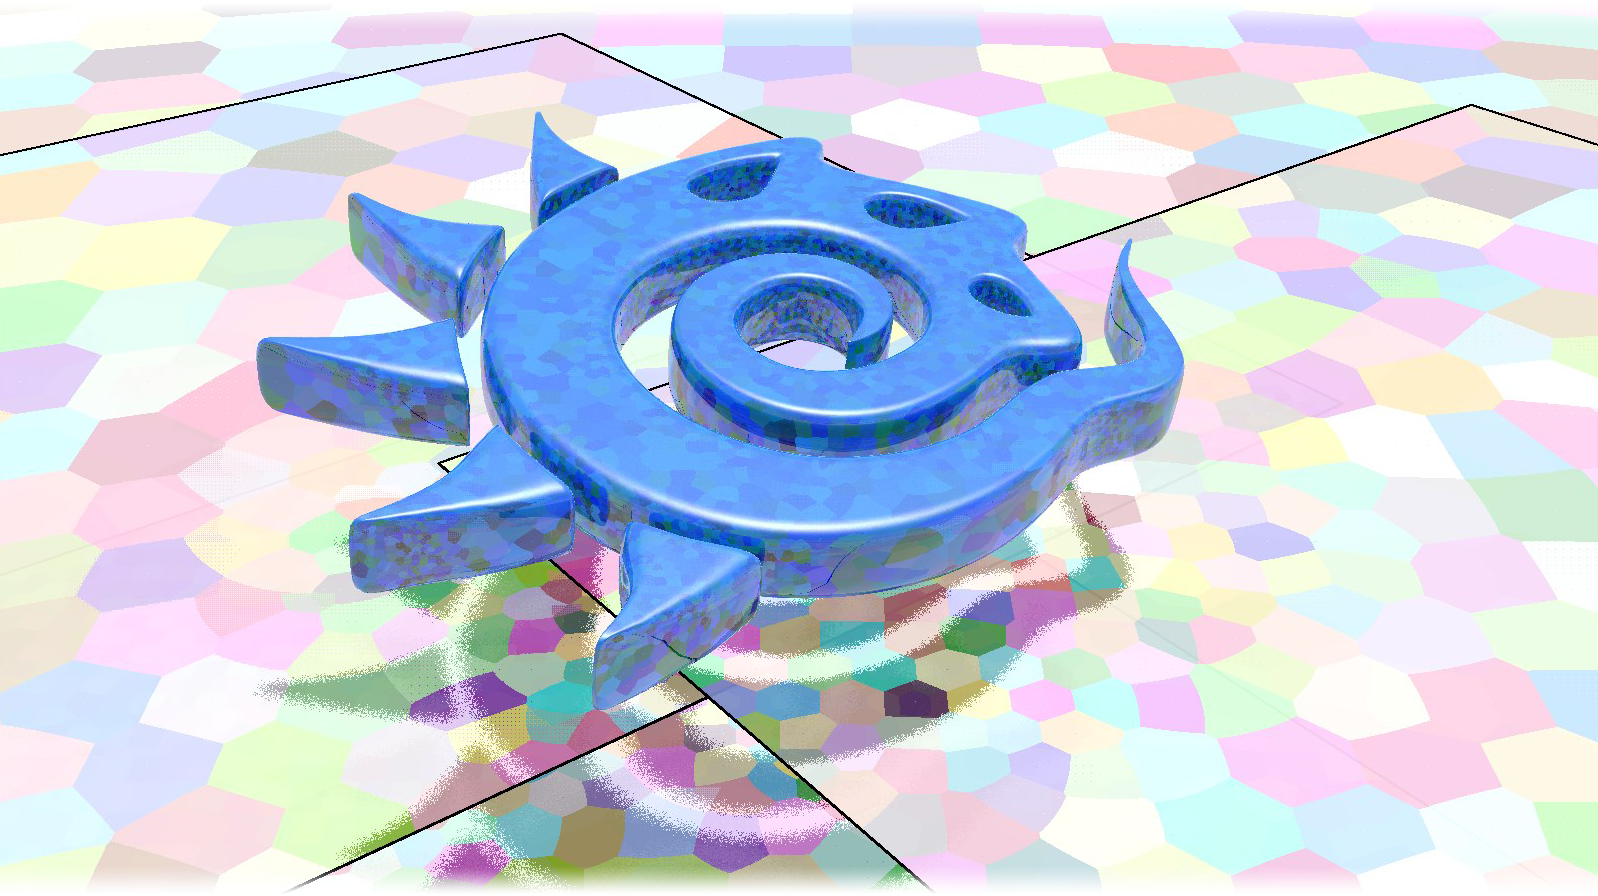
Minimum Pixel Spacing (1) and Maximum Pixel Spacing (100) shown with the size of the cells changing
Interpolated Cache
Caching saves Global Illumination data for subsequent render passes and frames, which can significantly reduce rendering time. The results can be inaccurate if objects or lights are animated, but this option works particularly well with scenes like a walk-through in which only the camera moves.
The Global Illumination cache gets loaded before baking begins if it exists. This will allow you to continue baking an existing Global Illumination cache. You could, for example, extend an animation by setting your start and stop frames beyond those you have already baked and clicking Bake Global Illumination Scene. You could add just a single frame to the cache by selecting a frame and clicking Bake Global Illumination Frame. The down side to this change is that if you want LightWave to bake the Global Illumination from scratch, you must first click the Clear Global Illumination Cache button before baking.
If your chosen Global Illumination mode set has Interpolated checked, the Cache Global Illumination option is available.
- Enable Caching - Turns on the ability to cache Global Illumination.
- PreProcess - This dropdown menu has four choices:
- Automatic - The default. LightWave checks the disk cache to see if frames are contained and if their settings need refreshing. If a frame is not contained in the cache and should be, this mode will add it.
- Always - Use this mode to force LightWave to add a frame to the cache, useful if you have multiple cameras or want to add a particularly troublesome frame.
- Never - This will never preprocess your render. If however, samples are needed that are not in the cache already because of moved geometry or the camera taking a different path, Never will still save new samples.
- Locked - Like Never only new samples will not be added to the cache. This is the mode used by LWSN when rendering on a network.
- Animation - Animated GI is designed to reduce temporal aliasing (flicker) in animations. If you set the Frame Step to more than 1 when Animation is enabled it will base the cache on changes between the animation step frames during pre-processing. During rendering it will interpolate each in-between frame using the neighboring step frames. With a frame step of 5, frame 3 would be 50% of frame 1 and 50% of frame 5 for example.
- Frame Step - The value used when baking a scene to determine how frequently the frames should be baked. If your scene has slow moves it’s quite likely that the frame step number can be set quite high.
- Cache File - Saves the cache to disk in the specified directory.
- Save After Every Frame - Particularly of use for people without a good, permanent connection to where caches are saved. This option will add to the cache file at more regular intervals.
- Reset Cache File Path - Set the cached directory back to the default, if the user changed it to something else.
- Clear Cache - Deletes all files in cache directory.
- Bake Frame - Bakes a single frame.
- Bake Scene - Bakes a scene file.
If you set the Frame Step to 1, a new experimental system of caching will engage. It works by including more samples in areas where samples are widely separated. Try reducing Maximum Pixel Spacing and increasing Primary and Secondary Rays until flicker is no longer noticeable in tests. Use a large Angular Tolerance so that the Maximum Pixel Spacing is used for curved surfaces. There is no need to bake or even turn on Enable Caching for this to work, just Animation and a Frame Step of 1.
The goal of the new trick is to make the GI naturally less variable by including more samples in the solution. If you still get flicker try increasing the interpolated GI samples.
If a Global Illumination ray strikes a surface that scatters light, some amount of that light illuminates the surface where the ray originated - colors are determined in the usual (non-Global Illumination) way, which can include the effects of luminosity, mirror reflections, caustics, and so on. The light-scattering surfaces are essentially extra little light sources that affect the diffuse shading of the current surface. Evaluated and non-evaluated areas are blended to compute the final effect.
If you activate the Unseen by Rays option on the Rendering Tab of the Object Properties Panel, that object’s luminous surface is not considered a source of light for Global Illumination purposes.
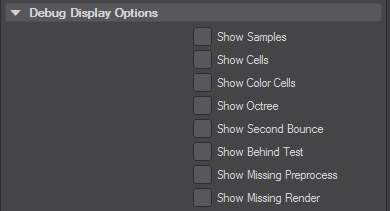
Debug Display Options
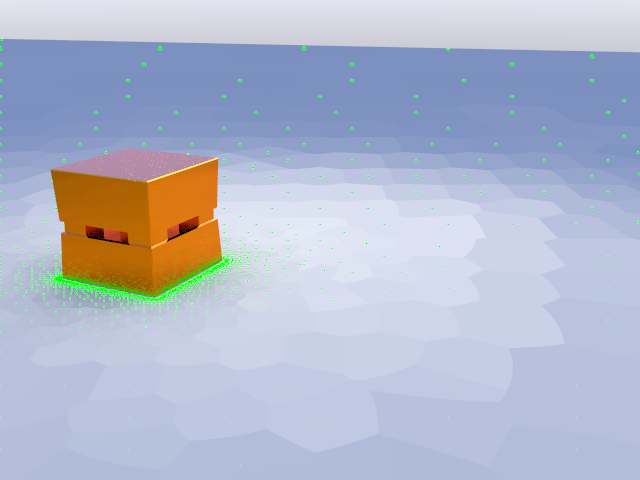
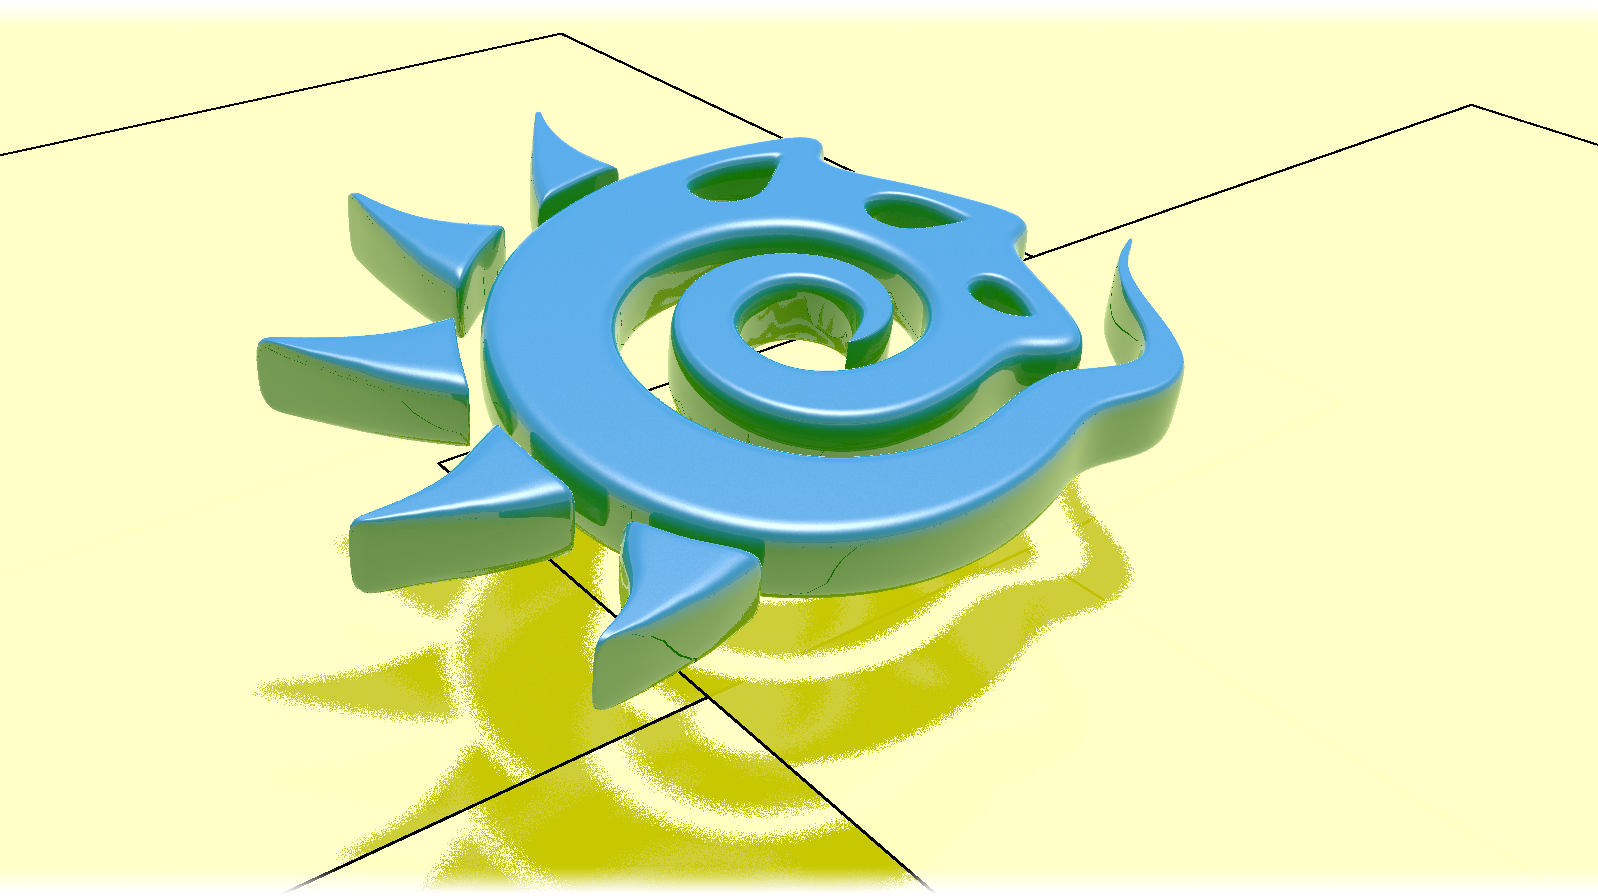
When troubleshooting an interpolated radiosity scene it is often useful to find out exactly where samples are being taken from.
