Example - New Delivery
- Before using Match Perspective, first start the Set BG Image tool just above it. This will open a window wherein you can choose the image you will be matching to. Aside from choosing an image, leave the other settings at default for the time being.
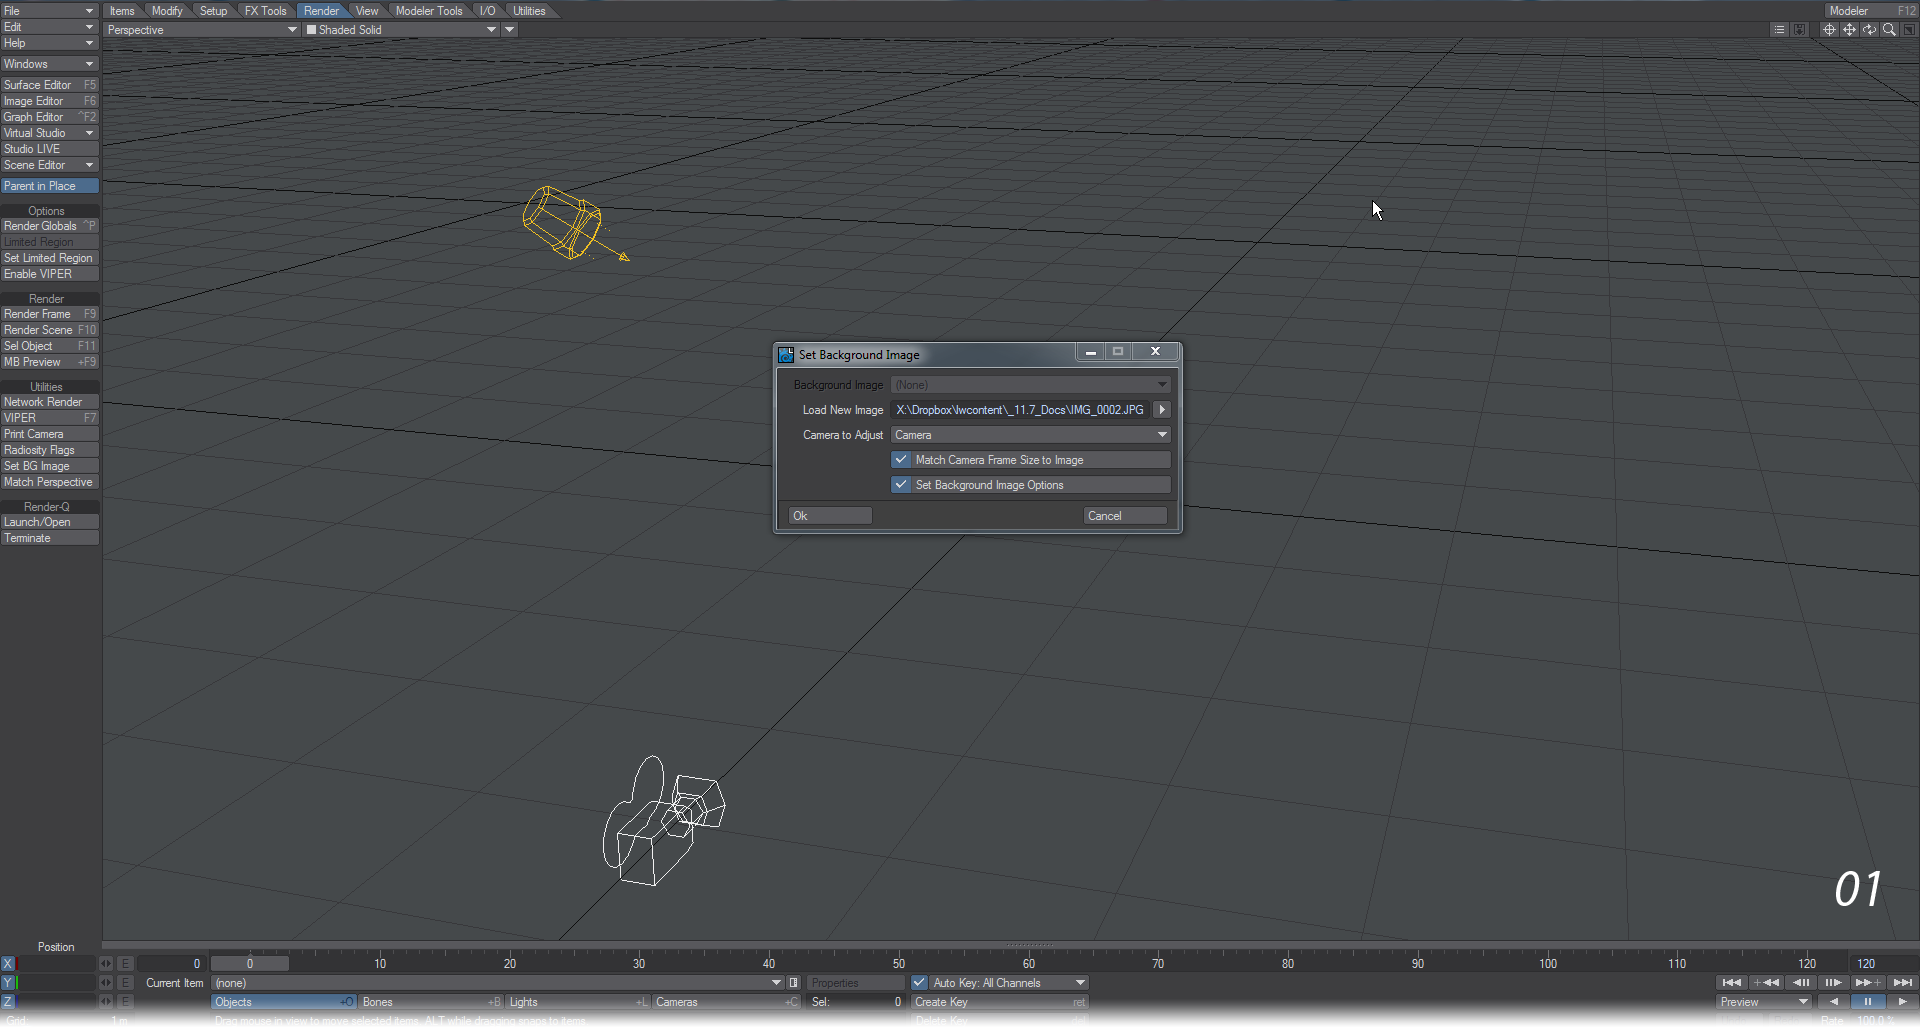
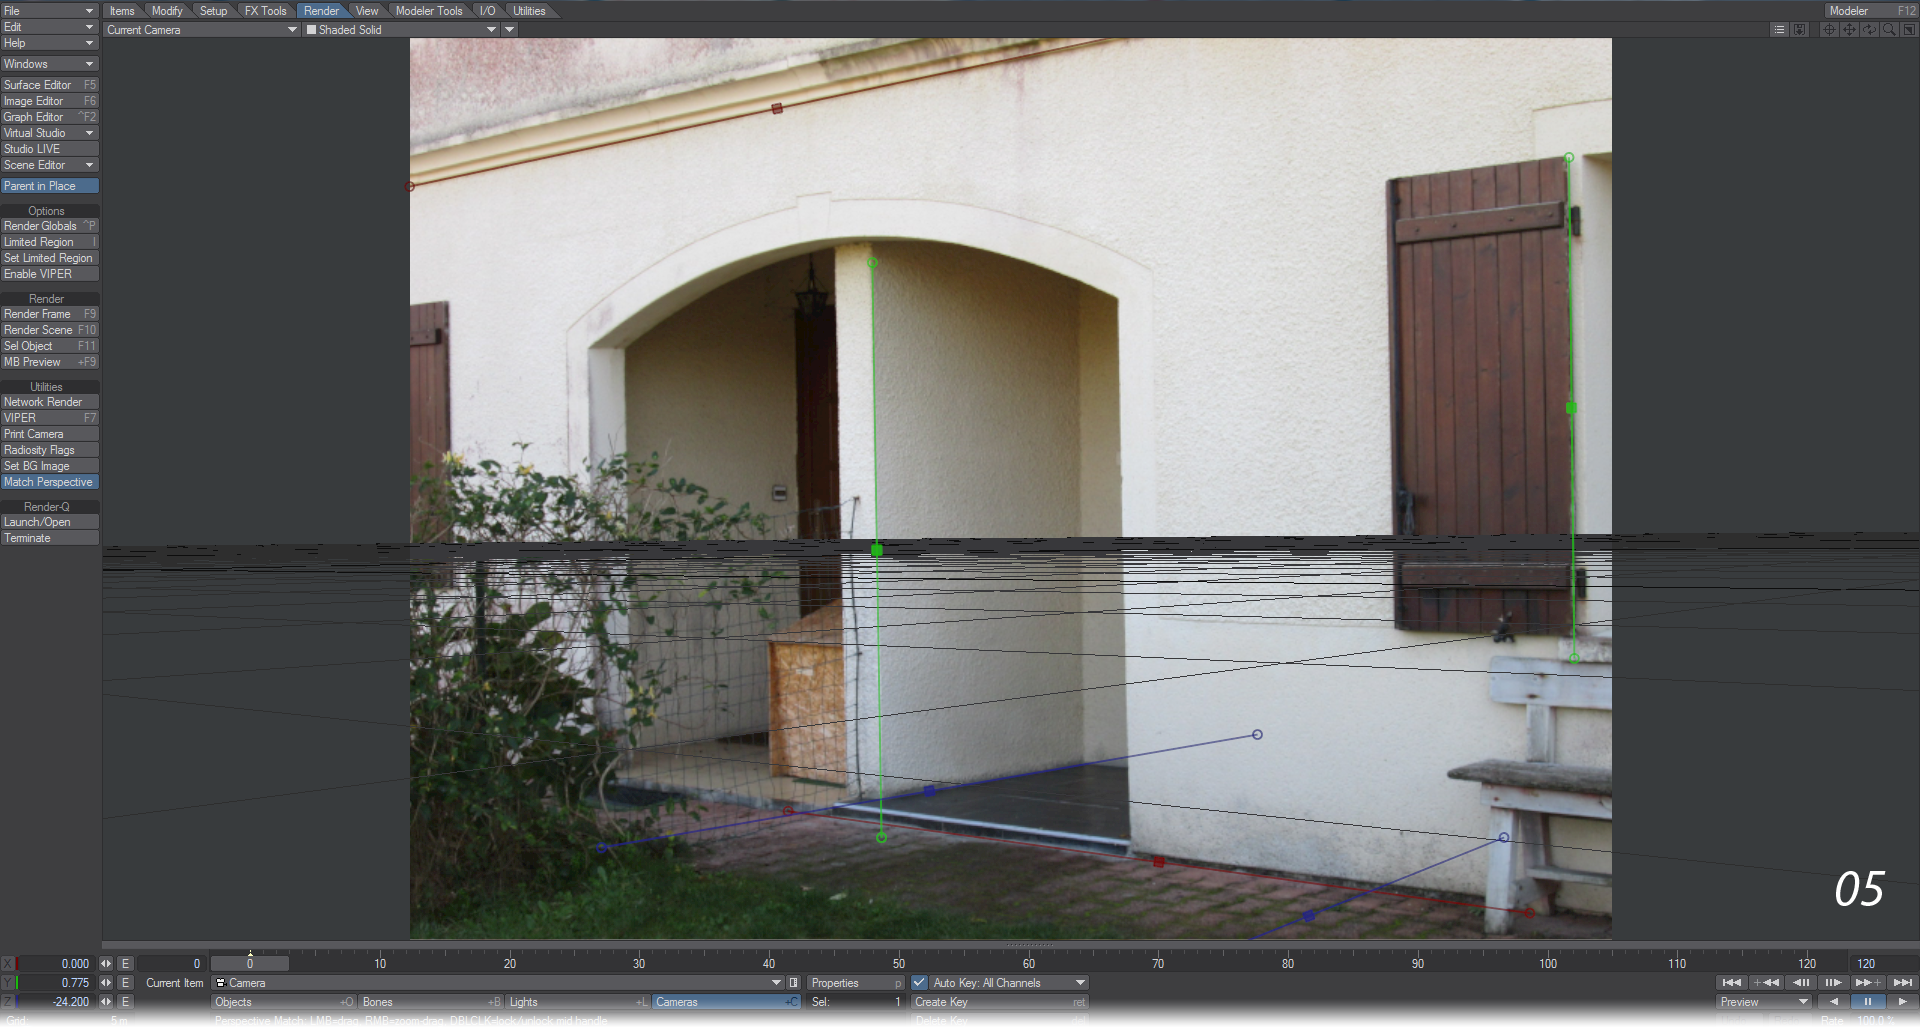
- Once you hit okay, the background image you chose will appear in the Camera Viewport. Now it is time to structure your scene so it can be populated. Hit the Match Perspective tool and you will see six lines appear - two red, two green and two blue.
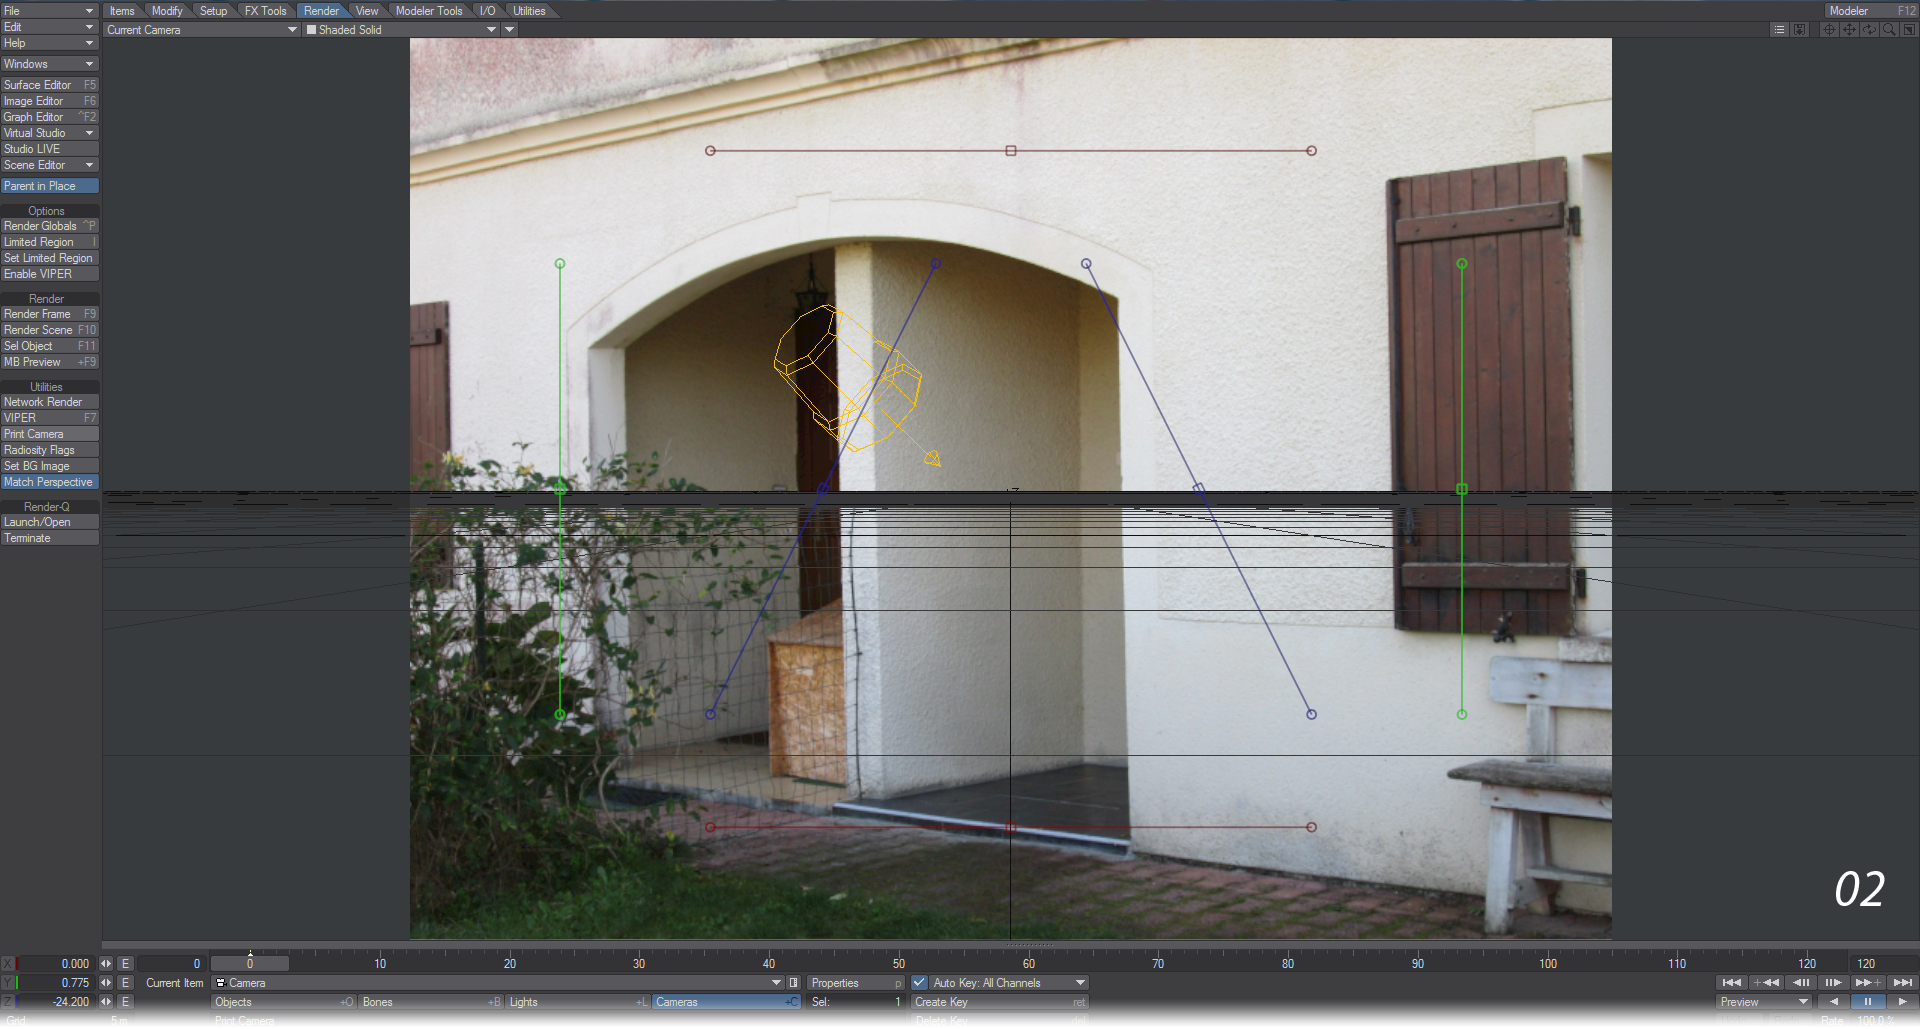
- It doesn’t matter in what order you arrange these lines, nor which end is which; but the red ones should represent the X coordinate of your screen. There’s some architrave above the entrance that will work well so move the central handle up to the line then double click to pin it. The central handle will turn solid red. Now that it is pinned you can line up either end of the line and the whole line will rotate about the fixed point. You can do the same for the other red line across where the house meets the ground.
- I’ve continued with the green lines, but just from preference. You can arrange the lines in any order you like. If you right click on a handle at the end of a line, or in the center, you will get a magnified view of the pixels of the image to better help you locate exactly the point you want.

- Now that the green lines are in place, just the blue lines left and there isn’t much that’s obvious. As you can see the grid starts to come into alignment with the image as you organize these lines. The bottom of the porch wall is a good candidate, but for the other one let use the grid of paving stones. It’s not a very long Z line, but it will have to do for this scene. Try and scope out when photographing to make sure you have six useful axis lines.
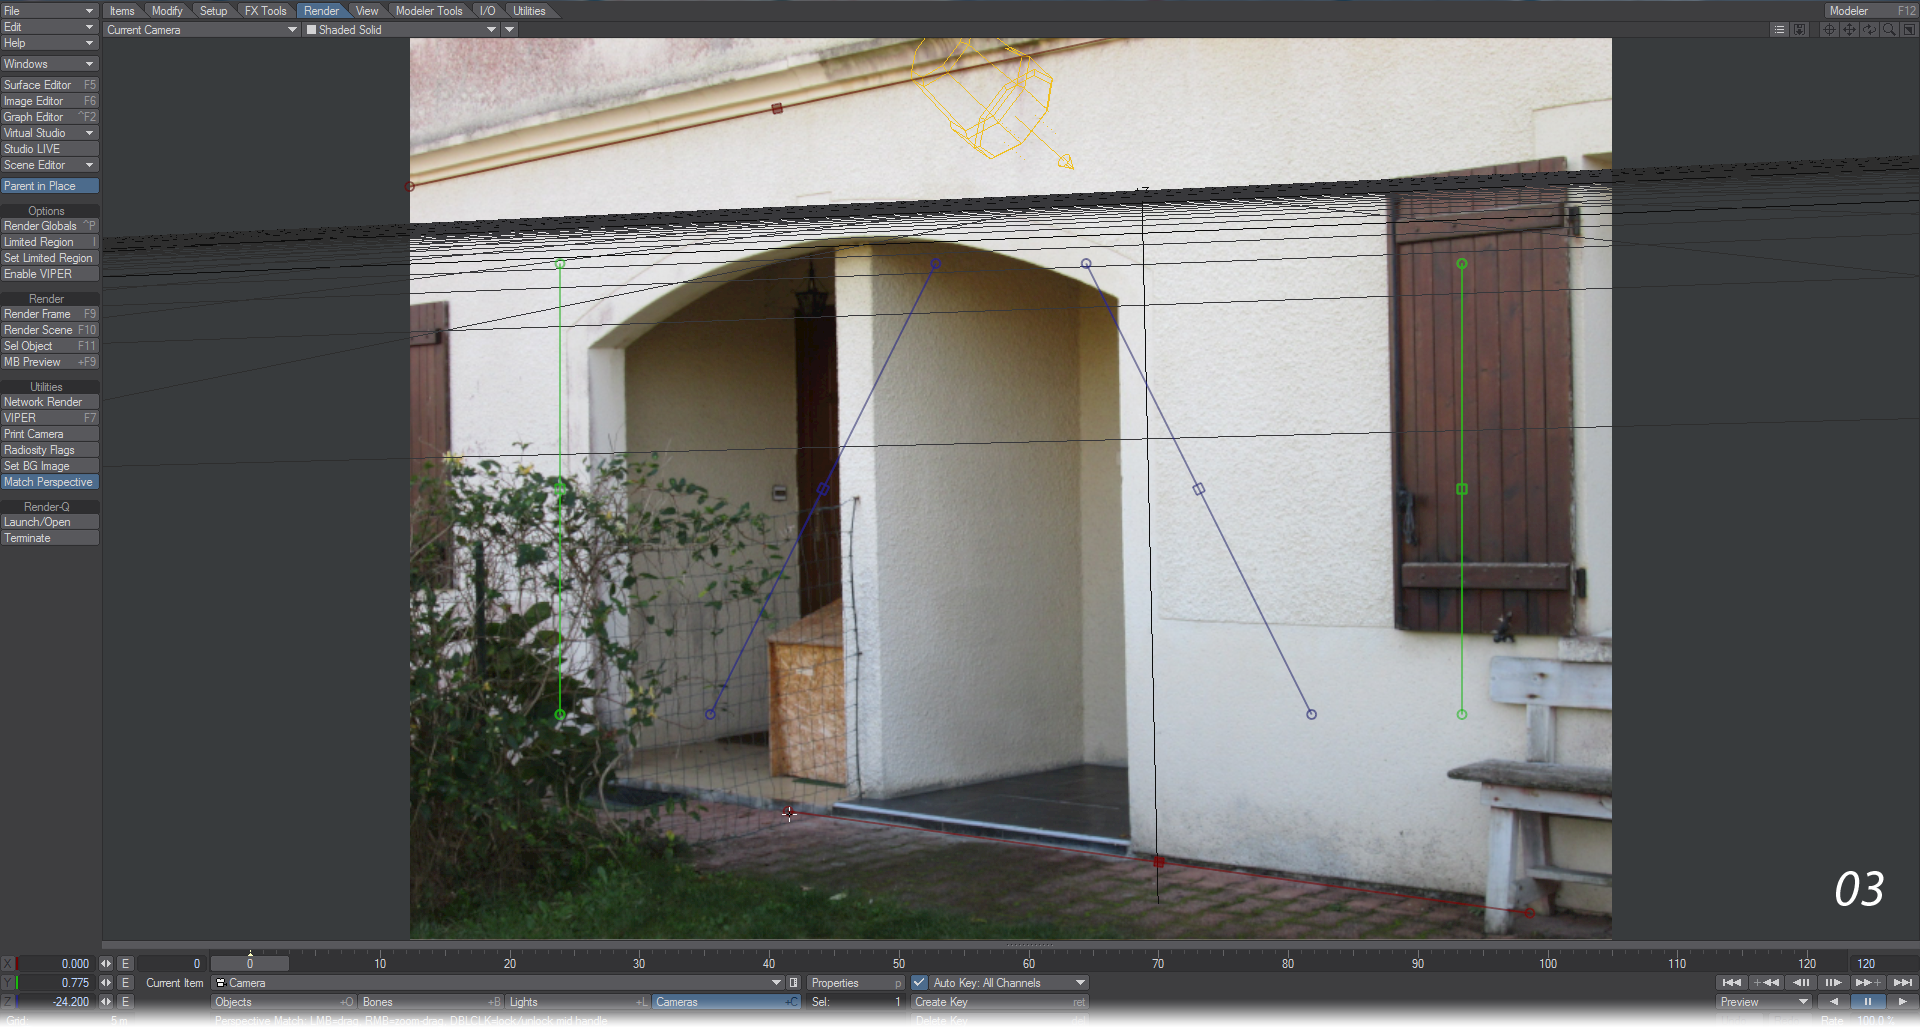
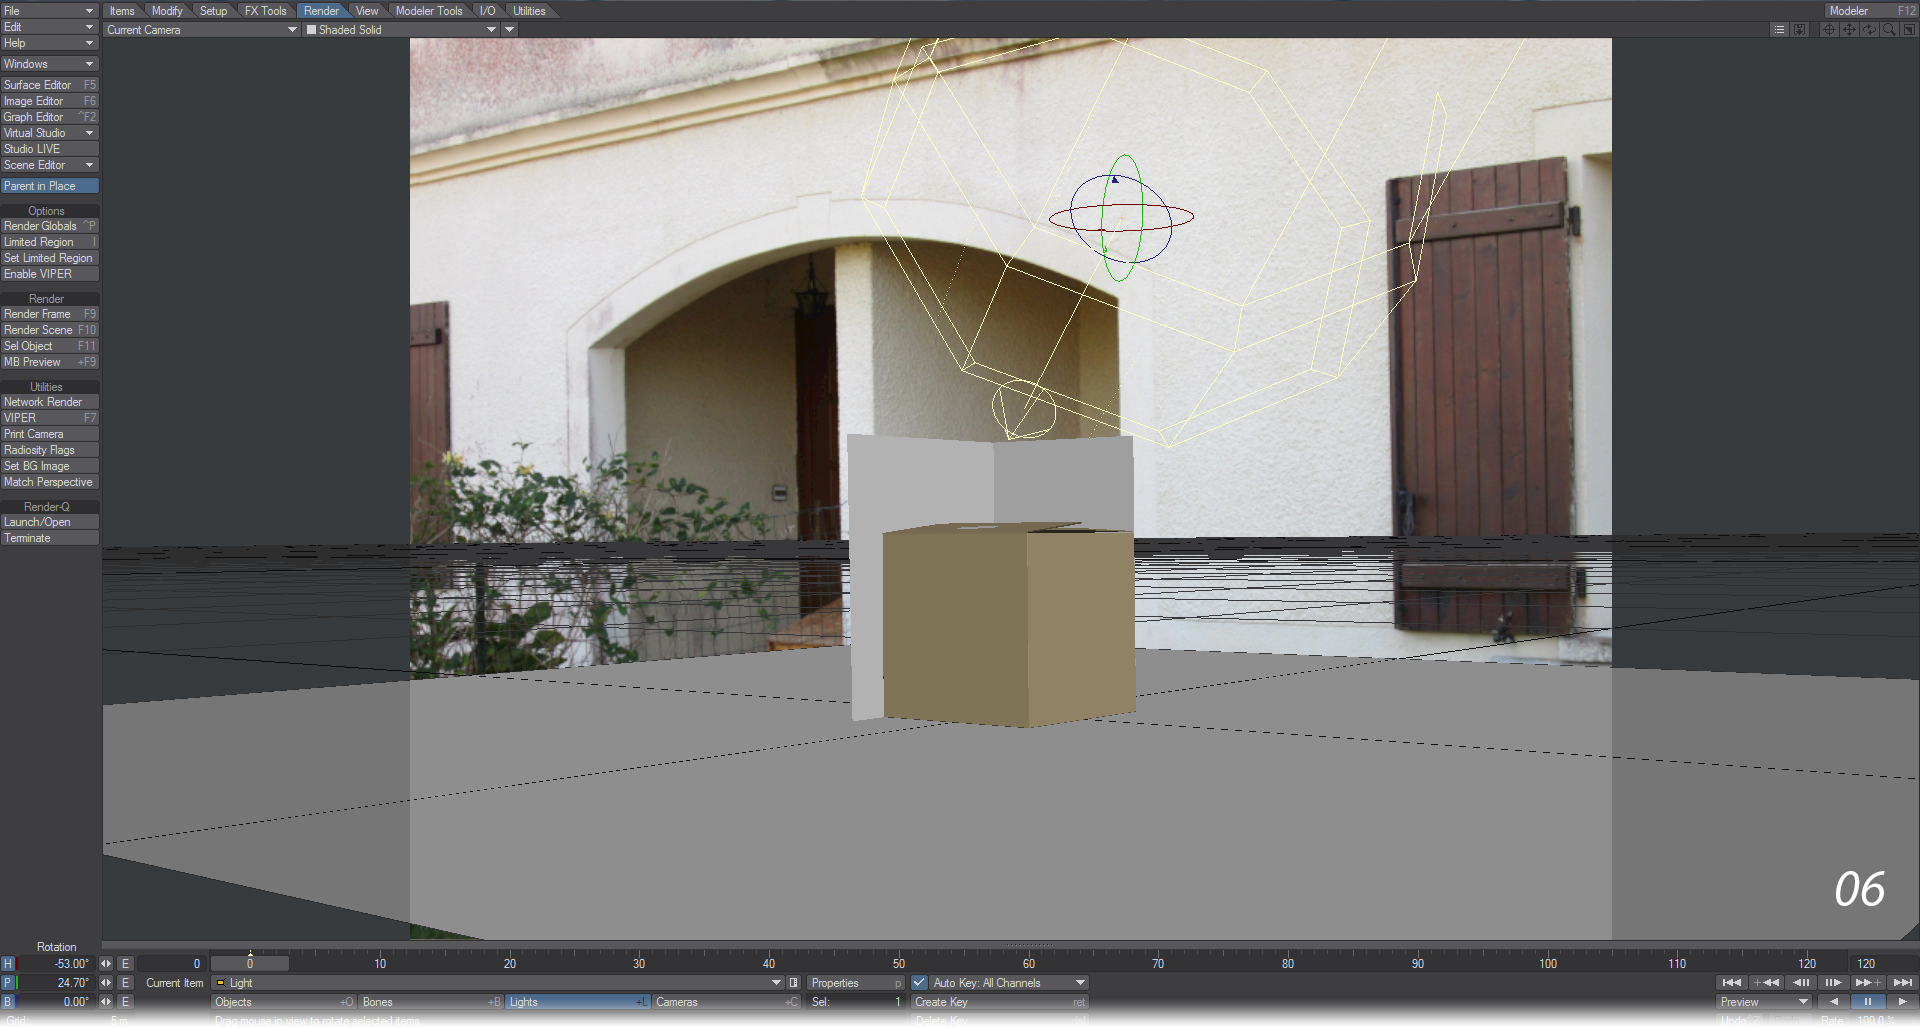
- Now that all our lines are in place, it’s time to bring in the objects we are going to populate our scene with. Already they look quite at home with the perspective used and just need shifting into better positions. You may find yourself changing views to organize this better and while there is some guesswork, already you’ll find things much easier than before.
- One last thing to make sure we’re well situated in our scene. I know that the width of the black tiles on the porch is exactly 1.514 m across. So, I hit N to bring up the Perspective Match numeric window and set the On Floor measurement bar to stretch across the black tiling and entered the measurement.
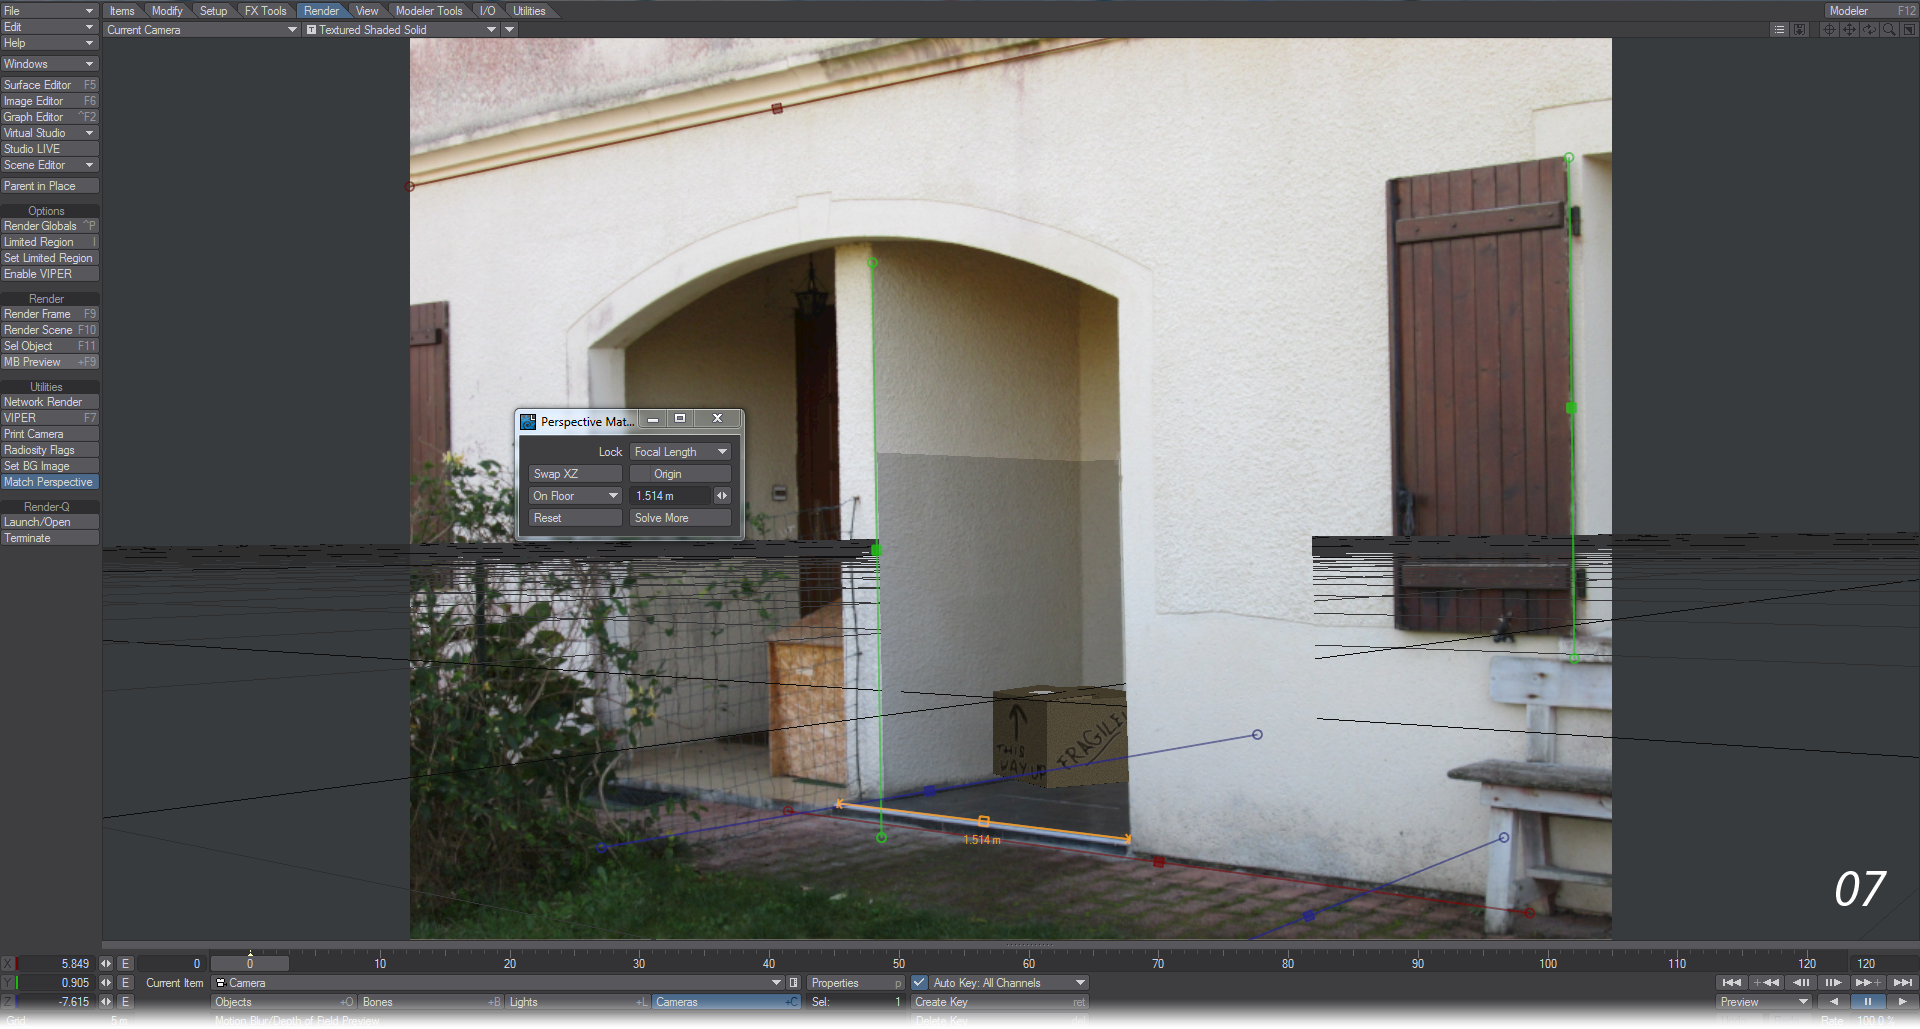
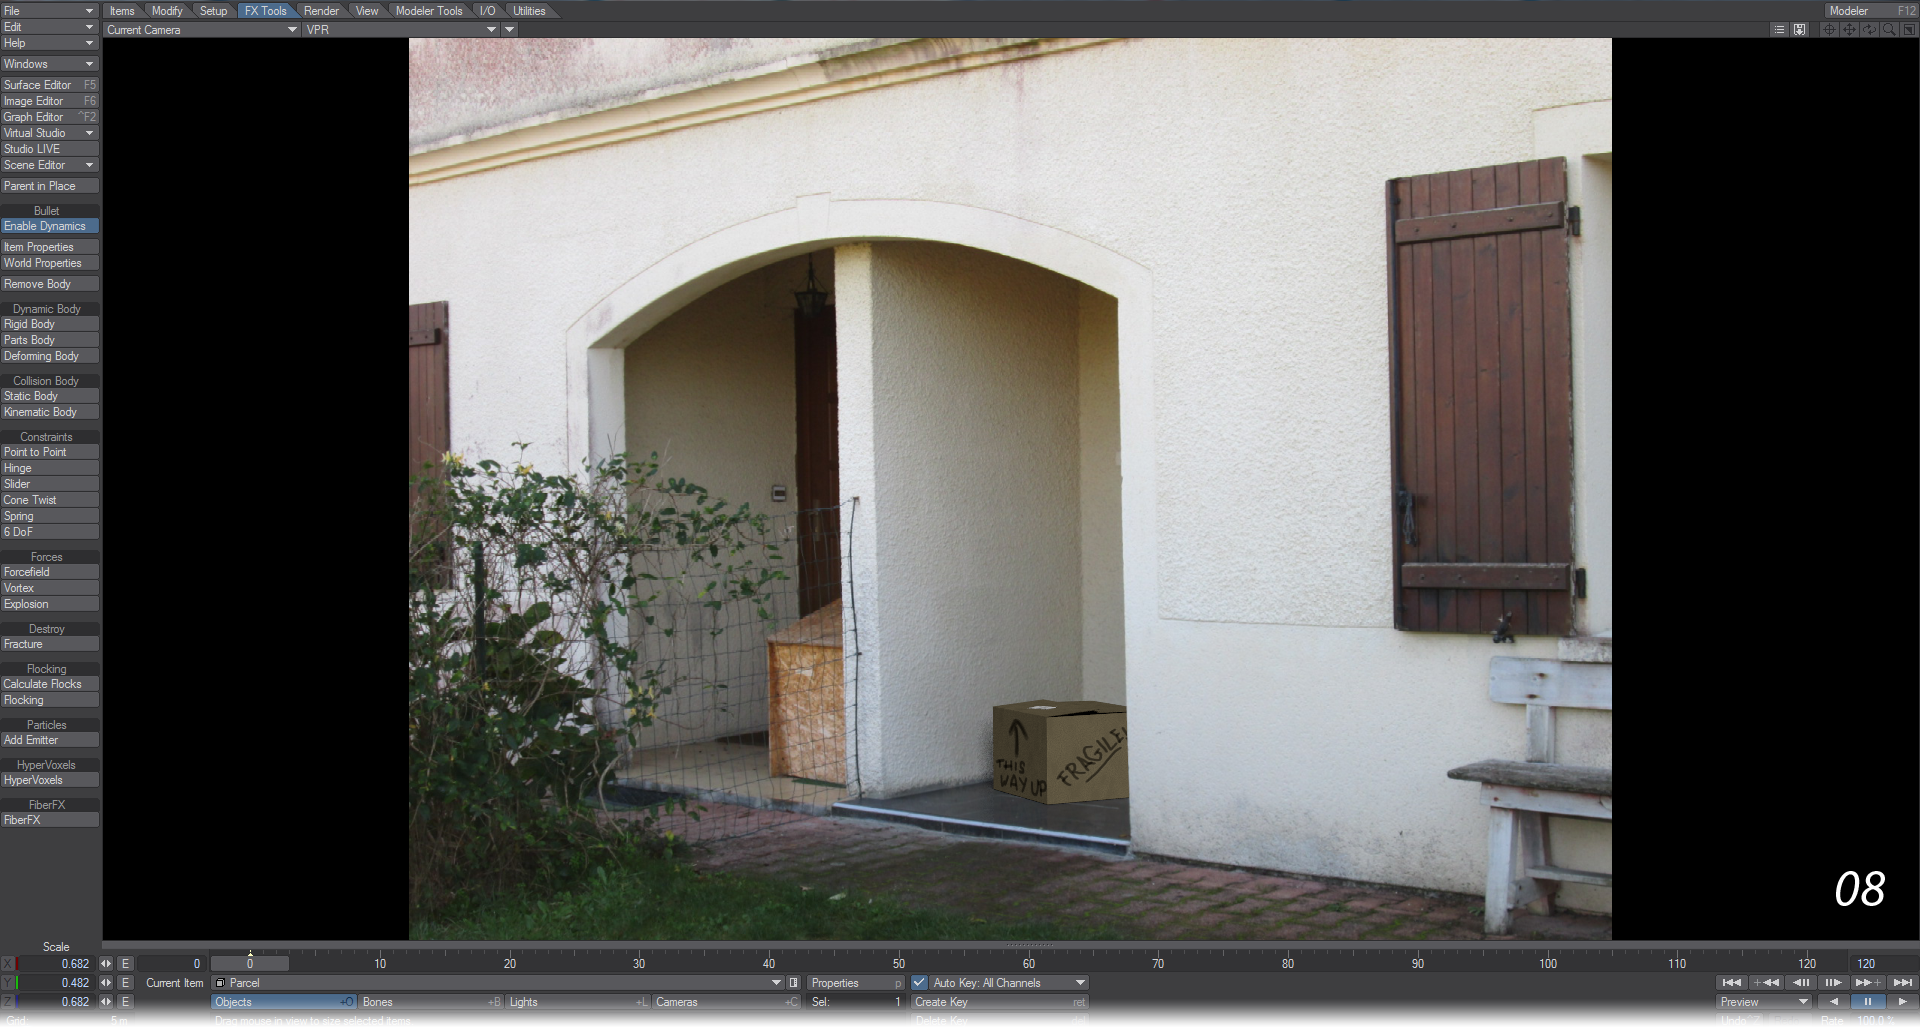
- The gray object behind the parcel and the floor below it were both given Shadow Catcher surfaces and an additional strip was put down the right side of the porch to conceal one side of the box.