Display - Camera View Tab
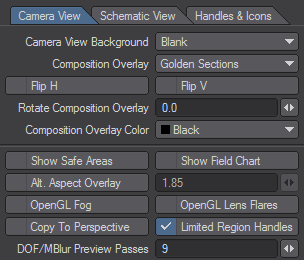
Camera View Background
LightWave lets you choose how you want the Layout interface background to appear when using the Camera view (only).
- Blank - is the default choice and will show nothing but the normal blank gray background.
- Backdrop Color - uses the color selected as the Backdrop Color on the Backdrop Tab of the Effects Panel ( Scene > Effects > Backdrop ).
This setting is independent of how the background will appear in a rendered image. That is, if the Backdrop Color is orange and there is a Background Image set, the viewport background will still appear orange if this option is set to Backdrop Color.
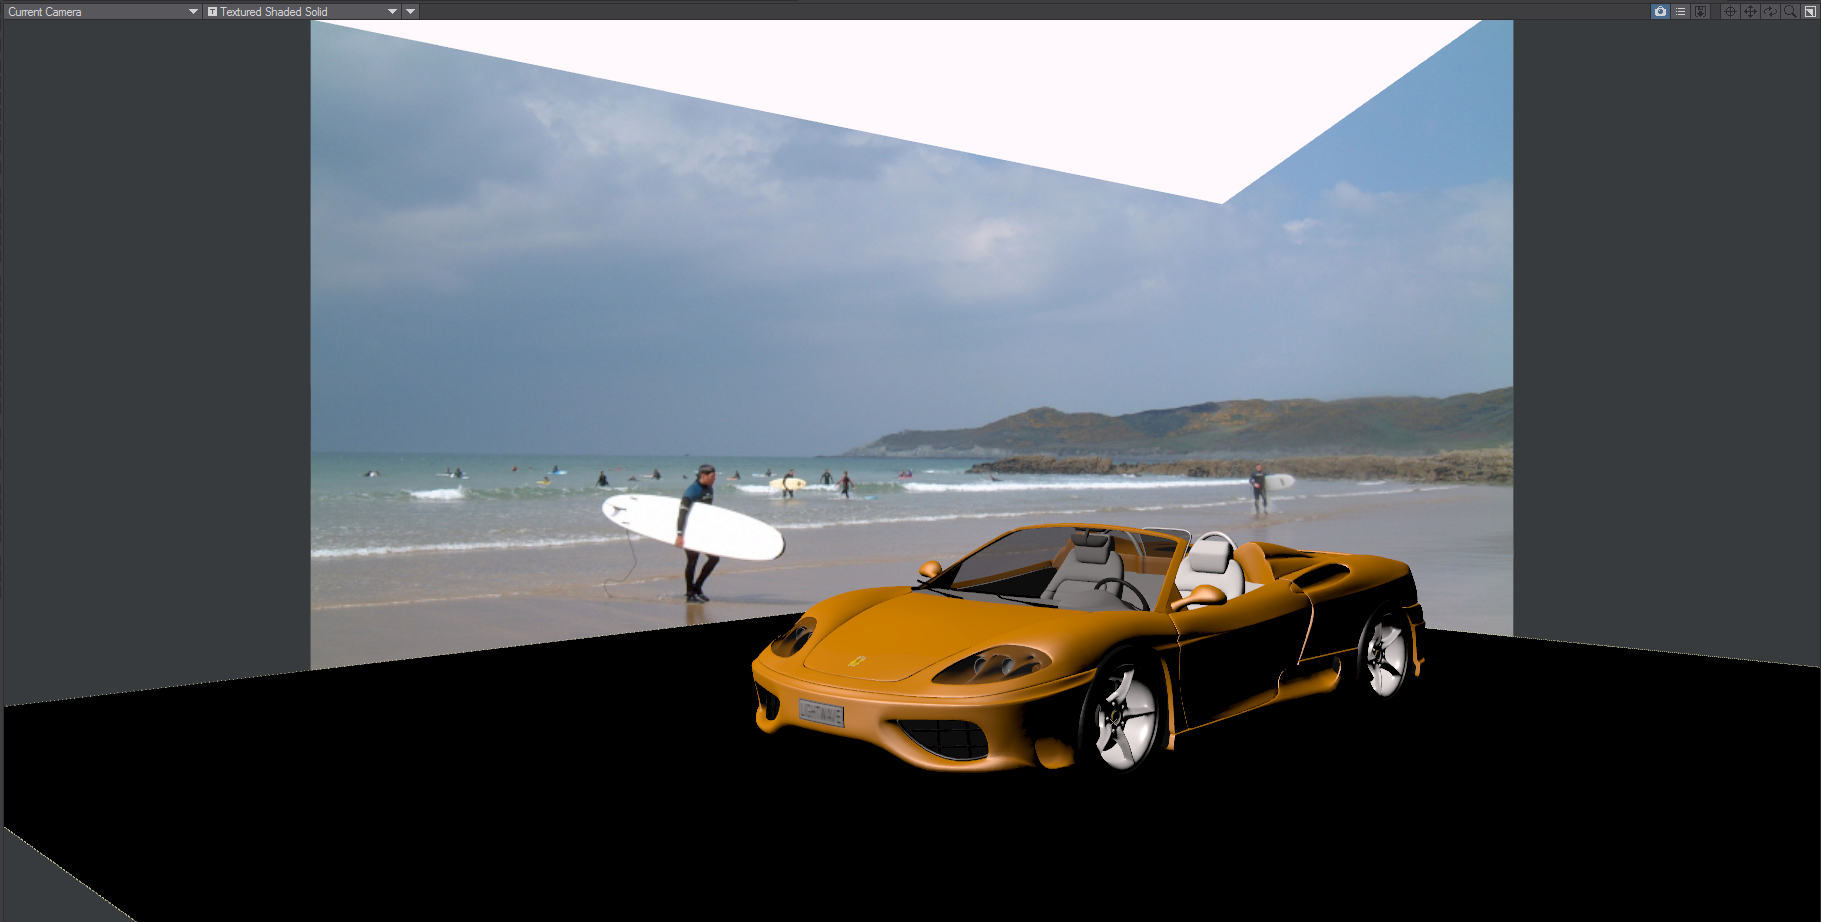
- Background Image - lets you see the image set as the Background Image on the Compositing Tab of the Effects Panel (Window > Compositing Options) in the Camera view. You can use it to help you align objects that need to be positioned properly with respect to the background image. It will also show when you make preview animations using the Camera view.
- Preview - This requires you to have a preview animation loaded into memory of course. This can be one that was just generated or one that was loaded.
The preview animation will load starting at the upper-left corner of the Layout window. Make sure to use the same size interface as you did when you generated the preview for easy reference. It will also load beginning at frame 0 no matter what the frame was originally when the animation was created.
This feature is invaluable for creating moving composite shots and mattes. Using an image sequence composed of live footage as the background image, create a preview animation of that sequence with no objects or grid. Save the preview and load it in later when you need it. The preview animation will update much faster than using the original images as a background.
Composition Overlay
The Composition Overlay divides up the screen in a number of ways and is used to help with the aesthetics of a composition. Some of the overlays use the Golden Ratio (sometimes called the Golden Cut or Golden Proportion) which is represented by the Greek φ, or phi, which is a constant of about 1.6180339887. In mathematical terms, using a line as an example, the ratio of “a to b” is the same as the ratio of “a+b to a”, “a” and “b” being lengths on the line.
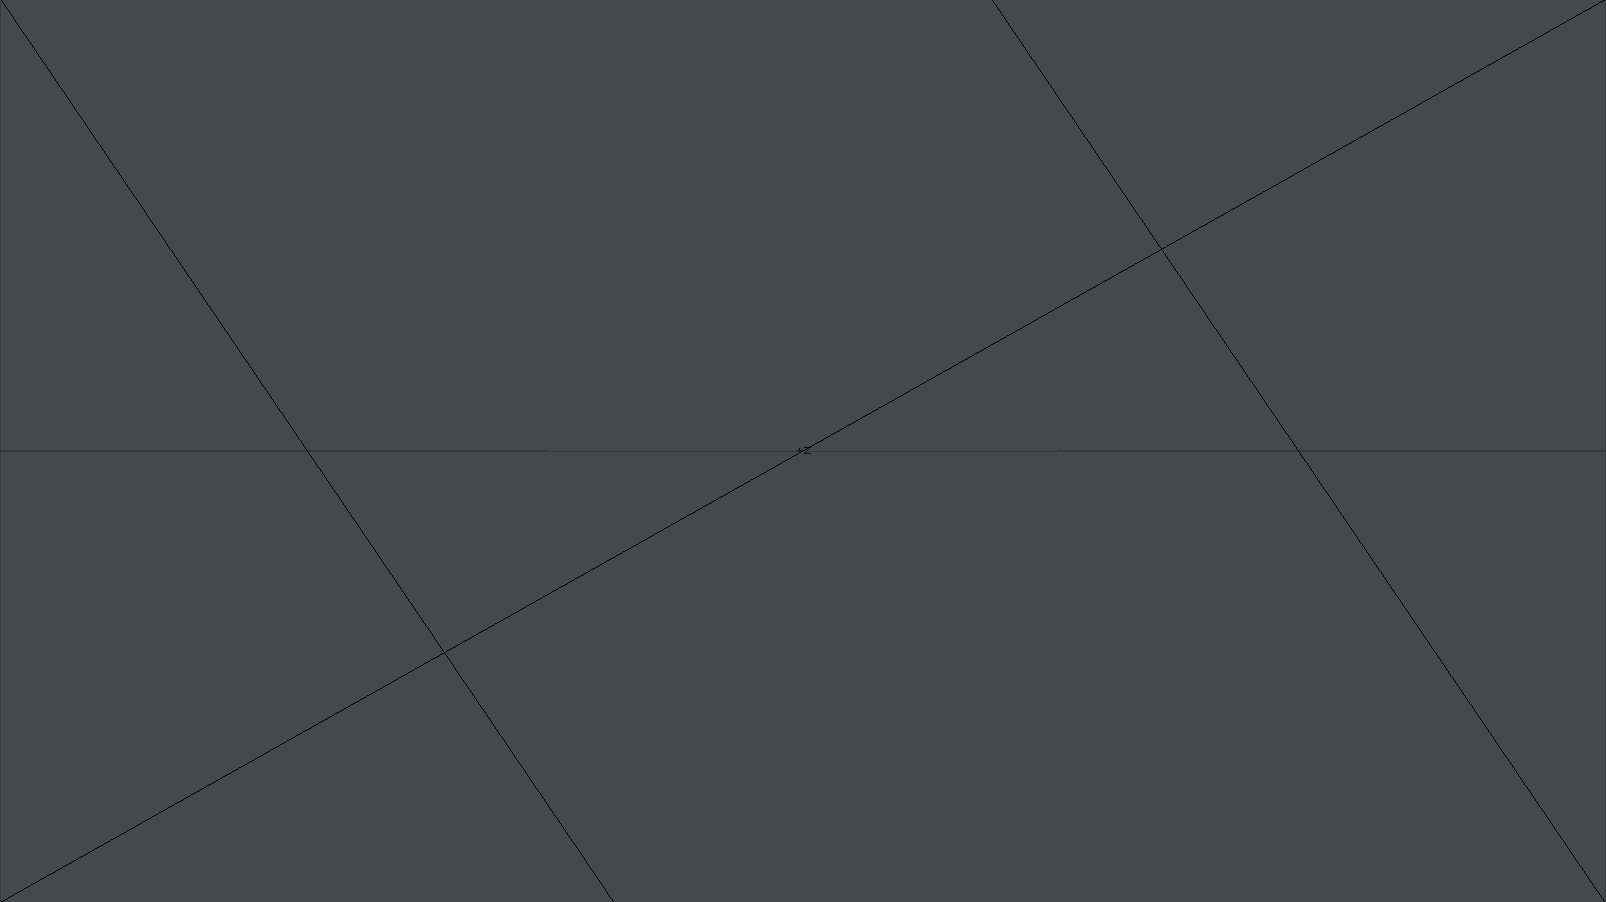
- Golden Sections - The camera view is divided by φ in both directions for X and Y directions.
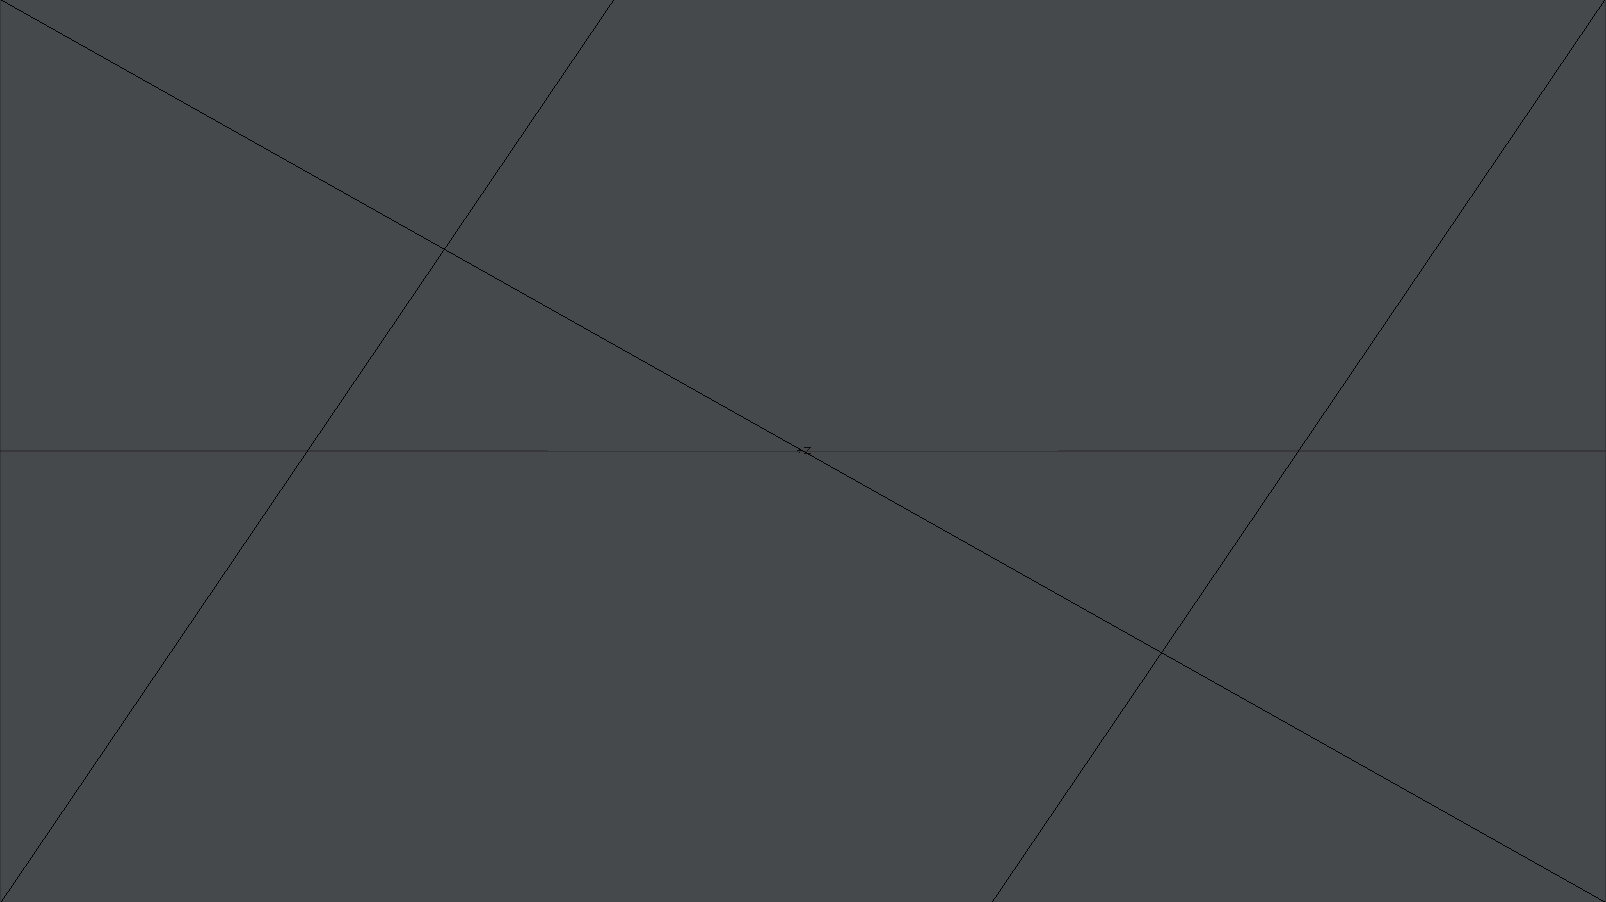
- Golden Triangle - The camera view is divided by φ using the sides of triangles for the ratio.
- Harmonious Triangles - Similar to the rules for Golden Triangle, it draws from opposite sides.
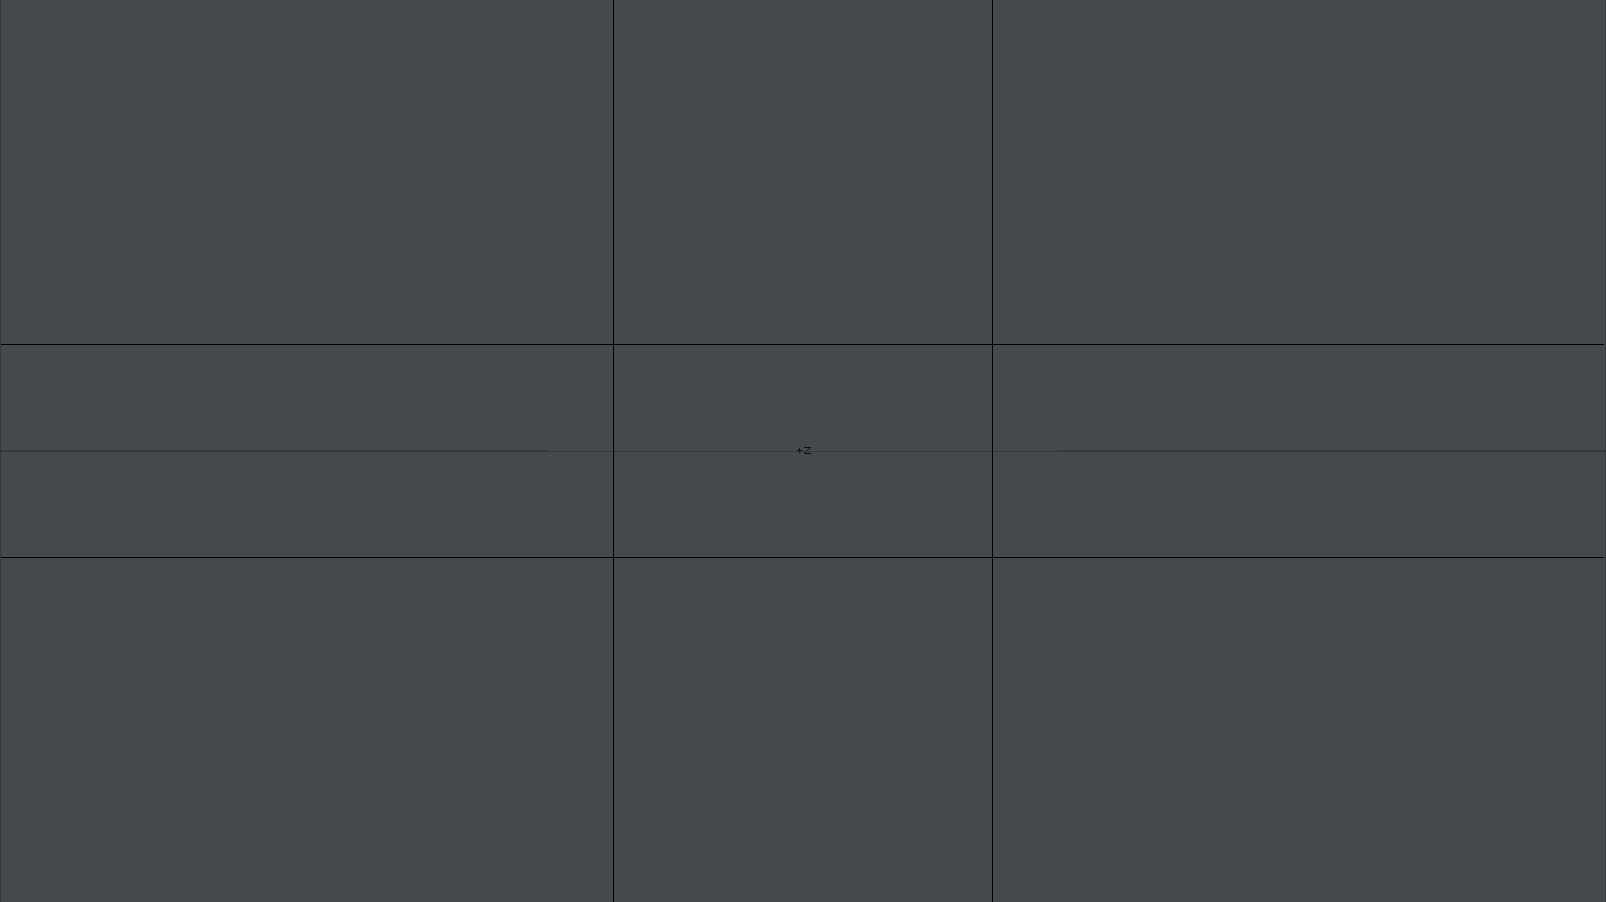
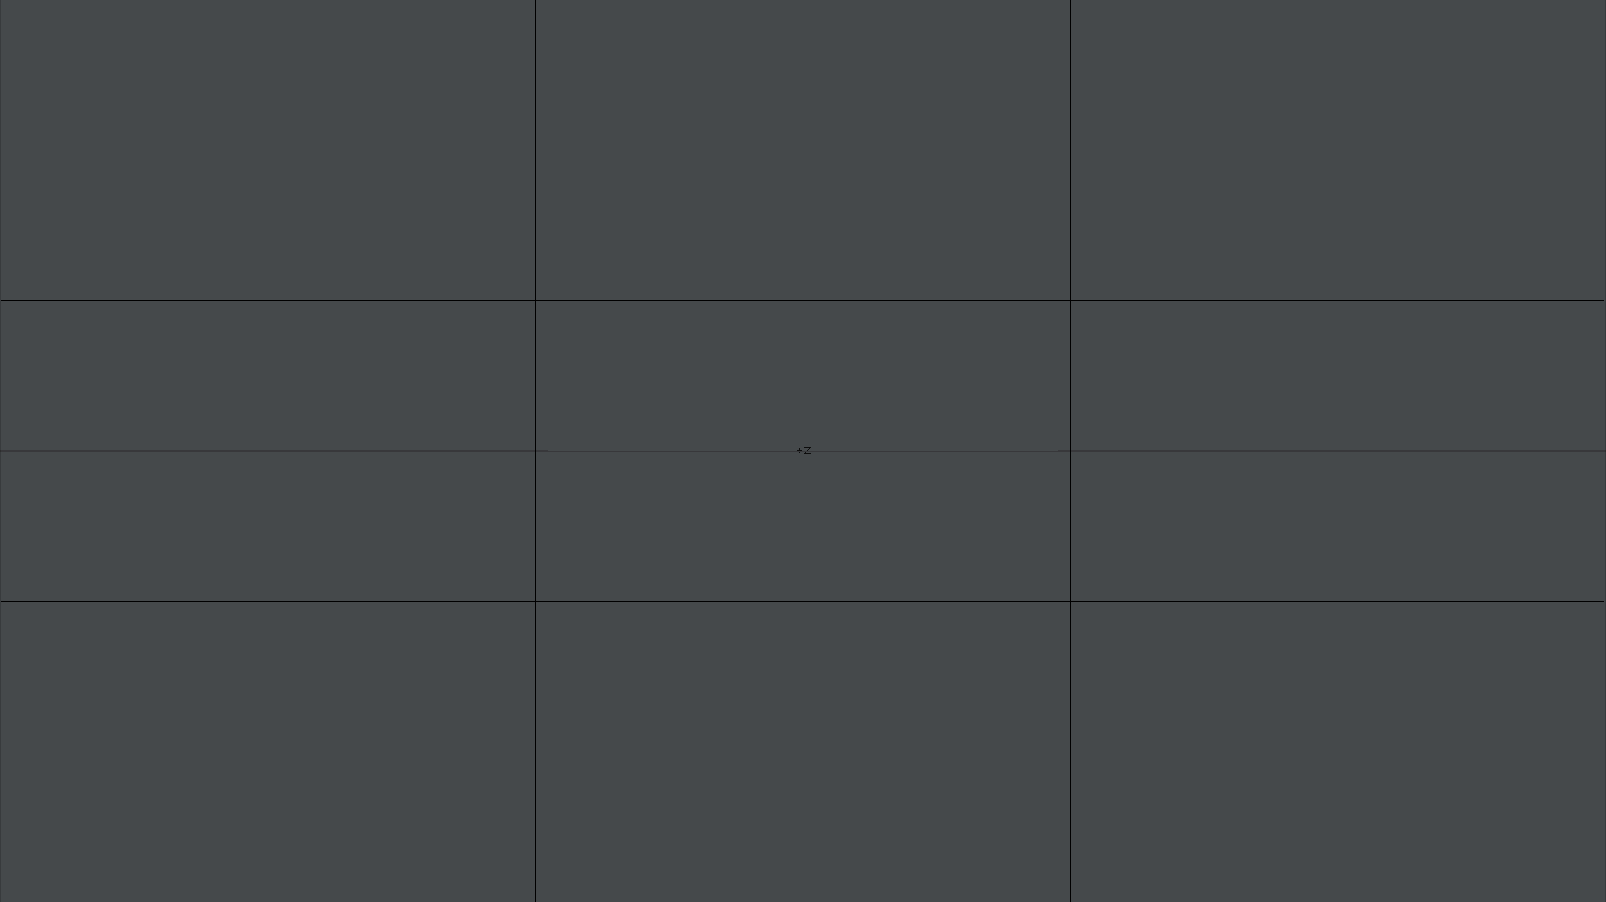
- Rule of Thirds - Divides the screen into three equal parts in X and Y.
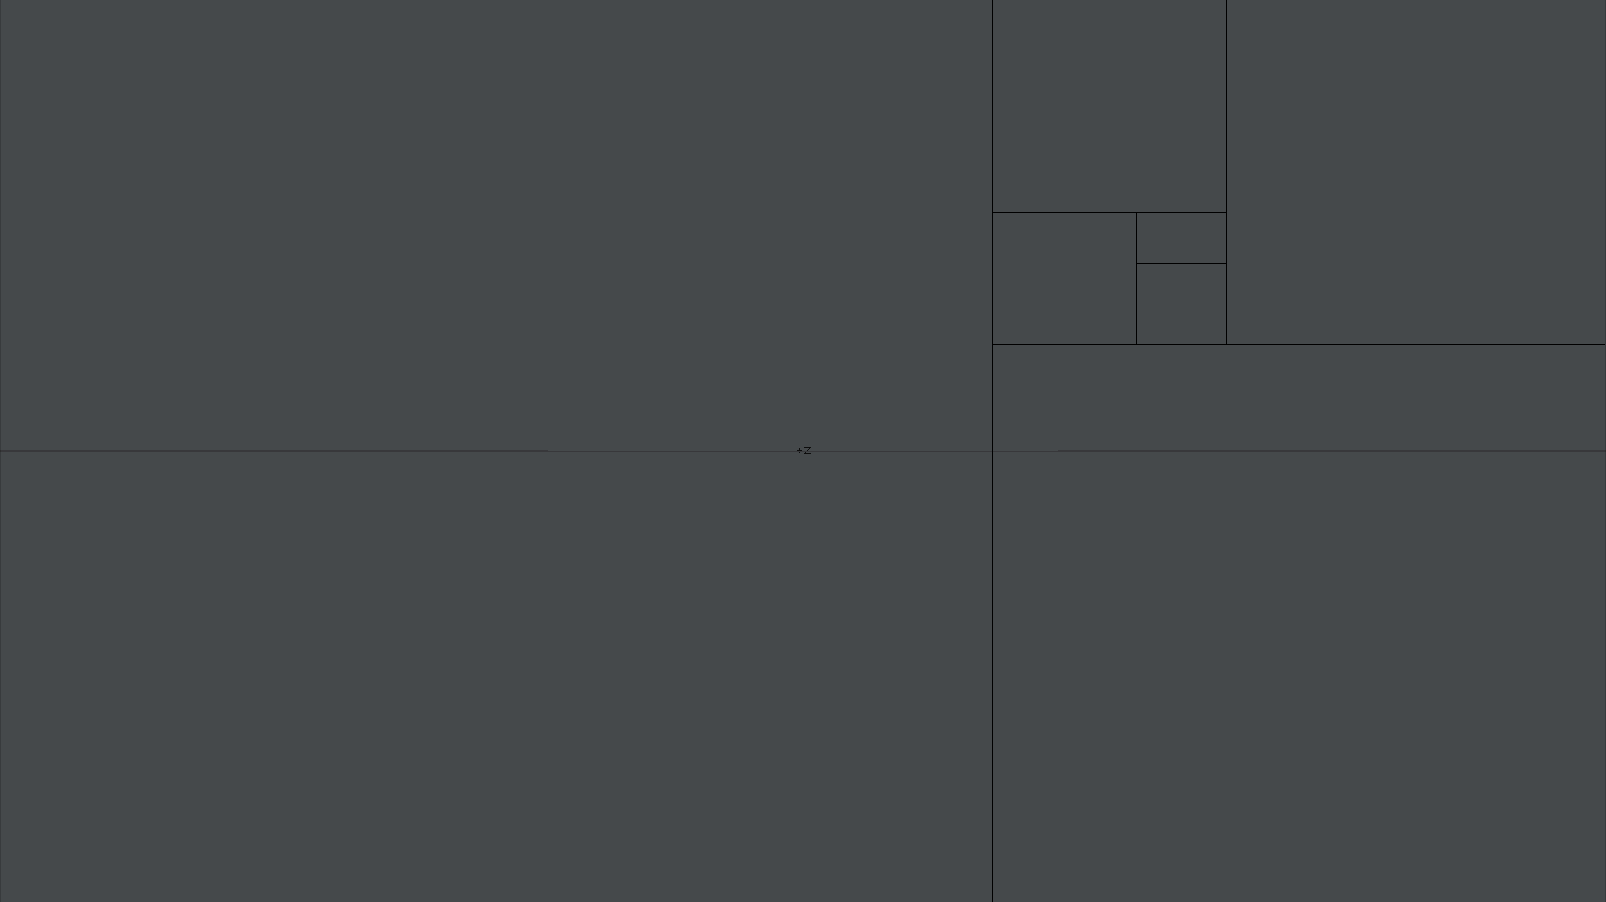
- Spiral Sections - Using the rule of φ, the screen area is divided into a series of rectangles in the form of a spiral pattern.
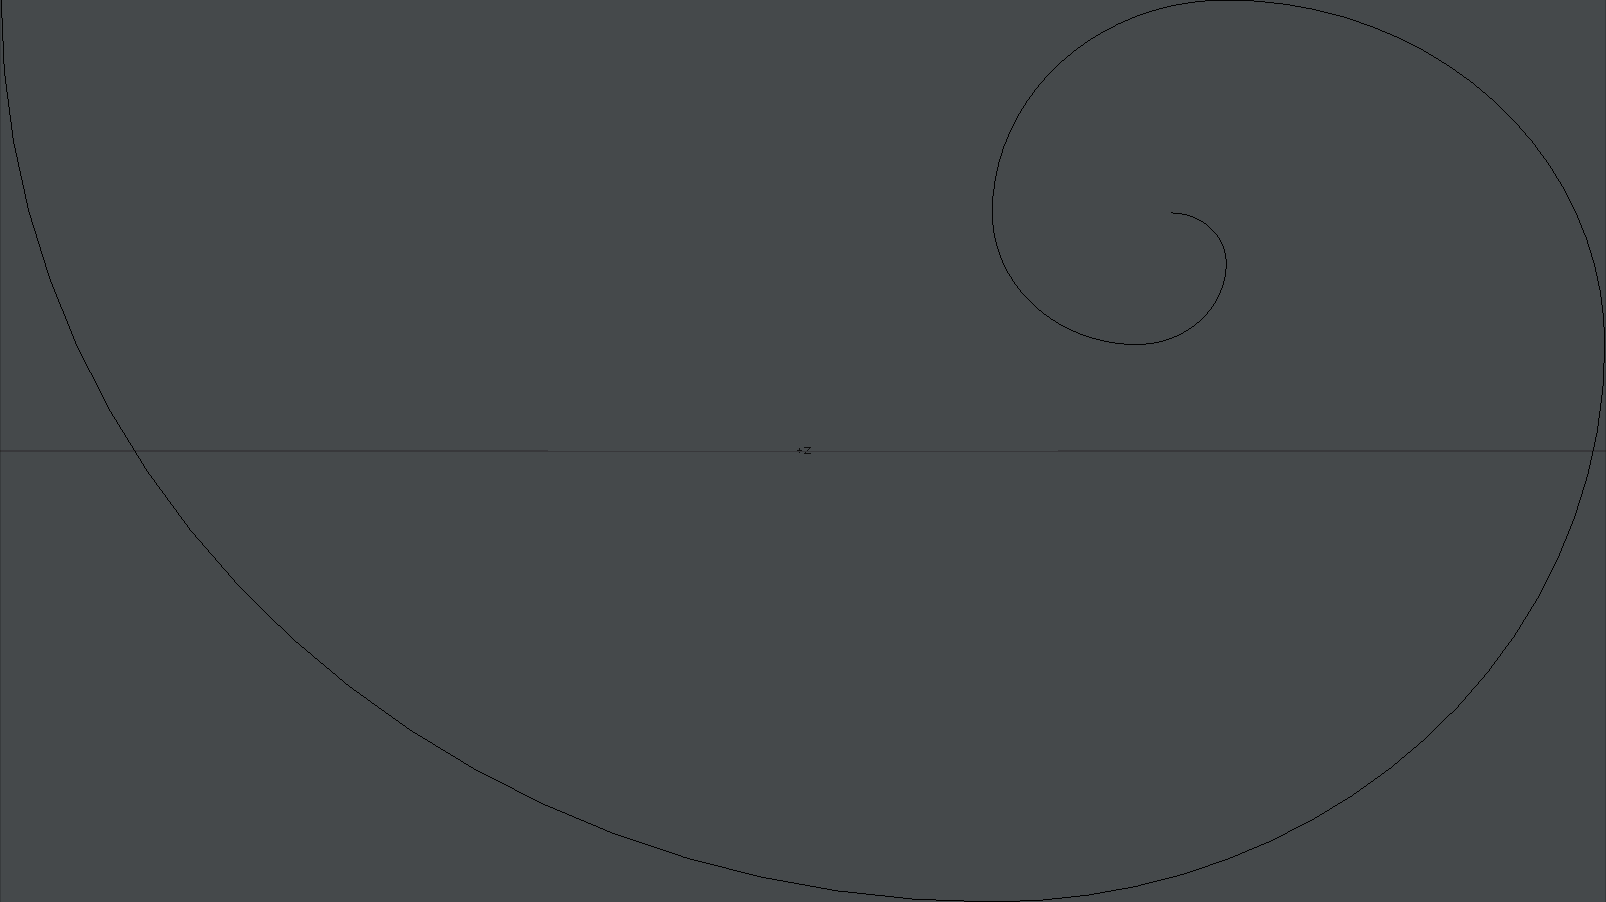
- Golden Spiral - Similar to Spiral Sections , the screen is divided by a curve using proportions of φ.
- Flip H - Rotates the Horizontal orientation 180 degrees.
- Flip V - Rotates the Vertical orientation 180 degrees.
- Rotate Compositional Overlay - Rotates the overlay by the specified amount.
- Compositional Overlay Color - Select the desired color for the overlay.
Show Safe Areas
If your animation will be viewed on a television, be aware that viewers will not see the entire image. Select Show Safe Areas to toggle outlines in a Camera view that indicate the safe text (the inner border) and safe action areas (the outer border) for television. To allow for the display differences of different brands and designs of television sets, you should use this guide to ensure that text and action elements in your animations remain on screen when it is important that they be seen.
These are reference guidelines and are not absolute positions.
Alternate Aspect Overlay
The Alternate Aspect Overlay setting lets you overlay the borders of an alternate frame aspect ratio, within the normal frame in camera viewports. This information-only display mode can be used to simultaneously compose shots for both film and television, for example. The default alternate aspect ratio is 1.85.
OpenGL Fog
If you have the OpenGL Fog option active, you can see an approximation of your Fog settings from the Camera View as well.
Show Field Chart
The Show Field Chart option turns on a crosshair chart similar to a 12-field chart as used in the film industry. It divides the camera view into quadrants, with each quadrant having 12 segments.
OpenGL Lens Flares
The OpenGL Lens Flares option lets you see lens flares right in a viewport while you use the Camera view. If you have the Lens Flares Options Panel open you can interactively make changes to the settings.
OpenGL Fog
Shows a representation of how Fog will look in the render. Like the other settings, only visible in the Camera Viewport.
Copy to Perspective
The Copy to Perspective option will use the appropriate settings in Camera Properties for the Perspective view.
DOF/MBlur Preview Passes
The DOF/MBlur Preview Passes setting sets the number of passes for Depth of Field and Motion Blur previews in the viewport.