Getting Started with Rendering
LightWave's renderer is now more powerful than ever and you have unprecedented access to the inner workings of it with direct control of the AOV channels that make up a final image. AOV stands for Arbitrary Output Value and these channels are what make up a final image - with them you now have fine-grained control over how your image renders. AOVs are also called buffers.
For full reference, refer to the Rendering and Compositing section of this manual.
Rendering in LightWave takes place in three ways. First there is VPR.
VPR
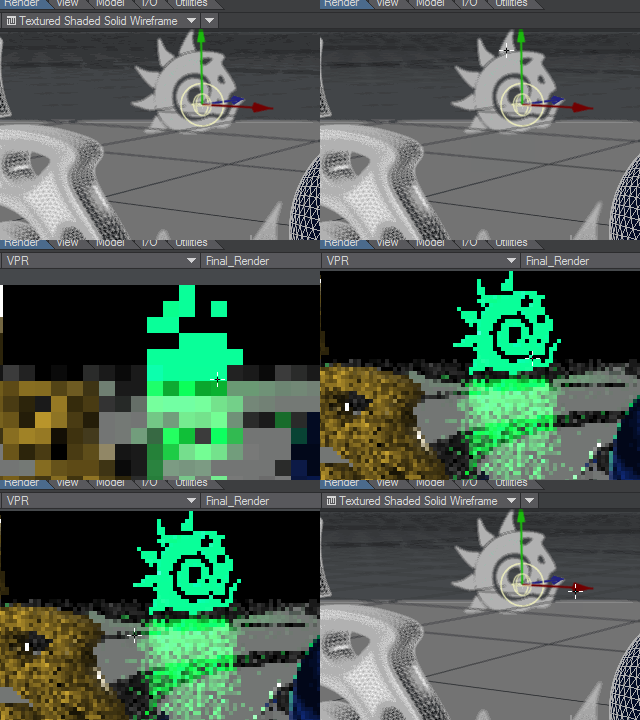
Switching to VPR with the menu and back to OpenGL with the keyboard shortcut
VPR is the Viewport Preview Render and will take over any viewport and replace the default OpenGL view with a rendered image interactively. You can quickly switch with the viewport display menu of the keyboard shortcut Ctrl F9.
Render Frame
Secondly, there is the single image offline render, accessed through Render > Render Frame or with the keyboard shortcut F9. This locks the current state of Layout and launches a Render Status window that shows ongoing progress with the render. You cannot use Layout while this happens, and you shouldn't modify your scene's objects in Modeler. The ones used for the render are locked in at the moment you start the render. Rendering a frame will create a final image, but will not automatically save it. It will be presented in the Image Viewer (or other render display you choose), and you can save it from there.
Render Scene
Make sure you save your scene and all objects before you start a Scene Render!
Once you have your scene finalized with all animation, lighting and camera set up, you should perform a Sequence Render with Render > Render Scene or with the keyboard shortcut F10. The Render Status will change slightly to show sequence render time remaining, rather than image time.
When you render the scene, you need to set up your render range (by default the render range will be from frame 1 to the end of the scene) and you can choose to render the range you need, or just arbitrary individual frames. See Render Properties - General for details.
You also need to set your output. F10 will go ahead and render the scene following the settings in Render Properties, so if you haven't set an image output, your computer will render and throw away the results of each frame.
At this point, if you have more than one computer at hand, it's a good idea to use them all for this final rendering stage. See Distributed Rendering - An Introduction.
Further Reading

