Point
(default keyboard shortcut +)
Point coordinates are the minimum information from which the geometry of an object can be calculated.
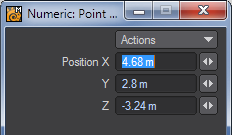
Remember a point needs to have X, Y, and Z coordinates. You can create points in real-time or by positioning first and then creating. As with every tool in Modeler you can choose to create a point with the Numeric Panel.
Creating Points
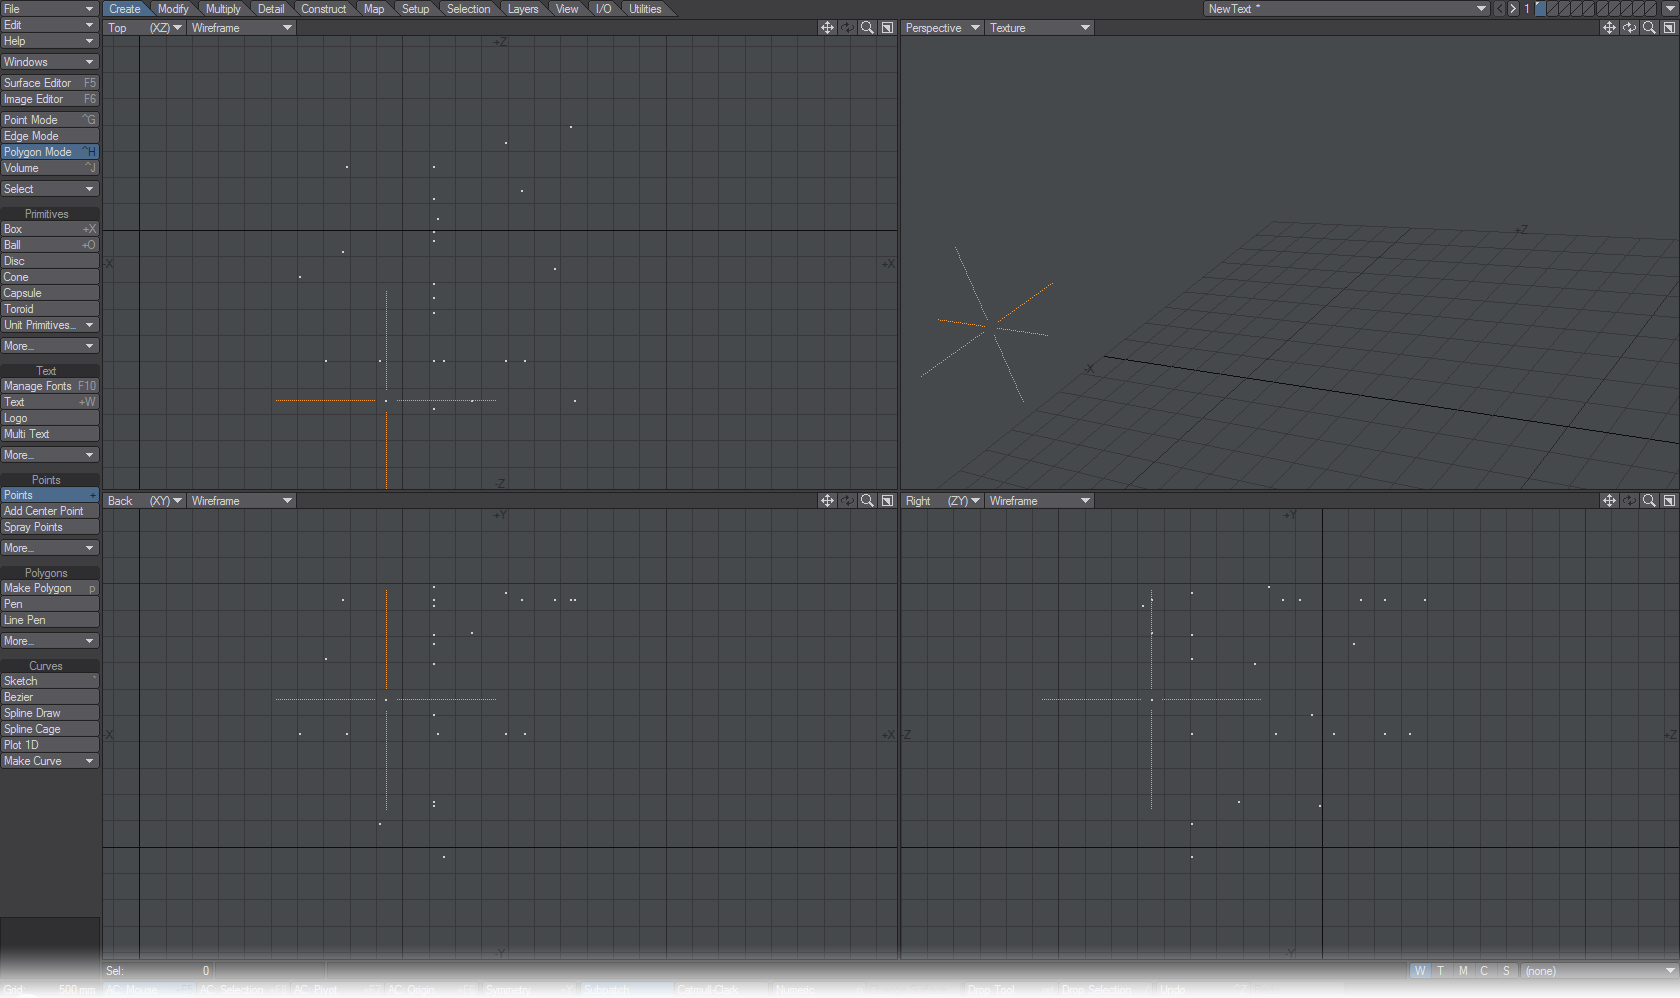
- Choose ( Create > Points > Points ) from the menu or use the + key to activate the Point tool.
- In any viewport, with your LMB drag the large crosshairs to the desired position (you can reposition in any viewport). The information display (bottom-left corner) will give you position feedback as you move your mouse.
- Click the RMB to create the point. Be careful not to move your mouse pointer. Deselecting the Points tool will also create the point, if you don’t have a steady hand. Deselecting and then reselecting the Points button will create the point and keep you in the create point mode.
- You can also position the point by dragging with your RMB . However, the points will all be created along the same plane (when you release the RMB ).
Alternative Method to Create Points
- Choose ( Create > Points > Points ) from the menu or use the + key to activate the Point tool.
- Move the mouse to the location where you wish to create a point - the information display (bottom-left corner) will give you feedback as you move your mouse - and click the RMB to immediately create the point.
You can click down a point with the RMB and then, if you need to adjust the location, immediately click the LMB and move the point. Alternatively you can simply click the RMB to quickly lay down a string of points in succession and move them later using something like the Drag tool.
You can convert the point you’ve just made into a polygon by pressing P.