Cone Tool
The Cone tool is located in the Create Menu Tab under the Primitives group. To create a cone simply drag out a two-dimensional disc shape in one of the viewports and then add depth to your object by expanding it in a different viewport. The Cone tool is a great starting place for an Indian teepee, snow cone, funnel and more.
A cone with only four sides is a great way to quickly recreate the pyramids of Egypt!
Creating a Cone
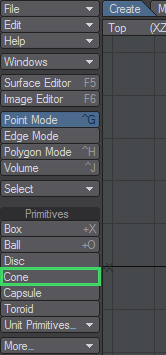
- Select the Cone button located in the Create menu tab under the Primitives group.
- Drag out the initial 2D shape in any viewport with your LMB . This activates the tool.
Pressing the Ctrl key before you click and holding it while you drag will symmetrically constrain the shape. The dimensions of your outline are shown in the lower left corner.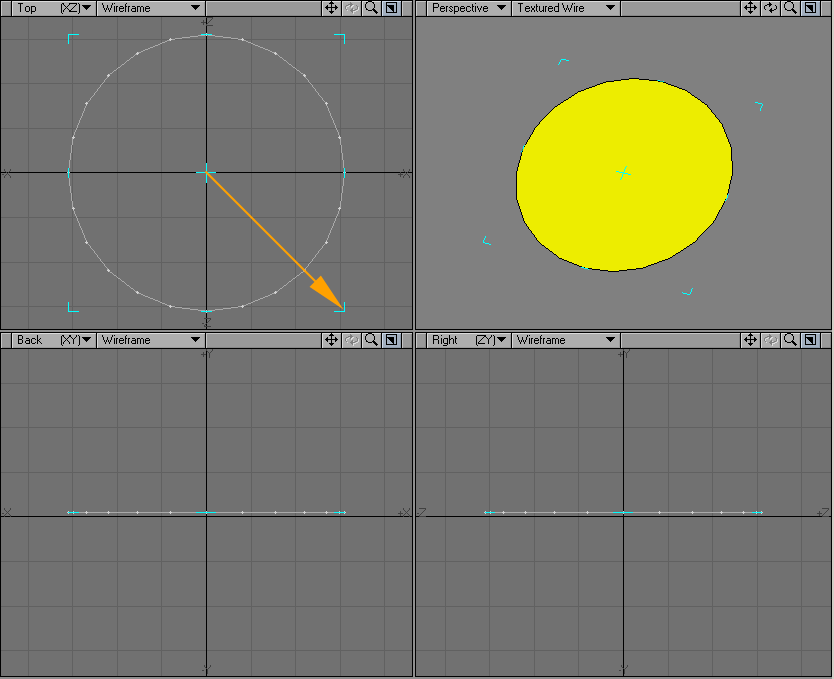
- After you release the mouse button, you can adjust the shape by dragging any of the sides or corners. You can reposition it by dragging the center. At this point it will look similar to the Ball tool until you continue to the next step.
- Go to another viewport and drag to extend the shape into the third dimension. Release the mouse button.
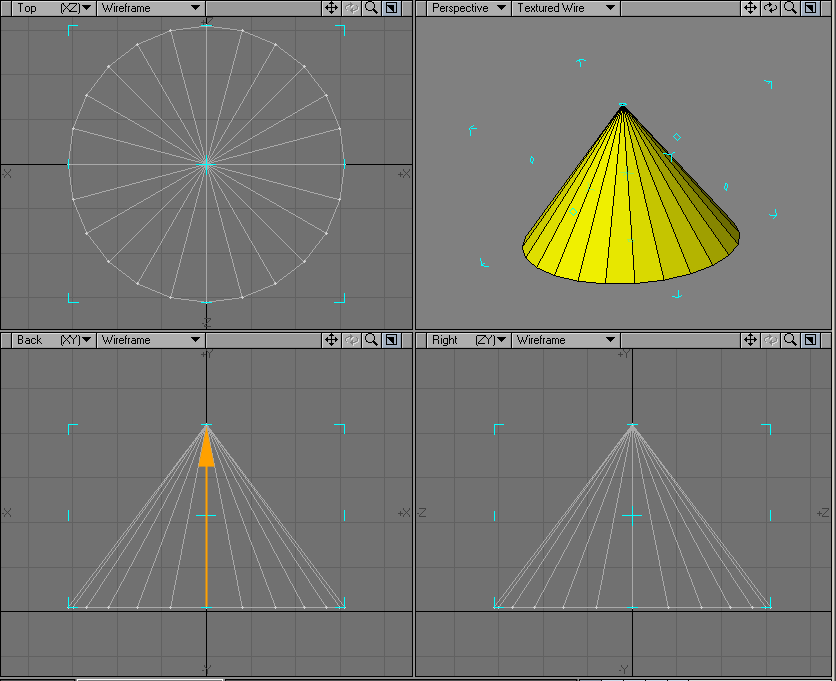
- You can continue to adjust the Cone’s size and position.
If you find you need to start over from scratch, just click in an inactive toolbar area or use undo.
- When you are satisfied, deselect the Cone tool by clicking on it or choosing Make to turn your outline into an object (alternatively, you can select another tool.)
Numeric Panel Options: Cone Tool

- Axis - The primitive is aligned with this axis.
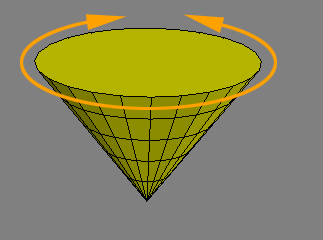
- Sides - Determines how many segments should be used around the perimeter.
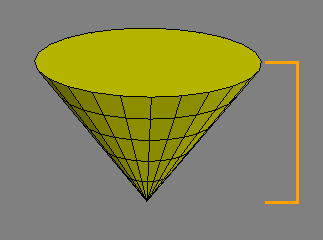
- Segments - Sets how many vertical segments should be used.
- Bottom - Bottom is the starting point of the primitive along the selected Axis.
- Top - Top is the ending point of the primitive along the selected Axis.
- Center - Refers to the coordinates for the center of the primitive.
- Radii - Refers to the radius of the primitive (wide end for a cone) along the axes.

Modeling a Cone in Perspective view.
Using the cursor Keys
The cursor keys let you quickly adjust settings as follows:
| Right/Left cursor | Up/Down cursor |
|---|---|
| Incr./decr. Horizontal Segments | Incr./decr. Vertical Sides |