Control Points
Using Control Points
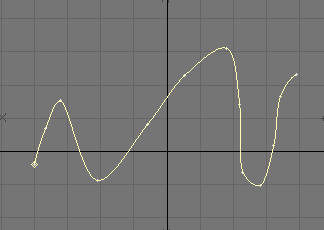
When using a curve as a Modeling tool, sometimes you need to adjust the curve to get it to “that perfect angle.” Because of the way points control an open curve’s shape, it can be difficult to get the desired result at the ends of a curve. Fortunately, Modeler lets you have extra “control” points at each end, which affect the curve shape, but don’t actually become part of the curve’s Modeling characteristics.
To activate control points on a curve:
- If you have more than one curve, select your desired curve first using the Polygon Selection mode.
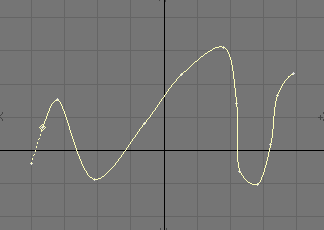
- Choose Detail > Curves > Control Points > Begin Control Point to detach the first point from the curve. It is your starting control point. Dragging this point will change the shape of the curve at the new starting point.
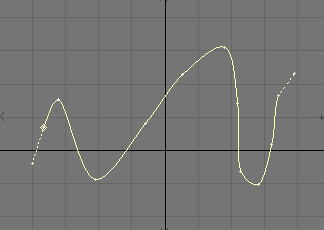
- Choose Detail > Control Points > End Control Point to detach the last point from the curve. It is your ending control point. Dragging it will change the shape of the curve at the new ending point.
The control points commands will also toggle the control point state off, if selected again.
It is perfectly legal to have only a beginning or ending control point on a curve.
If you plan to use control points on a curve, you should add an extra point at the beginning and end of a curve for that purpose.