SkyTracer 2
SkyTracer 2 should no longer be used for new scenes if you would like accurate skies. The Physical Sky (Hosek-Wilkie) Backdrop shader should now be used. SkyTracer 2 is merely provided for old scene use.
SkyTracer2
The SkyTracer2 Environment was designed to create sophisticated atmospheric effects using real-world parameters. You can adjust the Atmospheric, Cloud, and Sun settings within the interface to create a variety of beautifully rendered sky images. These skies can be rendered (volumetrically or as a 2D effect) within an existing scene, or saved as image files to be composited or used as Texture Maps.The SkyTracer2 Environment was designed to create sophisticated atmospheric effects using real-world parameters. You can adjust the Atmospheric, Cloud, and Sun settings within the interface to create a variety of beautifully rendered sky images. These skies can be rendered (volumetrically or as a 2D effect) within an existing scene, or saved as image files to be composited or used as texture maps.

SkyTracer2 simulates light scattering and light absorption in the atmosphere. The settings for this simulation are real-life parameters such as atmosphere thickness, cloud altitude, sun position and so on. Because SkyTracer2 uses volumetric lighting techniques, you can even get spectacular effects like the sun casting light rays through the clouds. You can adjust both the current Time and Location settings to accurately simulate the sun rising or setting, anywhere in this world or another.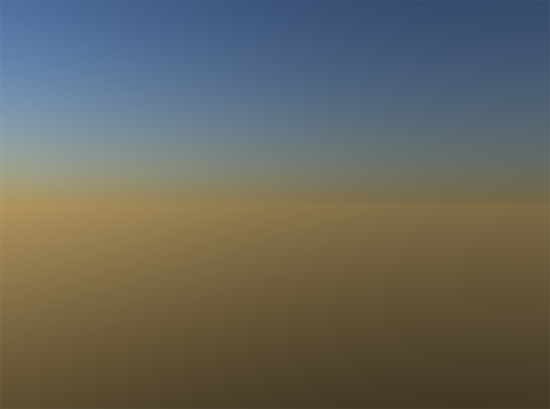
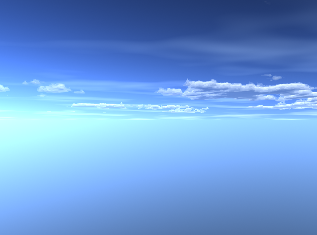
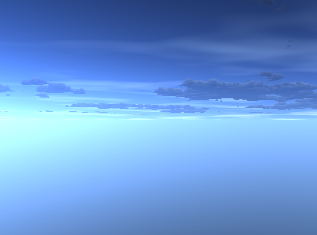
Default SkyTracer2 settings
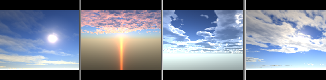
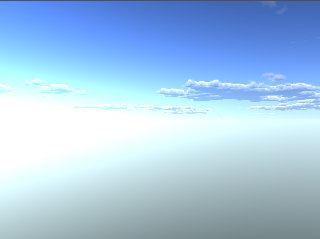
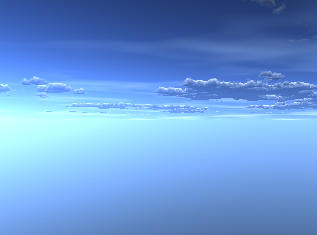
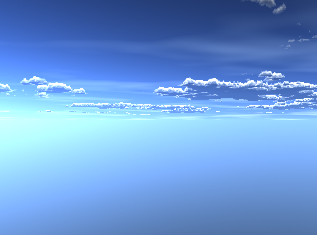
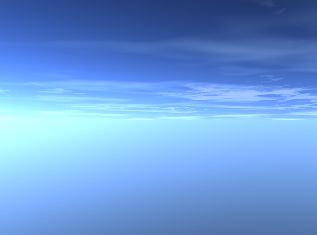
Several Presets
The interface is split into two sections: global controls are at the top of the panel and controls to adjust atmospheric effects are at the bottom of the panel.
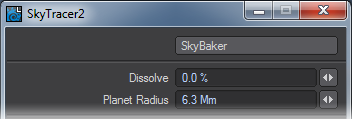
The SkyBaker button brings up the SkyBaker Panel.
The Dissolve setting adjusts the transparency of the SkyTracer2 effect and the Planet Radius adjusts the size of the planet, and thus the size of the atmosphere. The default value of 6.3Mm represents the size of the Earth.
The Atmosphere Panel
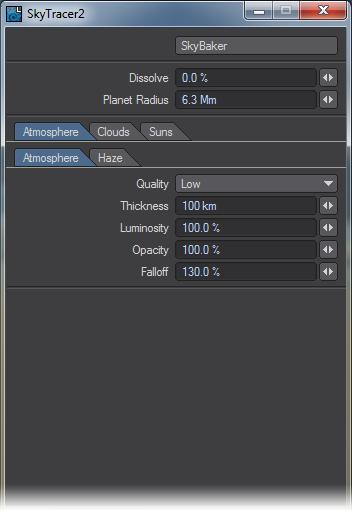
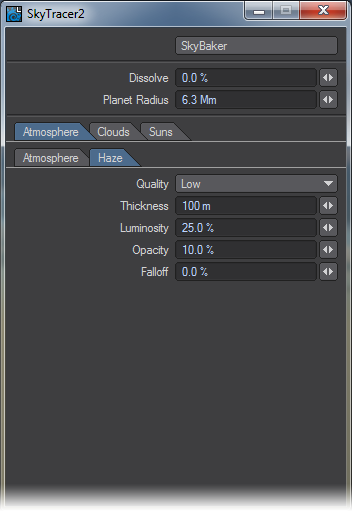
Think of the sky as a stack of two layers, Atmosphere and Haze. These layers have identical controls, but each can have different values for scattering, absorption, and density distribution.
Quality is the level of sampling performed along the camera’s viewing direction. Higher Quality levels give more accurate renders, however, this setting also affects rendering times. Therefore, the High setting should be reserved for very precise effects.
The Thickness setting controls the thickness of the atmosphere and haze layers. Thickness is measured in kilometers and meters respectively, with 100km and 1000m as default values.

Left: Thickness 100%; Right, Thickness 50%
The Luminosity parameter adjusts the percentage of light that scatters within the layer. This scattering intensity is greatest in front of the sun and lower elsewhere.
Left: Luminosity 100%; Right, Luminosity 0%
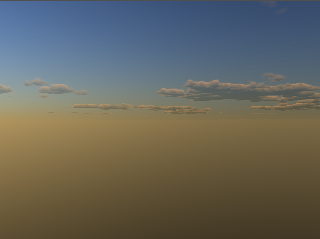
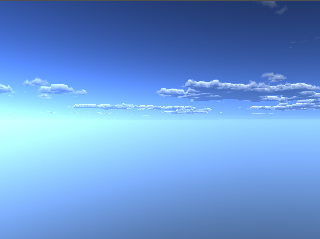
Opacity measures the percentage of light absorbed within the layer. High values attenuate light, and objects disappear at the horizon. When you use opacity with haze, you can create pollution-like effects. However when you adjust the opacity within the Atmosphere Panel, you can create strange, out-of-this world skies.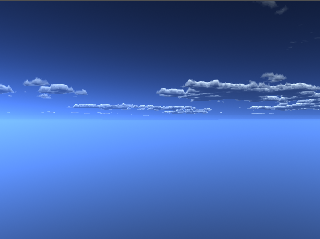
Left: Opacity 50%; Right, Opacity 200%
Fall Off modifies how density is distributed throughout the layer. Values higher than 100% decrease density rapidly with altitude, while a value of 0% has no decrease at all. Negative values in the Haze Falloff setting will invert the density distribution.
The Clouds Panel
No sky would be complete without some clouds! By controlling the clouds’ altitude, density, luminosity, opacity, and contrast parameters, SkyTracer2 can create an incredible range of cloud effects. The two layers in SkyTracer2, low and high-altitude clouds, have identical parameters; you can enable these layers separately for drastically different effects or together for complex sky patterns.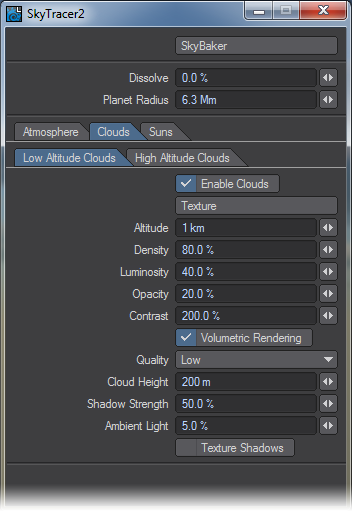
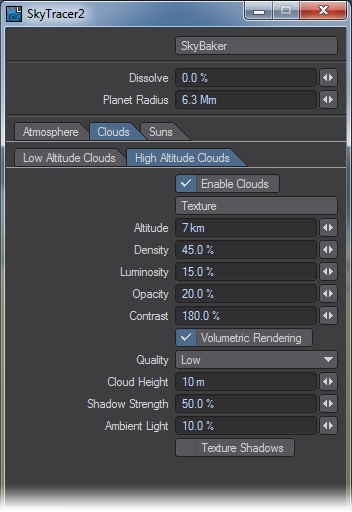
Use the Enable Clouds switch to turn the two cloud layers on or off.
The Texture button opens the Texture Editor Panel, which is where you specify the type of cloud to render and adjust its coverage parameters. (see below)
Altitude sets the height in the sky where the cloud layer will start.
The Density setting controls how dense the cloud layer is. Think of this setting as adjusting the probability of rainfall for the area. A Density value of 10% means that the clouds are fairly devoid of water. This gives a much thinner cloud layer, which allows more light to travel through it. A value of 75% has a much thicker appearance, and shows a higher probability of rain.
Left: Density 20%; Right: Density 200%
Luminosity controls the scattering intensity of light through the clouds. With high values, you create bright clouds. The light scattered from the cloud is attenuated by the Atmospheric and Haze settings.

Left: Luminosity 10%; Right: Luminosity 100%
Opacity controls how much light is allowed through the layer. A setting of 100% renders a completely dark sky, while a value of 0% renders a much brighter sky.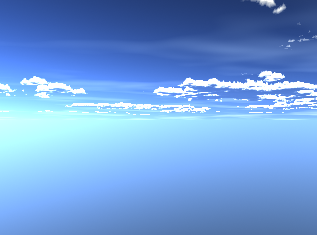
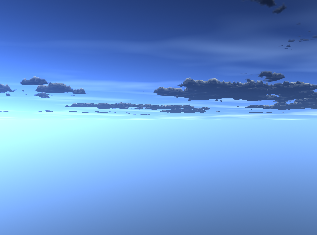
Left: Opacity 10%; Right: Opacity 50%
The Contrast setting affects the coverage of the cloud layer. A value of 10% gives a constant sheet of clouds, with little variation within the layer. While the default value of 200% shows subtle variation within the cloud, it also reduces the cloud’s coverage.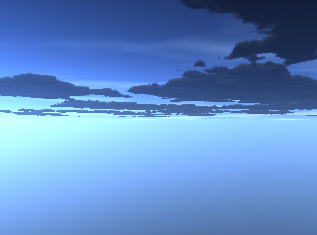
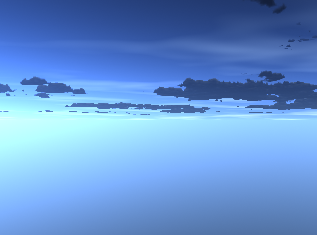
Left: Contrast 100%; Right: Contrast 200%
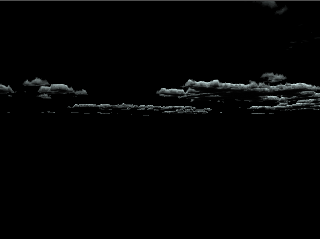
Enable the Volumetric Rendering option to specify how SkyTracer2 will render the layer. When Volumetric Rendering is enabled, SkyTracer2 renders the clouds as a volume that has both density and mass. When Volumetric Rendering is disabled, SkyTracer2 renders the layer like an image projected on a piece of geometry in the sky. Disabling this effect will greatly reduce rendering time, but it will also generate a less convincing cloud layer.
If enabled, Volumetric Rendering also makes the cloud quality, height, shadow strength, and ambient light parameters available. These options do not apply to a cloud layer when you disable Volumetric Rendering.
Activated, Deactivated
Textured Shadows activates the cloud layer’s self-shadowing option, which generates more accurate shadows within the layer, but increases rendering times. Textured Shadows is similar to HyperVoxel’s self-shadowing feature.
Like in reality, you can get an under-lit effect when the sun is very low on the horizon. In this case, the clouds are lit from beneath, creating spectacular red lighting effects. The effect is best accomplished by using volumetric clouds with textured shadows.
The Texture Editor Panel
SkyTracer2 uses a texture defined in LightWave’s Texture Editor to control the style, coverage, and placement of the cloud layers. Although you can use a Procedural, Image, or Gradient texture layer, the most common texture used will be the STClouds procedural texture. This procedural texture is specifically designed to work with SkyTracer2 and contains many of the settings needed to create realistic clouds.
Use the procedural preview window in Texture Editor to quickly see results when you adjust settings for cloud style and coverage. Simply adjust one of the procedural’s settings and watch how it affects the computed fractal.
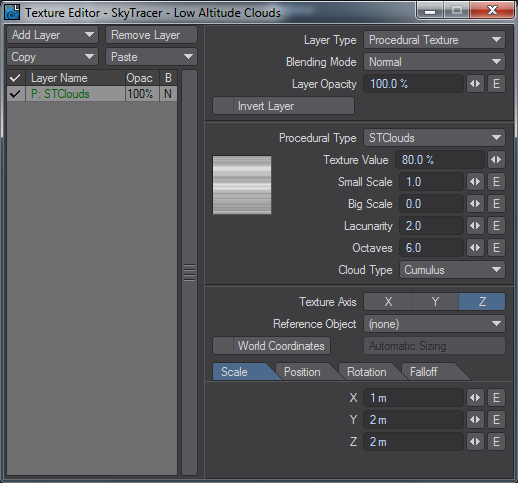
- The Texture Value controls the strength of the cloud layer. The higher the percentage, the more cloud coverage in this layer.
- The Small Scale and Big Scale values are two fractal scale parameters for the appearance of the clouds.
- Lacunarity sets the turbulence within the cloud layer. A value of 1 renders the clouds nice and smooth, while a value of 5 or higher breaks up and distorts the cloud to give it a much more natural appearance.
- The Octaves setting controls the amount of frequencies or detail your fractal receives. The higher the value, the more frequencies are used when rendering. This will create more details within the cloud, but it also causes longer rendering times.
- Cloud Type lets you select from cloud styles. Cumulus clouds are big and puffy low-altitude clouds; Cirrus clouds are long and thin and are generally found at higher altitudes. You can even simulate the streaming effect that jets create when flying at high altitudes by selecting the Jet Trails Cloud Type.
SkyTracer2 applies textures to an imaginary cloud layer that is parallel to the XZ plane. Therefore when you apply textures with a planar projection, you should use the Y axis. You can create realistic cloud effects like attenuating the clouds in the distance using X and Z Falloff, or create pyramid-shaped clouds (as in Cumulus) by using a texture Falloff on the Y axis.
The SkyTracer2 default texture has a Falloff setting already applied.
Instead of using a procedural approach, you can specify the clouds’ exact coverage by loading a fractal-like image on the Y axis. To get a convincing effect, you should use a smoothly repeating texture.
Use a gradient in any layer to modify the previous layer’s effect. The gradient Input Parameters are Heading (ray heading angle), Pitch (ray pitch angle), and Height. The height is the height inside the cloud layer.
That is 0 in the bottom and 1 at the top.
The Suns Panel
SkyTracer2 uses one or two lights to render the clouds and atmospheric effects. You can use either your own lights or the SKT_Sun lights added by SkyTracer2. An added bonus: you can also set up these lights to render as either a sun or a moon flare.
By default only one Sun light is added.
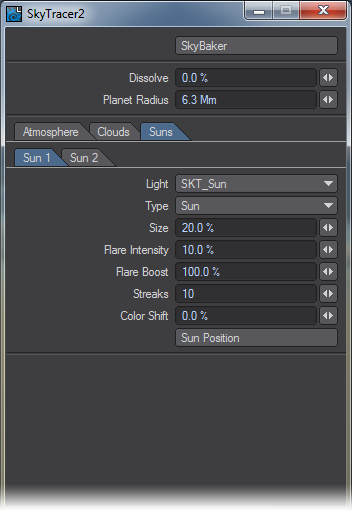
You can select which light(s) SkyTracer2 uses to calculate the appearance of the clouds in the Sun1 and Sun2 Light drop down list. The Type lets you choose to render the light as a sun or a moon. You can change the appearance of the sun or moon by adjusting the flare’s Size, Flare Intensity, Flare Boost, Streaks, and Color Shift values.
Sun Position
By pressing the Sun Position button, you access the Sun Spot Motion Modifier. You adjust the sun’s position by specifying the exact day and time for the light to be positioned.
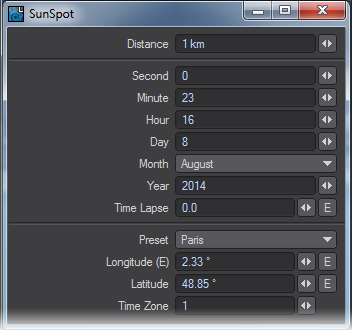
Although you may never see it, the position of the SKT_Sun light rotates properly as time passes. To increase the speed of the animating sun, edit the Time Lapse field. To complete the time lapse effect, animate the cloud’s texture parameters.
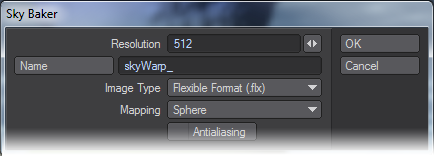
The Sky Baker Panel
Once you create your sky, you can either render it on every frame along with your scene or Sky Baker can generate image files to map it onto geometry and fake the effect. Several reasons are listed below for why you would want to bake a sky:
- You can see your sky in real-time using OpenGL.
- The sky is saved as an image, so you can edit it with the Image Editor controls (e.g., hue, saturation, gamma, etc.).
- The solution is already figured out, so the sky renders extremely fast.
The Sky Baker Panel lets you select the resolution of the images, their image type, mapping projection style and a file prefix name. The Antialiasing option activates and deactivates the Antialiasing pass when rendering the images.
The spherical projection has the advantage of being more compact and not distorted when compared to the cubic projection.
By pressing the OK button Sky Baker will start to render all images. A progress bar shows you how much Sky Baker has completed. Once Sky Baker completes the job, you can choose to generate, position, and map the geometry needed to complete the effect.