Subpatch Modeling - Eight
Creating the Handle
We will now make a simple handle with a finger grip.
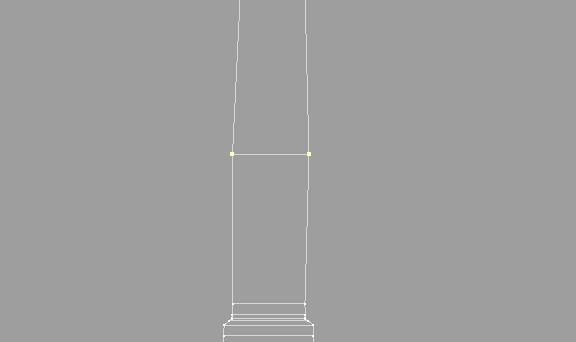
Draw out a polygon and split down the middle.
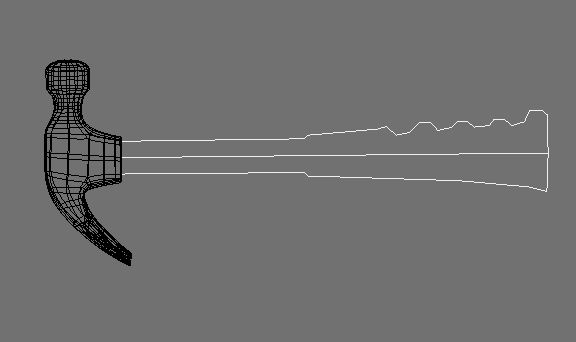
Create this geometry.
And then step down as well as add another edge to where the grip starts. This will make the subpatching tighter.
Note: We are going to live with the bumps this will create as a result of this step down on what will be a curved surface. I figured I could live with it on the handle and that it would look natural as if formed. Alternatively we could just bring the edges all the way across.
Now Extrude tool (shift e).
And Taper.
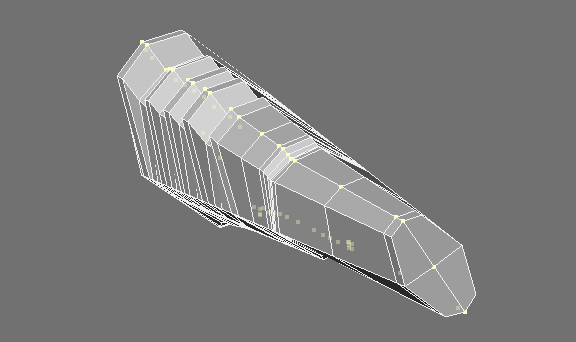
Now select these points.
Size them as the arrows show and select the points below,
Size them in so the angle matches all the way around.
Now size these in a little too.
Now select these points and size them in slightly.
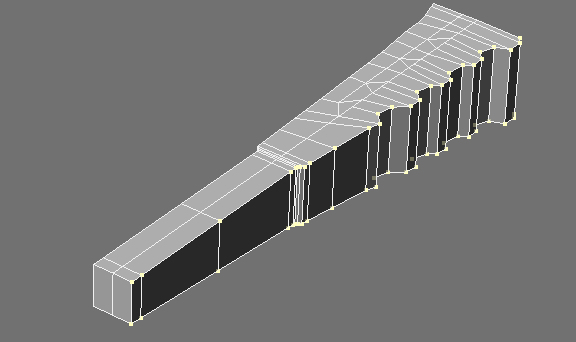
And do the same on the other side.
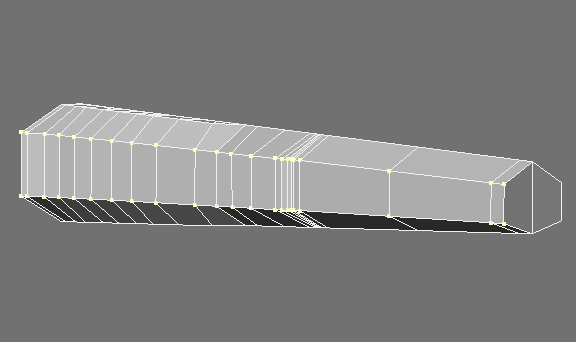
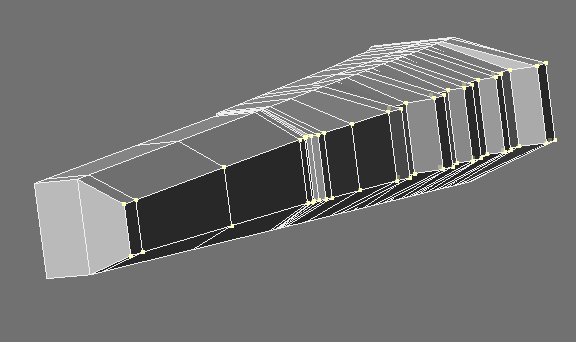
Now grab this row of points and size them so that they match the angle.
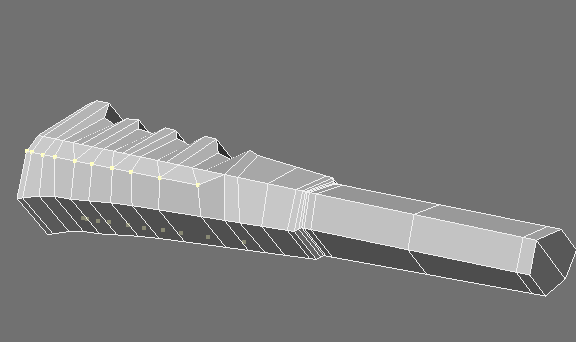
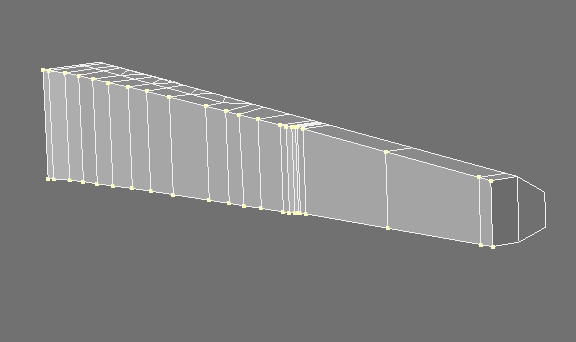
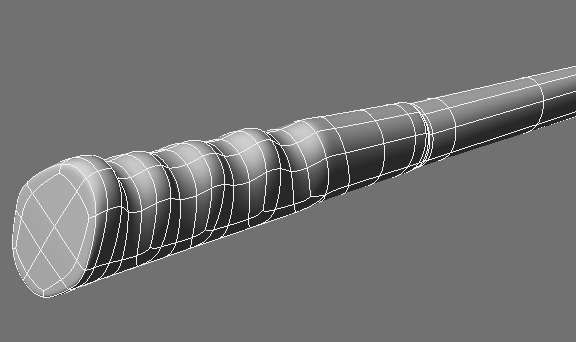
Select and Multishift to create an edge loop along the bottom of the handle.
Subpatched.
Now BandsawPro.
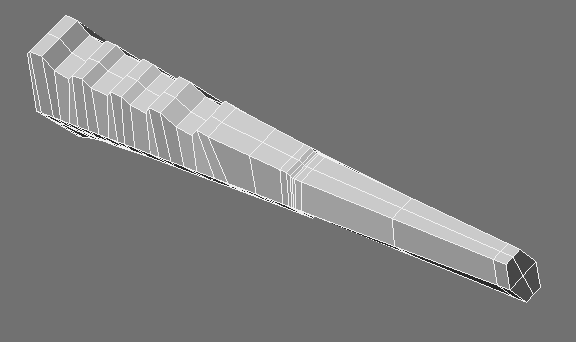
Switch to point select mode and find this loop selected. Now size them out (on the Z only).
This will keep the ends rounded.
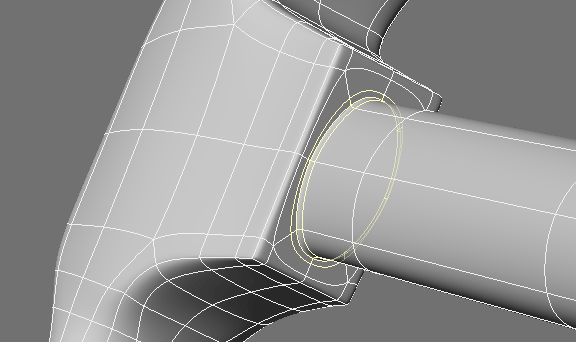
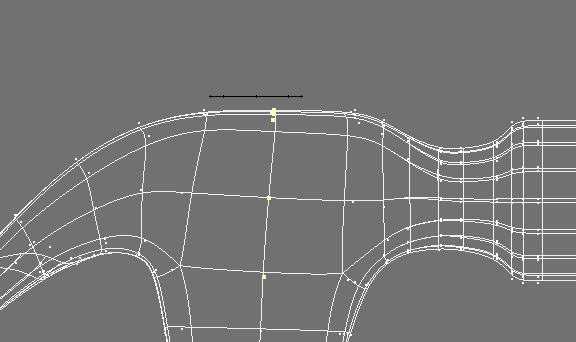
Connecting to the Head
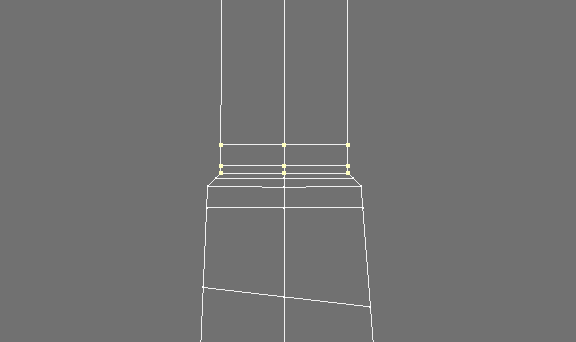
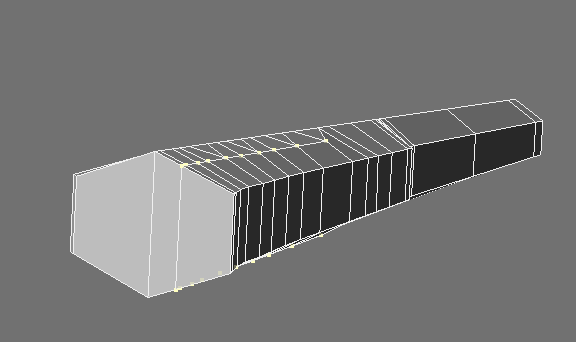
First size the handle as needed.
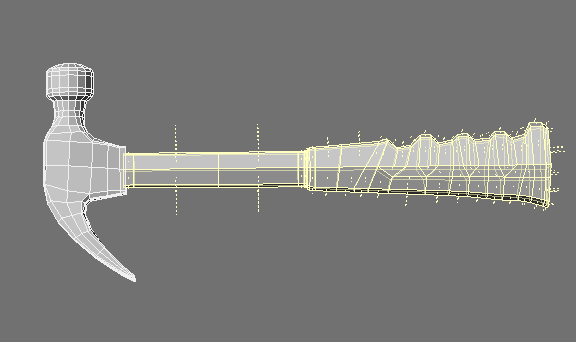
We need it to line up like this.
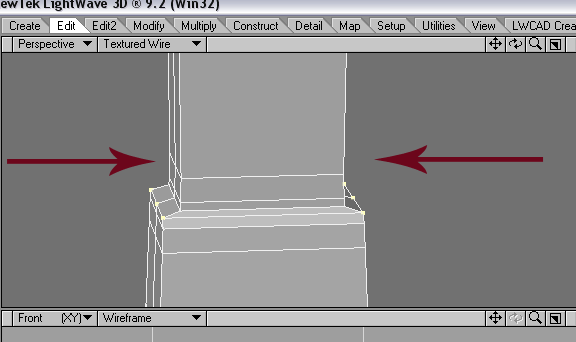
And move it on the Y to line up just below the bottom polys of the head like this.
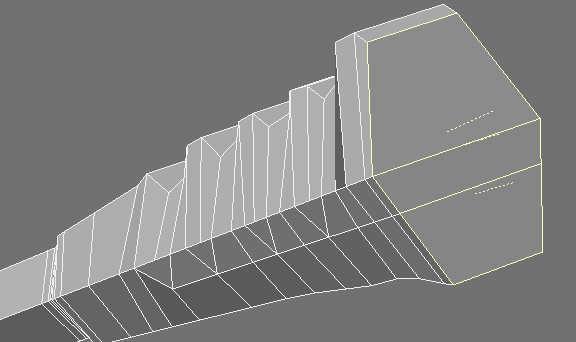
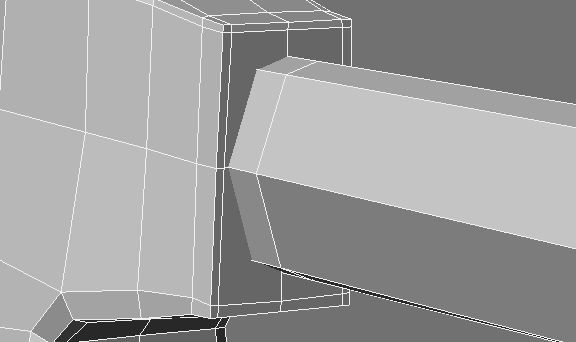
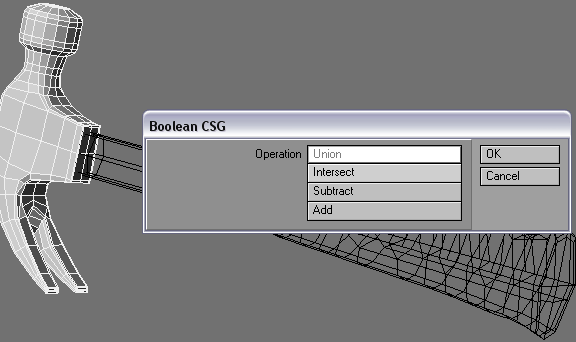
Boolean Union.
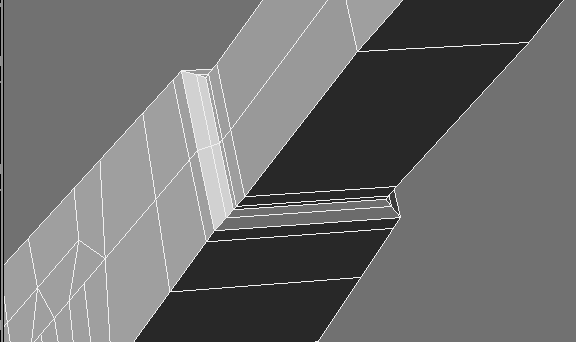
Merge points.
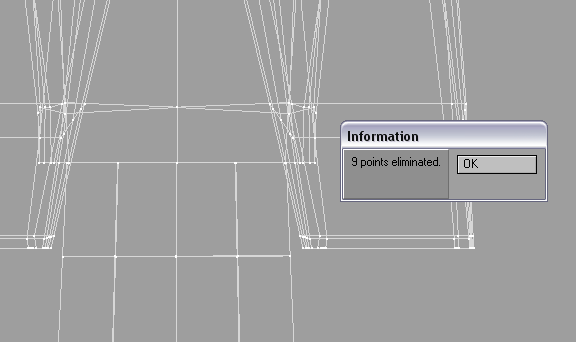
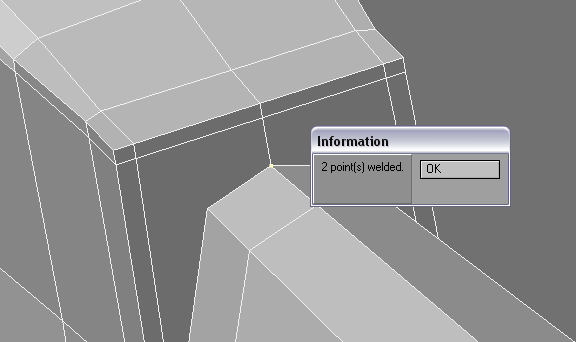
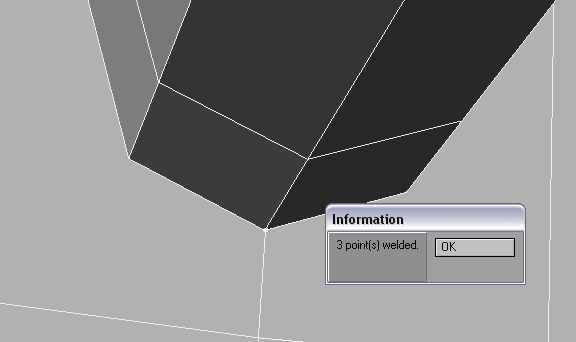
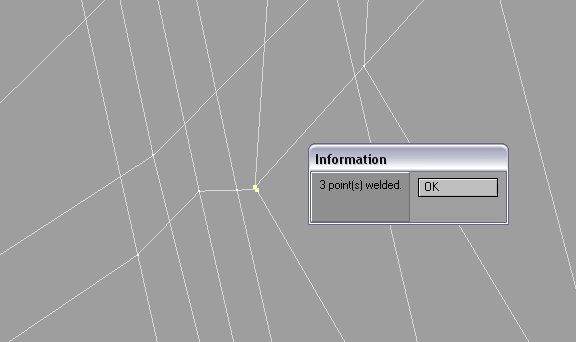
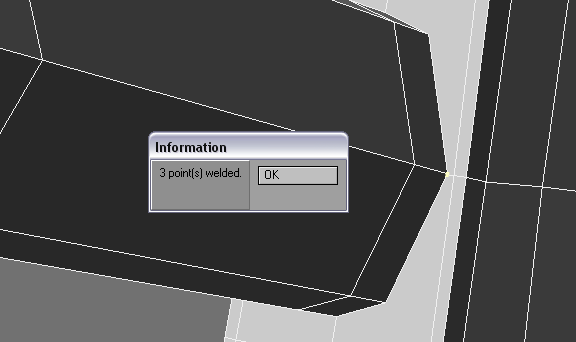
And weld all four intersections.
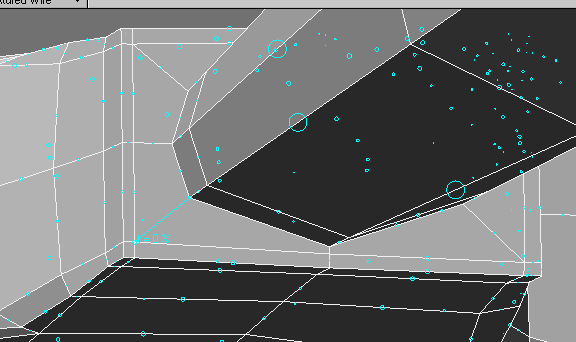
Sometimes you need to switch to wireframe mode to select points.
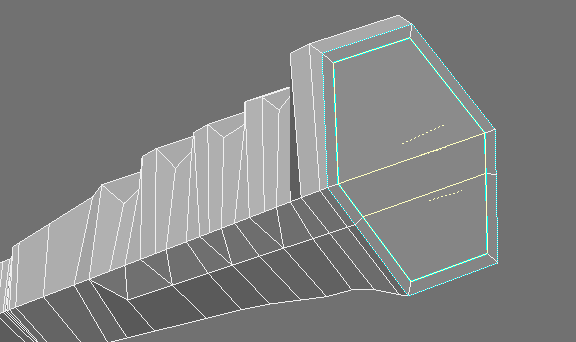
Add Edges tool to connect all four corners.
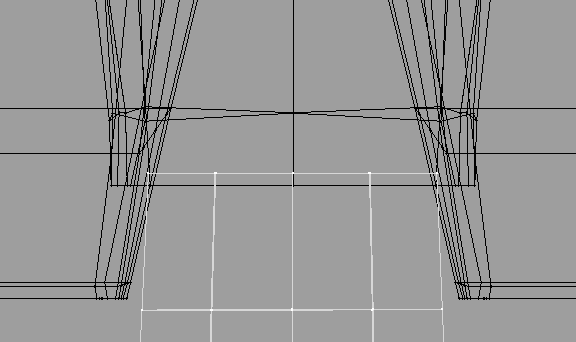
Then create an edge loop.
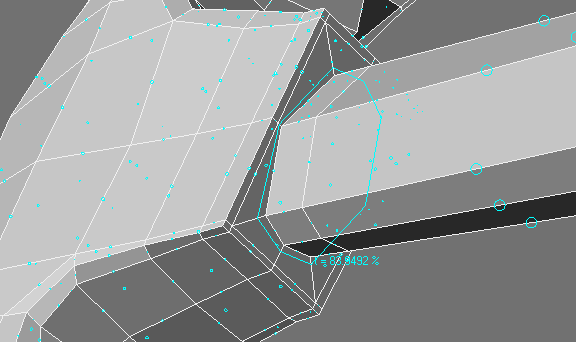
Use BandawPro to split the edgeloop.
Switch to point select and add one more segment with ExtenderPlus. Size and move to create an impression.
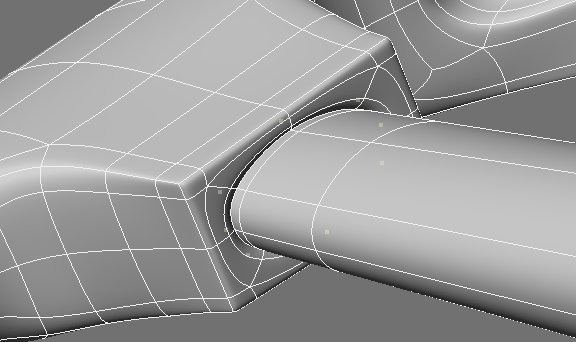
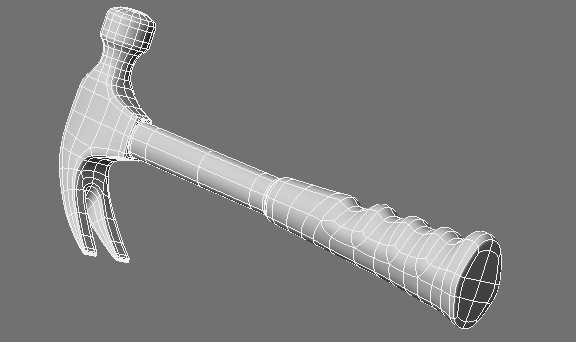
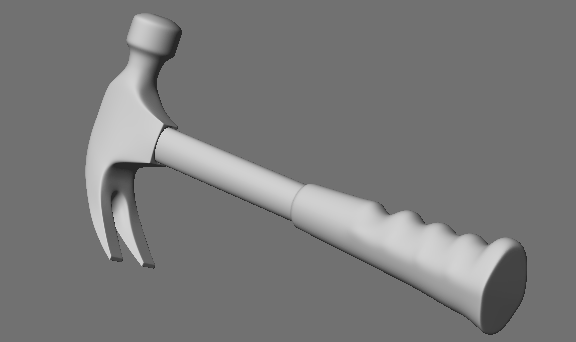
The result so far.

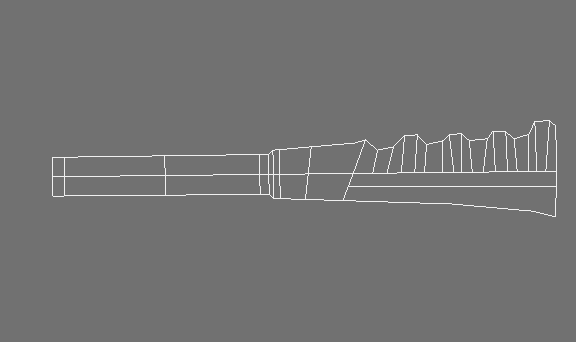
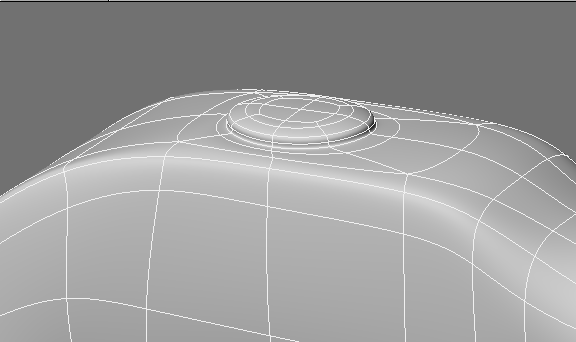
Detailing the Top
Hammers traditionally have a hole in the top where the handle pokes through slightly. Old wood hammers often use a wedge here to keep it tight. You could also just buy a new handle and replace a broken one if need be. We won't create the wedge but we want to show the handle coming though. If could either be an indent and the handle would be beneath the surface or in this case coming out the top slightly.
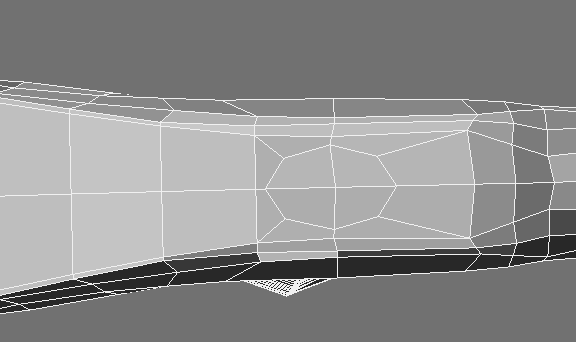
We will stencil an oval shape.
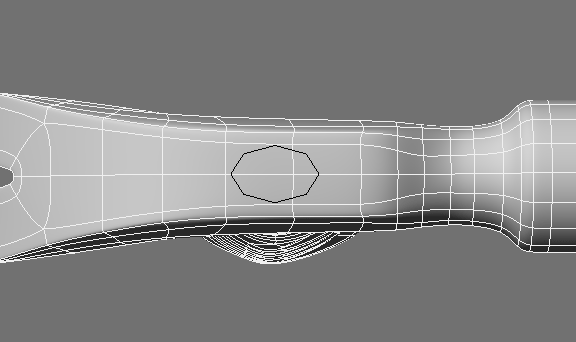
But we want these points to line up. So select them and use the rotate tool with Mouse as Action Center (Shift F5) to put them near where we want them. Put the mouse near the lower point and rotate in a side view.
Should line up like this.
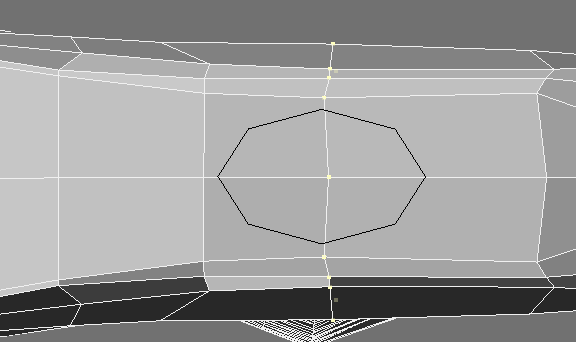
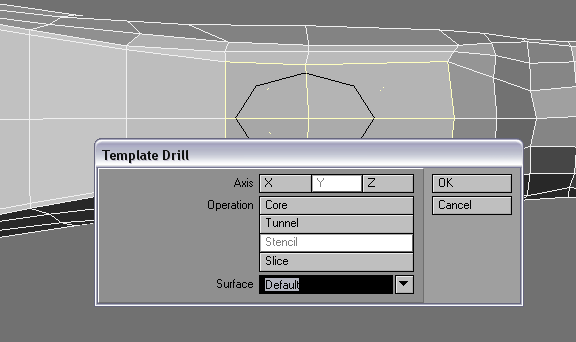
Select polys and stencil.
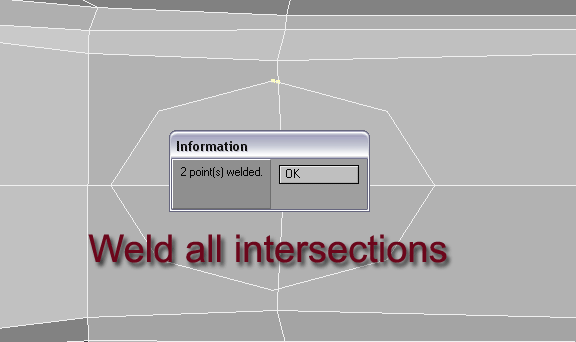
And as before weld all four intersections.
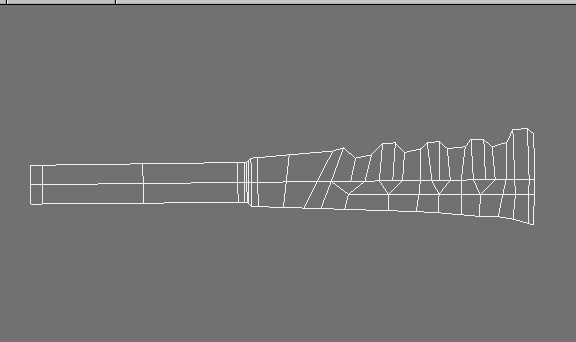
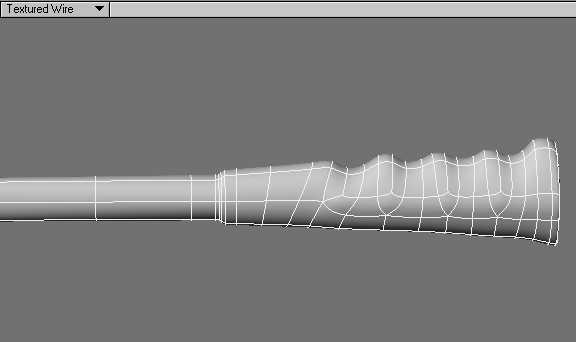
Then create this geometry.
Multishift for an edge loop on the inside.
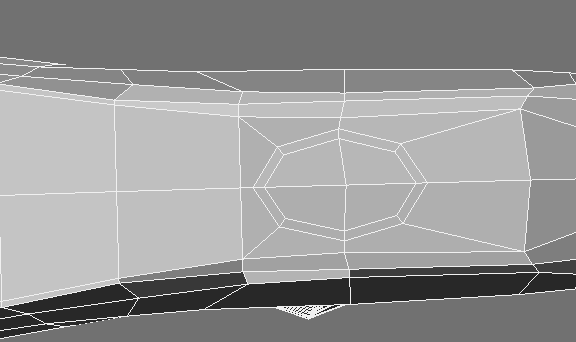
And Add Edges for one on the outside.
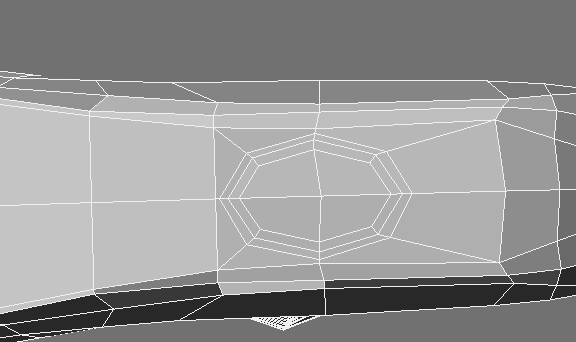
Subpatch and select the polys that include the perfect oval - the Editable Edge.
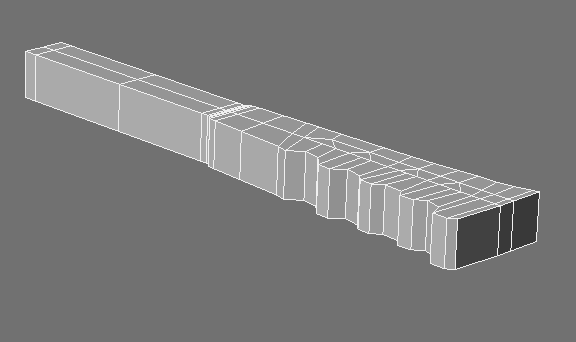
Use ExtenderPlus along with Size and Move or just use Multishift to raise it above the surface.
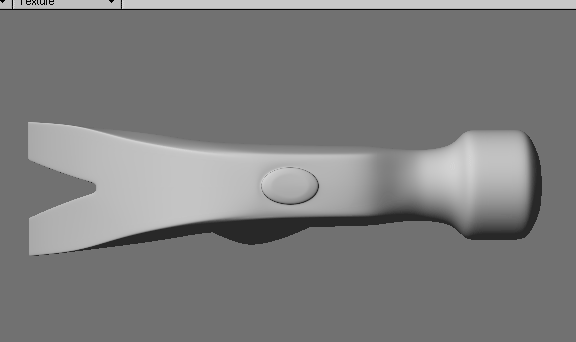
The result so far.
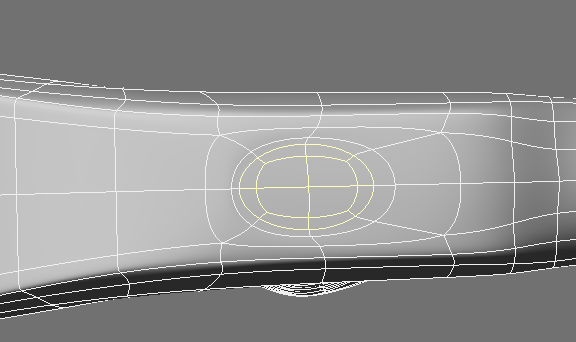
One last detail. Select these points and Taper to bring closer to the handle.

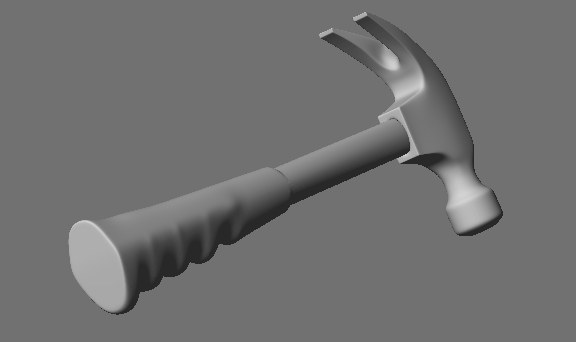
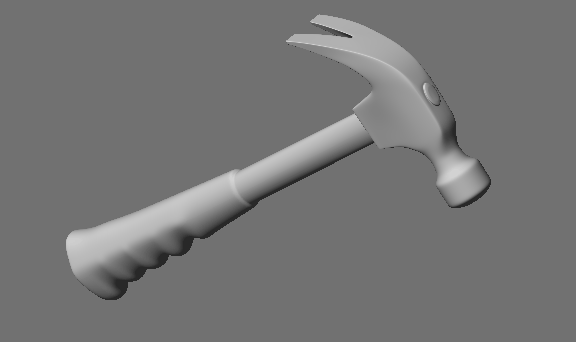
And the result.
Conclusion
What we have learned so far.
- Subpatching is a process of connecting areas of detail (usually edgeloops) to greater areas of the model (usually a grid mesh) with the use of poly flow.
- Poly flow can be hard (cross hatch) or soft (edge loop) and therefore can flow smoothly from hard edges to curves.
- There is movement of vertices in subpatch and that movement is controlled with poly flow - hard or soft.
- We can use the creation of primitive shapes as starting points or as a general reference for the construction of similar shapes.
- Complex shapes are created essentially by designing the poly flow that allows a smooth transition from one form to the next.
- There are many ways to combine form but essentially break down to the creation of the original shape and:
- Modifying or adding to that shape.
- Connecting it to another original or modified shape.
- or any combination of the two.
- Original shapes can be primitives or shapes such as multi-sided polygons we create by hand.
- Many tools such as Boolean can be used to join shapes or as precise starting points (stencil) for poly flow of detail on an original shape.
- It is possible to create any form with a simply-plotted poly flow and this often means doing so by hand to get exactly what we want.