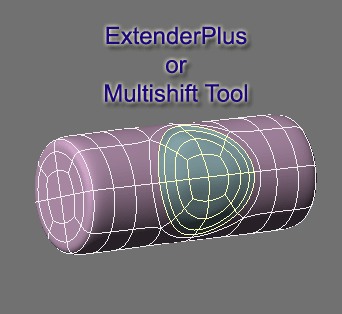
Subpatch Modeling - Five
Working On A Curved Surface
Additional tools needed:
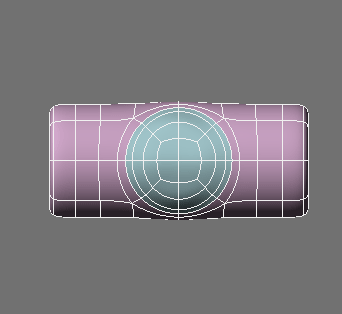
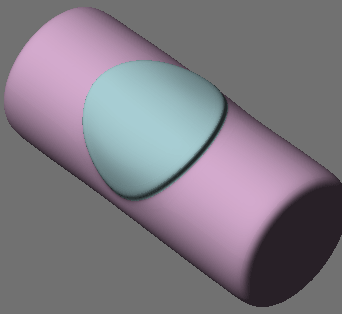
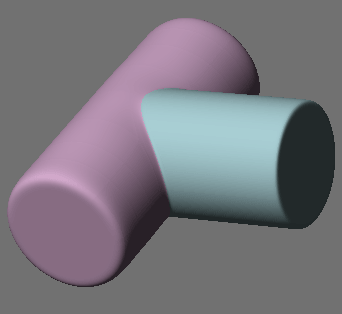
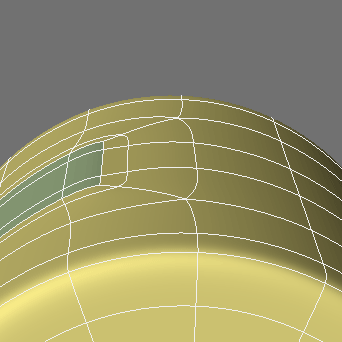
Now let's do a simple example on a curved surface. The goal here is to have a perfectly round raised area of detail on the curved surface of a cylinder.
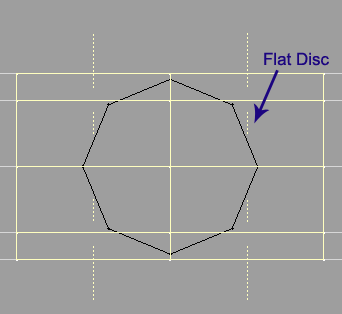
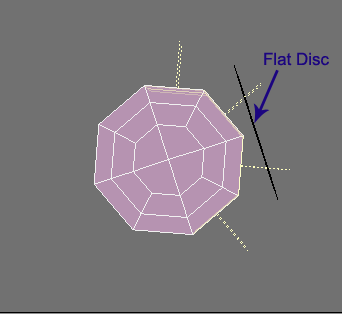
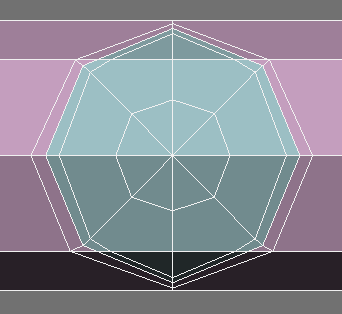
We will start with a cylinder and a disc. For this example the disc is intentionally just smaller to show the challenge of connecting a shape with points that do not line up with the edges of the disc side. And the idea here is to conform to the curve of the disc with our new geometry.
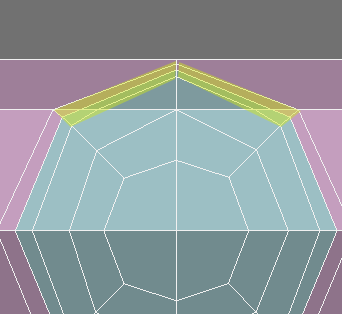
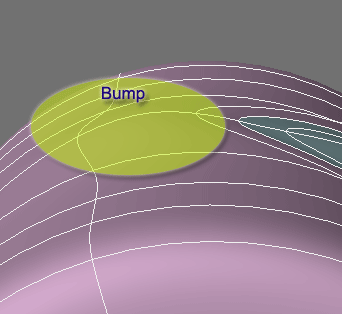
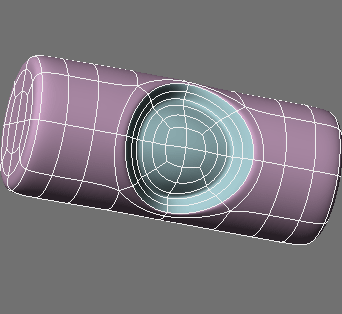
Line the disc up so the center edges overlap perfectly. Make sure and select the polys on one half of the cylinder.
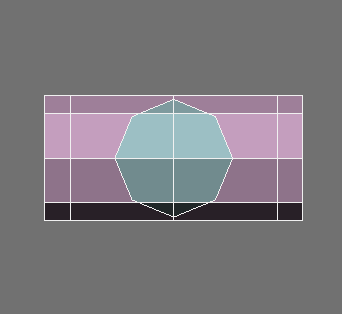
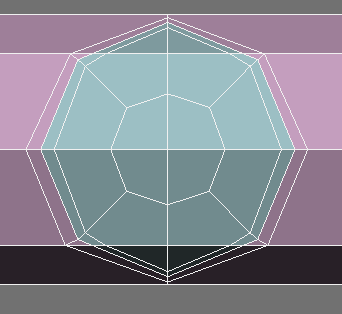
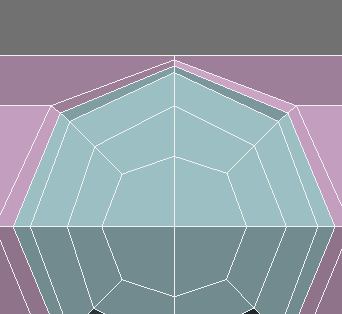
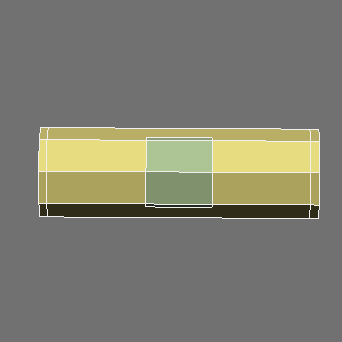
After we stencil:
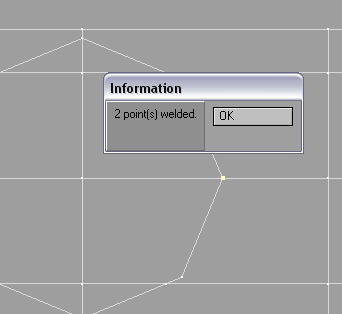
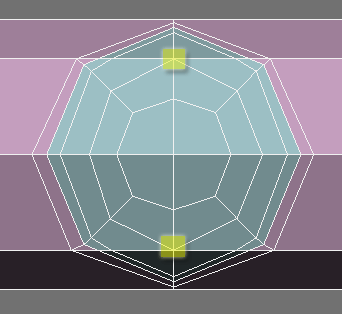
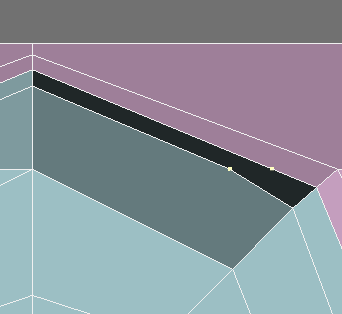
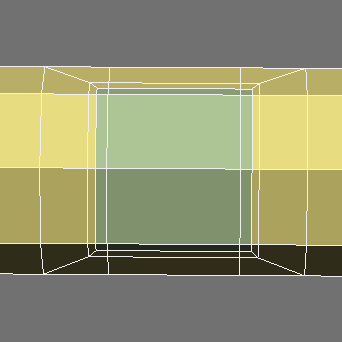
Always check merge points.

And then check for duplicate points in wireframe mode and then weld them.
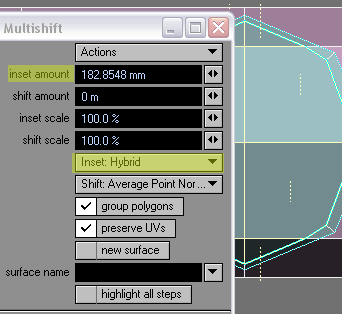
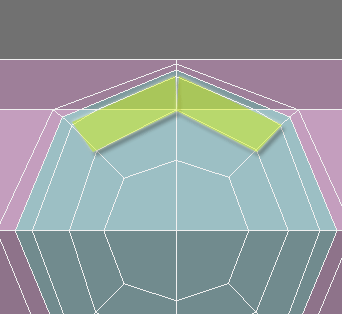
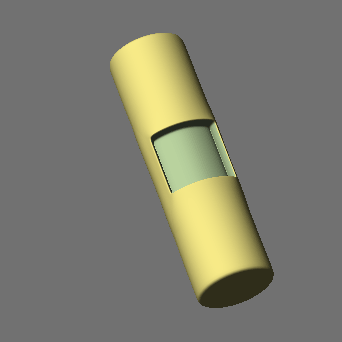
Next we will create the first edge loop with Multishift. Use these settings to keep the geometry conforming along the curved surface.
With the Add Edges tool create a buffer edge along the outside.
As well as these these edges.
Then merge polys to get this.
And Add Edges. Note we are conforming to the curved surface with this connection.
And now we are going to merge these polys.
As well as these.
Don't forget to delete the unneeded points from the edges after you merge polys.
BandsawPro to add an edge that will help restrict movement.
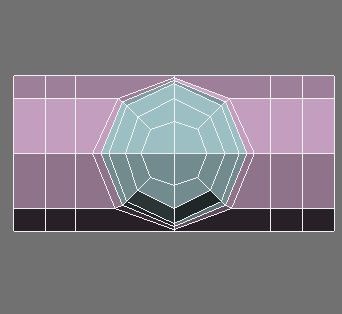
Add Edges to spit Ngon (bring all the way around to other side).
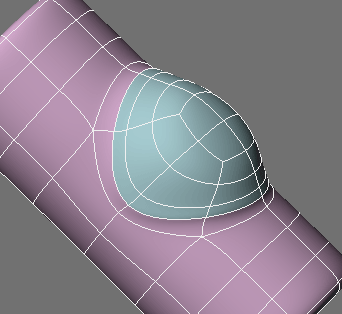
Subpatch.
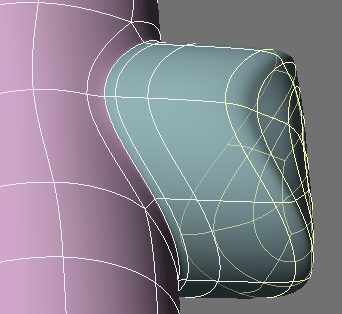
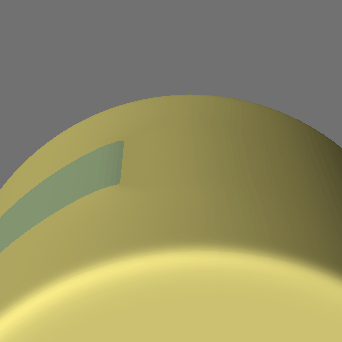
And now we have bumps on outside we can easily smooth out carefully with the drag tool.

Using the ExtenderPlus tool we can raise the circle slightly to give it relief.
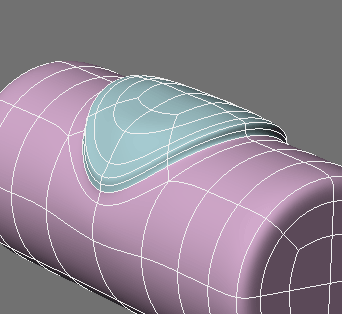
And more bumps on the circle.

Note that we can smooth these out easily because we have mostly 4 poly points to work with.
Alternate edits:
Now back to the original geometry and using the DragNet tool.
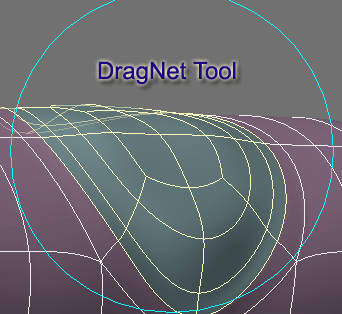
We can do this.
Or using the MultiShift or ExtenderPlus tool.
Then we can do this.

Or this.
Flatten tool.


And extend further.
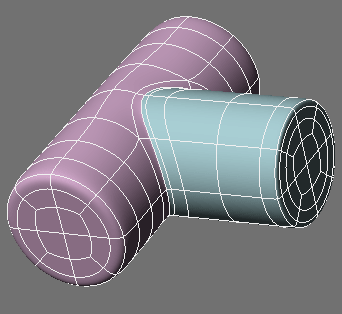
For he last example, we could have simply used the Boolean union function on two cylinders and then edited the outside geometry.
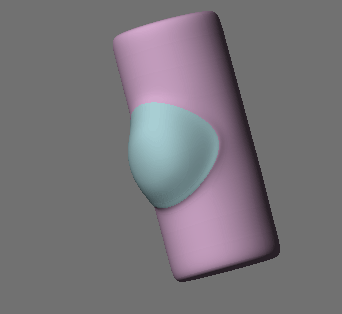
This shows that we can easily create a very predictable perfect circle on a curved surface.
We can do the same with other shapes as well.
Other Shapes
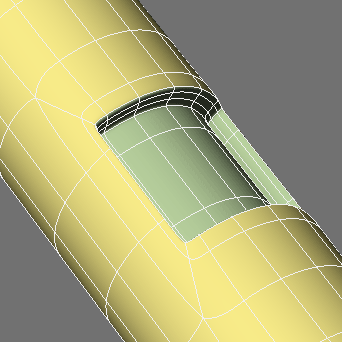
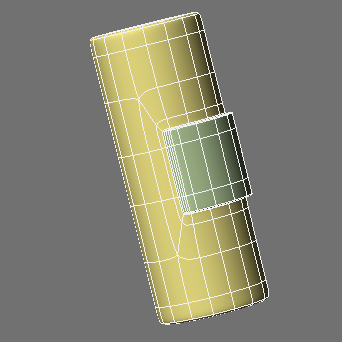
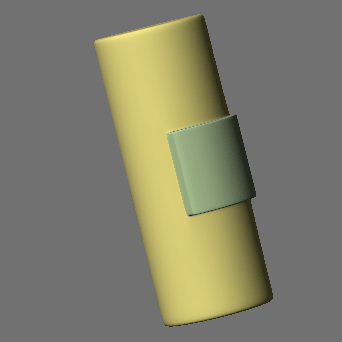
Such as this square in a tube, created with many of the techniques we have learned so far.

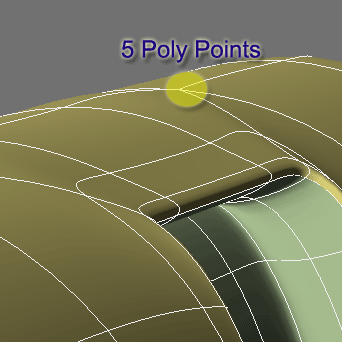
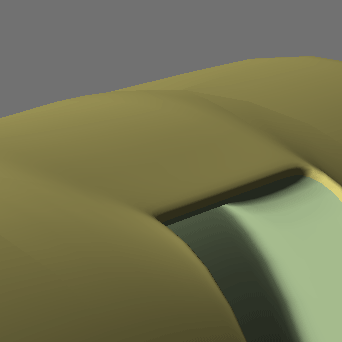
Now a problem occurs with this one.
This is because we need more geometry to hold the shape. We are getting too much bumping with this little geometry because the 5 poly points are creating too much draw on the surrounding points. Remember about motion and weak joints. This is harsh on the curved surface.
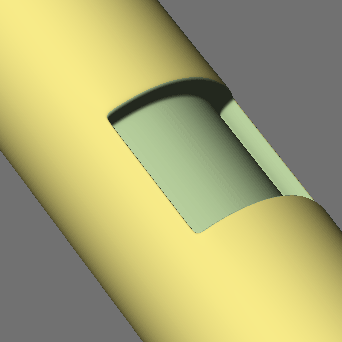
So by simply starting with a cylinder with 16 sides and creating similar geometry...
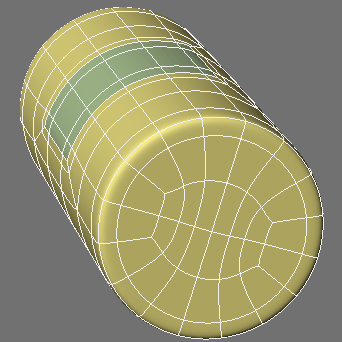
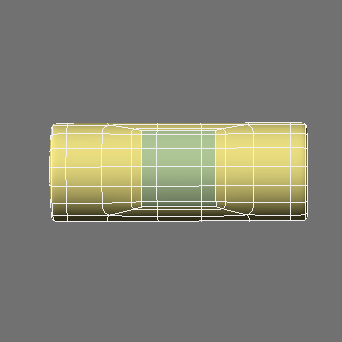
we have pretty much eliminated the bumps.
And we have much better results overall on the smoothness of the shape.
An alternate edit.
So to get a smooth surface on a curve and also have 5 poly points - unavoidable to create any kind of complex detail - we simply need more geometry.
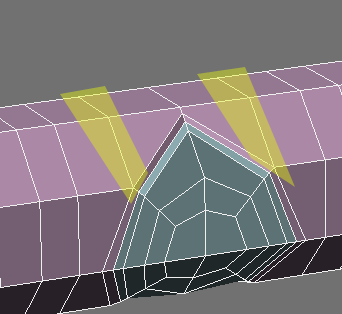
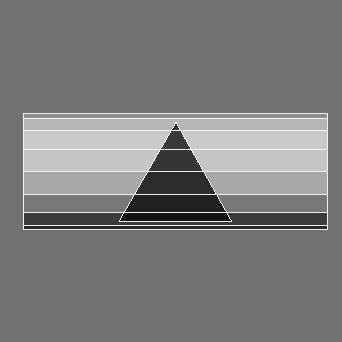
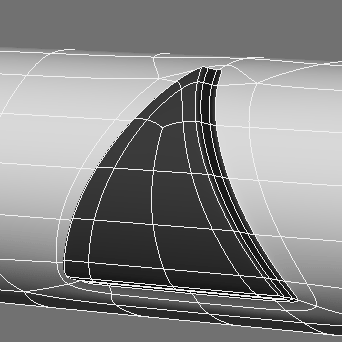
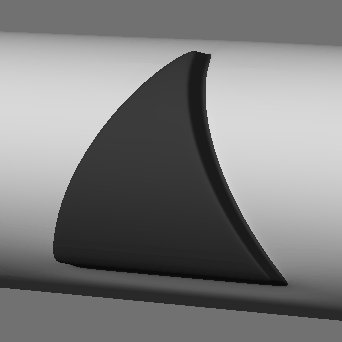
A triangle
The geometry on this takes a little special treatment.
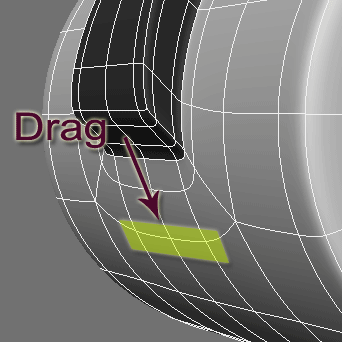
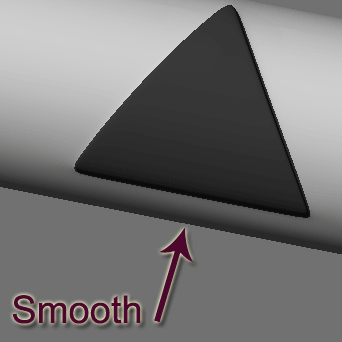
Take a look at this sequence.
NOTE: Remember the letters A and B? In order to have tighter inside edges on the square and triangle we would simply have add more segments to the corners which in turn would mean more geometry all around.
And an alternate edit.
As before you will likely find some places that need smoothing. Carefully drag with the Drag tool on the 4 point polys to smooth out.
So you get the idea. Controlling your mesh with all of the things we have learned so far.