Skelegons - More
This group contain tools that are no longer so required, but could still prove useful in the right circumstances.
Skelegon Weight
Set Skelegon Weight command (Setup > Skelegons > More > Skelegon Weight) will set up the Skelegons association to map names. You still need to create and edit the weighting values as you would normally. The associated map names are automatically assigned to the bones and will appear as the Bone Weight Map setting on the Bones Panel. You can use the dropdown menu to choose an existing weight name.

The Skelegon Tree Panel will list map assignments.
Convert Skelegons
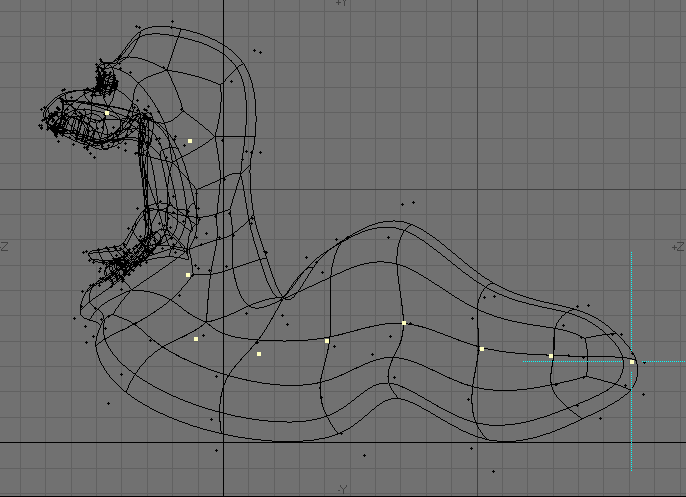
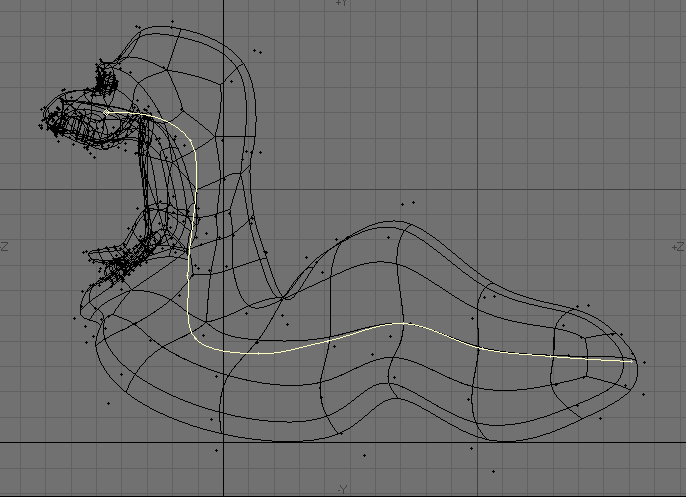
One way to create Skelegons is to create curves first. You can then convert the curves into Skelegons, which will be placed between the curve knots (points). With Convert Skelegons, (Setup > Skelegons > More > Convert Skelegons) you can even use points from the object to create the curves.
To use Convert Skelegons:
- In an open Modeler layer, create points that will correspond to the bases and tips of the bones you want to eventually create. (You’ll probably want the object to be boned in the background for reference.)
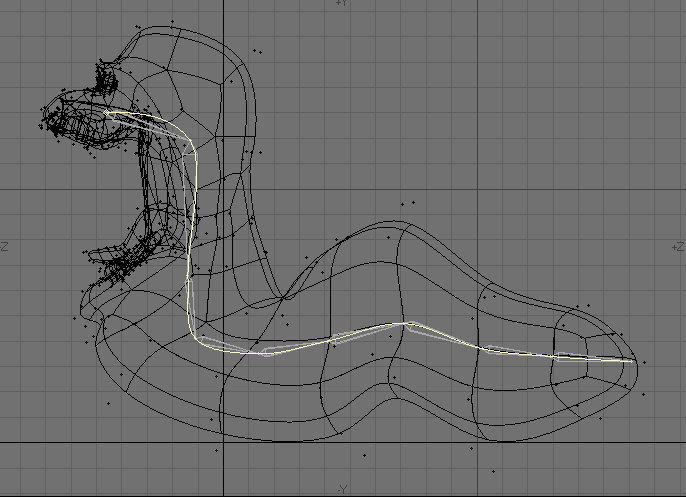
- Select points, working from the (theoretical) base of the first child bone to the tip of the last bone in the chain. Then choose Create > Make Curve > Make Open Curve to create an open-ended curve with your points.
- Repeat the previous step for all chains, if you have more than one. You can use the same point in multiple chains.
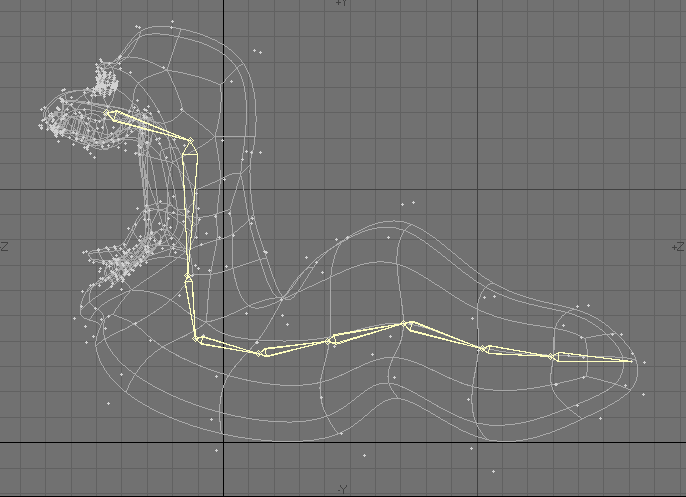
- Choose Setup > Skelegons > More > Convert Skelegons to create the skelegon from the curves. You can edit the base/tip of the bones using standard modeling tools. The Skelegon bones will stay attached to each other.
If you desire, you can select and delete the curve afterward. - If you want, you can optionally cut and paste the Skelegons into the layer with the normal object geometry.
Mocap Skelegons
LightWave provides a couple of plugins to support the BioVision (BVH) motion capture file format. The MoCap_BVH_Setup generic Layout plugin reads a BioVision BVH file, creates bones, and applies the motion capture data to them.
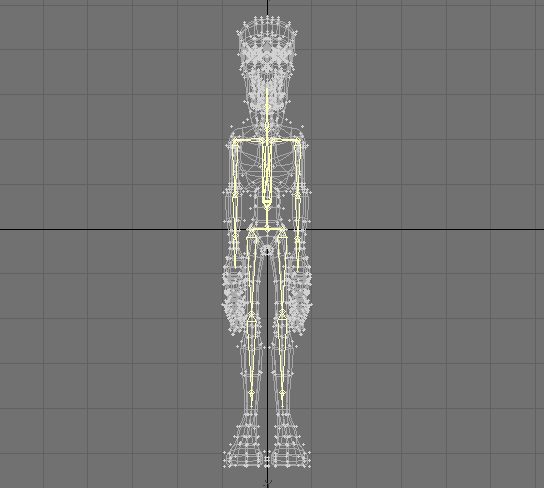
MoCap Skelegons (Setup > Skelegons > More > Mocap Skelegons) is a Modeler plugin that creates Skelegons in Modeler that match the initial rest position of the Biovision BVH data.
Use it to determine the correct scale, position, etc. for your object mesh. This object can then be used with the bones created using the MoCap_BVH_Setup generic plugin in Layout.
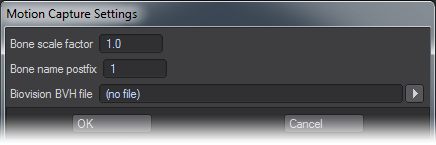
- Bone Scale Factor - This option gives you control over the overall size of the Skelegons that will be created.
- Bone Name Postfix - This option will put a number after each Bone name in Layout for scenes with multiple characters. This is a setting that only functions in Layout so there is no need to change it in Modeler.
- Biovision BVH File - This field is where you will load the BVH Mocap file that will be read to create the Skelegons.
Steps to use Mocap Skelegons:
- Click MoCap Skelegons (Setup > Skelegons > Mocap Skelegons).
- Click OK.
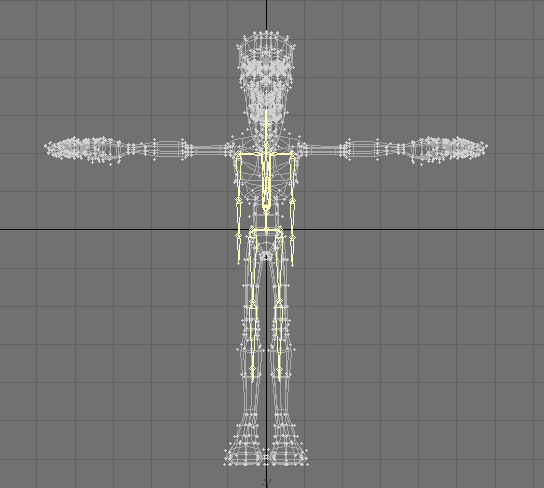
- Manipulate your model to match the Skelegons.
Your model is now ready to load into Layout!
Some models will need Weight Maps applied to assign geometry to each specific bone, and prevent distortion when using motion capture for animation.