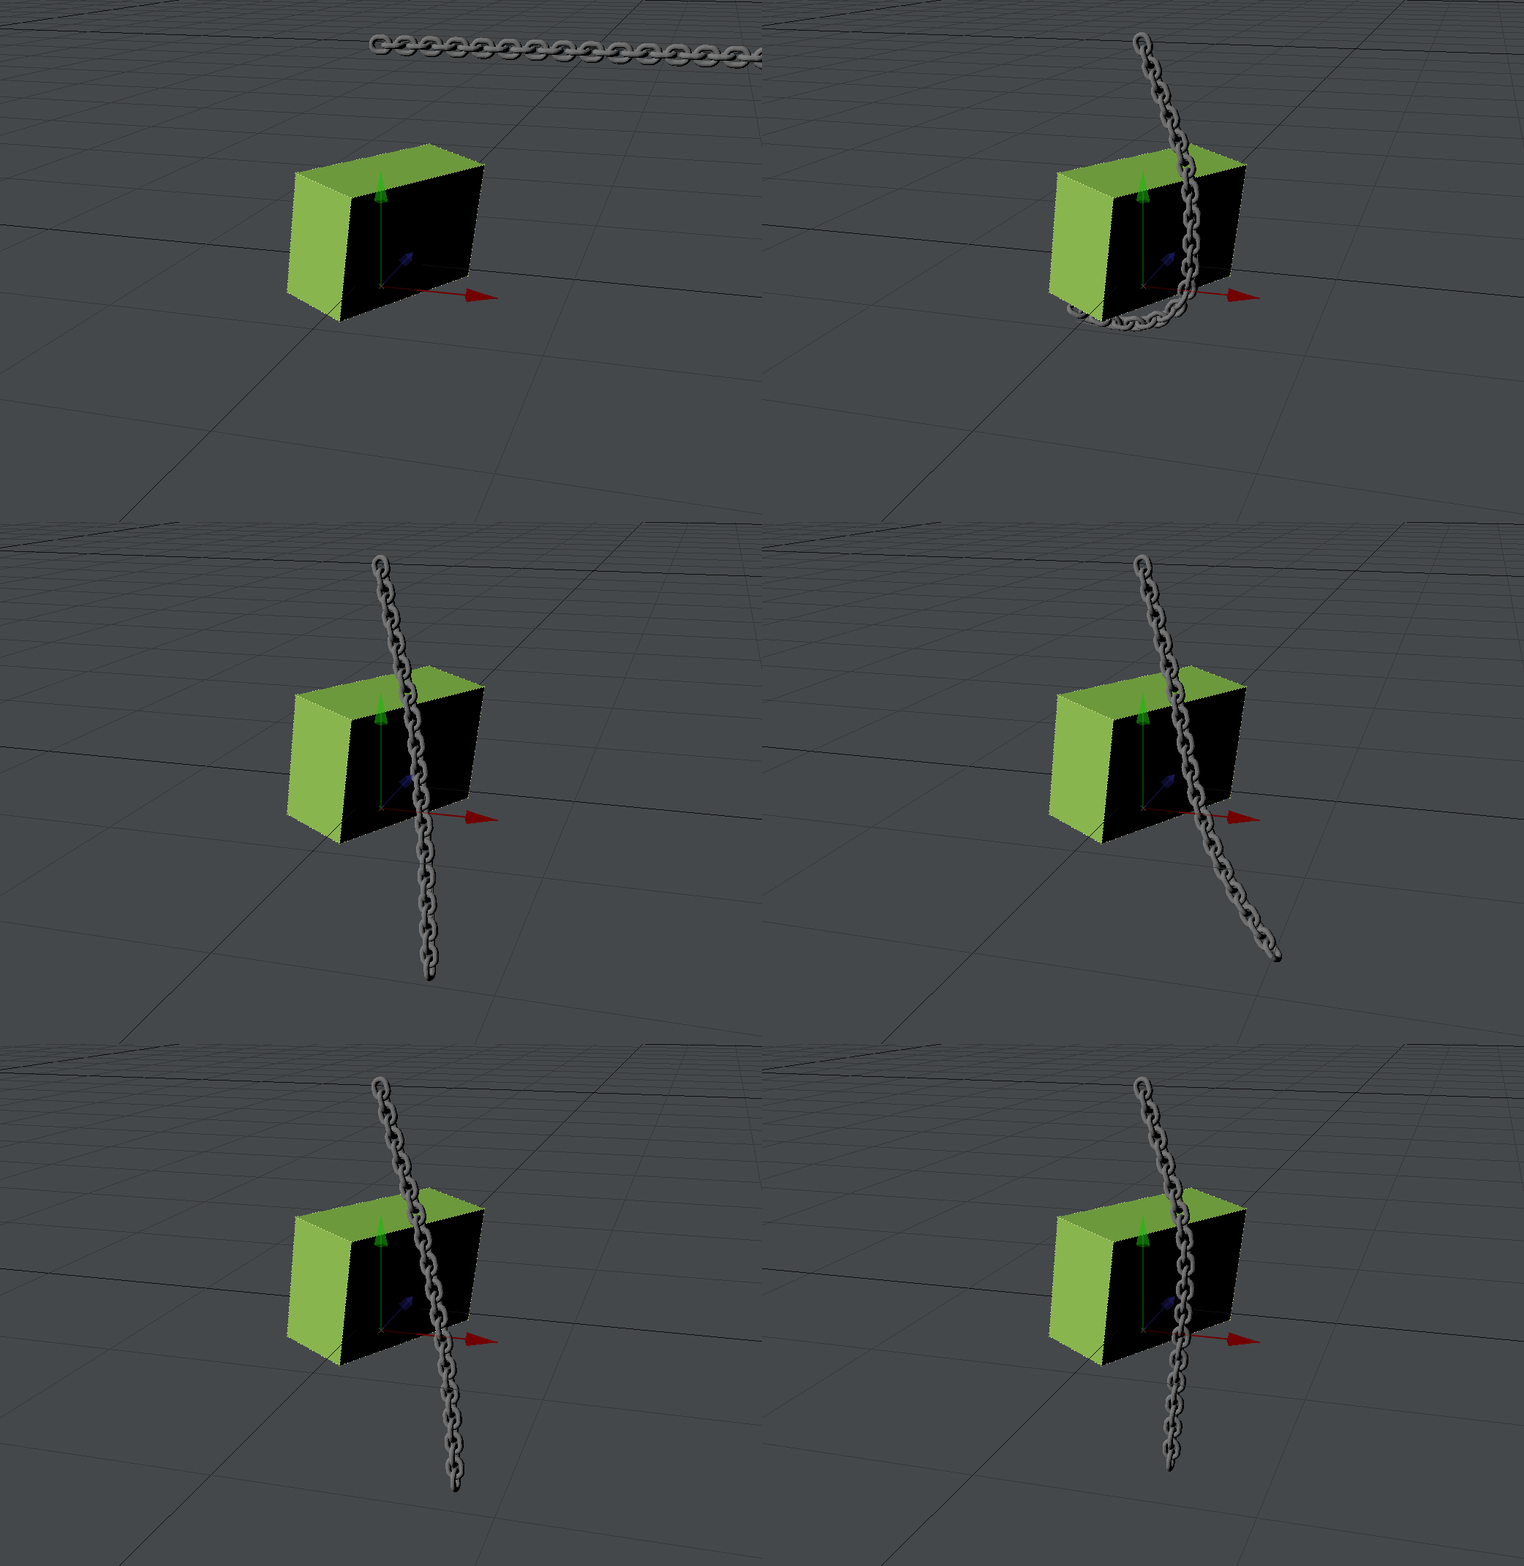
Example - Animating a chain with Bullet
Introduction
Creating a convincing animation of cables or chains moving used to be quite a struggle, needing to use ClothFX and creating Metalink animations to convey the dynamic animation onto the full-resolution version of the mesh you want to animate. Bullet can easily perform the same function, and we'll show you here. Hero chain refers to the full-resolution polygonal object. 2pt chain refers to the 2-point poly object used for the dynamic animation.
Creating the Hero chain object
Begin with the Toroid tool and pull out a ring in the Top view. Select half the polygons and move them to stretch the toroid into more of a chain link shape.


Use Ctrl-C to copy the link, and immediately hit Ctrl-V to paste it down. It will be on top of the original link, but in the Right viewport hit R to make the new link perpendicular to the first, then T to move it to create the second link, trying to get the two interlocking polygons close but not touching. Now, deselect all polygons, hit Ctrl-C and Ctrl-V to copy and paste the link pair and then Move the new pair along the chain, ensuring the polygons don't interconnect. Deselect, and use Ctrl-C and Ctrl-V again, Move, and now you have eight links in your chain. Repeat as desired.
Creating the 2pt chain object
Start a new object and put the Hero chain in the background. Use the Box tool (Shift-X) to draw out a rectangle in the back view that encompasses the Hero chain in the background layer.

Hit the right arrow key to get as many segments as you have links in your chain. Once you have the same number, make the box. In Point mode, select all the points along the top edge of the box you have made and delete them. You now have a 2-point poly chain that will be the proxy for our Hero chain object in Bullet.

Select all the points in the chain and make a new Weight Map. Accept the defaults and deselect all the points. Select the point in your 2pt chain that is nearest the Origin and use Set Map Value in the Map tab to set this one point to 0 %


Save and send both objects to Layout.
Bullet
Open the Bullet Item Properties window and add the 2pt chain object. Set it to Deforming, and set the Mesh Filter to the Weight Map you created. If you hit Play now, you should see your 2pt chain object swing.

To attach this movement to your Hero chain object, select Hero chain, and open its Properties window (P). In the Modifiers section, make sure Nodal Displacement is checked then double click to open its node editor.

In the Displacement section, choose Metalink. Add it, then double-click the node to open it and set the Link To to your 2ptchain object. Drag the output node to the Displacement Destination Input.

If you press play now, your Hero chain object should be swinging in the breeze.
For Bonus Points...
You can set the Collision Margin for the 2pt-chain higher so that it's like the hero chain object, or
you can create a proxy object for the collision. Using the VDB tools may be ideal for this. Add a blocking object so that the 2pt-chain can collide with it. Make it static in Bullet, and hit play again. Now, the chain should hit the blocking object and react accordingly. If you notice interpenetration, you have two choices - make the collision margin higher, or change the proxy collision object, and one or other may be more appropriate depending on circumstances.
