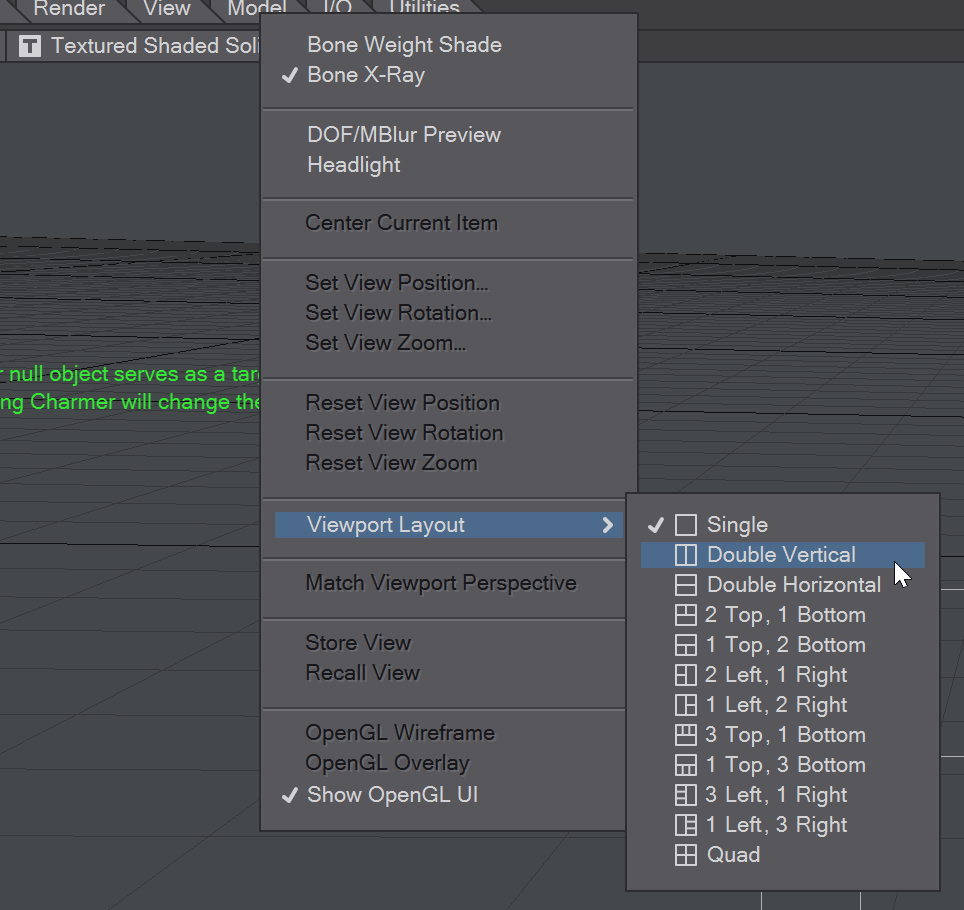
Viewport Options

The items on the Viewport Options menu are as follows. Not all are available at the same time.
Bone Weight Shade - shows the selected bone’s influence range in any shaded viewport. The influence coloring is based on each bone’s color, which can be changed in the Scene Editor. A bright yellow is used for the currently selected bone. Note that the bone must be active to see this effect. This mode will override the normal texture display.
Bone X-Ray - By default Bone X-Ray is on to show bones inside geometry. Note that bones may still be invisible if the object surface is similarly colored/shaded. Change the bone colors using the Scene Editor, if this becomes a problem. If you wish to switch off Bone X-Ray you can uncheck the item in the Viewport Options menu.
DOF/MBlur Preview - Only available in Camera view mode. Gives a preview of scene motion blur and Depth of Field. The number of passes can be set at the bottom of Display Options.
Headlight - Provides an OpenGL-only, nondirectional light to illuminate dark scenes for easier work.
Center Current Item - For an object, the centering is based on its pivot point. This is not always the center of an object. If you deactivate this mode, either through the menu or the viewport icon, the existing POV position will remain until changed. As such, you can use this feature to establish a starting point if the need arises.
Set View Position, Rotation, Zoom... - Opens a requester for setting the viewport numerically.
Reset View Position, Rotation, Zoom - Resets to the default values when opening Layout.
Viewport Layout - Opens a sub-menu containing the 12 different view types. If a type with multiple viewports is chosen, each individual viewport will contain a viewport options menu. Choosing a different layout changes all the Layout viewports, not just the one in which you are choosing a new viewport layout. The layouts can also be chosen from the Options panel or by stepping through them with F3 and F4.
Match Viewport Perspective - Only works in Camera or Light mode. Opens a sub-menu with four options:
Selected Camera
New Camera
Selected Light
New Light
Store View - Stores the current Layout viewport orientation. Only one viewport can be stored if in a multi-viewport display. Stores the view in the scene file so the view will be available after a reload of the scene
Recall View - Retrieves the stored viewport orientation. This only works with the same viewport that was stored
OpenGL Wireframe - This and the OpenGL Overlay item below are only available when VPR is engaged. OpenGL Wireframe presents a wireframe over the rendered object.
OpenGL Overlay - This and the OpenGL Wireframe item below are only available when VPR is engaged. OpenGL Overlay presents a wireframe view of your scene elements, like lights, the grid and transform widgets, laid over the rendered view.
Show OpenGL UI - Shows or hides non-renderable interface elements.

When the viewport is showing VPR, two additional options become available:
Draft Mode - disabled by default, Draft mode applies a specific set of values
Mouse Refinement - On by default, this centers VPR refinement on the mouse position. This option can slow rendering slightly, if your scene is complex, try switching it off.