Example - Converting scenes to 2019
 This example scene is in the 2018 content - Studio Spyder.
Introduction
LightWave has undergone enormous changes since the previous version. The changes bring better quality to renders, but require attention to make sure your renders are a) as fast as possible and b) better quality than they were in previous versions. To do so can require some work and we'll lead you through an example scene from previous LightWave content - The Studio Spyder scene from LightWave 10, included with 2018's content.
Automatic Scene Conversion
When you load a scene from a previous version of LightWave into 2019, two things happen. The first thing visible to the user is that you are asked whether you want to create a safe copy of the original scene:

Answering Yes to this question will open a requester to choose a new location for the 2019 version of the scene, copy the old content there and then open from there, preserving the original scene where it was. Answering No will go ahead and load the scene with the following conversions:
Surfaces
Legacy Surfaces have the following changes made when loading into LightWave 2019:
- If the surface loads in with the Standard material, then Glossy Reflections on the Photoreal Integrator will be turned off so that the surface's Specular only produces a specular hit and doesn't include the "blurred reflections" that Glossy Reflections adds.
- Mipmapping on any Image Textures applied to the T channels of the Standard material will be turned off.
Lights
Light intensity adjustments are made based on the light type. Conversions from the old percentage scale to Lux are created according to the following rules:
- Area * 3.14
- Distant * 3.14
- Dome * 1.57
- Linear * 3.14
- NGon * 3.14
- Photometric no changes
- Point * 3.14
- Spherical * 6.28
- Spotlight * 3.14
- 3rd party lights * 3.14
Pi (either half, full, or double) is approximately the same light output as previous LightWave versions' 100%
Dome Conversion
Because Dome lights were replaced by Distant lights in LightWave 2018, dome light conversion adds a multiplier to the angle of the old dome light to account for the general shift from radius to diameter for lights. The number will be different to the value you had in 2015, but the appearance will be the same.
Photometric Conversion
Photometric lights are left untouched and since they needed extreme settings to be correct in previous versions they will probably need to be set to 100 % in LightWave 2019.
Light Falloff
To replicate light falloff from previous versions (where falloff distance could be set according to the user's whim, rather than physically accurately), a Light Falloff node is added to the light's Node Editor and the appropriate connection is made. The legacy light's "Range/Nominal Distance" value (and optional envelope) will be copied to the same setting on the added Light Falloff node.
Global Illumination
Settings are transferred from the original scene as best as they can be. Bear in mind that the Backdrop and Final Gather versions of Radiosity in previous versions no longer exist.
Don't save over your original scene or objects. If you do they will be unavailable to open in previous versions of LightWave if need be. LightWave 2018 will present you with an option to load a copy of a scene coming from a previous version of LightWave in order to preserve the original scene.
Converting Studio Spyder to 2019
Comparing to 2015
The Studio Spyder red scene is purely lit by luminous panels in front of the area lights that are turned off. The reason they are there is because lights were not visible to the camera before. They can be now so we no longer need the luminous planes - this will give us a more controllable solution and we can even do without radiosity.
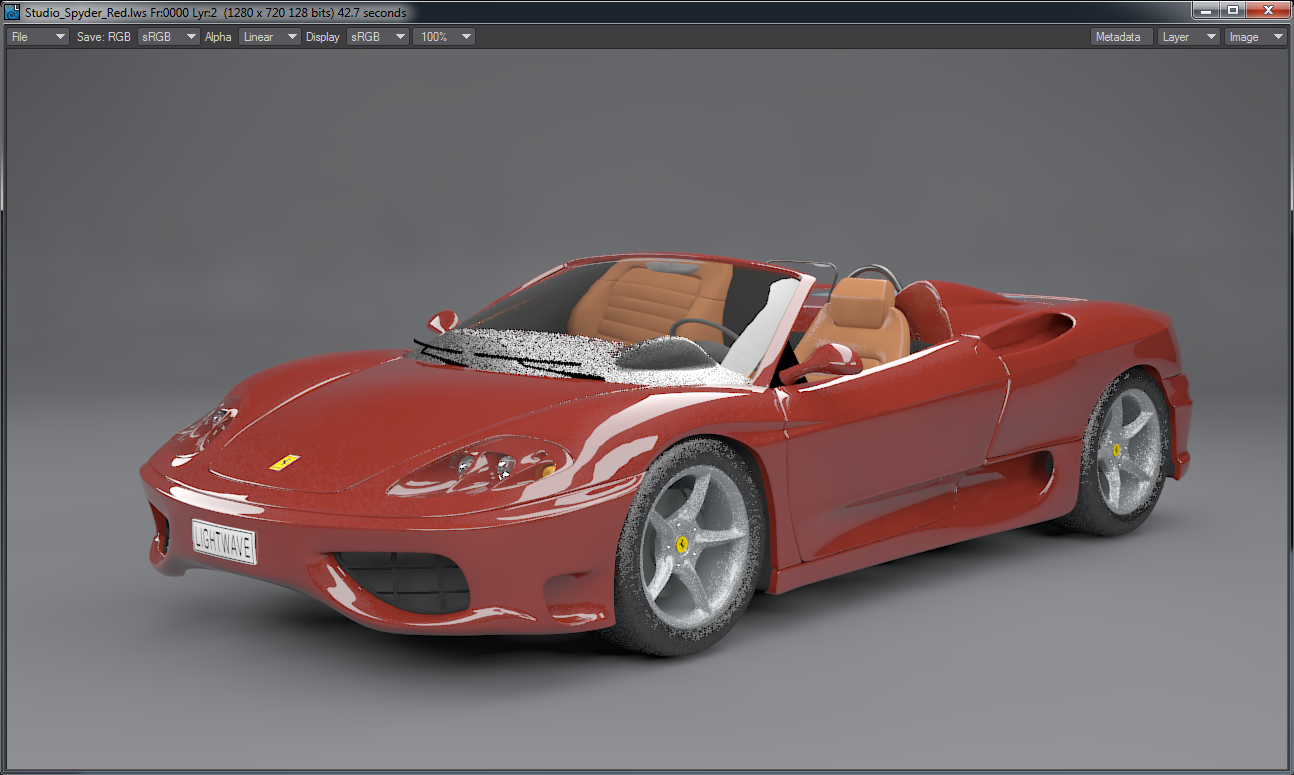
To match 2015's baseline we render the scene in that version with the camera at 100 % for a rendertime of 42.7s. Note the ridiculously refractive windscreen, noise and poor texturing. We wouldn't use this scene as is in 2015.
Steps Taken
In order to convert the Spyder scene into something beautiful in 2018, we took the following steps:
1. Loading the scene
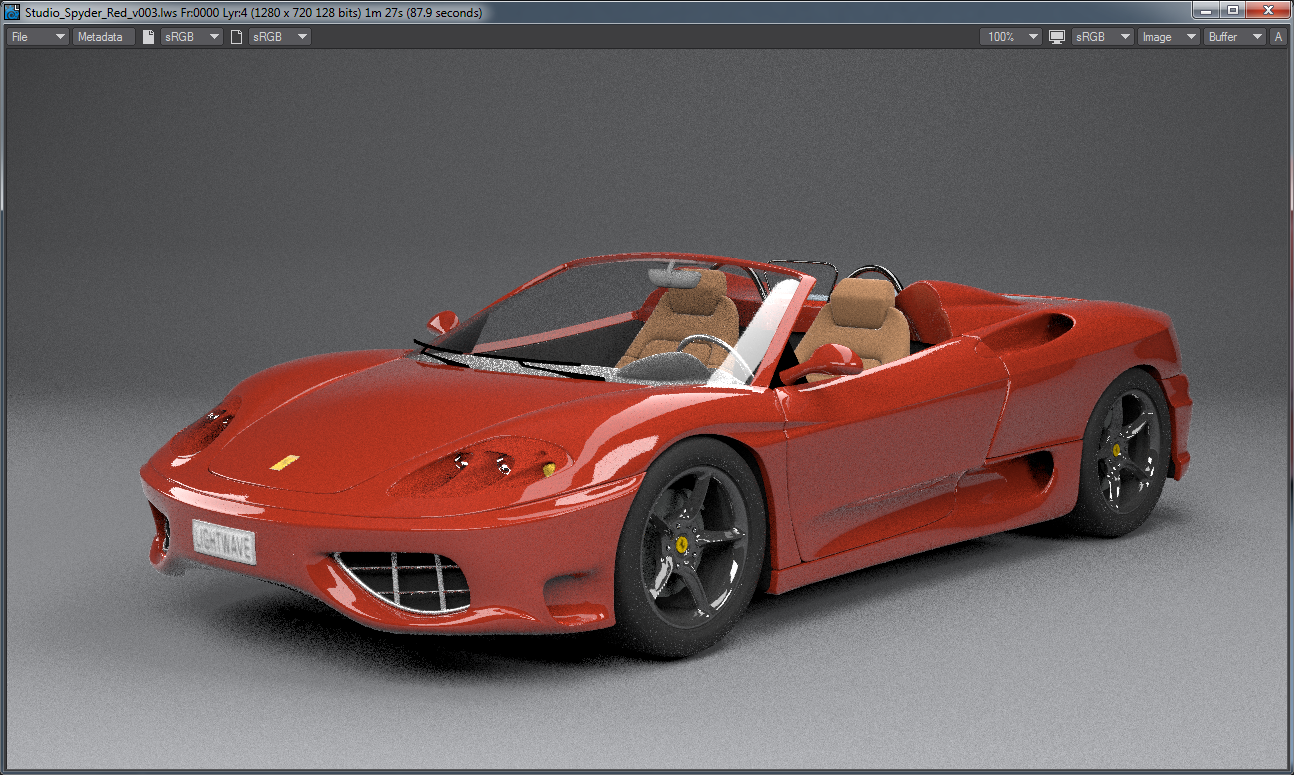
The first thing you see when loading old assets is a warning about conversion. While there is conversion of surfacing, lighting and so on as detailed above, it's still up to the user to make the best of a scene. Right from the get go with this specific scene we can see several things that need changing (we'll start with making sure the camera is set to 1280 x 720 at 100 %).
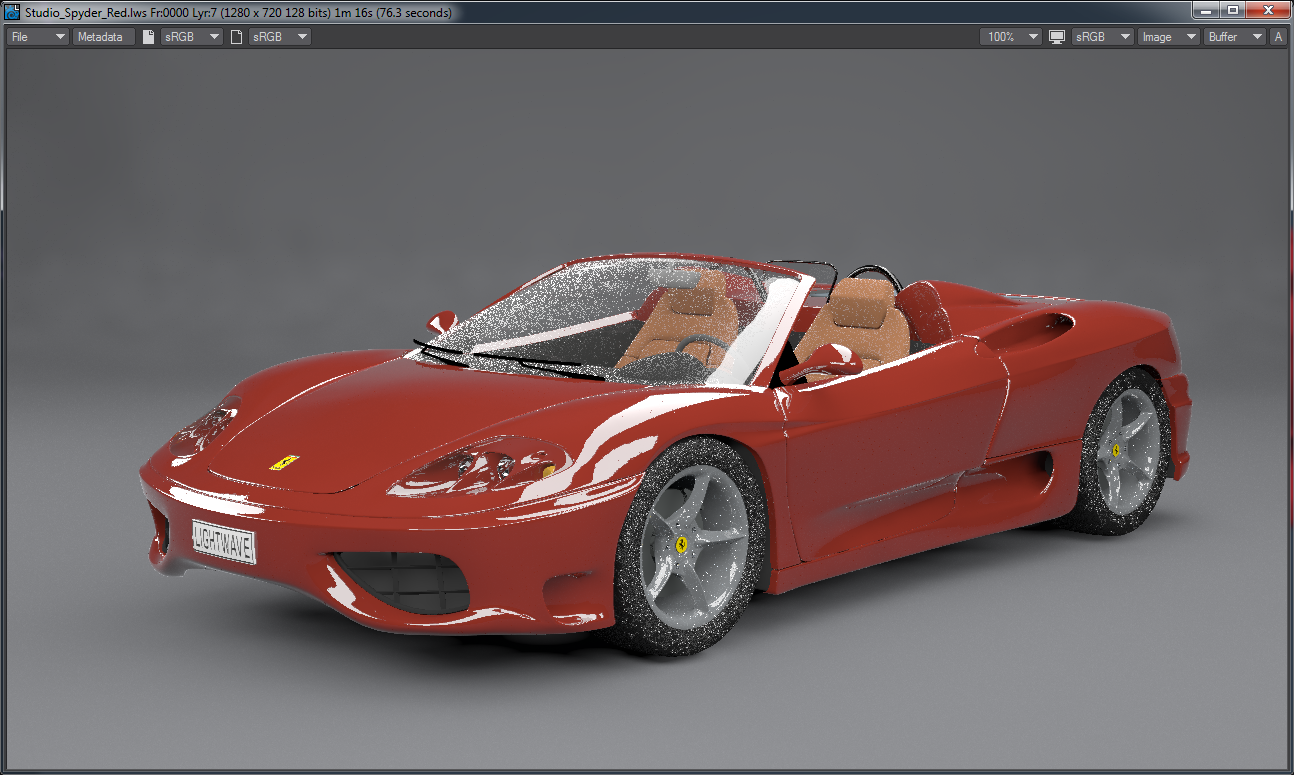
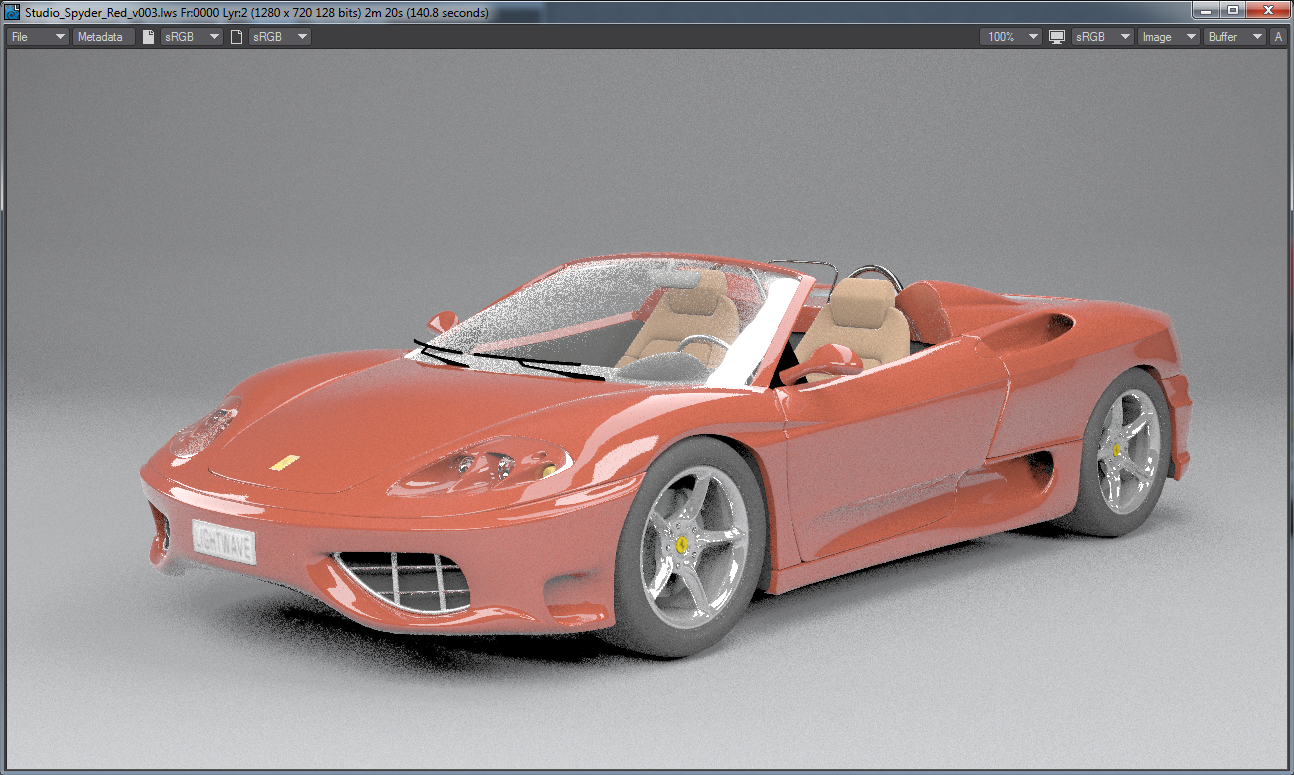
The anti-aliasing didn't look good in 2015 and looks worse here, but the bigger problem is with the noise in the textures for the windshield, wheels and rims. The seats also look bad. The render time is also a lot slower. Let's roll up our sleeves and get to work fixing.
2. First Steps
Check the scene's settings. For Color Space, the scene was set to an odd mixture of settings (LightWave 10 was where we first introduced Color Space and things have moved on since), so update to the sRGB quick preset. Next, have a look at the scene's four lights. They are set at 4.71lx, which would seem a good start but changing the values makes no difference to VPR. Looking in the Scene Editor, we can see that they have been turned off from rendering.

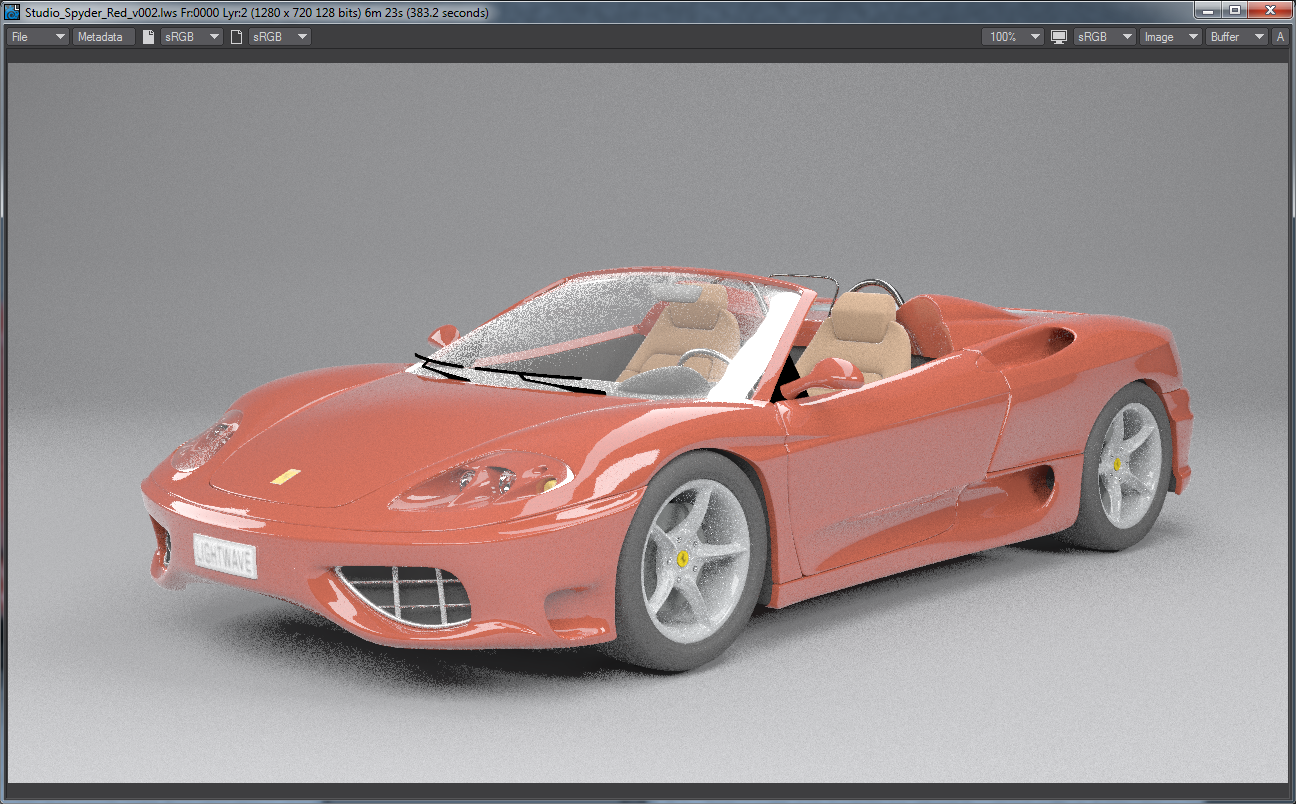
Turn them back on, but delete the luminous polygons that were in front of them called Studio Light. The scene will go a little darker and the highlights won't be obvious. The 4.71lx needs to be increased to get back what we had. Setting the lights all to 6lx gets us back something similar to what we had. These changes have made a massive change to our render time, which now stands 373.2s at with 95.4s for GI calculation. The lighting looks okay, but our colors look horrible.
3. Radiosity
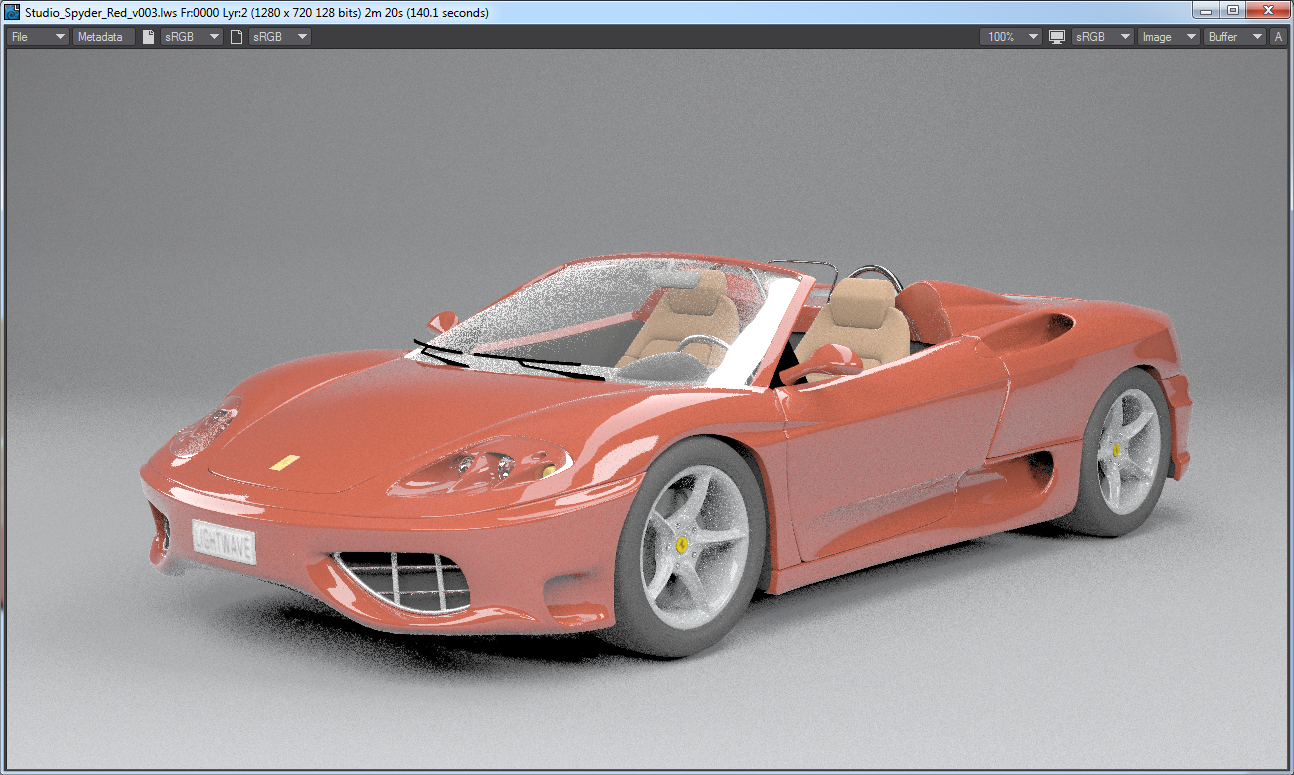
Although this scene has radiosity, it almost certainly doesn't need it - certainly not three bounces. In order to get those render times down to make it easier to iterate our changes, let's try the scene without GI. A quick render later (140.1s) and we can see there is very little difference. The GI version is slightly brighter overall, but we can resolve that after everything else if we deem it worthwhile.
4. Surfacing - Standard
The biggest problem with this scene is the Standard material used for most of it. More than anything it is that that causes problems with noise in the wheels, etc.

The result is a slightly faster render with improved steering wheel and front grill mainly, but there are bigger changes ahead.
5. Surfacing - Wheels
The wheel hubs are noisy and ugly. Although they use the Carpaint nodal material, it's not very attractive. Let's replace it with the new cure-all material Principled BSDF - PBSDF for short. In the Surface Editor if we just switch from Carpaint to PBSDF in the dropdown, the Carpaint node is preserved in the node editor so we can always switch back if we don't like the new material. PBSDF is a brand new material for 2018 that in some way replicates our trusty Standard material, but is energy conserving, no need to juggle things manually. Because the new rendering engine is built around materials like this, it also means that it renders faster than Standard and on top of that, because you can use PBSDF to produce almost any kind of surface (like Standard before it had to be pressed into service to produce everything) it's worth translating a few of these surfaces over to the new wonder material.
Much nicer, a bit noisier and while it's only a tenth of a second faster, we're just getting started
6. Surfacing - Windshield
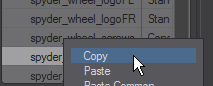
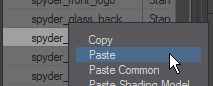
The ugliest thing in the scene is without doubt the windshield. Lots of noise and we see it's using the Standard material. Some of the surface entries are ghosted, because they have nodes controlling them and those nodes are for Fresnel. If we move to a more physically correct material we won't need additional nodes. We could use Dielectric, but let's use PBSDF again for a completely different surface type. By default it comes in white, but just change the Transmission to 100 % and we get a great simple windshield right away. The headlamps are covered with glass too, so we can copy the windshield surface and re-use it there. Right click on the spyder_windshield surface in the Surface Editor and right click on the spyder_glass_headlight surface to paste.
That's made a huge difference to our car. The windshield looks much better and we've nearly halved the render time.
7. Replacing Standard Elsewhere
We can see the benefits and versatility of the Principled BSDF material. I would urge you to replace the other surfaces on the car using Standard with PBSDF. Surfaces like spyder_license_plate will pose a slightly larger problem for people that haven't used nodes before because of the image, so let's take a closer look at that.
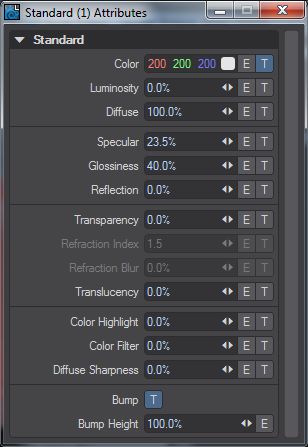
We can see that the Standard material has T buttons for Color and Bump and they both use the same image, which makes our life easier. If we switch the Material to PBSDF you will see that there are no T buttons with which to hook up the images and so the license plate goes white - we need to hook the image up nodally. To get into the Node Editor you can either click on the Edit Node Graph button at the top of the Surface Editor, or simply double click on the surface name.
You should see a node called Surface on the right of the window to which is hooked up the Principled BSDF node. Also present is the Standard node this surface used to use. If you need to remind yourself of the image name you can double click on the Standard node to be presented with a duplicate of the Surface Editor layout with T buttons.
Clicking on the T button will give the familiar Texture Editor and we'll use the details from it to match up to our nodal version. In the Node Editor add an Image node. You'll find it in 2D Textures or you can just start tapping the name in the search field. Double click on the Image node to open its interface and you can duplicate what you had in the Texture Editor. Hitting Automatic Sizing will give the same Scale measurements.
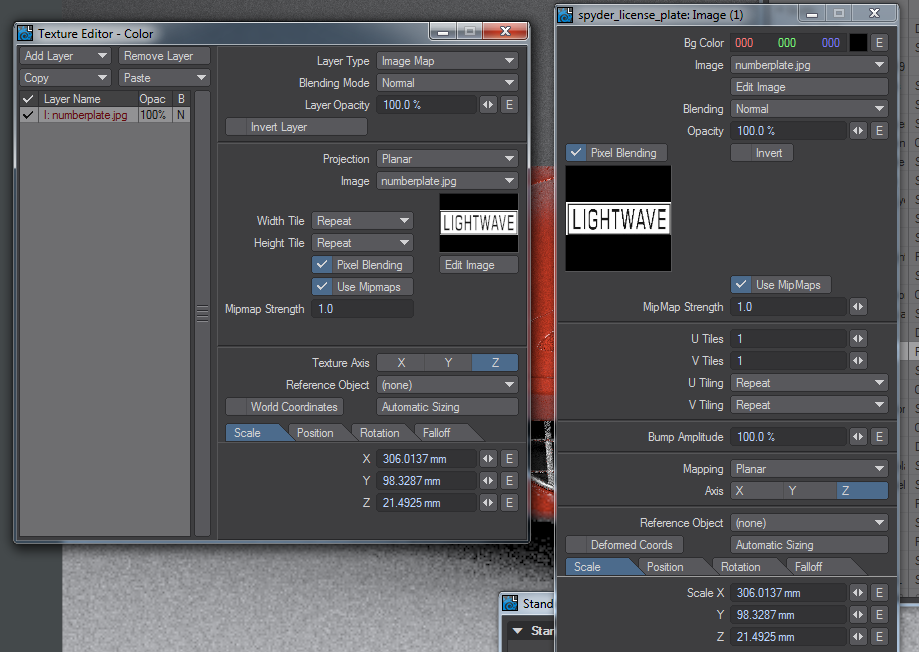
Now we need to hook the Color output of the Image node to the Color input of the PBSDF node.
If you have VPR on you'll see the text appear on the license plate. Now hook the Bump output from the Image straight to the Surface destination node Bump input. Now you can go through and replace the other surfaces using images (spyder_front_logo and the four spyder_wheel_logo surfaces).
8. Other Materials
There are 35 surfaces in this scene and even those that are already nodal could be replaced with PBSDF equivalents as we've seen. As an example the spyder_seats surface uses the Delta node that needs a Fresnel node piped into it. If we replace those with a PBSDF we won't need an additional Fresnel node, The surface spyder_underbody is double sided and really doesn't need to be (saving a second or so there). Our render time is hovering around the 90s mark and I think we can draw our surfacing to a close here. There are still more to change over but we have other fish to fry.
9. Render Quality
If we go to the Render Properties > Render tab, we can economize here.
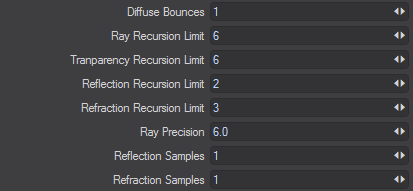
- Diffuse Bounces - Reduce to 1. It's only for GI, but if we ever want GI back on, there's no point in rendering three bounces.
- Reflection Recursion Limit - Reduce to 2. There aren't many inter-reflecting surfaces so we can speed up here (for this specific scene!).
- Refraction Recursion Limit - Reduce to 3. We should be able to do the same here, but then we lose the bright reflections of the studio lights.
In Camera Properties, change:
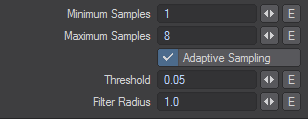
- Maximum Samples - Reduce to 8. This should suffice
- Threshold - Raise to 0.05. Raising the threshold means that the adaptive anti-aliasing will be satisfied more quickly and speed the render. Again, this is something we can "get away" with in this scene where there are few fine details.
- Filter Radius - Raise to 1. This changes the radius of the filtering type to encompass the full pixel range for the filter.
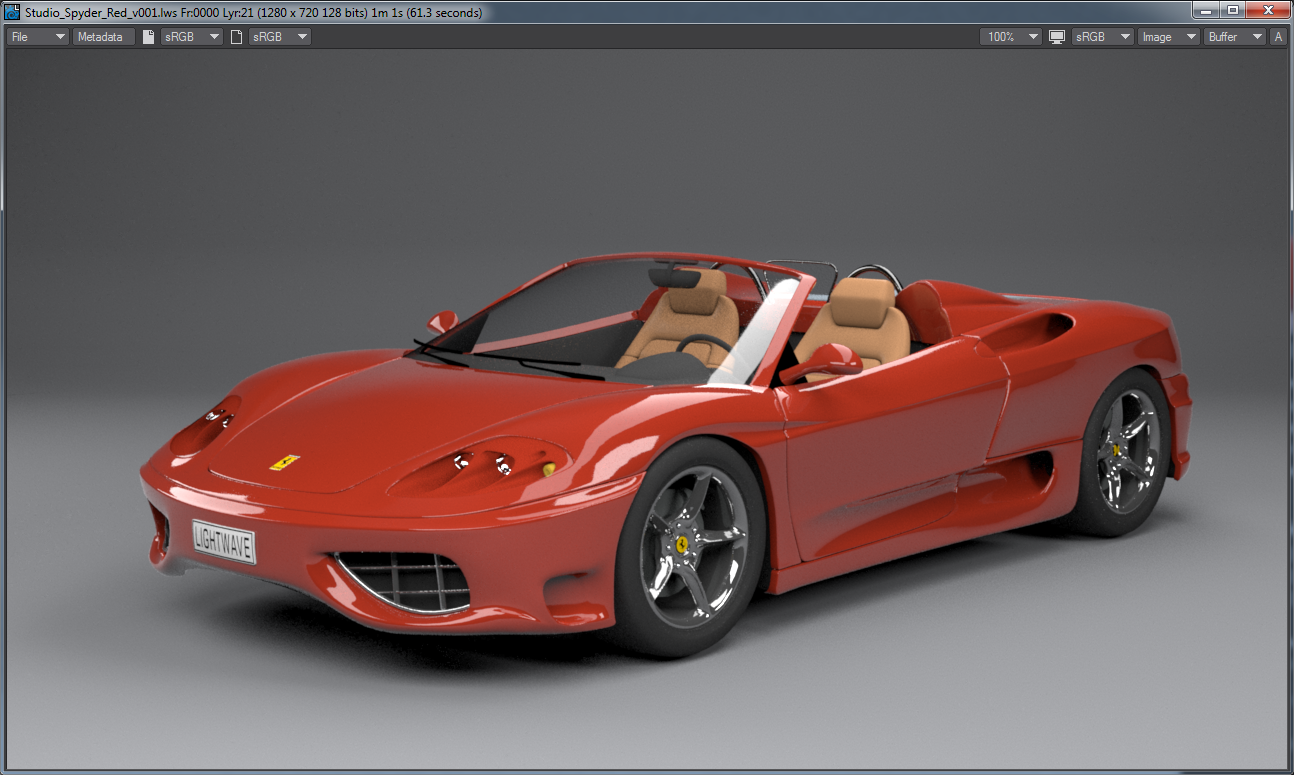
The result is the following, in 61.3 seconds on this machine.
Conclusion
The work we have done on this scene is specific to this scene and not a general recipe to follow. It should give you an idea of what forensic procedures to follow to optimize your scenes. I spent roughly 20 minutes optimizing this scene.