Shading Models
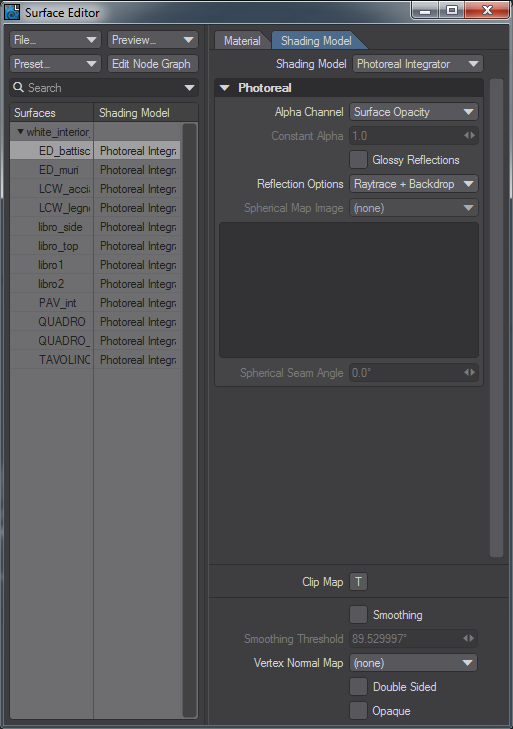
Integrators are the middlemen between the camera projections and render engine. They take the projections - what the camera sees - and pass it through the shading engine to be rendered. Integrators are per surface and you can mix and match them in a scene. LightWave has four integrators right now. You can access the integrator assigned to a surface by moving to the Shading Model tab of the Surface Editor.
Photoreal
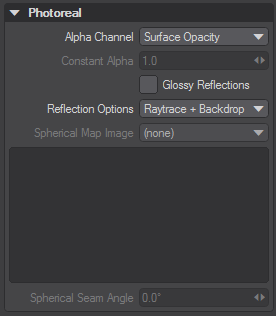
The integrator you will use most often. This integrator is responsible for passing your realistic surfacing to the render engine. Here are the settings:
Alpha Channel
Four choices as follows:
Unaffected by Surface - the surface has no effect on the alpha image
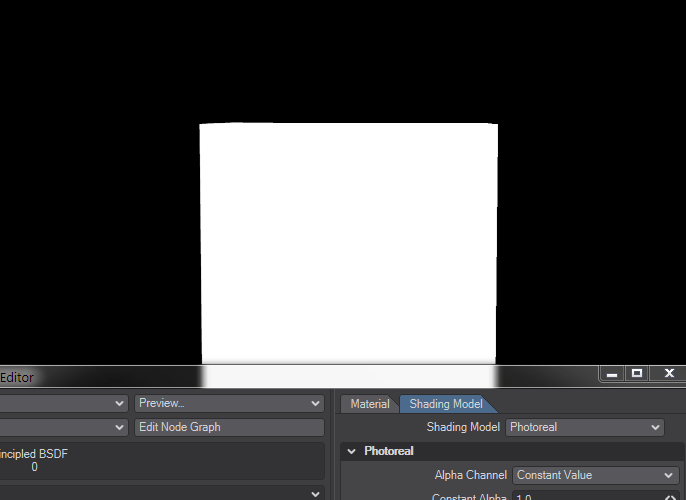
Constant Value - the Constant Alpha field can be set to a specific number from 0 to 1
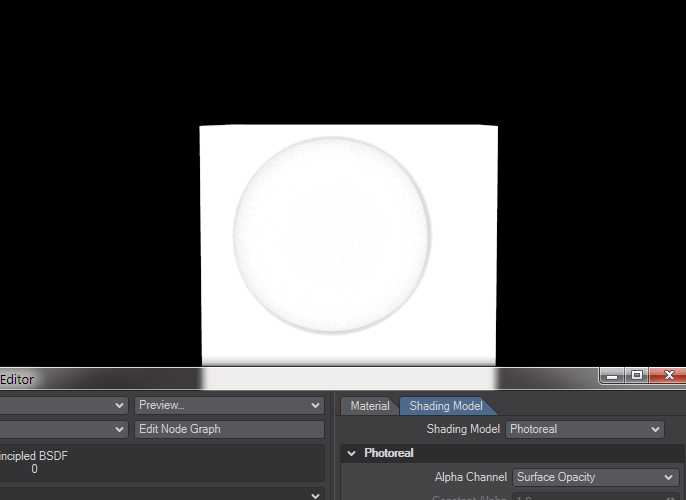
Surface Opacity - the default, uses the opacity of a surface to create the corresponding alpha area. Thus, if a surface has some level of transparency, the alpha channel information will be somewhere between 0 and 255
Shadow Density - uses the density of shadows in creating the alpha image
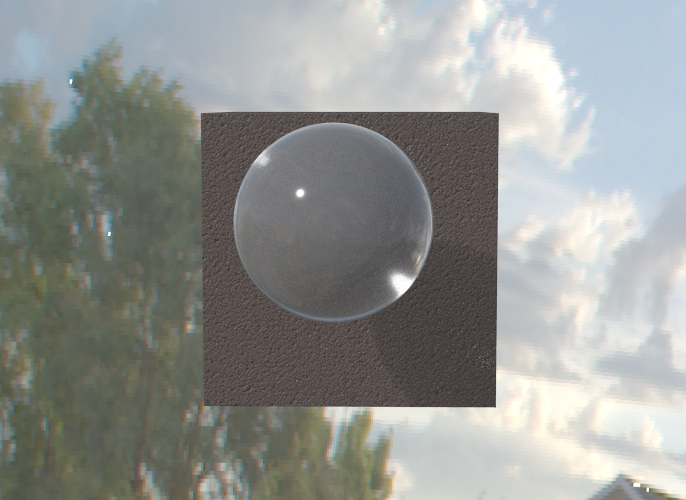
Surface Opacity, the default choice for rendering can sometimes give unwanted results. Take this simple example of a sphere entirely in front of a box. At first glance, the alpha for the sphere should be white because the sphere is entirely inside the box's dimensions. However, as the surface of the sphere reaches the glancing angle refractions will be coming from the background, not the cube, making the render difficult to composite. In such cases, switching the Alpha channel to Constant Value makes sense to preserve the alpha for the scene.
Glossy Reflections
The setting for indirect specular reflection, enabling this causes specular to reflect not only lights but also the entire environment
When Glossy Reflections is not checked, the Specular component of a surface behaves just as it did in previous versions of LightWave - that is to say that only light reflections were taken into account (Direct Specular). When this setting is checked, the environment is taken into account too (Indirect Specular). Three things to note:
- The Reflection Recursion setting in the Render tab of Render Properties controls the numbers of bounces for the reflections
- Reflection Samples on the same tab will control how many samples to take for such reflections
- Raytrace Reflection in the same tab enables/disables those bounces completely
- Results can be seen in VPR viewing the Specular_Indirect channel
In previous versions of LightWave, you had Specular which was only light reflections, and Reflections which was the indirect reflections - the reflections of other scene objects. Now, they are unified into a single value, so the result is physically correct, and separated out so you can focus samples on a per render basis, depending on how much depth and quality you need
- Glossy Options - Four choices:
- Raytrace + Backdrop - the default, ray traces any reflections and takes into account the backdrop as well
- Raytrace Only - As above, but ignores the backdrop
- Raytrace + Spherical Map - Raytraces reflection but also uses a spherical map
Spherical Map Only - Only uses a spherical map as the reflection source (very fast, but a complete cheat)
If you choose either of the last two options, you can choose the image to use. It will be displayed in the window below the Spherical Map Image dropdown and you can set a spherical seam angle.If you are using an environment light or portal lights in a scene, be sure to set your surfaces to Raytrace only; otherwise, your surfaces will reflect the backdrop environment twice
Cel
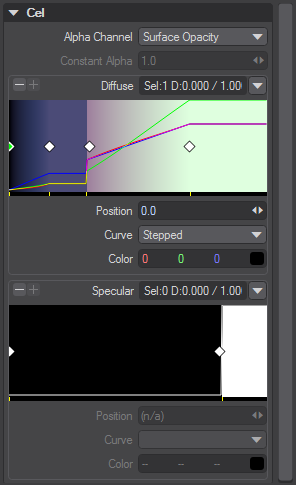
The Cel Integrator is an advanced way of cel shading that replaces previous shading models like BESM, SuperCel and others.
Shadow Catcher
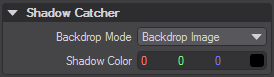
This shader replaces the Shadow Catcher Material node in previous versions of LightWave and behaves similarly. The Shadow Color is set here as is the type of image to use. A Textured Environment is required. Otherwise the Backdrop Color in the Effects > Backdrop panel will be used.
- Backdrop Image - Used in Backdrop Image mode, the Shadow Catcher integrator operates similarly to 2015's Shadow Catcher material node. It will use the image assigned as a Textured Environment, wrapped around the scene to create reflections of scene elements and shadowing. This will work well for simple scenes where no precision is required, just an overall feeling of integration. If you have an image probe of your scene and wish your object to have correct reflections and shadowing, you should use:
- Environment - Environment mode requires a lighting probe sphere to be set as the textured environment, but when one is used, rotating the camera and scene elements can map exactly to the projected image.
Example - Shadow Catcher: Environment Mapping
Example - Shadow Catcher: Spyder on the beach
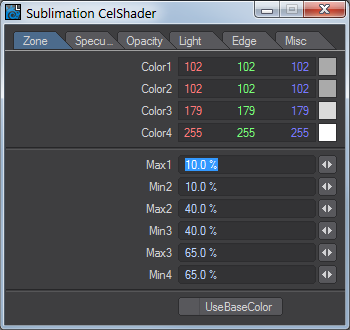
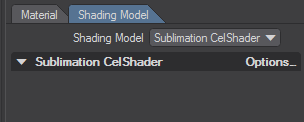
Sublimation CelShader
Two things are necessary for the Sublimation cel shader to work - the surface to which Sublimation is applied has to be Standard and lights need to be set to 1 lx. In addition, Sublimation won't work with object shapes, and if you use the Opacity settings, Double Sided needs to be checked.
When you select this Shading Model, the only thing presented in the Surface Editor is a button marked Options...
Clicking it opens the Sublimation CelShader settings.