Working with Modeler Viewports

By default, Modeler presents four viewports. Any of them can be made full-screen by tapping Numpad 0, or clicking the full screen icon at the top right of each viewport.
Views
The default views presented by Modeler are usually sufficient for general modeling tasks - Top, Back, Right and Perspective in anticlockwise order from the top left. However, the UV Texture view is very useful for modifying UV texture placement and as you'll see there are other default Modeler viewport layouts that might suit your workflow better (See Modeler User Preferences Layout Tab).
Layout View gives exactly the same view in Modeler as currently presented by Layout, including Perspective, Light and Camera views. This view cannot be moved in Modeler and Hub needs to be enabled for this to work. The view will show undeformed objects and in the case that there are multiple viewports in Layout, the Camera icon at the top right of the viewport will determine which view is visible in Modeler.
 The UV viewport now has new display modes for making sure UV maps are correctly made. See Display styles.
Render Types
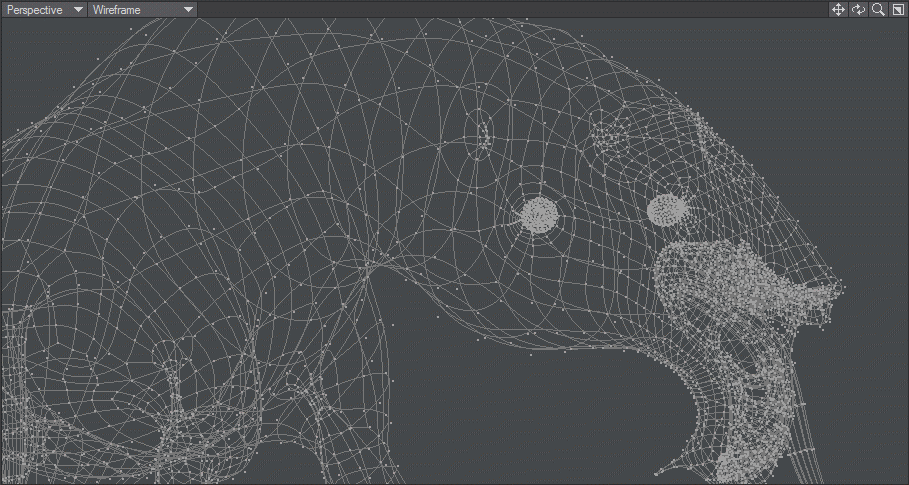
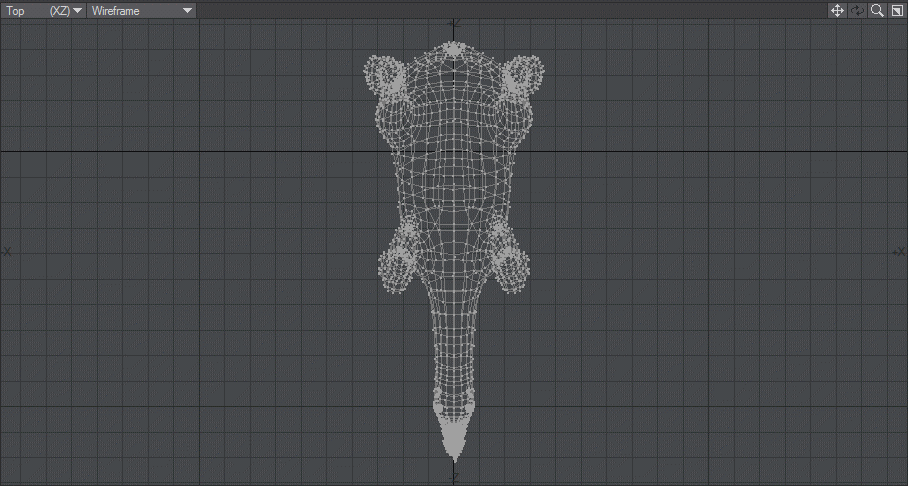
We changed the Sketch Color for the body, tongue, teeth and eye or the Rasper Cow to show differences in different Render Types and also added a weight map.
Changing your Point of View
You can use the keyboard shortcuts A and Shift +A to Fit All and Fit Selected in any viewport. Fitting is based on the bounding box of your object(s) and works with multiple layers.
Move
- Orthogonal view: Moves your POV horizontally when you drag left or right and vertically when you drag up or down.
Keyboard shortcut: Alt
- Perspective view: Moves your POV horizontally when you drag left or right and farther/closer when you drag up or down with the LMB. Moves your POV vertically when you drag up or down with the RMB.
Keyboard shortcut: Shift + Alt

You can use the keyboard shortcut G to center the area under the cursor.
Rotate
- Orthogonal views - not applicable.

- Perspective view - Rotates your POV’s heading when you drag left or right and its pitch when you drag up or down with the LMB. Rotates your POV’s bank when you drag left or right with the RMB.
Keyboard shortcut: Alt

Zoom
- All views - Zooms in and out when you drag left and right. (You can also use the < and > keys.)
Keyboard shortcut: Ctrl + Alt or Alt+Scrollwheel
Use the keyboard shortcut A to zoom the view out so all objects in visible layers are completely onscreen. Use Shift + A to limit it to only objects in foreground layers.
Fullscreen Toggle
- The last icon in this group is a toggle to switch the associated viewport between fullscreen and back.
Keyboard shortcut: Numpad 0
The Grid
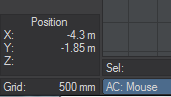
Modeler's grid constantly updates to provides an indication of current magnification. By default, each grid square is 500 mm in size and as you zoom in or out this changes to keep the number of grid squares constant, but have a different value. The grid value can be seen at the lower left corner of the Modeler interface:
As you zoom in and out you'll notice the grid squares get smaller and larger until they change scale. This defined is defined in the Display Options > Units tab:
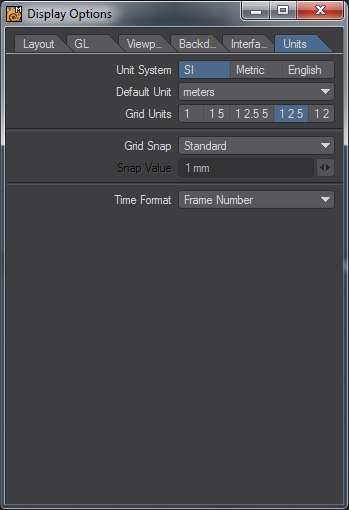
The default value is 1 2 5, but the range of choices is as follows:
- 1 - The grid resizes in values that begin with 1, as in 10m, 1m, 100mm, 10mm, etc.
- 1 5 - The grid resizes in values that begin with 1 or 5, as in 1m, 500mm, 100mm, 50mm, 10mm, etc.
- 1 2.5 5 - The grid resizes in values that begin with 1, 25, or 5, as in 1m, 500mm, 250mm, 100mm, 50mm, etc.
- 1 2 5 - The grid resizes in values that begin with 1, 2, or 5, as in 1m, 500mm, 200mm, 100mm, 50mm, etc.
- 1 2 - The grid resizes in values that begin with 1 or 2, as in 1m, 200mm, 100mm, 20mm, 10mm, etc.