Rotate Group
Rotate
(default keyboard shortcut Y)
When you adjust rotation, in contrast to adjusting position, the action is relative to the global axes around the item’s pivot point. By default, the pivot point is at the item’s local Origin.
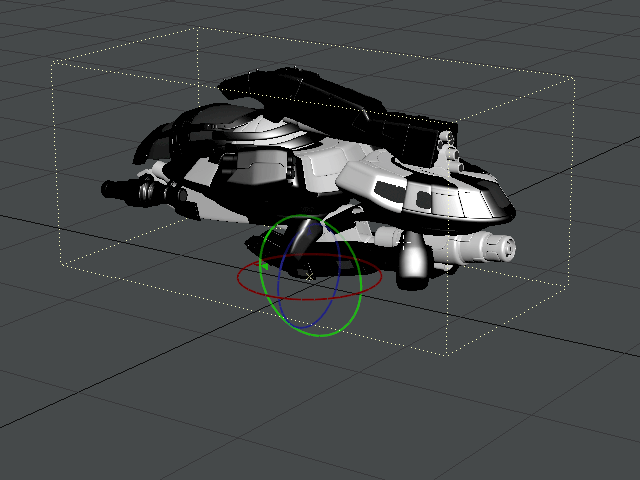
Rotation uses a similar three-coordinate system: Heading, Pitch, and Bank. (These are rotations around each of the axes: Y, X, and Z, respectively.) You can think of heading as the movement in shaking your head “no.” Pitch is like the movement in shaking your head “yes.” Bank is like the movement of tilting your head left and right, saying “maybe”.
Heading, Pitch, Bank
When you rotate an item, your mouse movements have the following effects:
| Movement | Rotate |
|---|---|
Left/Right LMB | Heading Left/Right |
| Up/Down LMB | Pitch Up/Down |
| Left/Right RMB | Bank Up/Down |
Rotate Pivot
Understanding pivot points is fundamental to understanding LightWave.
The pivot point is a point of reference used for all objects and does not correspond to any point used in an object’s geometry. The pivot point is the center of position, rotation, and scaling. By default, it is located at the object’s local Origin. The pivot point, a small yellow star, becomes visible when you select an object.
You cannot animate the pivot point.
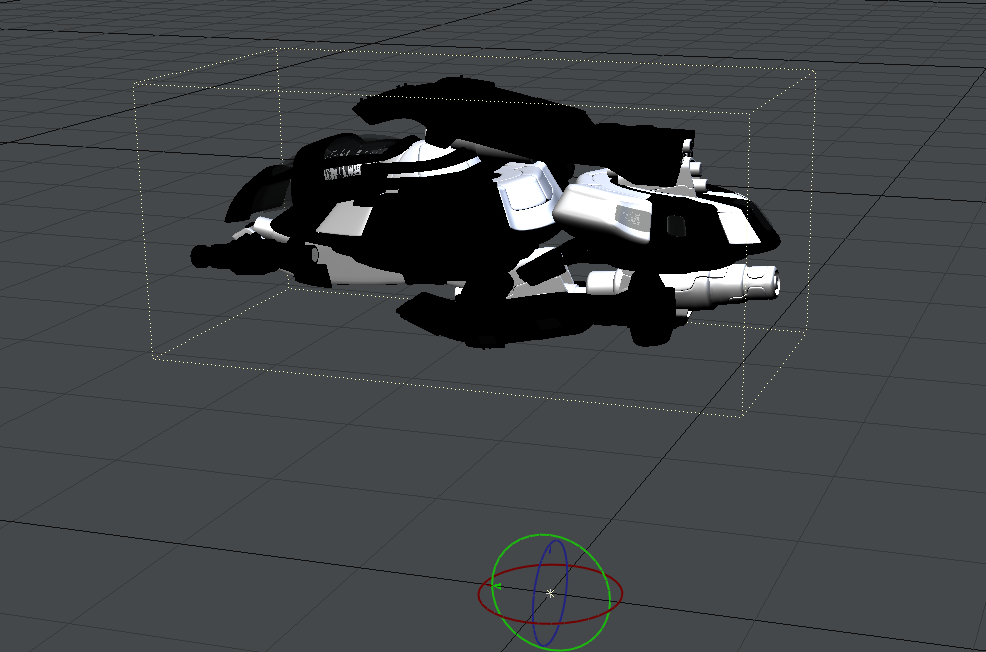
Pivot Point (Shown selected with handles)
Rotating the Pivot Point
You can rotate the pivot point, which sets a starting point for rotation that is different from the default rotation, which is in alignment with world coordinates.
Pivot rotation is most useful when used with bones. You may want to stick with normal item rotation for other rotational needs.
Unlike the Move Pivot tool, which changes the position values, when you use the Rotate Pivot tool, it does not compensate with changes to rotation values.
If you have rotated an object and wish to transfer its current rotational state to the pivot rotation, choose Setup > Orientation > Record Pivot Rotation, which runs the Record Pivot Rotation command. Then you can start all over as far as rotating the item is concerned. It will add the rotations to any existing values for pivot rotation.
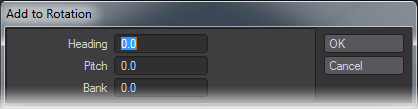
Add to Rotation
You can numerically add to Rotation values by using Add to Rotation (Modify > Rotate > Add to Rotation). It works like editing the input fields in the lower-left corner of Layout, but adds to the existing values instead of replacing them.