Render Tab

Clip Map
The Clip Mapping function, located on the Rendering Tab of the Object Properties Panel and in the Surface Editor, offers a way to quickly alter an object. Basically, it allows you to cut away portions of an object using a texture. This is a great way of creating 2D pop-ups, as well as holes, tears, or grids in objects without having to model them.
Matte Object
A Matte Object option has been added to the Render Tab. It causes an object to be rendered in a single user-specified color (usually black or white) with no shading, overriding all of the object’s surfaces.
When an object is set as MATTE, it should take on the matte color where it is visible to the camera but it should not be seen by any other rays. In addition, the luminance channel should be 0 for the object’s pixels. The matte color is still affected by fog.
Alpha Channel
On the Matte Object section of the Render Tab panel there is also an Alpha Channel pop-up. You can choose from the following:
- Use Surface Settings - uses the surface settings of the object to determine the object’s effect on the Alpha Channel
- Constant Value - the object is black as far as the Alpha Channel is concerned. If this option is used the field below Alpha Value becomes available.
Object Dissolve
Entering a value for Object Dissolve on the Render Tab of the Object Properties Panel will cause LightWave to render the object in a semi-dissolved state. If you enter 100 percent, LightWave will not render it at all. Since the value supports envelopes, you can change the dissolve amount over time. For example, you may wish to slowly dissolve clouds in on a rainy day, or replace one object with another by dissolving them in and out in the same frame.
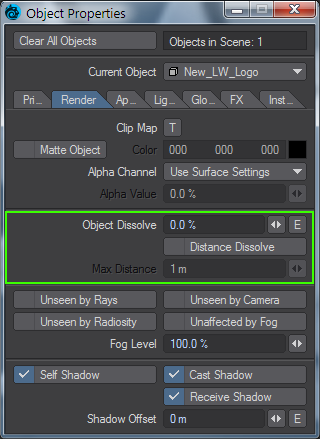
Distance Dissolve
Activating Distance Dissolve lets you automatically dissolve the current object out after it has moved a certain distance from the camera. The Max Dist value determines the distance at which the object should be totally dissolved. The dissolve is gradual, thus the object will have some amount of dissolve any time it is between the camera and the Max Dist.
Underwater particles and moving stars often benefit from Distance Dissolve.
Unseen By Rays
Selecting Unseen by Rays for an object tells LightWave to ignore the object in its ray-tracing calculations when reflection and refraction are involved. This means that the object will not appear in the reflections or refraction of another object. It will, however, render normally in the scene. This is especially handy for objects that are front projection-mapped; you probably do not wish them to show up in the reflections within other objects. Unseen by Rays will not affect the shadow options of a given object.
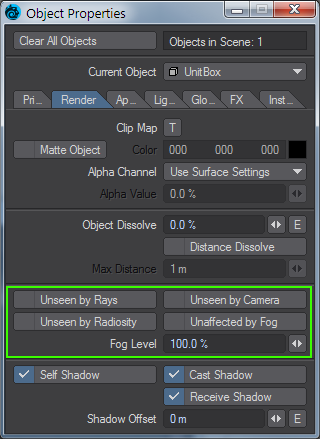
Unseen By Camera
An alternative to making an object 100-percent dissolved is to activate Unseen by Camera. This makes the object invisible to the camera when you render; however, you will still be able to see it and work with it in the Layout window.
Although the camera won’t see these objects, lights will. You can use this option to cast fake shadows into your scene from off-screen objects, like window pane frames.


Left: Normal Render, Right: Unseen Clay Sculpture
Unseen by Radiosity
You can choose objects to not be included in the global illumination solution for the scene.
Unaffected By Fog
Objects that have Unaffected by Fog selected will be excluded from the fog effect. Also, the fog Level setting, under the Unaffected by Fog option, will let you apply an amount less than or greater than normal. The default is 100%.
Object Shadow Options
If a light has shadows enabled, any objects illuminated by it will generally cast shadows on themselves or onto other objects. However, you have complete control over this. LightWave lets you decide exactly which shadow options an object should employ. For example, you may wish for some objects not to cast shadows and others not to receive shadows. By default, all shadow options are on.
Judicious use of the Self Shadow, Cast Shadow, and Receive Shadow options for the objects in your scene can greatly speed up rendering times for lights.
Deactivate Self Shadow if you do not want or need an object to cast shadows on itself. An egg is a good example of an object that cannot cast shadows on itself. A tree on the other hand is a prime candidate for Self Shadow.

Self Shadow Inactive
Do not confuse Self Shadow with shading. An egg under a solitary light source may be shaded so that one side is darker, but this is shading and not casting a shadow on itself.
Deactivate Cast Shadow if you do not want an object to cast a shadow onto other objects. A spaceship orbiting a planet would be a good example of an object that usually should not cast a shadow.

Cast Shadow and Self Shadow Options Inactive
Deactivate Receive Shadow if you do not wish an object to receive shadows from other objects. In the spaceship orbiting a planet scenario, perhaps a better option would be to turn off Receive Shadow for the planet as opposed to turning off Cast Shadow for the spaceship. You may want the spaceship to cast shadows onto nearby asteroids or other ships.
Shadow Offset
This defaults to 0. By entering a small amount (100 mm worked in internal testing) the origin of the shadow rays cast by the object will be offset along the smooth surface normal by the Shadow Offset distance. This will cause nearby polygons on irregular objects to not cast shadows on their neighbors if they are roughly co-planar with them. More distant polygons on the same object or polygons that are not co-planar will still cast shadows as usual. This feature can be used to get rid of flickering shadows on the surface of irregular objects such as asteroids.