Box
Box
(default keyboard shortcut Shift X)

The Box tool is located in the Create Menu Tab under the Primitives group. To create a box simply drag out a two-dimensional shape in one of the viewports and then add depth to your object by expanding it in a different viewport. You’ll probably use the Box tool most often, because most objects are box-like in general form.
Creating a Box
- Select the Box button located in the Create Menu Tab under the Primitives group.
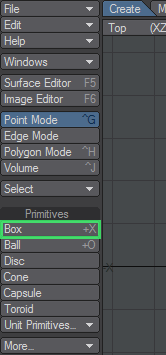
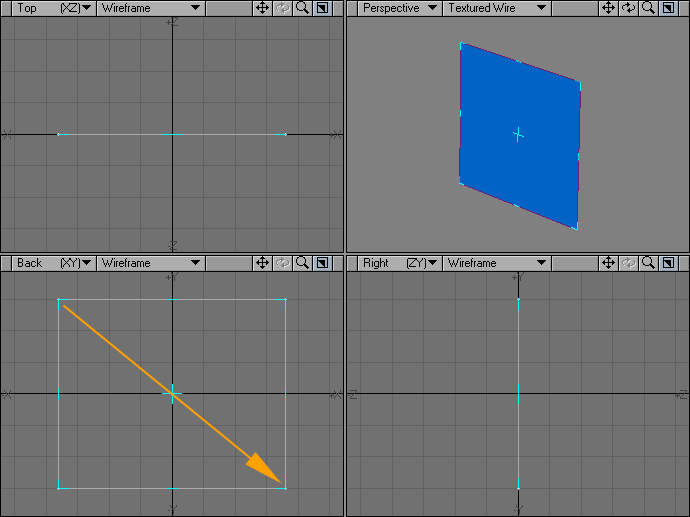
- Drag out the initial 2D shape in any viewport with your LMB . This activates the tool.
Pressing the Ctrl key before you click and holding it while you drag will symmetrically constrain the shape. The dimensions of your outline are shown in the lower left corner.
- After you release the mouse button, you can adjust the shape by dragging any of the sides or corners. You can reposition it by dragging the center.
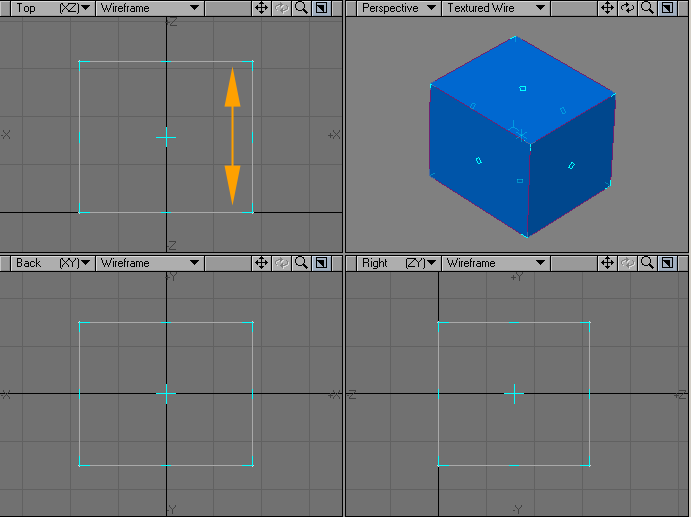
- Go to another viewport and drag to extend the shape into the third dimension. Release the mouse button.
- You can continue to adjust the box’s size and position.
If you find you need to start over from scratch, just click in an inactive toolbar area or use undo.
- When you are satisfied, deselect the Box tool by clicking on it or choosing Make to turn your outline into an object. (Alternatively, you can select another tool.)
Numeric Panel Option: Box Tool
When you click on the Box tool to activate it, you can then bring up the numeric panel using the default keyboard shortcut N, or click on the Numeric button on the bottom toolbar of the Modeler window.

You have two different ways to adjust the shape of your box, the Size and Range modes. With the Size Tab selected, you can adjust the Width, Height, and Depth of your box dimensions. The Center XYZ settings set the position of the center of the box.

With the Range Tab selected, you can adjust the positions of two opposing corners of your box using the Low XYZ and High XYZ settings.

You can round off the edges of the box by setting the Radius to a value greater than 0. Radius Segments allows you to specify how many sides are used to generate the smooth corners (larger segments obviously generate smoother ones). The Axis sets the direction of the radial polygon pattern used to round the edges. Use the Sharp Edge option to smooth or unsmooth the edges.


Left: Radius 176mm, Radius Segments 5, Right: Radius 176mm, Radius Segments 12

Modeling a box in Perspective view.
Using the cursor Keys
The cursor keys let you quickly adjust settings as follows:
| Right/Left cursor | Up/Down cursor |
|---|---|
| Incr./decr. Horizontal Segments* | Incr./decr. Vertical Segments* |
*based on viewport beneath mouse pointer