GoZ Interchange
GoZ™
GoZ™ support is available in both Modeler and Layout. As with any data interchange there are certain ideal workflow practices to be aware of to achieve the best results. You should prepare geometry with tri and quad polygons only. ZBrush™ also expects one surface name and a single UV map on the object.
Our GoZ implementation is flexible enough to allow you to work in a variety of different ways.
You can begin your model in LightWave Modeler and send to ZBrush to create the UV map and paint your color texture map and generate your displacement and normal maps for the object. Then with a press of the GoZ button in ZBrush you can load the changed model back into Modeler and your shaders will be automatically applied to the object containing all color, displacement, and normal map information. Our LightWave Modeler GoZ implementation allows you to send an Endomorph on your object for further sculpting to ZBrush and back to Modeler. Imagine the facial targets and other effects you can create with this technique.
Alternatively, you could begin the model in ZBrush and use GoZ to send your sculpt to Modeler for more detail, then go back to ZBrush to continue sculpting. You could then send your final result directly to LightWave Layout, again with all the texture, displacement, and normal map shader information automatically set up. In Layout, even your bump displacement will be automatically set up on the object with the bump distance supplied by ZBrush to make it easier for you to get to the render quickly.
There will be duplication of information as we detail GoZ for Modeler here, but also in the Layout manual
Setting Up GoZ™ for LightWave
For our purposes here we will assume you have already installed and are using ZBrush and now you would like to add LightWave to your sculpting pipeline.
For Windows users, normally the installation of LightWave sets up the necessary links with ZBrush, but just in case and also for OS X users, here are the steps to ensure communication between the packages:
LightWave support of GoZ by ZBrush
ZBrush “out of the box” doesn’t have built-in support of LightWave. LightWave itself supports GoZ. You, the end user, needs to copy a few files into the right location to activate this support inside of ZBrush.
LightWave GoZ support files are located here:
Windows: C:\Program Files\NewTek\LightWave2015\support\3rdparty_support\GoZOS X: ~Applications/Lightwave2015/support/3rdparty_support/GoZ
- With LightWave and ZBrush NOT RUNNING, Copy both the LightWaveLayout and LightWaveModeler directories from that folder to:
Windows: C:\Users\Public\Pixologic\GoZApps\ OS X: MacHD:/Users/Shared/Pixologic/GoZApps/ - Now launch ZBrush and open Preferences and choose GoZ at the bottom.You will then find LightWave Layout and LightWave Modeler
- From there, you can have ZBrush find the install - or you can point it there yourself.
Load the model you wish to sculpt in either Layout or Modeler. In Modeler it is the current foreground layer (or the selected endomorph) that will be sent while in Layout it is the currently selected object. Now go to the I/O tab in either application and choose GoZ. The first time you do so there will be a slight pause as LightWave copies the necessary files to your ZBrush installation and then you will be in the ZBrush interface waiting to draw your object onscreen as a tool. Once done and modified to your satisfaction, pressing the GoZ button at the top right of ZBrush’s interface will send your object back to LightWave, now with the additional sculpting.
Here is an overview of what GoZ offers in both LightWave Modeler and Layout:
GoZ for Modeler
- Geometry (tris and quad polys required)
- Color Map
- Displacement Map
- Normal Map
- Endomorphs
- UV maps can be created in Modeler or ZBrush. ZBrush only supports one UV map per object.
- The shader nodes are set up on the object but are not all present in Modeler. You need to open the object in Layout to access or edit all the nodes.
- Sub Tools are separate objects and that is how you should think of them in Modeler, not additional layers.
GoZ for Layout
- Geometry (tri and quad polys required)
- Color Map
- Displacement Map
- Normal Map
- Bump Displacement (with bump distance automatically supplied by ZBrush)
- When you send your ZBrush Item with Color, Displacement, and Normal map to Layout nodes are automatically set up on the object and bump displacement in the object properties is activated.
- There is a continuous update of texture maps as long as you are painting to actual texture maps in ZBrush and not just poly painting.
- You can see your displacement and normal maps with VPR.
If you select an endomorph in Modeler to send to ZBrush via GoZ, sculpt that endomorph and then send back to Layout instead of Modeler the base mesh will be overwritten. Always select the endomorph that you want to send and then make sure that same endomorph is selected on the object in Modeler before exporting back from ZBrush.
Finally, note that if you change the geometry or polygon count in the middle of your process then vertex maps could be lost when exporting back to Modeler or Layout. This means you should get your geometry up to a certain level where it has enough points and polys to hold the sculpted detail when you “res up” in ZBrush. Do your sculpting and painting at that higher resolution level then when you hit GoZ in ZBrush to send back to LightWave the resolution automatically gets lowered back down to the base mesh. This is the typical workflow most often used with ZBrush and other applications.
Example: Using ZBrush to Edit Morph Maps
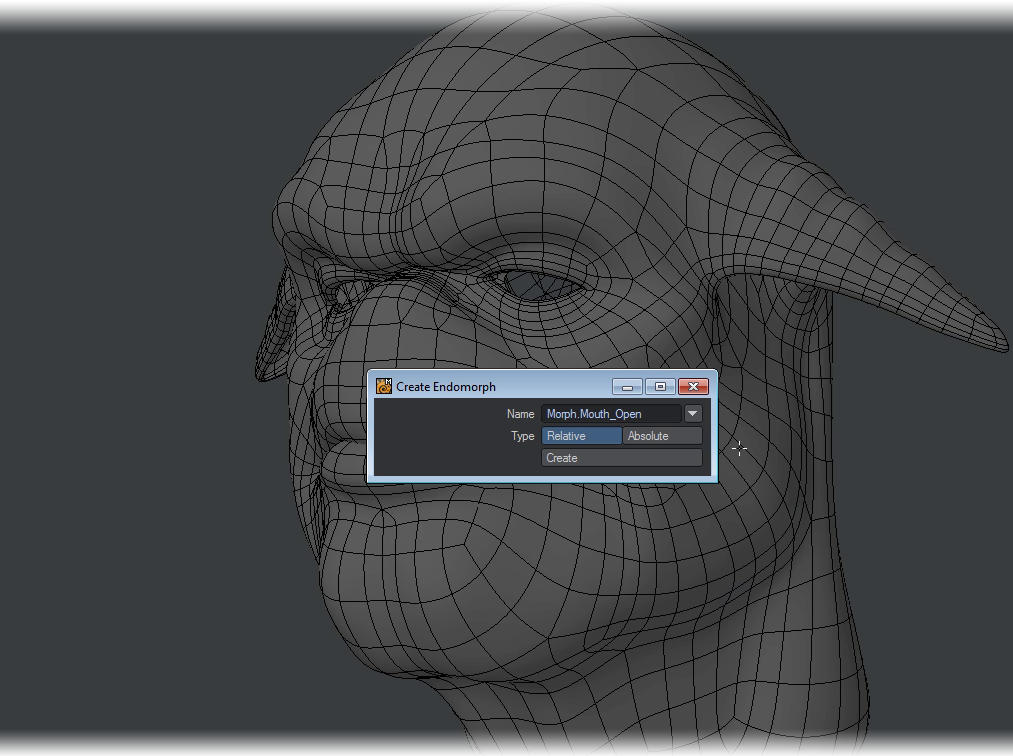
One of the most exciting uses for the new GoZ functionality is to sculpt morphs for your characters. The process is very simple and straightforward, but illustrating it should set minds at rest. We will use the Mangalore warrior head for this example, found in the LightWave content (characters\Mangalore).
- We’ll add a morph map to our Mangalore head. We’ve called it Morph.Mouth_Open . Make sure it’s selected in your Morphs list and hit the GoZ button on the Modeler I/O tab.
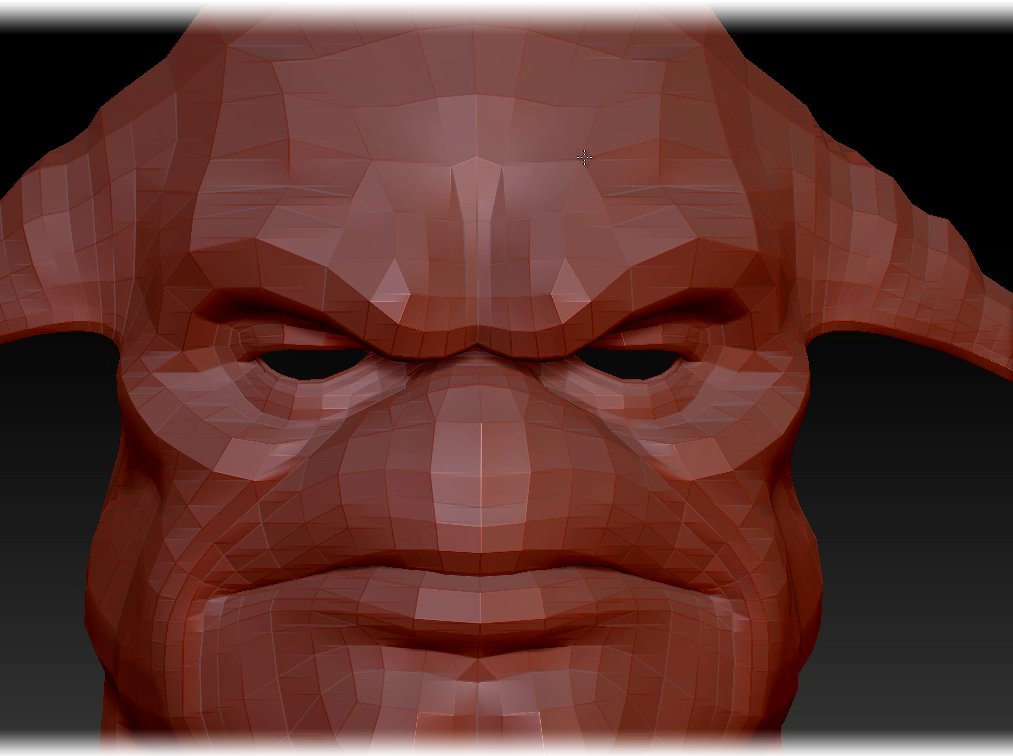
- ZBrush will load or open and you can draw your warrior onscreen. Use ZBrush’s Move Brush to spread the lips apart and hit the GoZ button in ZBrush.
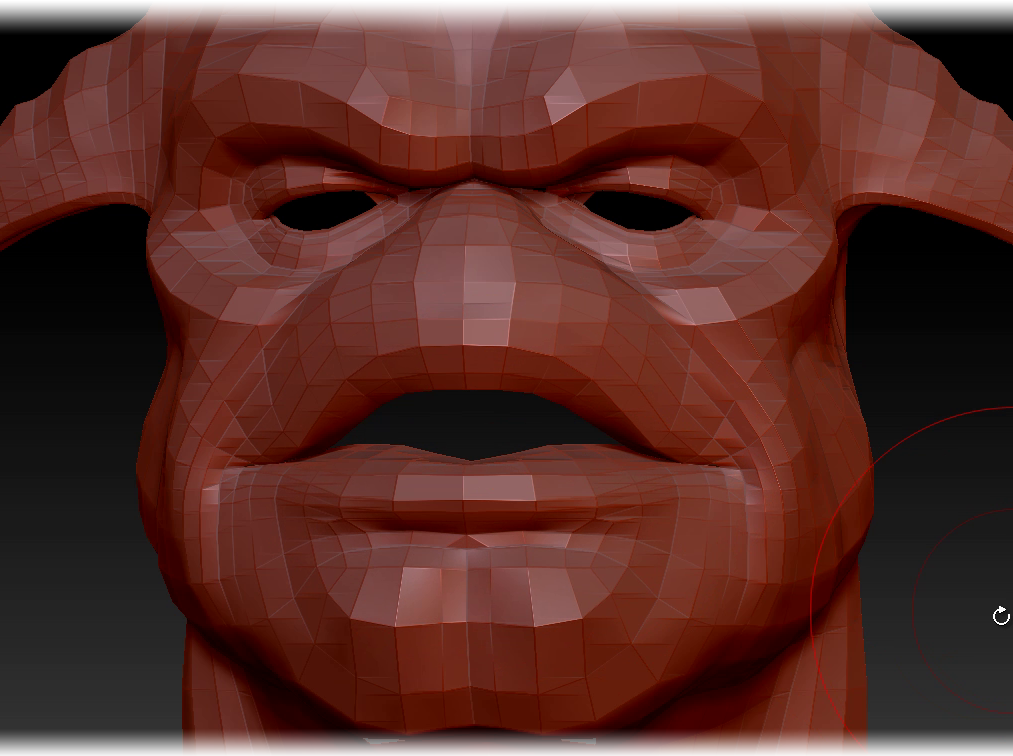
The Mangalore head will reappear in Modeler and you’ll notice that you are still in the Morph.Mouth_open morph.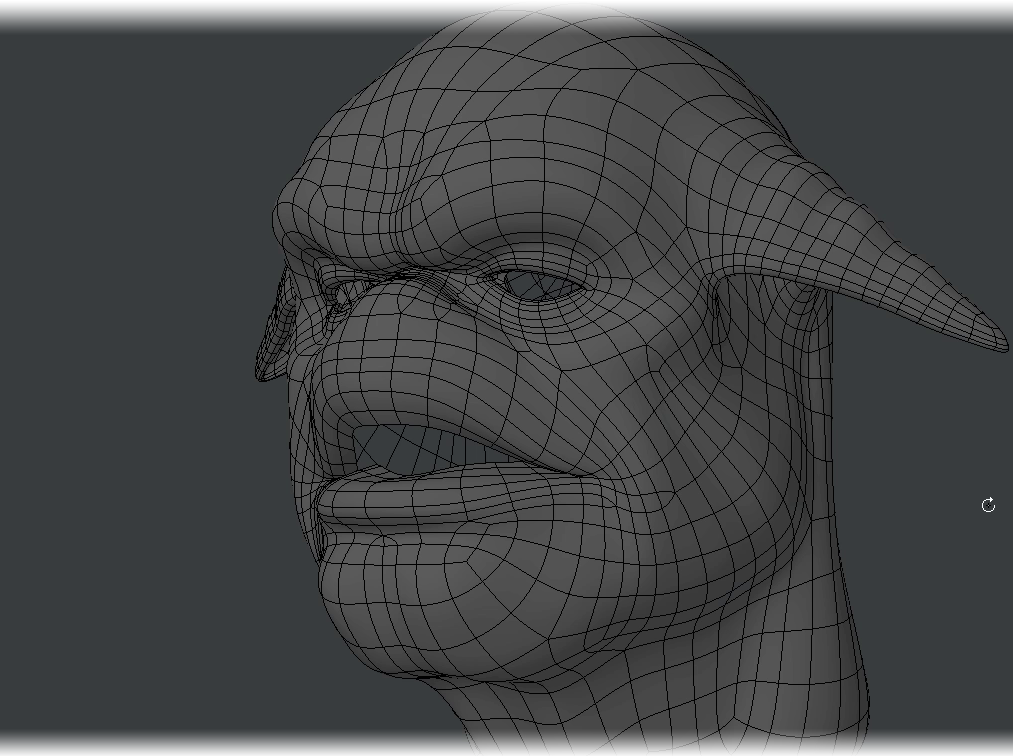
- Now you can create a new morph to sculpt. This time we are typing Morph.Frown . Once added, hit the GoZ button again.

- In ZBrush we brush in the frown for the model and send back. You can carry on adding new morphs and sculpting them like this.
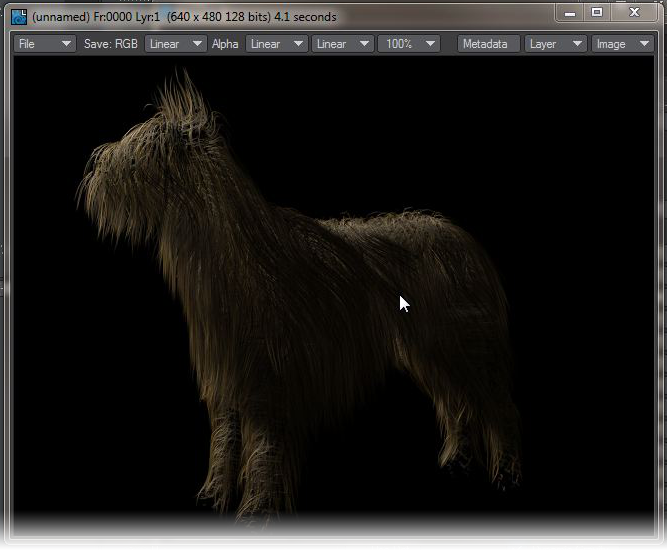
Example: Converting ZBrush Fibermeshes to FiberFX guides
ZBrush v4R3 adds the ability to export the fibers supported by ZBrush into LightWave to be used as guides for LightWave’s own fiber solution FiberFX. To do this is very simple:
- Start with a project inside ZBrush and comb the hair as you’d like it. Since the hair from ZBrush will only be guides for FiberFX you will not need a large amount of fibers.
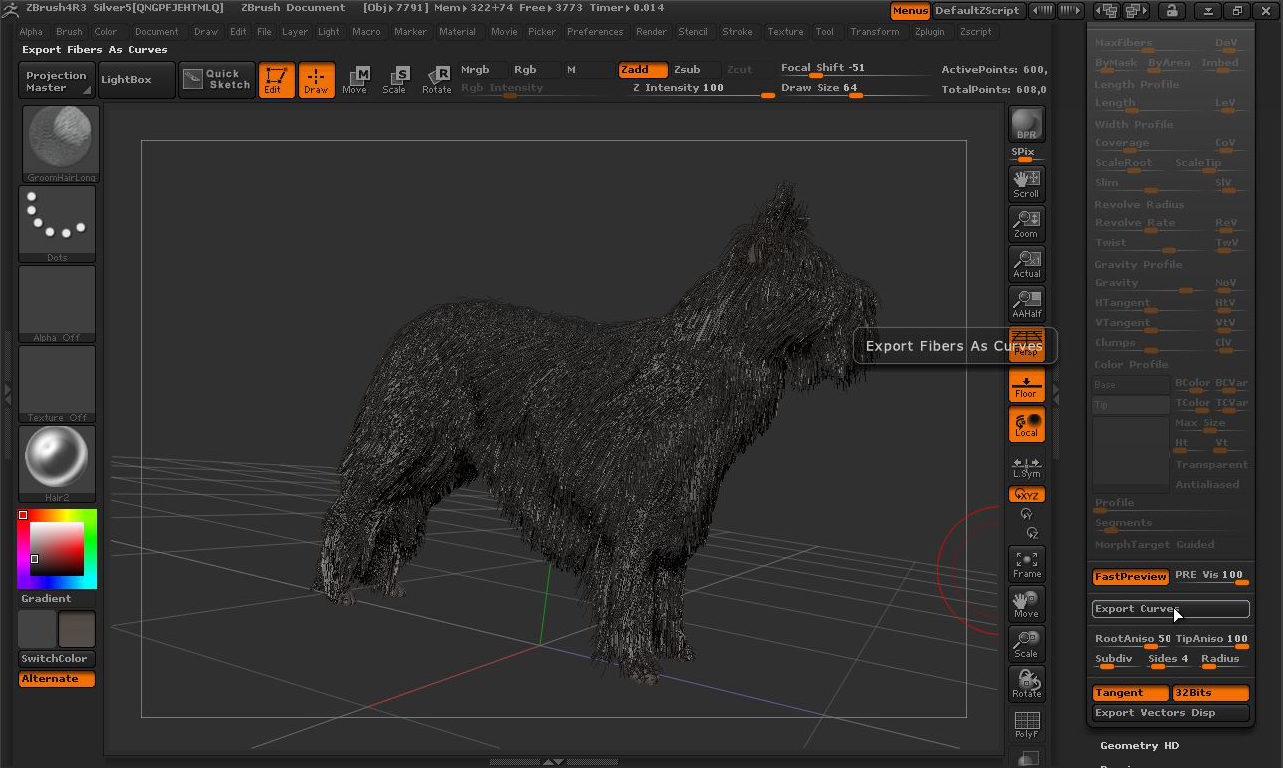
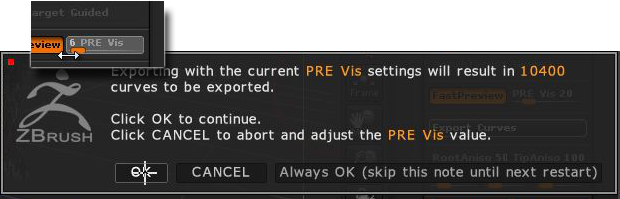
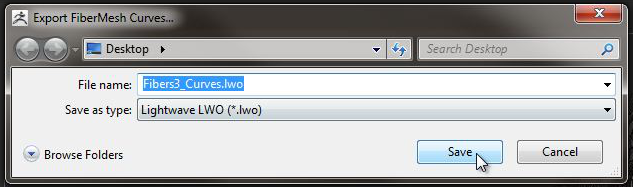
Reduce the Preview Fiber Visibility down to a low figure. ZBrush will give you the total number of fibers that will be saved. - Save your guides out of ZBrush as an LWO file and load it into Modeler.

- The fibers need to be converted into guides for FiberFX using the StrandMaker tool on the Setup Tab, in the FiberFX group.
- The new polychains will be created on a separate layer, so they need to be saved to a new object (you can replace the existing curves on Layer 1 and save over your original object if you prefer).
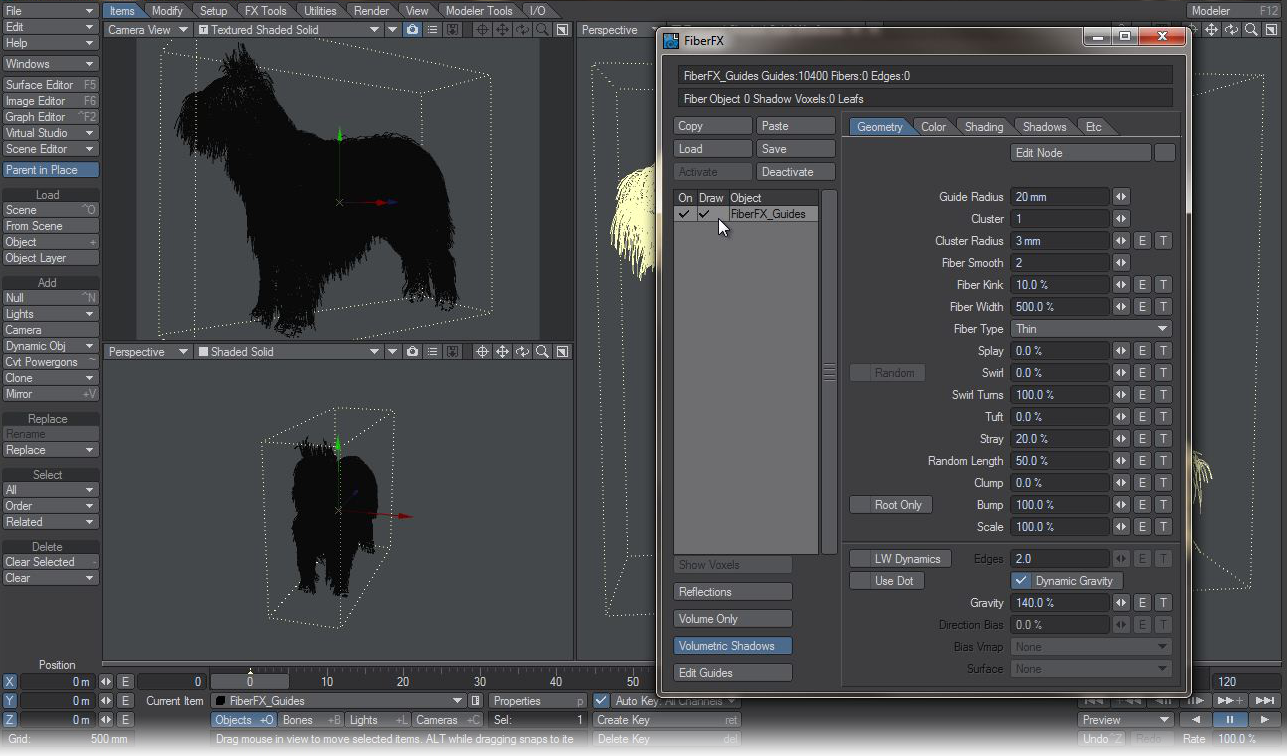
- Send this object to Layout and add FiberFX to it. Turn on Draw to see your newly-added fibers. You’ll see that the fibers aren’t exactly following your guides. This is because of the Random Length and Gravity settings. Set them both to 0%.
- If you wish to increase the quantity of fur on your object, increase the number of fibers per guide using the Fiber Quantity setting in FiberFX.
Additional GoZ™ Notes
- Surfaces and UV Maps - Don’t forget that ZBrush only expects one of each and will discard any others you have in your object. Make sure that if you have several of either you reduce them before sending to avoid losing your work.
- Saving your objects - It is a good idea to save your sculpt as a ZBrush tool. In case of any problems or wanting to continue work started before, saving the LWO from Modeler alone will not keep your sculpting information.
- Object assemblies - If you want to sculpt an object assembly as one piece in ZBrush, make sure the parts are separate objects (not just layers) and tick Import as SubTool in ZBrush GoZ Preferences.
- Cache - to perform the task of shifting data between ZBrush and LightWave, ZBrush has a directory of intermediate files. These are normally kept in C:\Users\Public\Pixologic\GoZProjects\Default on a Windows system and /Users/Shared/Pixologic/GoZProjects/Default on a Mac. These temporary files are not automatically deleted and can take lots of room. If you see messages asking if you would like to use the object from disk, it is almost certainly because your ZBrush cache already has an object by the same name in it. You can clear this directory safely (when no GoZ process is running). Alternatively in ZBrush GoZ preferences there is an option to clear cache files.
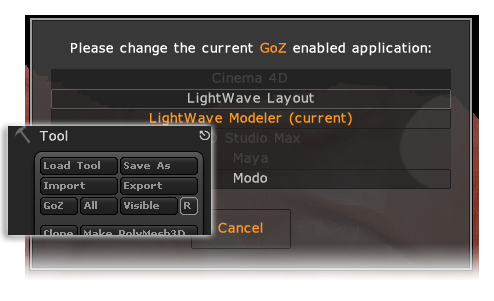
- Layout or Modeler? - When you first start sending your object between LightWave and ZBrush, you will possibly begin using GoZ with Modeler to initially prepare your object for sculpting and texturing. Once you are happy with this first stage, you can tell ZBrush to start sending to Layout instead. To do this, can click the ‘R’ icon on the ZBrush interface near the GoZ button to change which application GoZ communicates with. In this case, change it over to use Layout rather than Modeler.