Set Map Value
Set Map Value (Map > General > Set Map Value). Clicking on this command opens a panel that allows you to directly specify a value for any of the Vertex Maps used in LightWave.
This value will be applied to all selected points. If no points are selected, this value will be applied to the entire map.
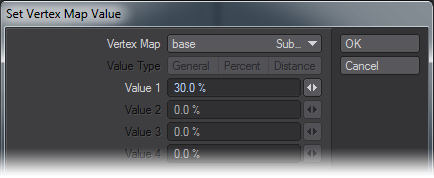
Vertex Map
The Vertex Map pop up menu allows you to choose the map you want to work with. The map selected will be the only map affected, regardless of what map is actually showing in your viewports.
It’s entirely possible to assign values to maps you cannot see. In other words, if you don’t see anything happening, check to make sure you are looking at the correct map.
Below that are various fields, which will be available or dimmed, depending on the map type you’ve chosen.
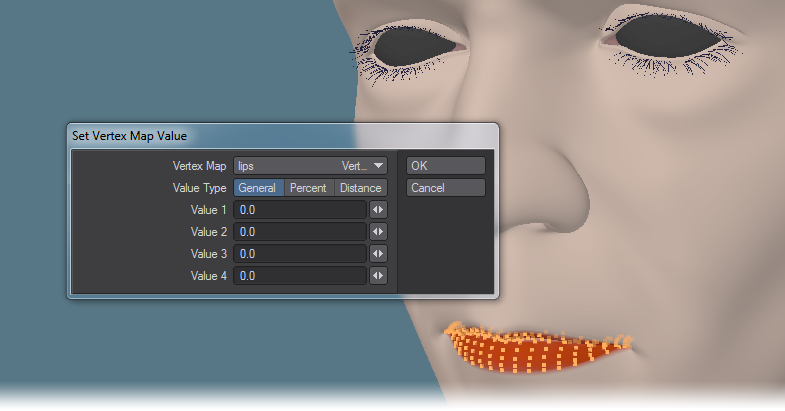
Weight Map

If you select a Weight Map, only one value will be available. Whatever value you type into the field will be applied to all selected points in the map, replacing any values you might already have assigned.
Texture Map
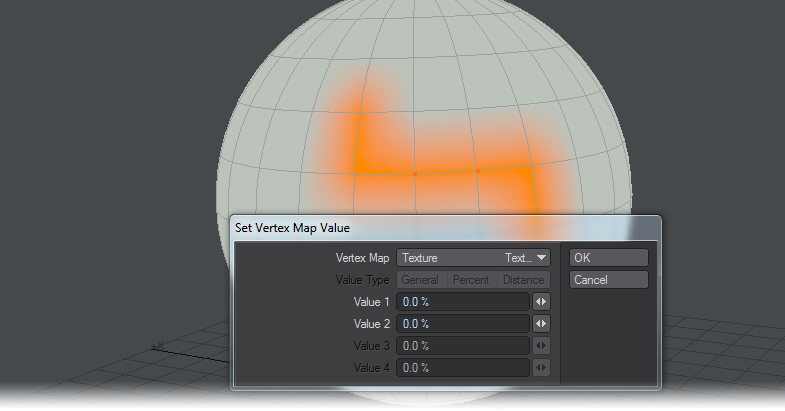
If you select a Texture Map, two values will be available. The first is the U value, and the second is the V value. 0% for both values is the lower left corner, where the vertices meet on the UV Map Texture view. 100%, of course, is the upper right corner. All selected points will snap to the value chosen.
Morph Map
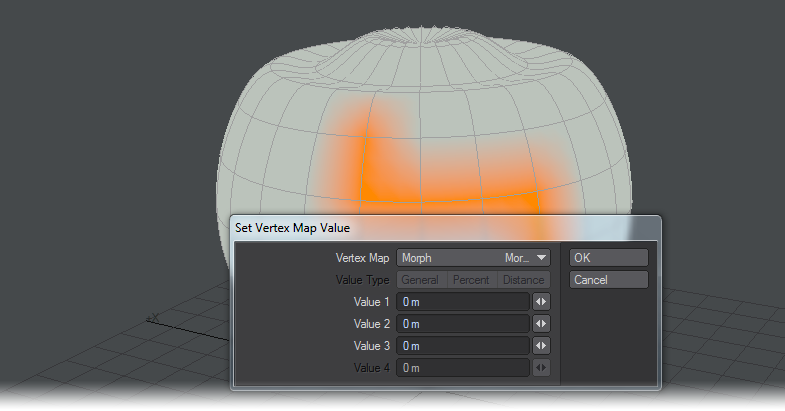
If you select a Morph Map, three values will be available. They correspond to the three axes (X,Y, and Z.) All selected points will be moved along a delta described by the numbers you enter. In other words, if you enter .3 in the middle (Y) field, all selected points will be moved 300 mm upwards from their Base values.
Color Map
If you select a Color Map, four values and three ranges will be available. The values are for Red, Green, Blue, and Alpha. The Ranges are General, Percent and Distance. It’s recommended that you don’t use the General field. The Percent is percent, of course. If you use Distance then 1m = 100%.
Don’t forget that if you don’t set the Alpha, in the fourth field, you won’t see the color on your map. (For full color, set it to 100%.) Using this tool with no points selected is a quick and easy way to make sure that all the points are in your Color Map. (Points with no assigned value are not the same as points with an assigned value of zero.)
Use this tool to assign all the points in your object to a Vertex Color Map if you are so inclined; but don’t use it to assign the colors. For that, it is much better to select the points, and then use the Point Color tool. It will give you a regular LightWave color requester. (But it will only work on selected points.)
Metaball
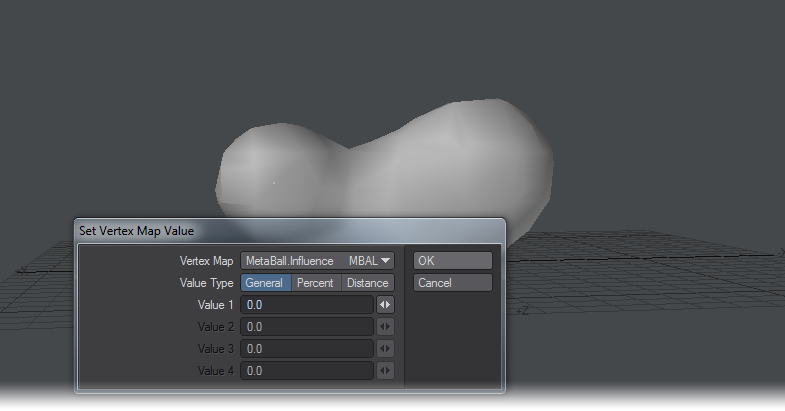
If you select a Metaball Map, one Value and three ranges will be available. The ranges are General, Percent, and Distance. They change the size of the Metaballs, and the distance at which they influence each other. Once again, any selected points, that is, Metaballs, will react to the numbers you enter in these fields.
This tool is not interactive; you won’t see your changes until you close the panel. All the fields in all categories revert to zero when the panel is closed.