Lathe Tool
(default keyboard shortcut Shift L)
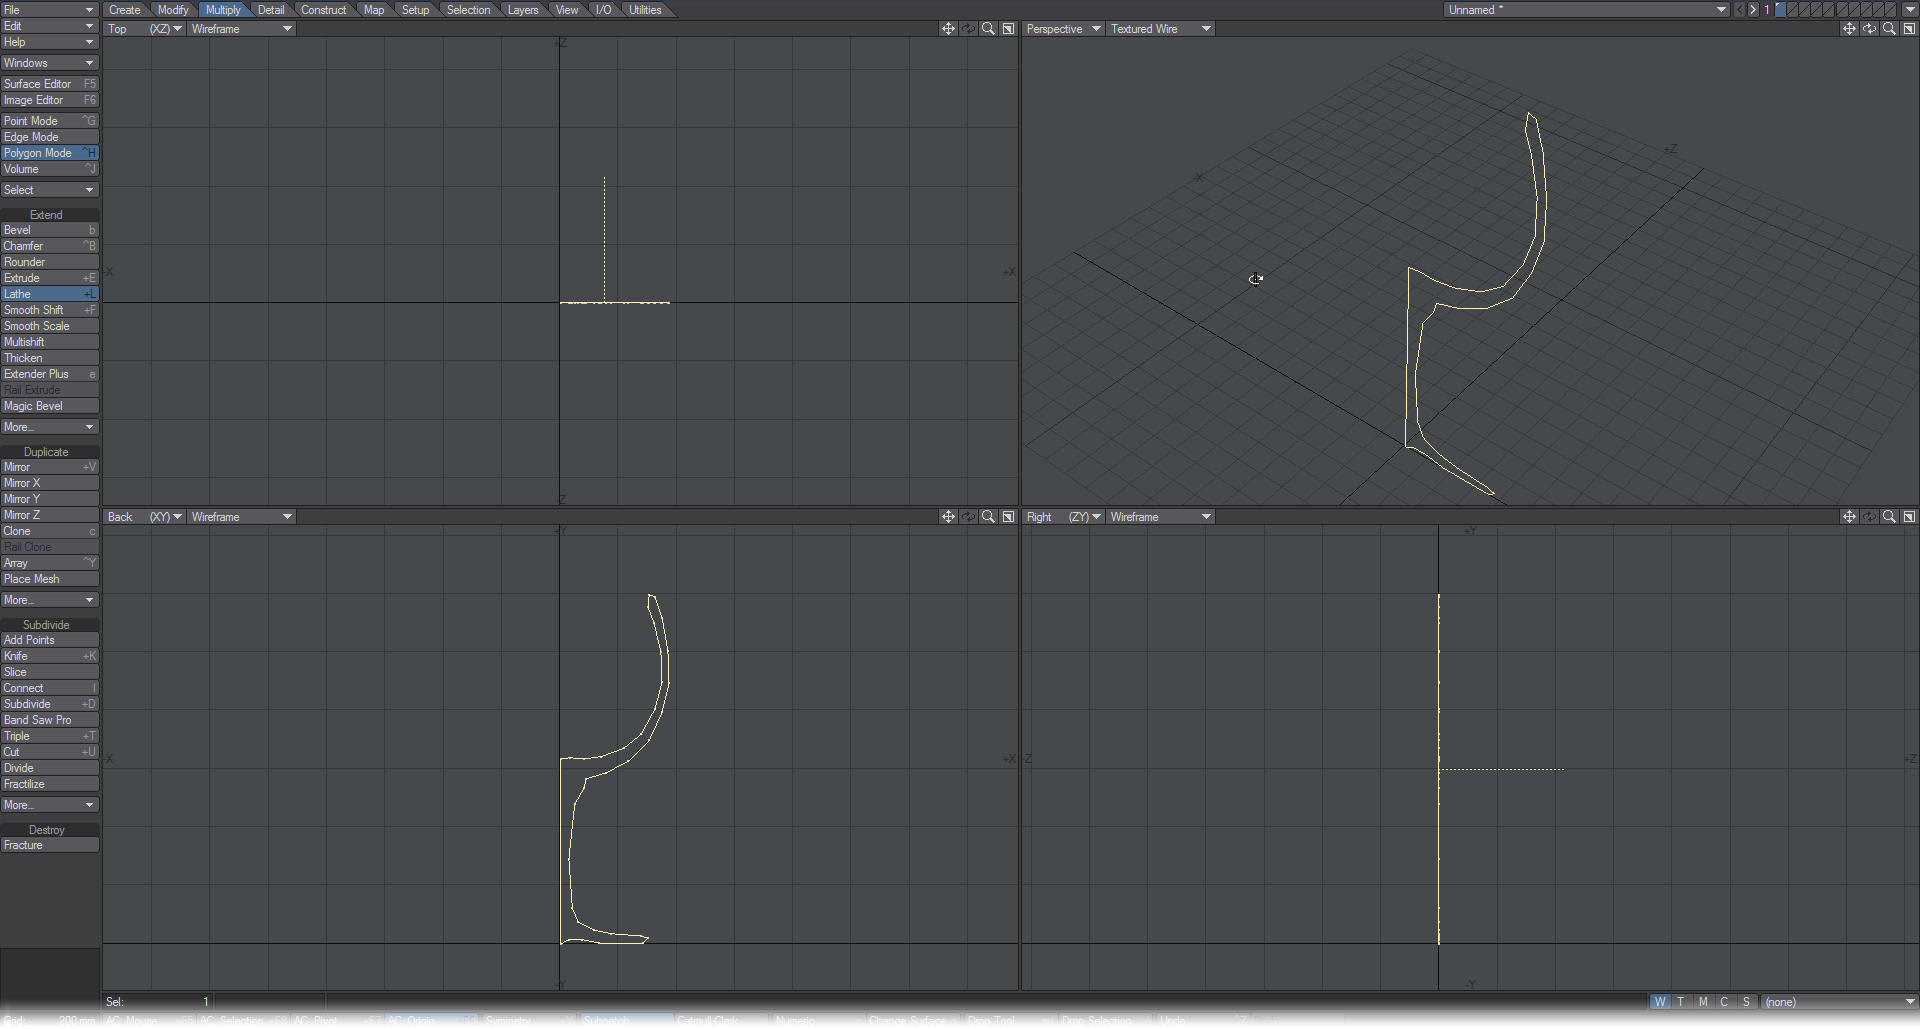
The Lathe tool (Multiply > Extend> Lathe) will sweep an object around an axis. Essentially, Lathe creates a cylindrical object with a profile of the original form. For example, if you lathe a circular-shaped polygon, you create a donut. You can sweep any two-dimensional object or curve. The classic use of this tool is to create a vase or bottle.
Dragging your mouse in a viewport determines the initial axis. The lathe axis has a cross hair at its center (the initial dragging point), which is used to drag the entire axis around. To change the angle, drag either end of the axis. You can also drag out the axis, which gives you more control over the effect, but the length of the axis does not in itself influence the impact of the tool.
You can Lathe polygons on multiple layers at once and the resulting shapes will be on the same layer as the original polygons or curves.
When you are satisfied, deselect the tool or select a different one to execute the edit. To cancel, simply click in an open area on the interface or click Undo.
Polygons may end up flipped. To correct them, simply choose Detail > Polygons > Flip.
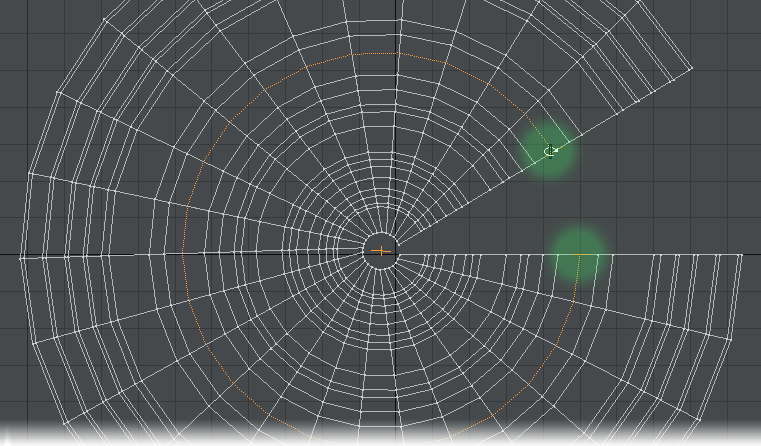
If you wish to change the number of sides in the lathed object (like the number of slices in a pie), you can use the Left and Right cursor keys. If you’d prefer to lathe less than a full 360 degrees, you can drag the handles as indicated in the following illustration. (Note: If the two handles are overlapped, you can still drag to separate them.)
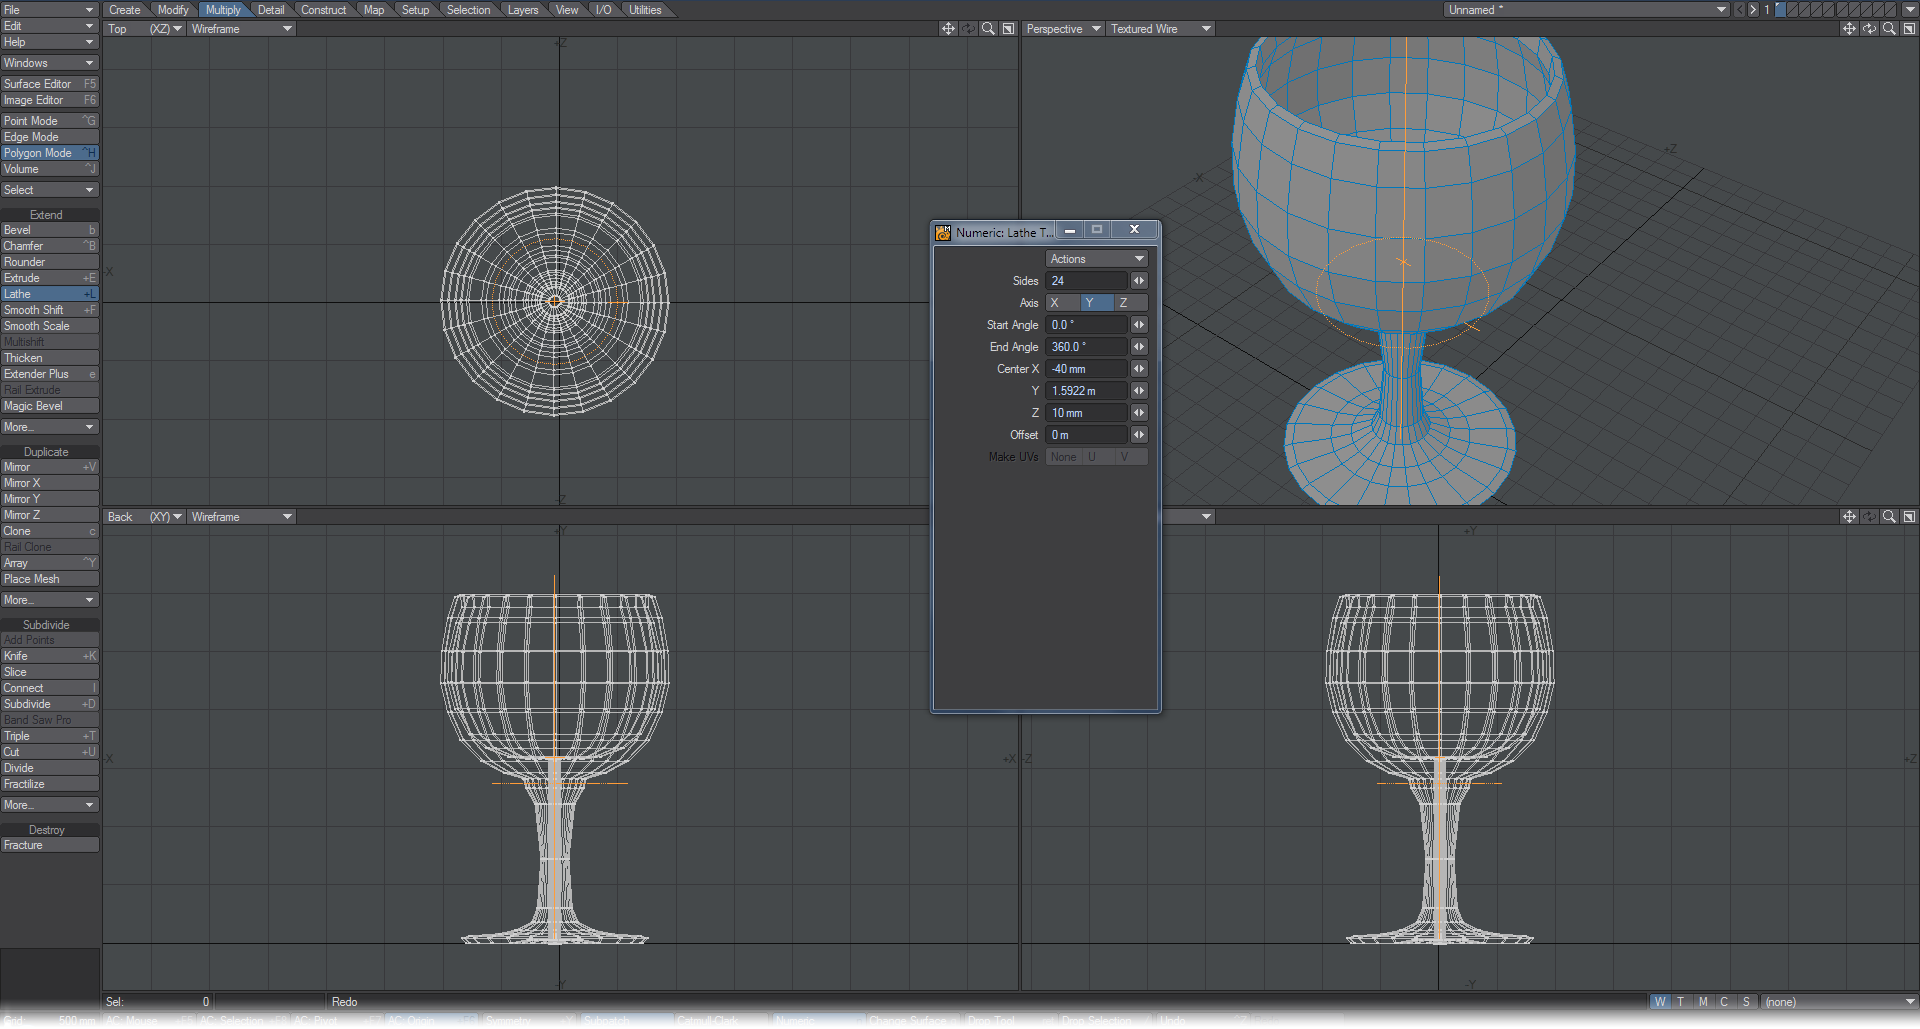
Numeric Options for Lathe
You can also open the Lathe tool’s numeric requester to numerically change settings.
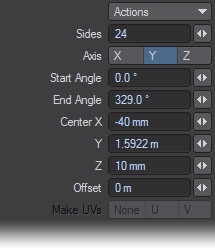
The Start Angle and End Angle fields let you enter the degree of lathing, Sides sets the number of sides, and Offset will shift the shape along the lathe axis. The Center values define the center of rotation coordinates.
To create a coiled spring: create a disc with, say, a one meter diameter. Select Lathe and place the axis about one meter to one side of the disc. Then, open the numeric requester and set the End Angle to 720 degrees (two full rotations), Sides to 48, and Offset to 2 m.
If you plan on using a high level of subpatching on your lathed object, eight sides will usually suffice for most round subpatched objects.
Make UVs Option
The Make UVs option at the bottom of the numeric panel assigns some default UVs based on the geometry of the object. Note that a UV Texture Map must be currently selected or this option will be ghosted.