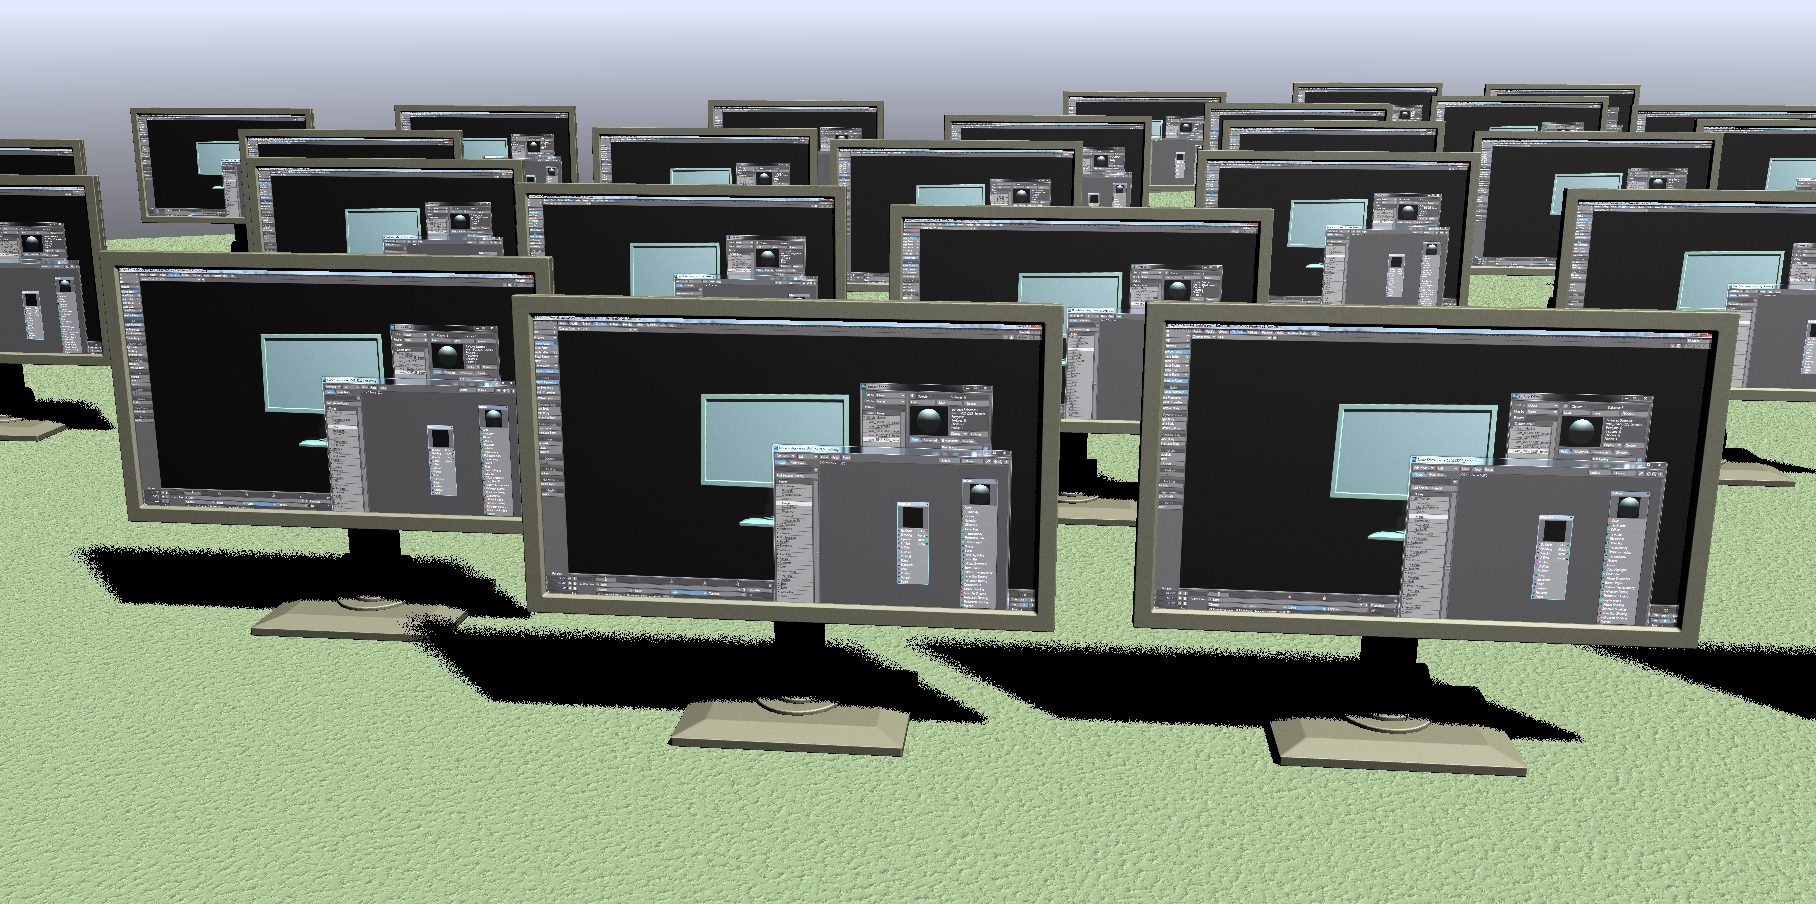
Example - Monitor Screens
A project requires you to have monitor screens showing different images. Using Instancing means it is simple to have a large quantity of monitor screens, but showing different images?
In order to show different images we will need to use the Node Editor for texturing. First we will create a Gradient with several entries. You do not need to change anything about these entries except to toggle Show Output on each key, change the Smoothing to Step and the Post Behavior to Repeat.

How many keys depends on how many different images you have. We are using four for this example, so we add five keys - one for each image and one for the repeat. This last one does not need its output shown.

Use a 2D Texture > Image node for each of your images and a Spot > Instance Info node. Put the ID Index output from Instance Info as the Input for the gradient and load an image into each Image node and send its Color output to appropriate Key Color node on the gradient. You can also use the Fixed Random output from Instance Info, but then you need to be sure the keys on your gradient are at integer values. You can of course use image sequences instead of still images to have a set of television screen in a department store, for example.

Using an image sequence works with instances, but using an image sequence copied in the Image Editor (instanced) fails upon scene reload. If you need to modify a sequence, then just use a new original sequence to prevent the failure.
Using Material Nodes (Multi Switch Node)
Material nodes are a special case when used with instancing. You can clearly use one Material node with random coloring on its inputs, but having completely different materials applied to individual instances is a different matter. There is a special node designed for this purpose.
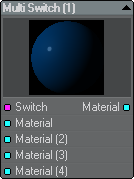
The Multi Switch node allows you to switch between different Material nodes based on the instance ID. Here’s how to set it up:

- Once you have instances set up, open the Surface Editor and click on the Node Editor.
Add the following nodes to your flow:
- Spot > Instance Info
- Materials > Multi Switch
- Materials > Car Paint
- Materials > Dielectric
- Materials > Conductor
- Connect ID Index on the Instance Info node to Switch on the Multi Switch node, and then Material on the Multi Switch node to the Material input on the Surface node.
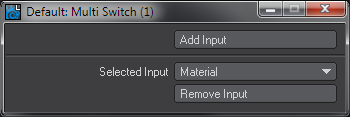
- Open the options for the Multi Switch node and click Add Input until you have three inputs in total on the Multi Switch node.
- Connect each Material output on the Material nodes to each successive Material input on the Multi Switch node.
If using ID Index as the Instance Info input, every instance will cycle or switch through each of the Material nodes you have connected in the Multi Switch node, if you want to randomize the chosen materials, add a Random Integer node (Tools > Random Integer). Connect the ID Index to the Seed input on the Random Integer node, then the Out node to the Switch input on the Multi Switch node as shown in the diagram above.