Example - Chocolate Sauce Donut Drape
Introduction
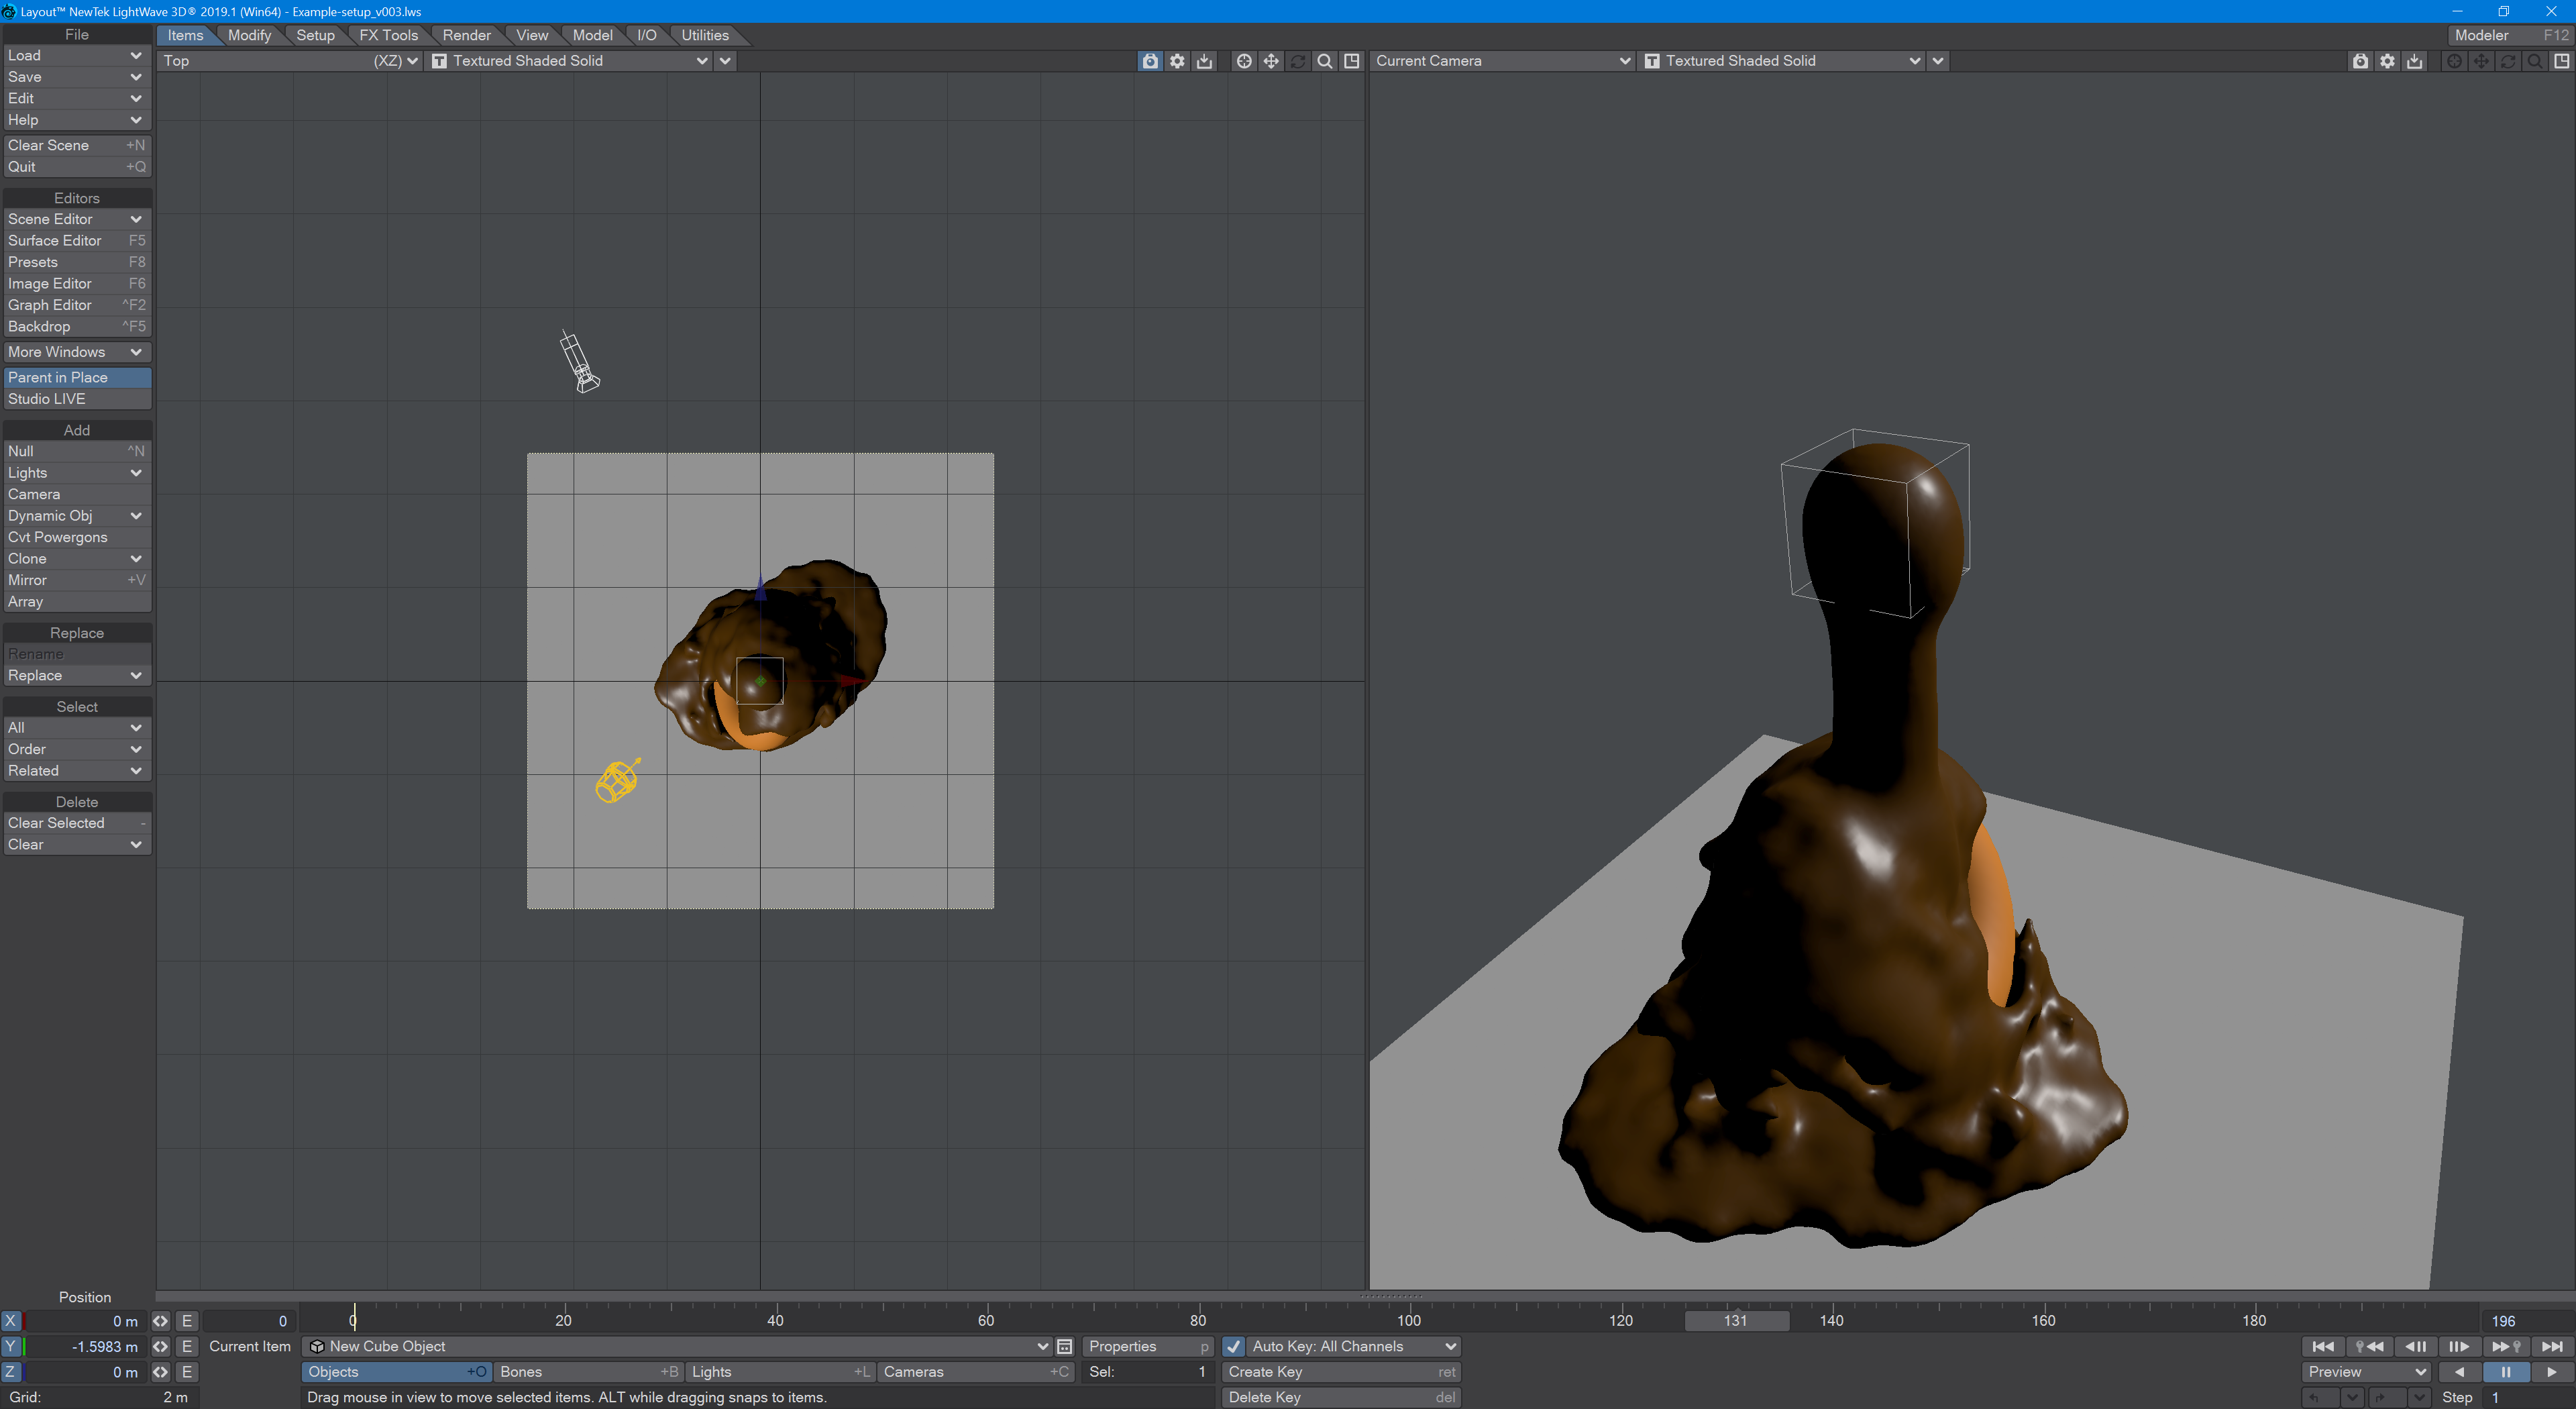
Here's a simple, yet gooey, example to use with the new VDB particles. Imagine, if you will, a donut on a spit, with chocolate sauce pouring down from above.
Scene setup
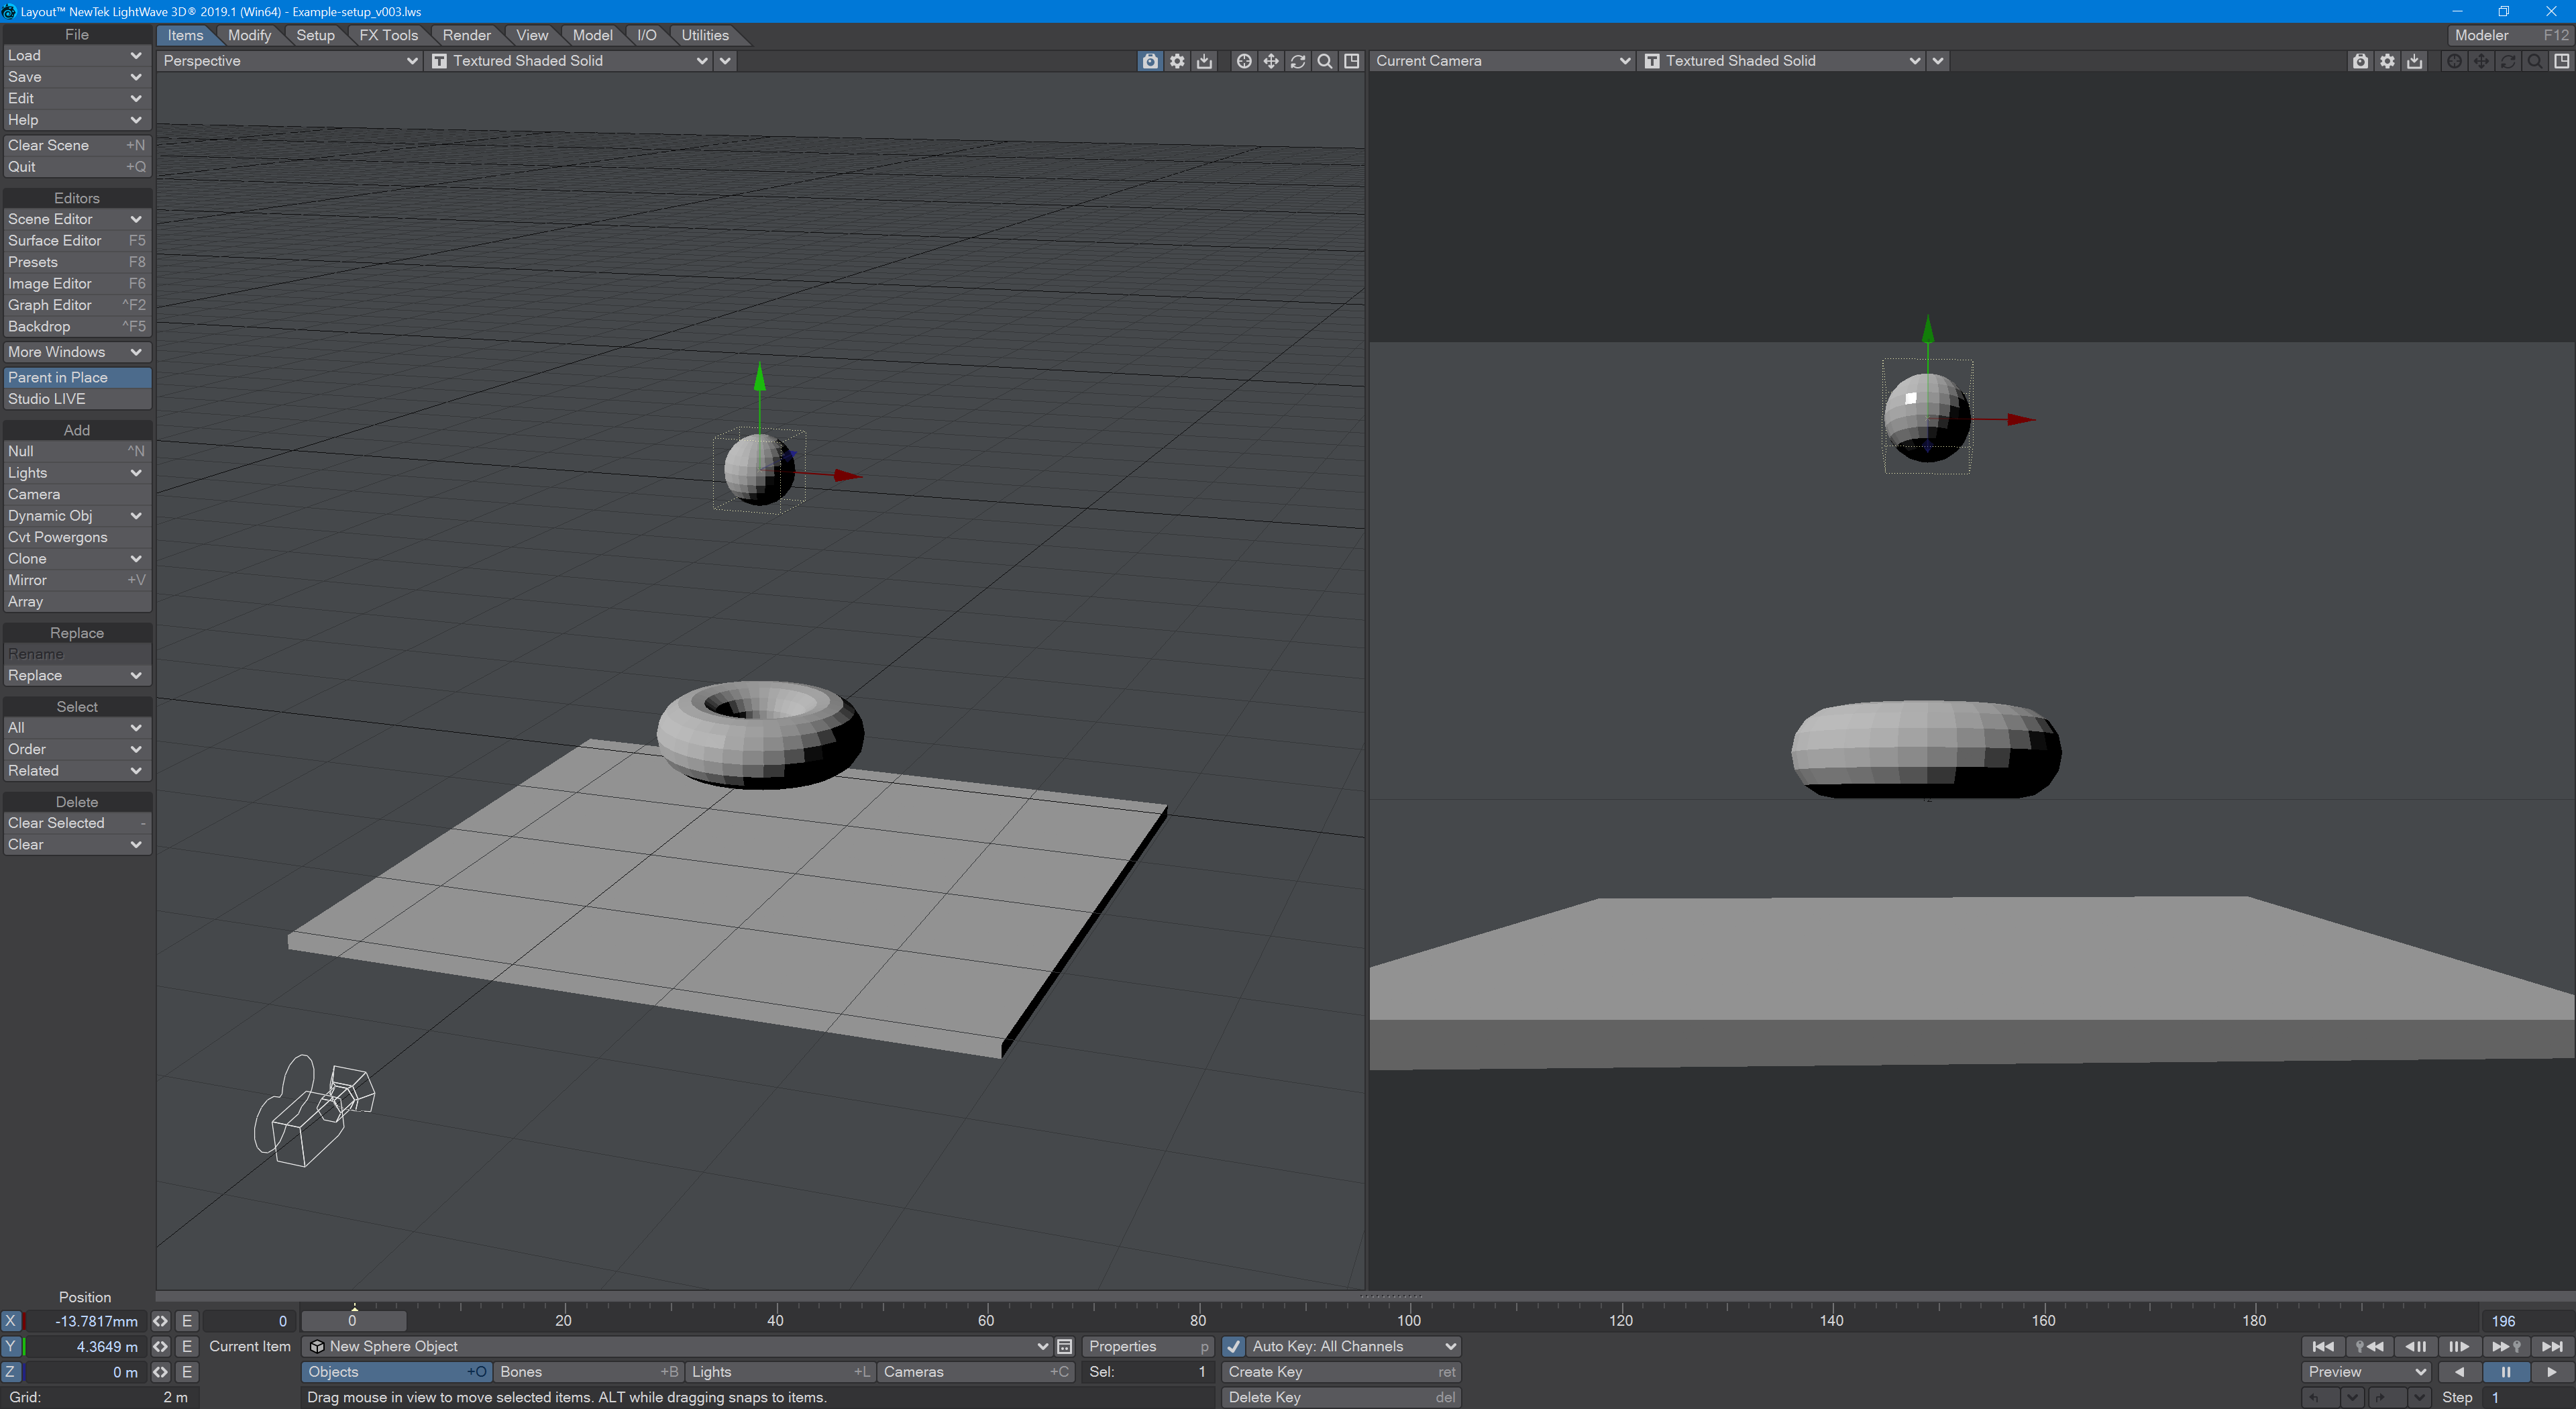
First, we'll need some scene objects. Our donut, of course, then a floor to catch any drips - we don't want to waste chocolate, even if it's virtual. If you are using the Layout modeling tools, as I am, for this exercise, then the standard Layout Toroid is fine. Then, model a box that's about 5 m square and about .2 m thick. Lastly, we want a standard 1m tessellated sphere to act as our chocolate source. That's it for the modeling portion of this tutorial, apart from to add a null we'll call VDB. Position VDB above the toroid, allowing enough space for the donut to rotate around. Position the floor a bit below the Y=0 line, and the donut a bit above, so that it hits neither the floor nor the null while rotating.
Perpetual donut rotation
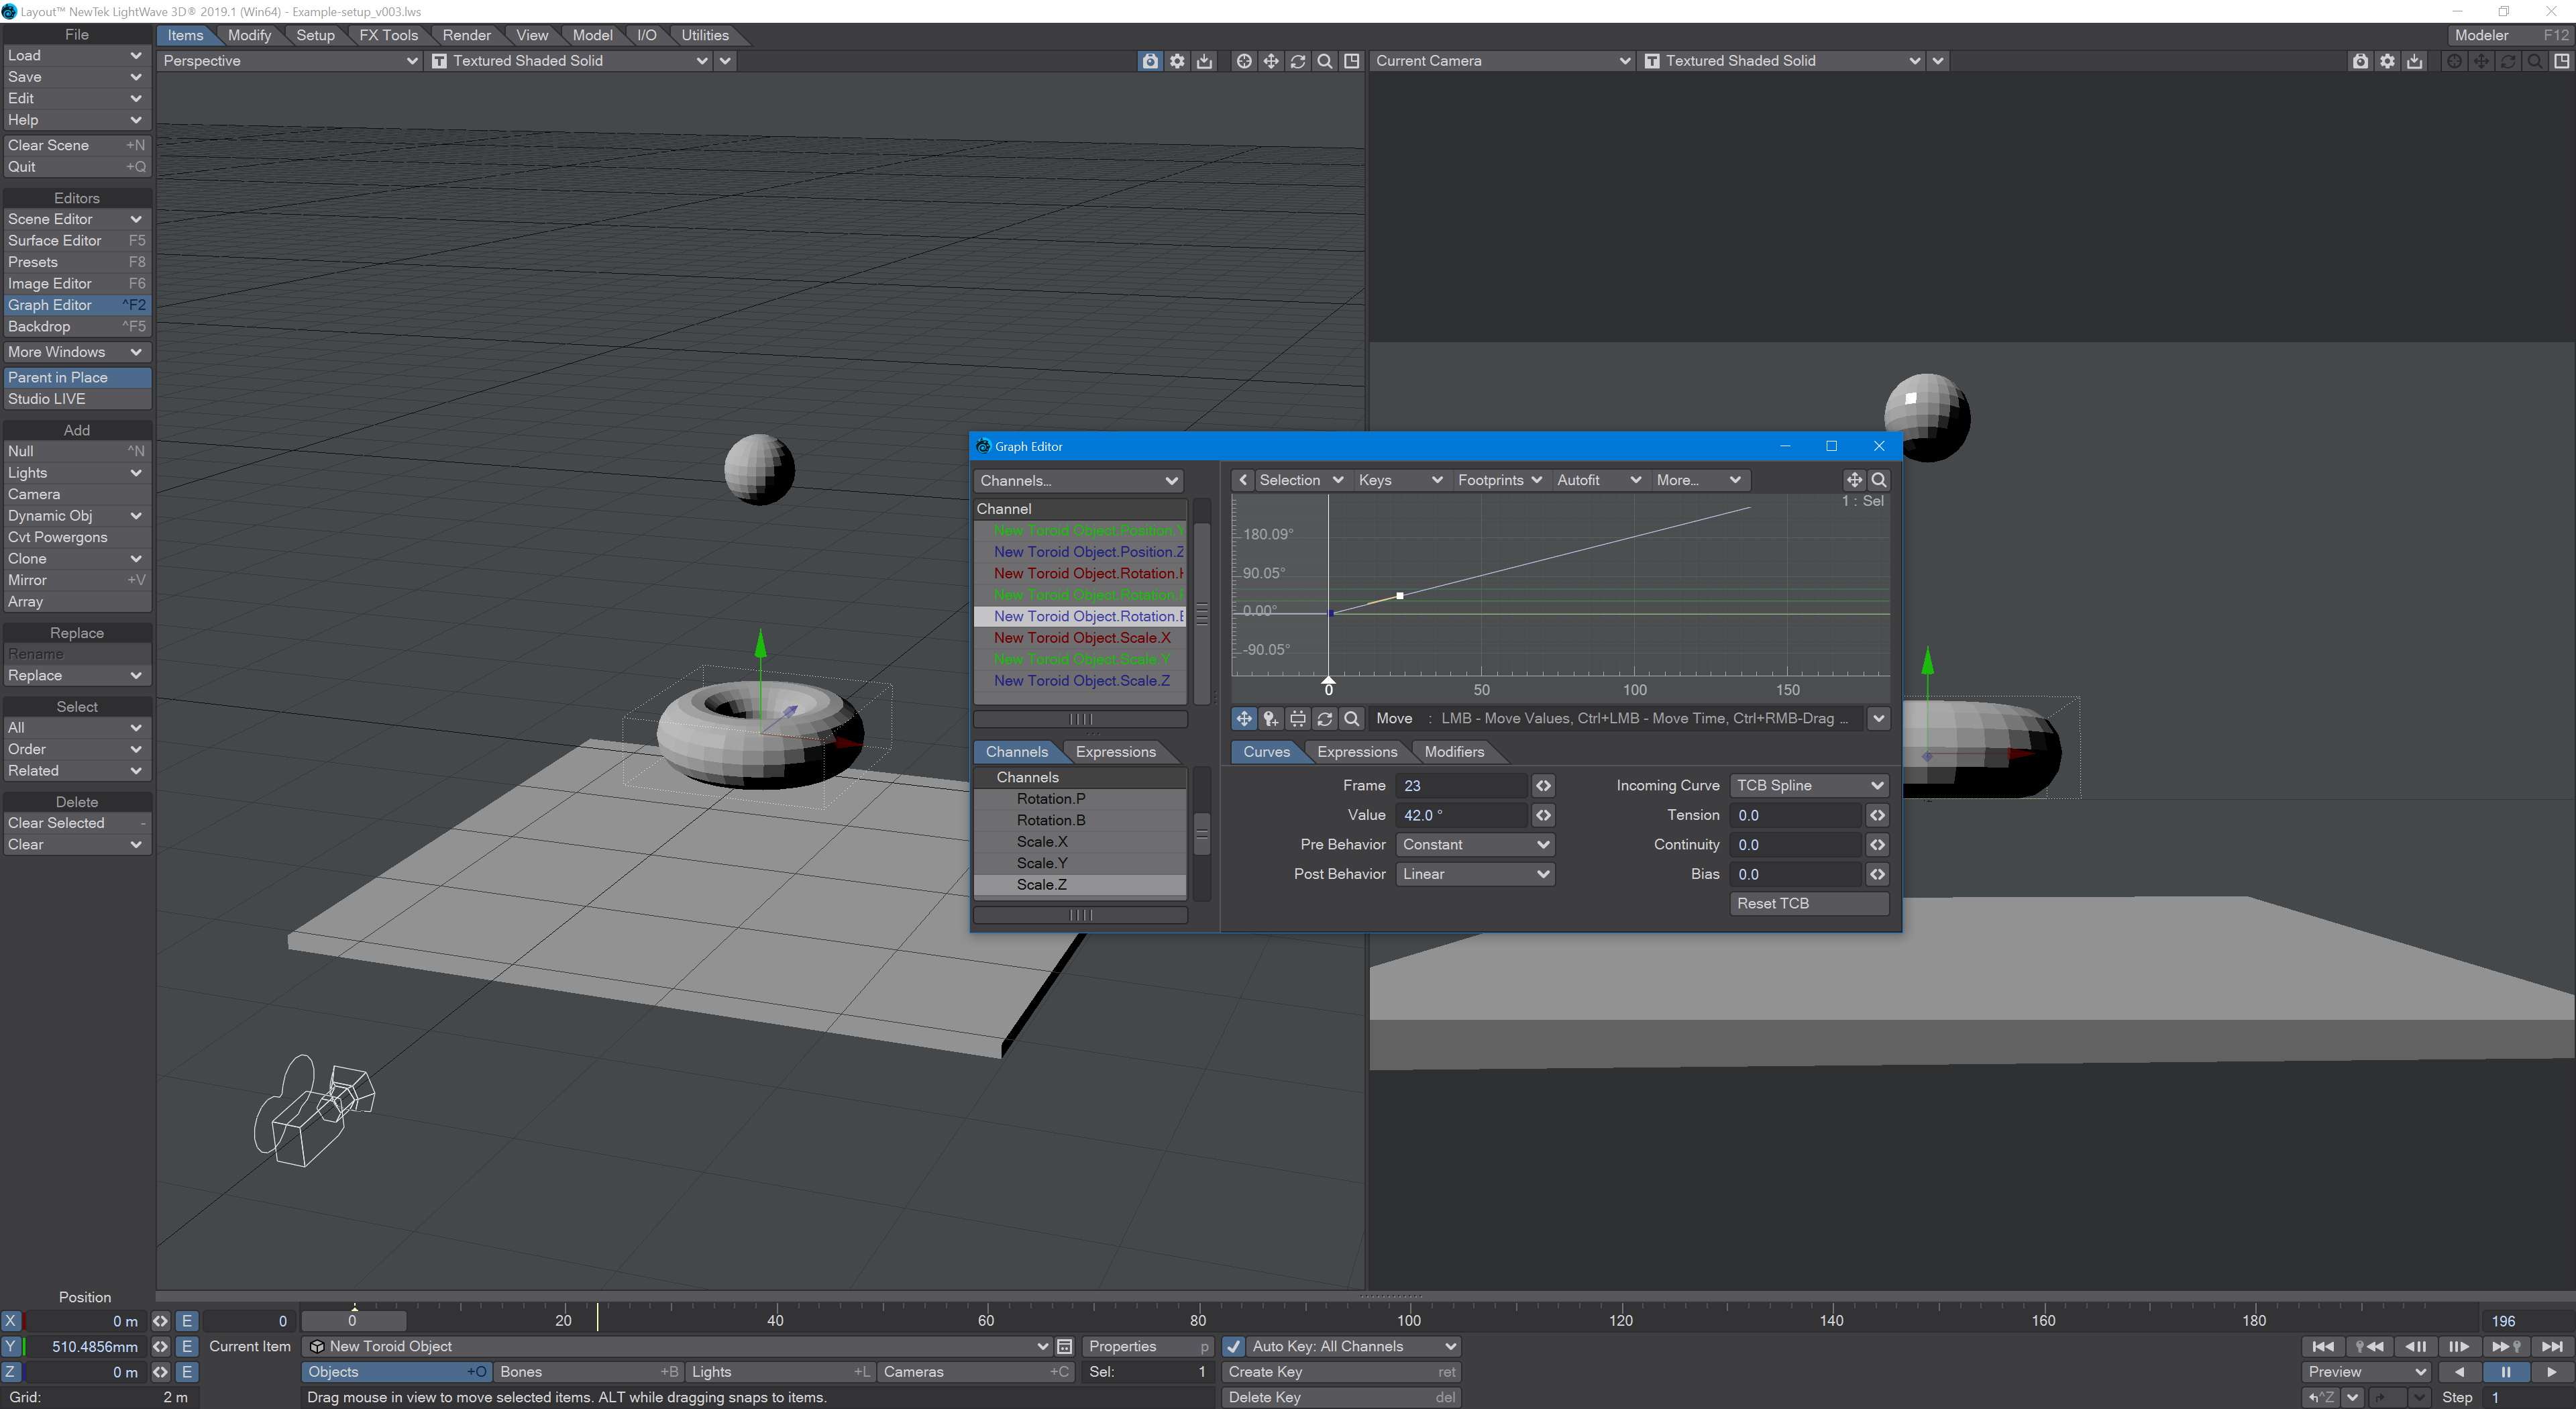
To set the donut rotation up, go to frame 23 and change the Bank rotation for the donut to something like 42°, then go into the Graph Editor by clicking the E next to the field and set the Post Behavior to Linear. You should be able to play the scene and see your donut spinning freely. If you feel it's too manic, or too slow, for you change that keyframe value.
VDB Setup
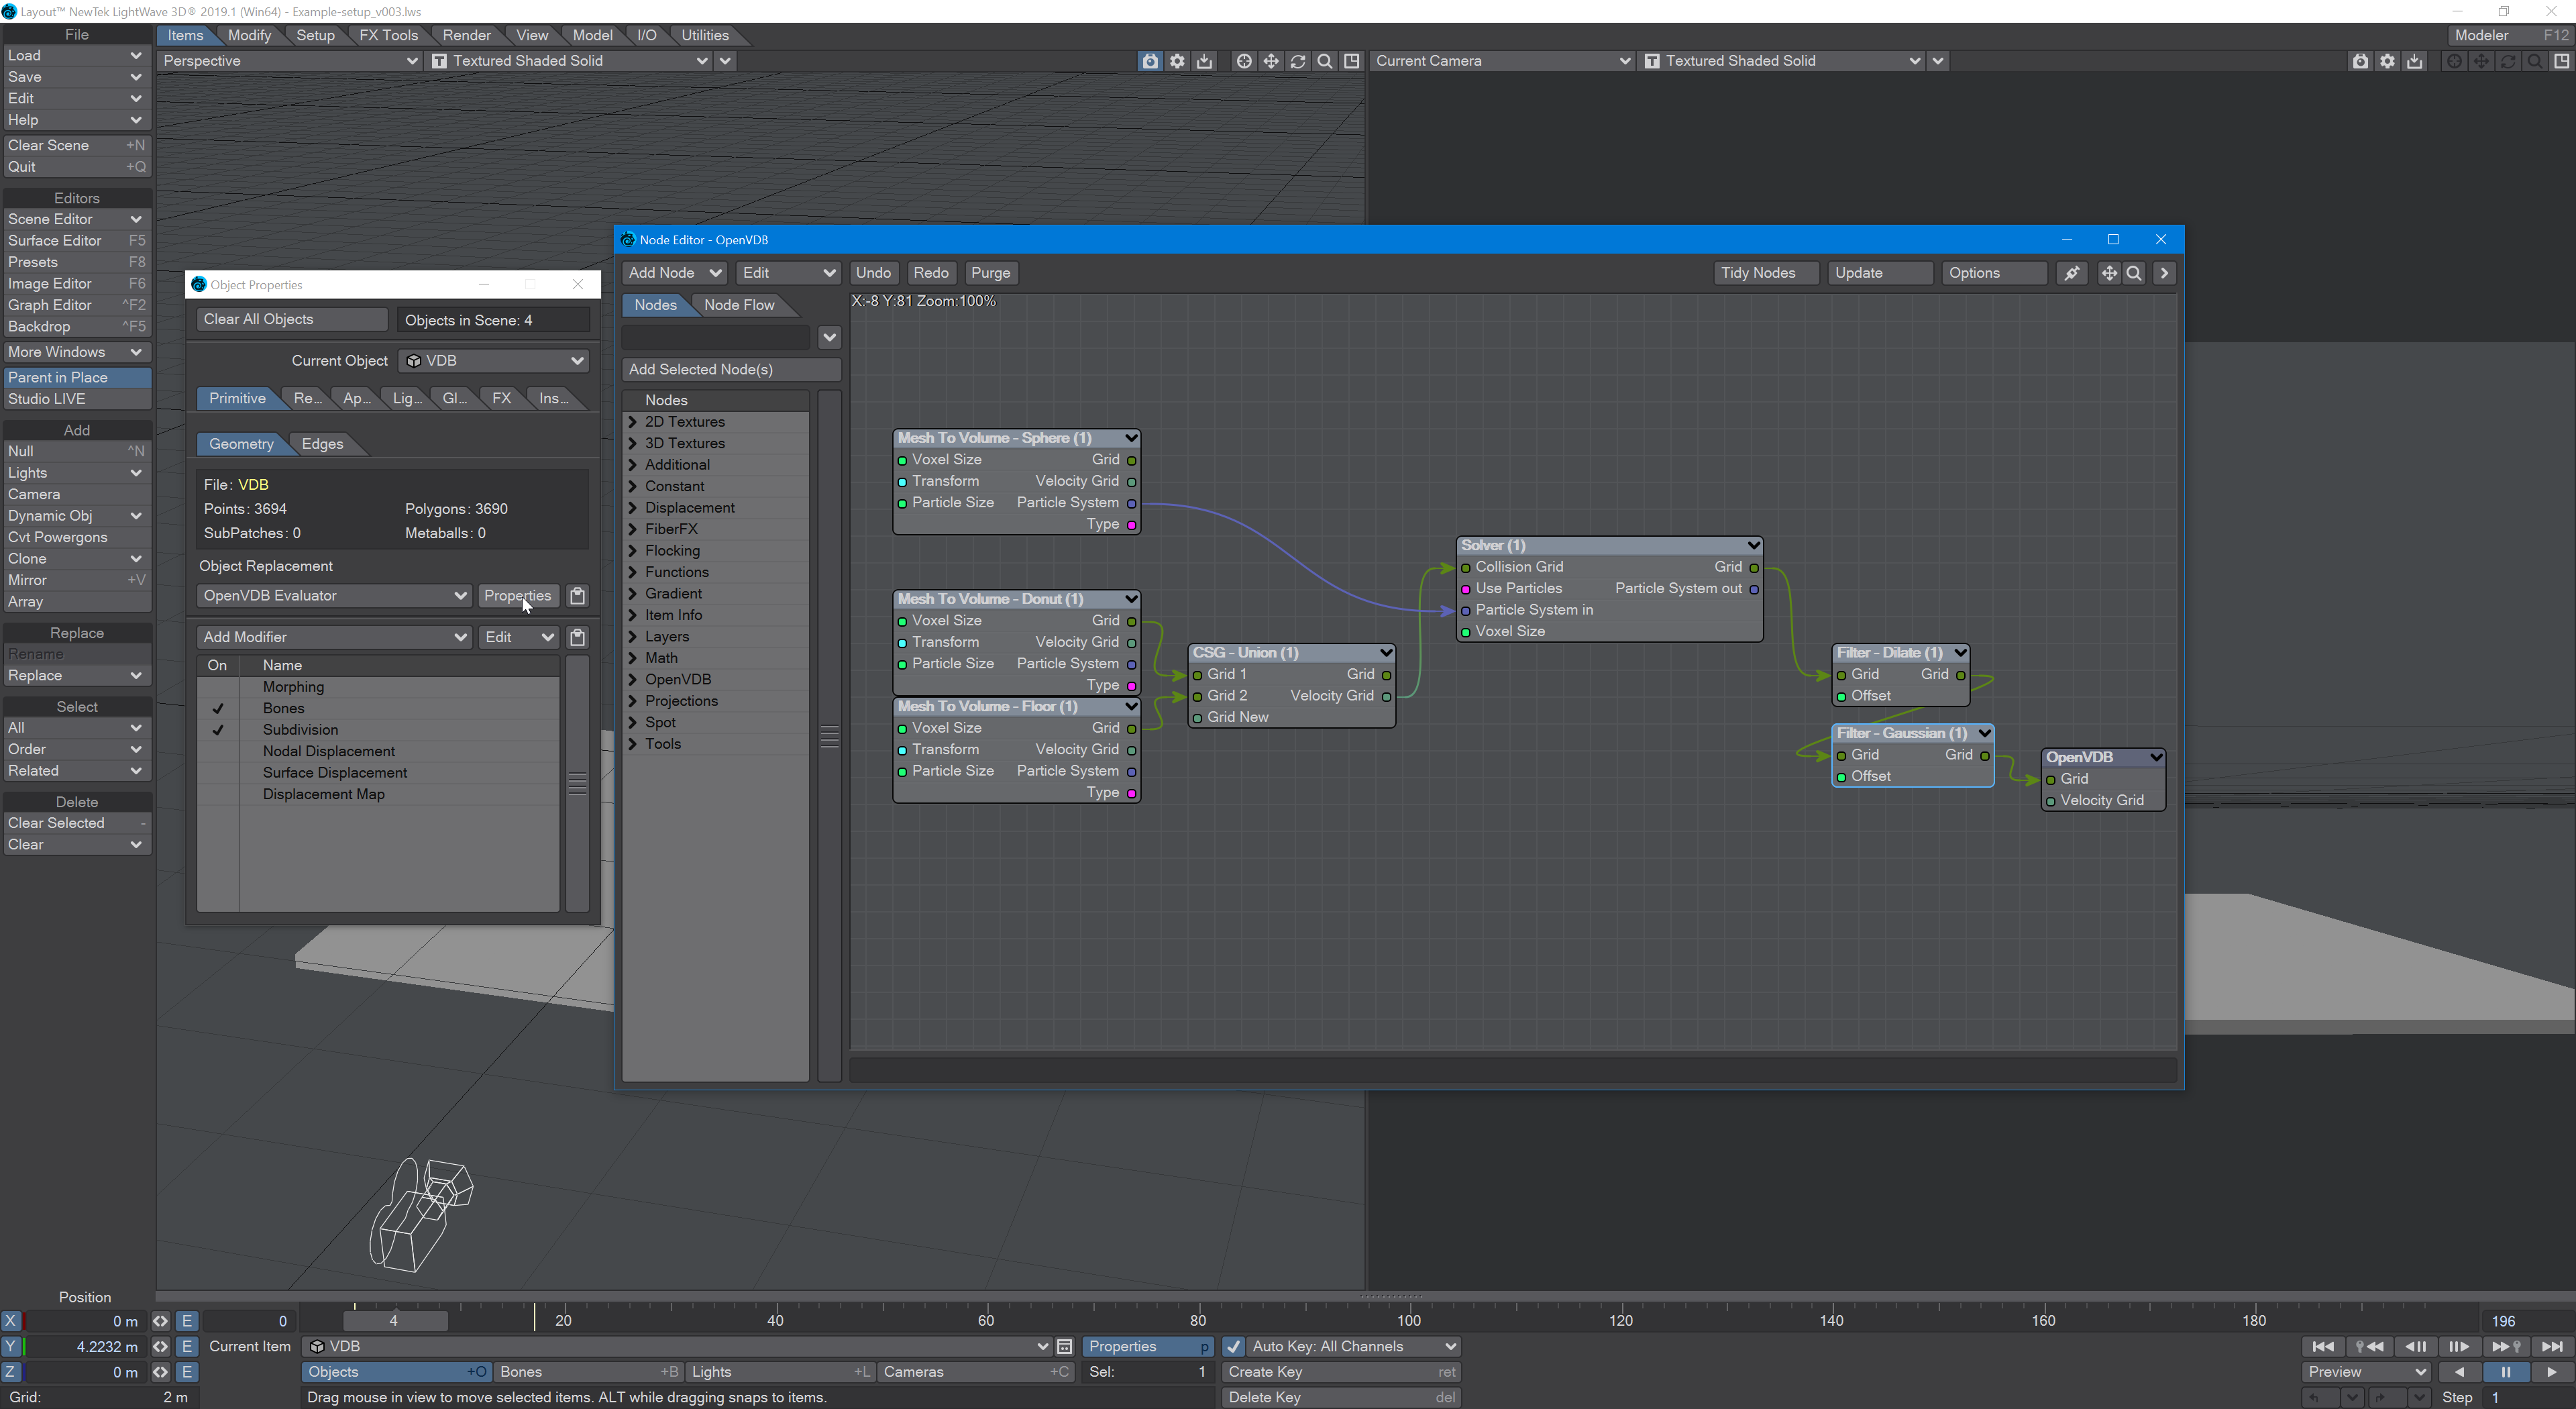
For our scene to work, we need to convert all of our scene objects into VDB objects. We can do this by opening Properties for our null called VDB. Set the Object Replacement to OpenVDB Evaluator, and hit the Properties button to open the Node Editor where we will add three Mesh to Volume nodes. Set them all to Level Set (the solid sort of VDB) and also set their space from Local to World. In the Target Mesh drop-down, set the first node to New Sphere Object; the second to New Toroid Object, and the third to New Cube Object. Our destination Grid node only allows for one Grid input, so we need to combine the two collision VDB objects. We can do this using the CSG node, so take the Grid outputs from the two Mesh to Volume nodes for the donut and floor and pipe them into Grid 1 and Grid 2 on the CSG node. The order doesn't matter.
Making the Particles
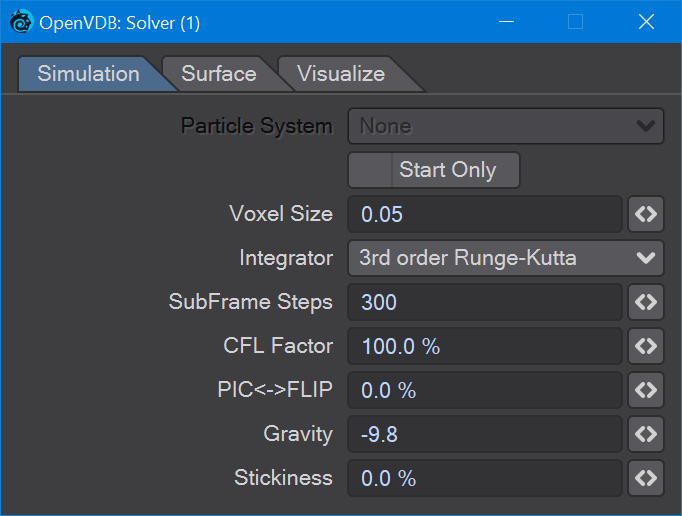
To create our chocolate sauce, we need to bring the grid from our sphere Mesh to Volume node into the Particle System In of a Solver node. Change the Integrator to 3rd order Runge-Kutta and increase the SubFrame Steps to 300. Adding some of the elements on the Visualize tab can make your particle fluid simulation easier to understand. To make sure our particles bounce off our donut and floor, bring the Grid output from the CSG node into the Solver's Collision Grid input. We have now done enough to be able to take the output from Solver and pipe it into the Destination node's Grid input.
If you make a Preview now, things should animate nicely, but our chocolate looks very grainy. To cure this issue, add a pair of Filter nodes. Make the first one Dilate and the second Gaussian and take the output from the Solver, into one, then the other filter nodes and finally into the destination node.
Finessing the Scene
Right now, we're pouring concrete over a spinning concrete ring before it hits a concrete floor, so let's at least make our chocolate sauce look more... chocolatey? Make sure you have your CS set to sRGB and change the RGB values for your VolumeMesh in the Surface Editor to:
R 21 G 8 B 0
Set the Roughness to 40 %, and Smoothing to On.
For the donut, we want that just-fried orange:
R 161 G 53 B 5
with Roughness at 60 % and Smoothing on.
Our floor can stay concrete. We do not need to see the sphere that serves as the target for our molten chocolate ball, so hide it from the scene and from the render using the Scene Editor (Ctrl F1).
Last points
In the attached example scene, we have given the camera some kinetic animation using the new navigation controls. Feel free to tone it down...