Instancing
About Instancing
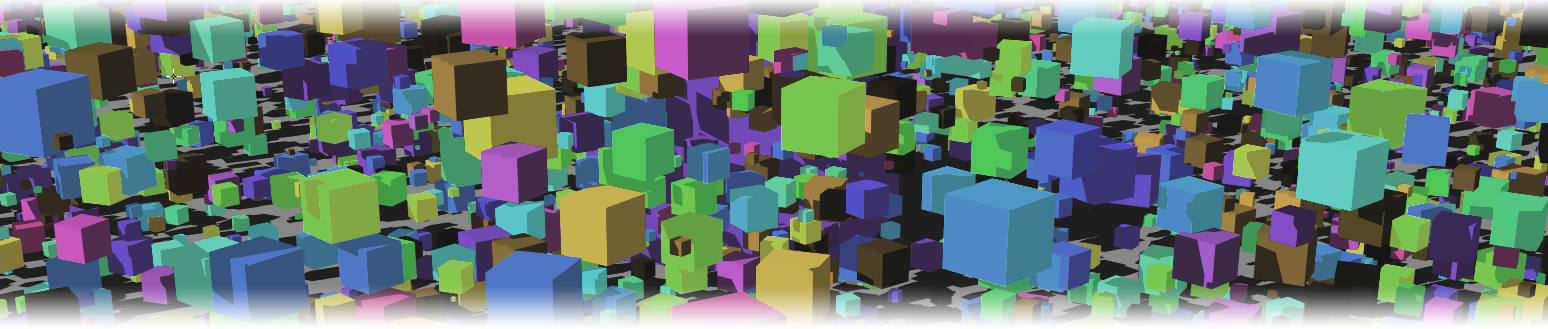
Instancing allows vast duplication of objects in a scene with very little overhead. With instancing huge ‘virtual’ polygon counts can be achieved allowing the artist to populate their scenes with incredible detail, yet retain reasonable render times and memory usage.
While instances can be thought of as clones of the original source objects, they do not need to look identical. They can be randomly scaled, positioned, rotated and even surfaced entirely differently from the source, allowing for a huge variety of uses.
The Instancer Tab on Layout’s Object Properties panel is where the action happens. The selected object in the Object Properties panel will be the point source for the Instance Generator, once it has been added to the source object. Several instancing distribution methods are provided.
Instances can be displayed in OpenGL as normal objects, bounding boxes, as points, or not at all, as the user chooses and are fully supported in VPR.
Instances work with Classic, Dithered and Photoreal Motion Blur and Surfaces can be varied among the instances.
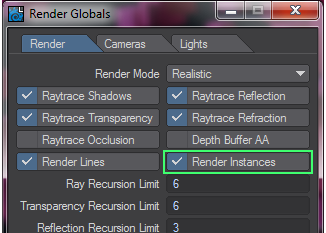
You can directly enable and disable rendering of Instances in the Render Globals > Render tab.
Getting Started with Instancing
To get you going with Instancing, we’re going to make a very simple example purely using Layout that should whet your appetite for knowing more.

Start by visiting the Modeler Tools tab and use the Create > Cube and Create > Ground Plane buttons. You can leave the settings for these exactly as they are.
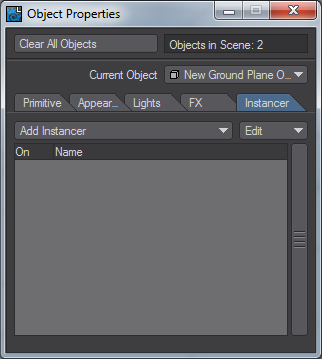
Make sure the Ground Plane is selected and go into Object Properties by hitting P on your keyboard or the Properties button at the bottom of the Layout interface.
Go to the Instancer tab and choose Instance Generator from the dropdown menu.
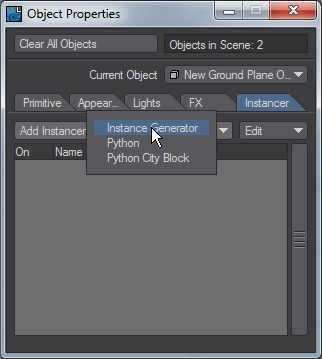
Double click Instance Generator and from the Add Object dropdown choose New Cube Object. Congratulations you’ve made an Instance. Right now, its Type is Item Pivot and since the Ground Plane’s pivot is in the same place as the Cube’s, the instance you have created is in the same place.

Let’s make things more interesting. Change the type to Surface and put in 1000 instances. They are all overlapping, so let’s shrink them down and position them more dynamically.

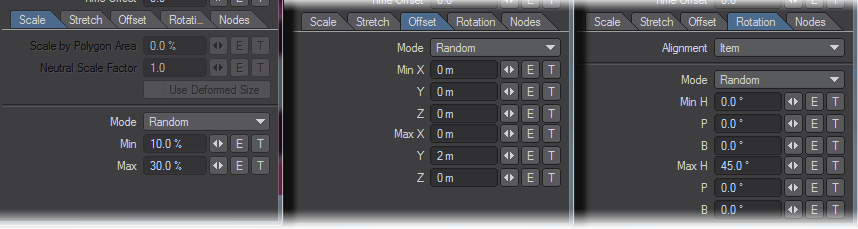
In the Scale tab set the Min to 10 % and Max to 30 %. In the Offset tab just change Max Y to 2 m. In the Rotation tab set Max H to 45 °.
Now play. Use VPR to show your cubes rendered instead of those blue bounding boxes. Up the quantity of Instances - try a million or more!