New GI with primary and secondary bounce plug-ins
Introduction
![]() The Monte Carlo radiosity engine has been removed in LightWave 2020, and scenes made in previous versions will be adapted on load. The two GI engines are now Brute Force and Irradiance Cache, an interpolated radiosity engine. Brute Force is, as its name suggests, an unbiased radiosity engine, and will have no blotchiness but may have noise if too few rays are used when rendering.
The Monte Carlo radiosity engine has been removed in LightWave 2020, and scenes made in previous versions will be adapted on load. The two GI engines are now Brute Force and Irradiance Cache, an interpolated radiosity engine. Brute Force is, as its name suggests, an unbiased radiosity engine, and will have no blotchiness but may have noise if too few rays are used when rendering.
Irradiance Cache relies on caching to create noise-free, blotch-free renders. There are three sorts of cache - a scene cache, a frame cache, and a grid cache - each has their uses, described below.
Primary and Secondary Engines
LightWave now has two radiosity render engines. You can use whichever suits your scenes, but something to bear in mind is that the Secondary engine if used, is the one that will be calculated first. If you are using the Irradiance Cache engine and have no caches baked already, pressing F9 will pre-process a cache at render time. This cache is not permanent, so pressing F9 again will not use the cache from the previous render, and will instead pre-process again.
If you are using both engines, bake the secondary cache first, then primary. The primary cache will sample the scene again. If the rays cast hit a location that was already baked in the secondary cache the primary cache will use that result. If not, new samples will be generated. Once the primary cache is baked to your satisfaction, the secondary cache will no longer be evaluated (and can even be deleted if you are satisfied with your primary cache and need the disk space).
Brute Force settings
LightWave's unbiased Brute Force type is a new implementation based on Monte Carlo but decoupled from the Interpolated version of the engine. Using Brute Force on its own will result in long render times, but there will be no blotchiness, only noise if too few rays are used. There are only a few controls:
- Intensity - (Default 100 %) You can dial up the radiosity, or reduce it to make its influence on the render more subtle
Caustics - (Default Off) Caustics are the flickers of light through a wine glass, or on the side of a swimming pool. They weigh heavily on render time, so only turn them on where necessary for the shot. If you have surfaces with SSS in your scene they will impact caustic rendering time even more
Images courtesy Olivier Michon using PBDSF SSS

Asymmetry 0.5 caustics OFF
Asymmetry 0 caustics OFF
Asymmetry -0.5 caustics OFF


Asymmetry 0.5 caustics ON
Asymmetry 0 caustics ON
Asymmetry -0.5 caustics ON
- Affected by Volumetrics - (Default Off) Adds volumetrics into the radiosity solution, which can seriously impact render times
- Rays - (Default 1) Rendering with a single ray will be fast, but it will also be noisy. The more rays you add, the less noisy your renders get, but you'd get rid of the noise faster if you use Secondary GI as well
|
|
|
|
|---|---|---|---|
| 2. 100 rays BF, 97s | 3. 300 rays BF, 289s | 4. 1 ray BF + IC at defaults, 41s |


These F9 test renders are not big, but they allow me to quickly see what sort of radiosity I should throw at my scene. The first render (1) is just with the default 1 ray of Brute Force. It renders in 6.5 seconds, but it is too noisy, so I up the rays to 100 (2). That renders in 97s, but it's still too noisy. I set a render off with 300 rays (3), and not only does it take 289s, which is close to my time budget for a render this size, but I still have some noise. I choose to add secondary GI, using Irradiance Cache for my render (4), which takes 41s. It still has some noise, but I can live with it at that speed of render.
Even better, if I try an F9 render with Primary and Secondary both on Irradiance Cache (after having baked a cache), I get this in only 7.3s:

Irradiance Cache Settings
Irradiance Cache does work well in VPR, but if you haven't pre-baked a cache, it might be blotchier than you expect. A cache doesn't have to be baked for F9 renders since creating a cache in pre-processing will be done as part of rendering, but if you have the time to bake, then final renders, and re-renders, will be faster.
The settings start the same with Intensity, Caustics, Affected by Volumetrics and Rays (though the default for rays is 512), then there's:
- Interpolation Accuracy - (Default 25 %) The lower the percentage, the smoother (less accurate) the result will be, but the more likely that light will leak. Higher percentages may leak to increased blotchiness necessitating increased samples and slower renders
- Minimum Pixel Spacing - (Default 2.0) Minimum Pixel Spacing (or MinPS). This figure determines the minimum size, in screen space, of the sample taken for the radiosity. This setting is only available when the Screen Clamping option below is checked
Maximum Pixel Spacing - (Default 200.0) Maximum Pixel Spacing (or MaxPS). This figure determines the maximum size, in screen space, of the sample taken for the radiosity. This setting is only available when the Screen Clamping option below is checked
You need to strike a balance with your min and max sizes for your sample areas. Too big a MinPS, and your contact shadows (where the feet of a table touch the floor, for instance) will be blurry and ill-defined. Too small, and your renders will slow down unnecessarily. The same goes for your MaxPS. Try to keep proportions similar (if you are working on a whole building seen from a distance, both Min and Max can probably be large. If you are working on a desk render 1 might not be too small for MinPS, and your MaxPS might be 50)
- Minimum Size - (Default 50 mm). This is the sample size in LightWave world space. This setting is available when the Screen Clamping option below is unchecked. You could be rendering an image of a room at VGA size (640x480), but there will be a sample taken at every 50 mm even if such fine details won't be seen given the limited resolution
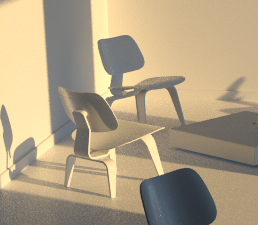
Distance Tolerance - (Default 50 mm). The first measure to see if another sample is called for is a straight linear distance measurement. Regardless of whether the MaxPS has been exceeded, this measurement determines that a new sample is required
In the example above, Sample 1 is a new sample added, and the camera is now looking for Sample 2. Normally, Sample 2 should not be taken at the location indicated because you can see that it lies within the MinPS we have set. However, it is also outside the Distance Tolerance set for this render and will be taken at this location after all.
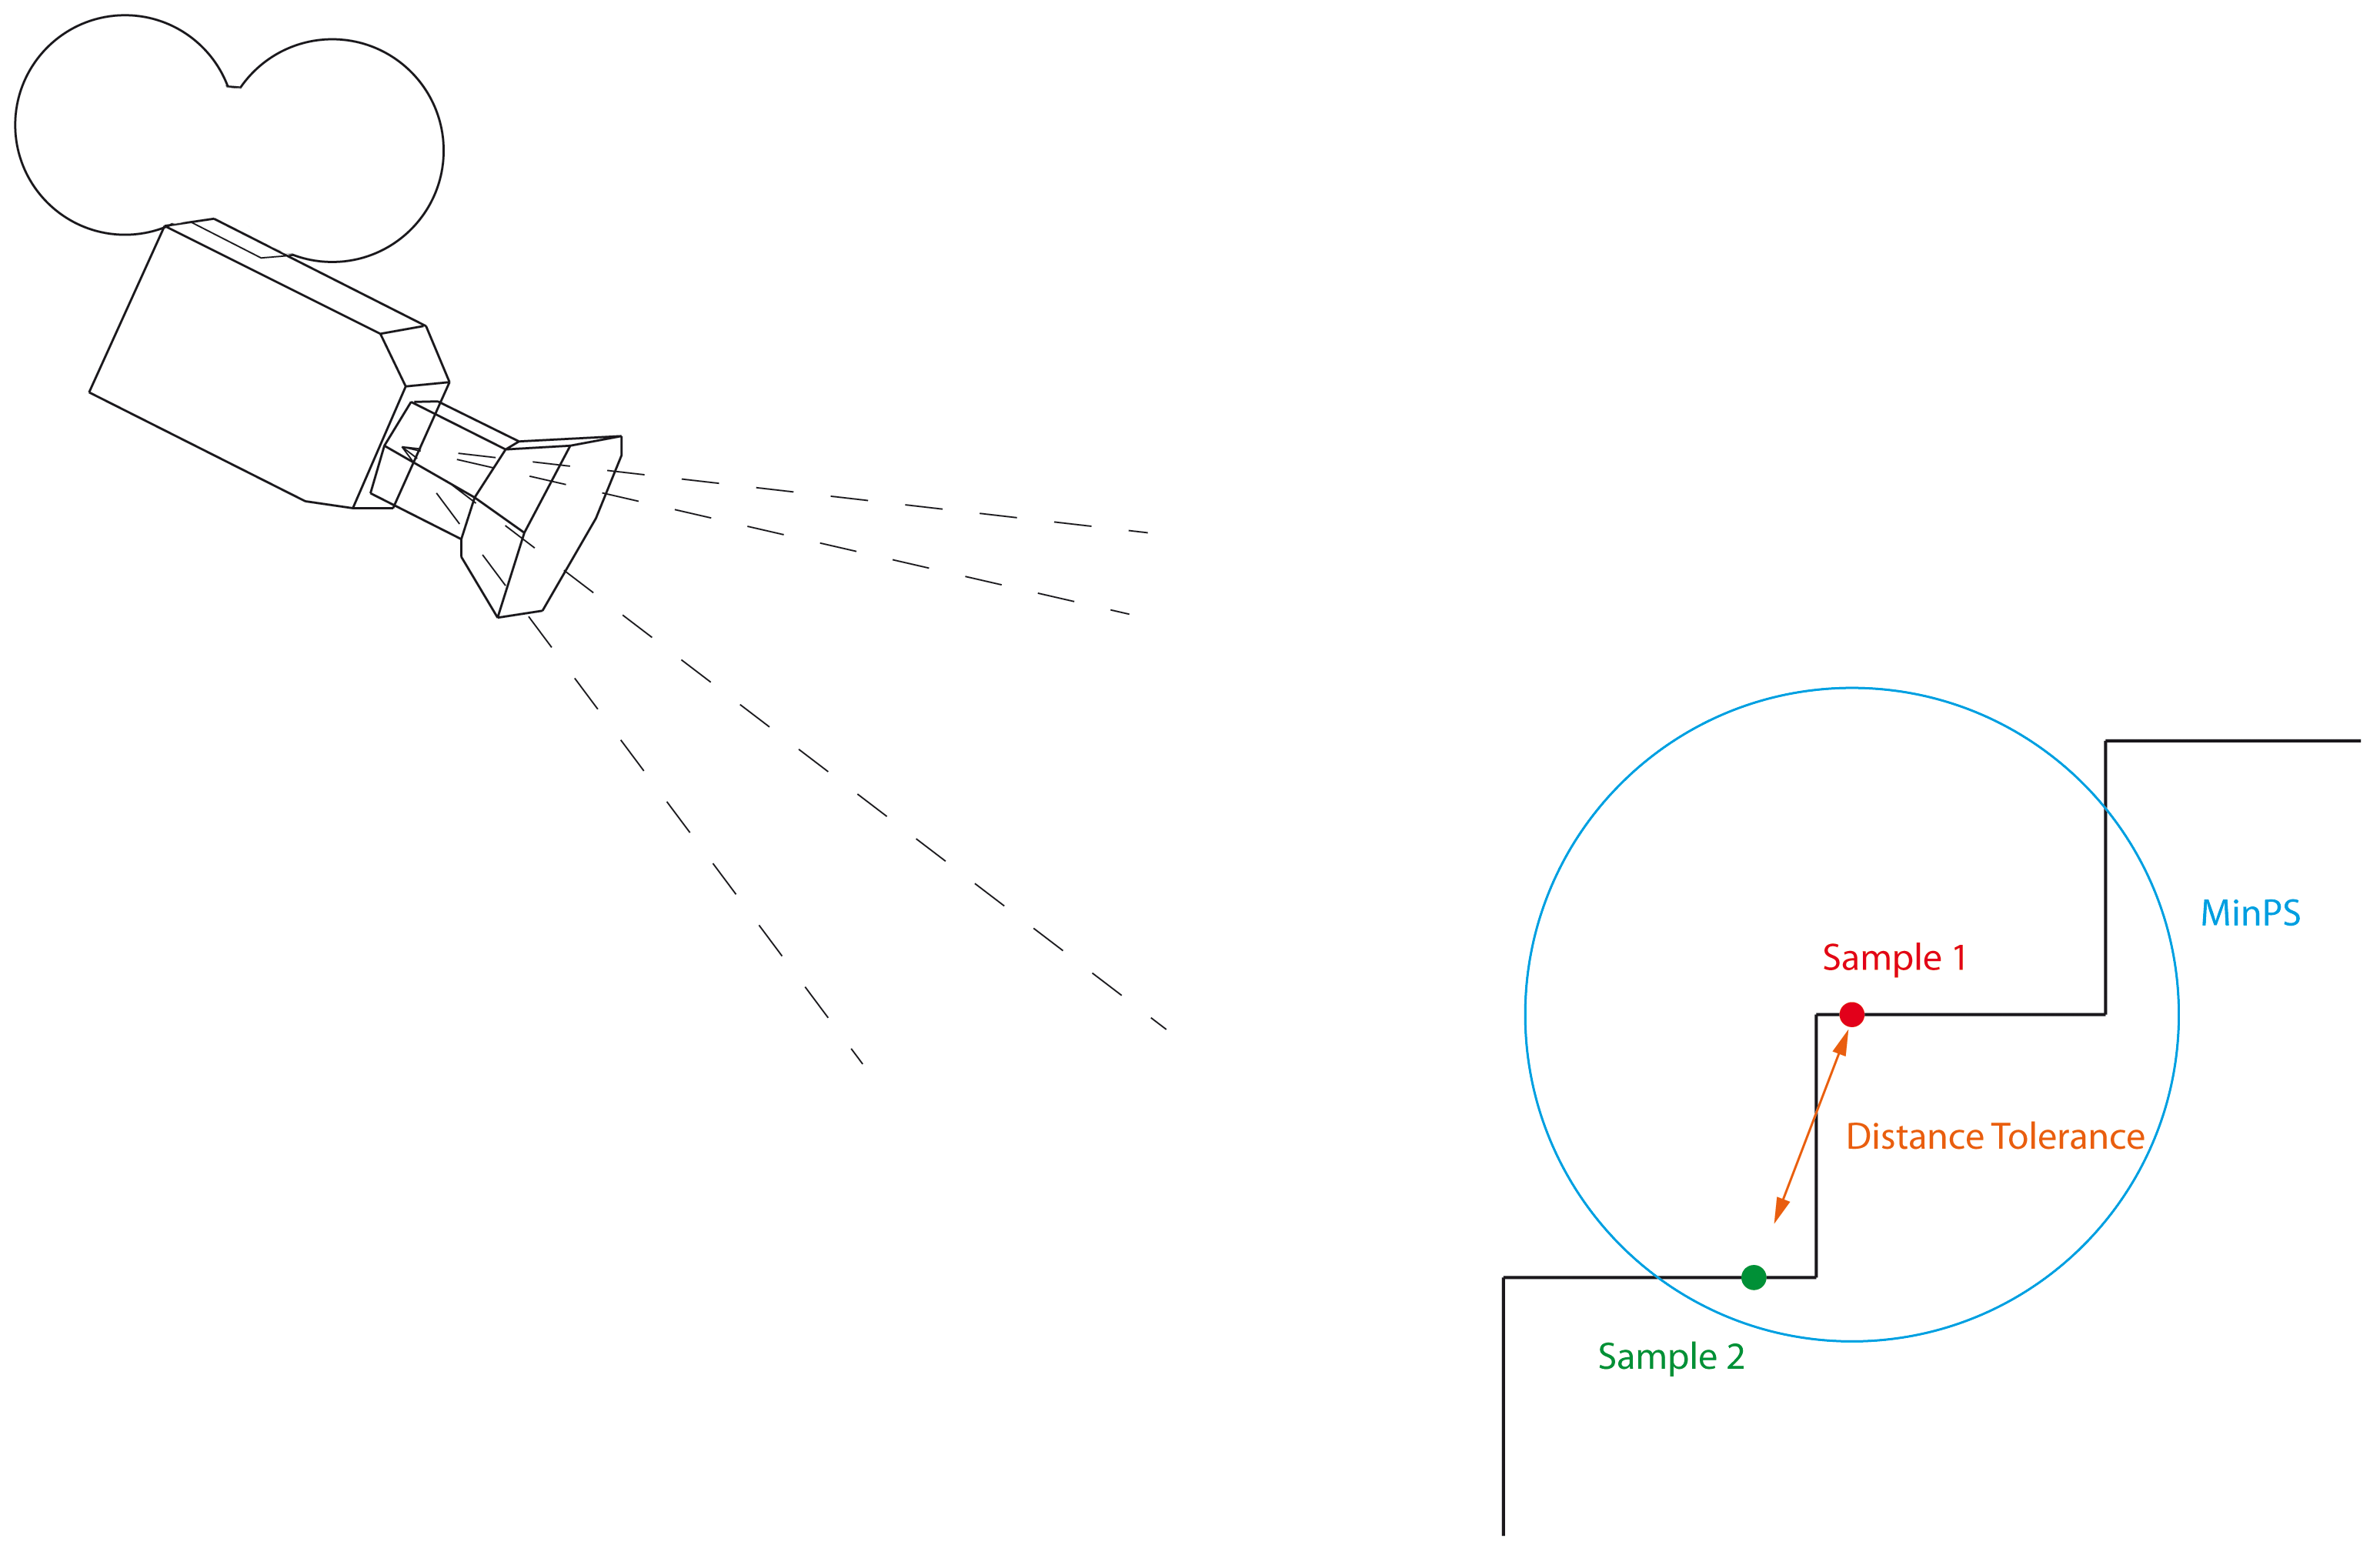
Angular Tolerance - (Default 2.0 °). The angular tolerance is based on the normal of the sample. If two samples are taken within this tolerance, one will be rejected
The image above shows a simplified diagram of how Angular Tolerance works with a rendered sphere (stay with me...). Sample 1, in red, is a new sample added. Sample 2, in green, is not added because it comes within the Angular Tolerance set. The blue version of sample 2 is added, even though it is within the MinPS radius.
- Screen Clamping - (Default on) Determines whether screen pixel size determines samples (MinPS and MaxPS), or physical size (Minimum Size)
- Use Specular - (Default on. Will be ghosted if you don't have Use Cache checked) Determines whether or not to use specular samples in preprocessing for radiosity
- Use Glossy - (Default on. Will be ghosted if you don't have Use Cache checked) Determines whether or not to use glossy samples in preprocessing for radiosity
- Use SSS - (Default on. Will be ghosted if you don't have Use Cache checked) Determines whether or not to use SSS samples in preprocessing for radiosity
- Resolution Multiplier -You can render the radiosity solution for your scene at a higher or lower resolution than the final image. Rendering at a lower resolution will speed up the radiosity portion of the render but will leave contact shadows less defined
Disk Caching
Bake the secondary cache first. Once satisfied that it has baked correctly for your scene, bake a primary cache (presuming you are using Irradiance Cache for both radiosity engines). Once the primary cache has baked, the secondary Irradiance Cache engine will no longer be evaluated.
- Use Cache - Toggle for the disk cache. If secondary GI is engaged, the secondary cache should be baked before Primary GI cache
- Cache Type - Two choices:
- Frame - Useful for scenes with animated objects or light sources
- Scene - Useful for scenes where there is only camera movement - an architectural visualization walkthrough, for instance
- Cache File - The location on the disk where the cache file will be stored. Cache files are named with a .lwics extension for scene caches, and icfn.lwicf for frame caches where n is the frame number
- Clear Cache - Destroys the cache file in the location set in the Cache File field
- Scene Baking Frame Step - What frame interval between caches
- Bake Grid - A Grid Bake walks a virtual 360 ° camera through the bounding box of your whole scene, taking samples at intervals set in the Grid Spacing field. Note that if you have the main body of your scene concentrated in one area, and some elements stored off to the side, Bake Grid only considers the whole bounding box for the scene and will thus spend time baking empty space
- Grid Resolution - Size in pixels squared of the cache "images." There's little point baking a cache at a higher resolution than your final render, and you can often get away with baking a cache at a lower resolution though contact shadows might suffer
- Grid Spacing - The bounding box for your entire scene is split into a grid, in all three dimensions, based on the resolution entered here
- Bake Frame - Bake a single frame of a scene. Useful if there are troublesome radiosity artifacts without a cache
- Bake Scene - Bake all the frames for a scene based on the Scene Baking Frame Step above. Normally, if you are baking a grid, the render times for each frame bake should accelerate as samples are added, and fewer and fewer new samples are needed
Cache Baking Considerations
- If you have both engines engaged, and they are both Irradiance Cache, you should have a cache baked for each. Otherwise, there will be pre-processing when you render with F9 or F10
- If you are baking a scene with only camera animation, a Cache Type of Scene will suffice; if you have any other animation (of lights or objects) you will want to use a Cache Type of Frame
- Red dots are new samples taken when baking
- Baking a scene will generally see baking times fall with each frame
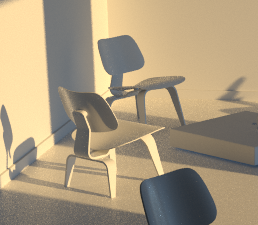
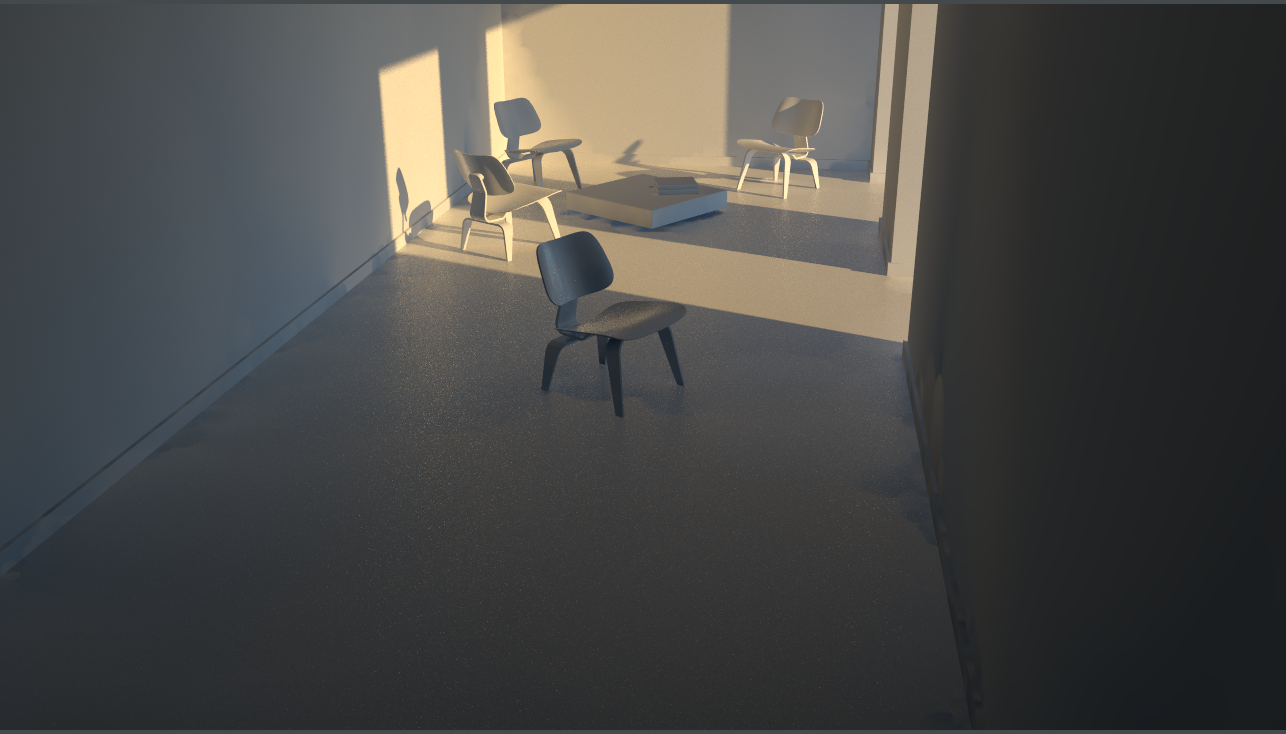
Example
This simple scene is a rough guide to how baking works with this scene
| Setup | Result | Notes | ||
|---|---|---|---|---|
| 1 | VPR, no caches baked | 82s | Blotchy |
|
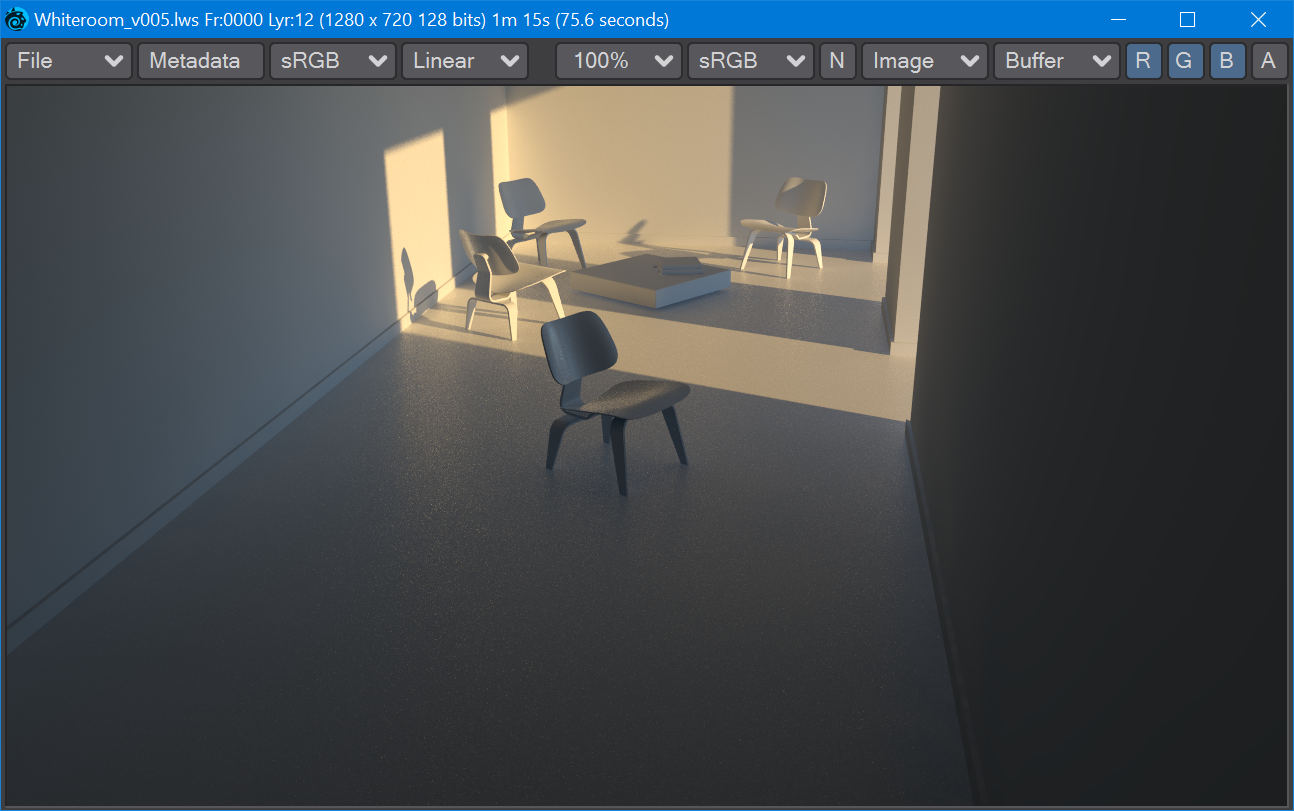
| 2 | F9, Primary: IC, no caches baked | 1x pre-process, 75.7s including 21s pp | Too dark |
|
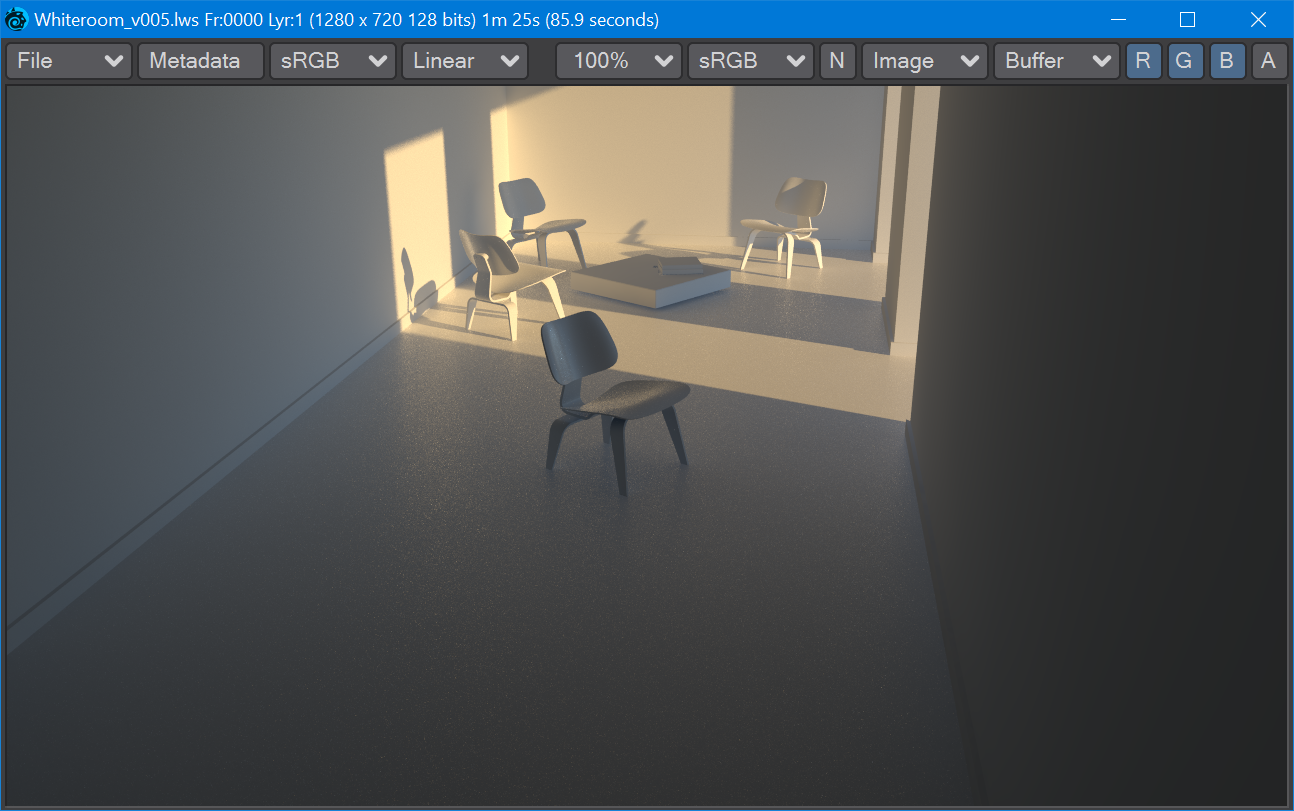
| 3 | F9, Primary: IC, Secondary: IC, no caches baked | 2x Pre-process for every render, 85.9s including 32s pp | Too slow |
|
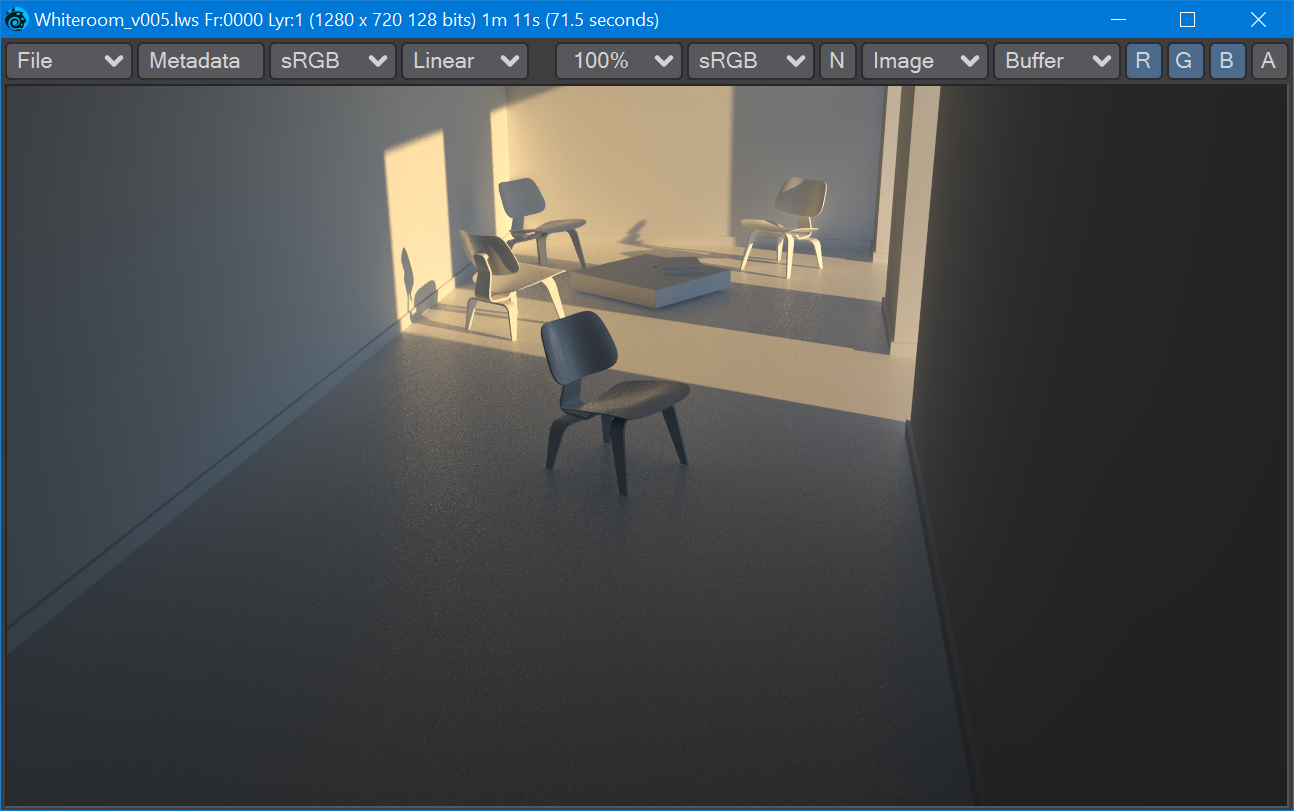
| 4 | F9, Primary: IC, Secondary: IC, secondary cache scene baked | 1x pre-process for every render, 72.6s including 17s pp | Better |
|
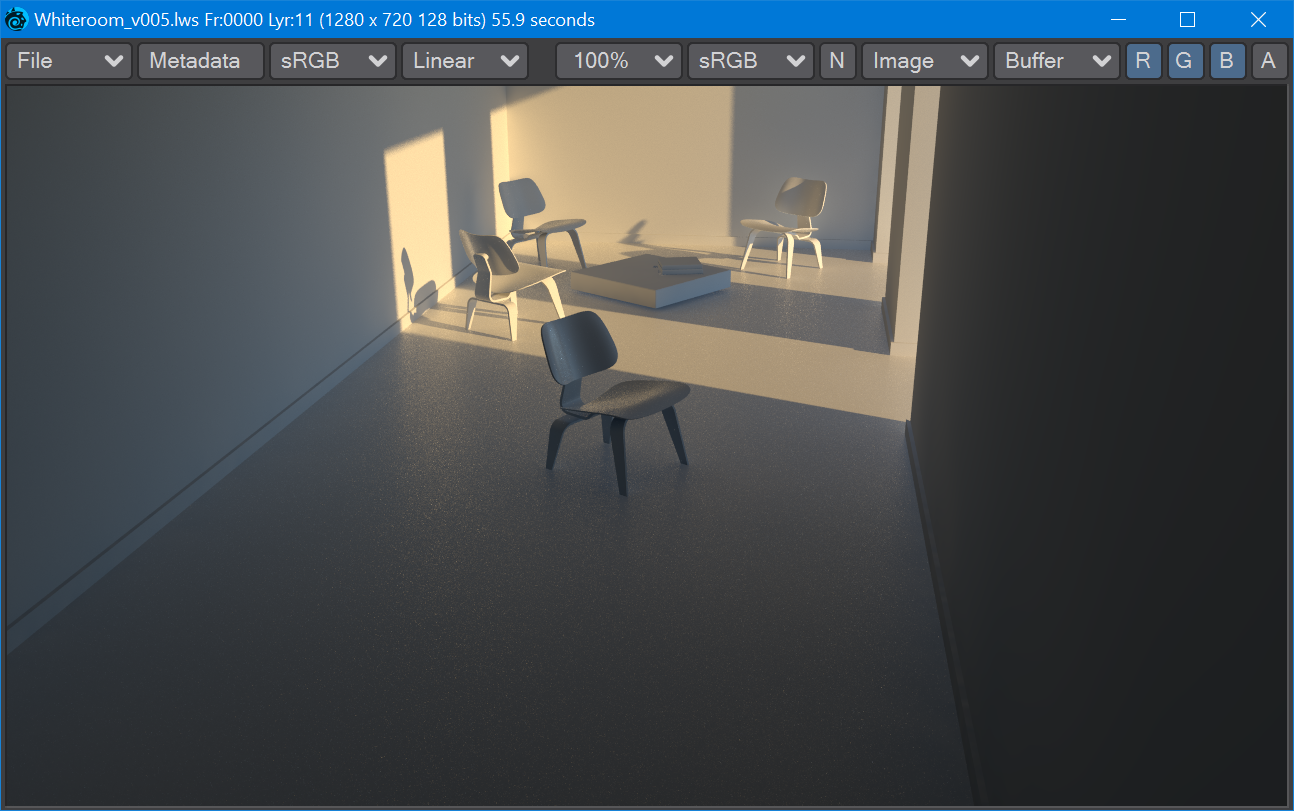
| 5 | F9, Primary: IC, Secondary: IC, primary + secondary cache scene baked | no pre-process, 56s | Best |
|
Setting up Global Illumination for a scene is often time-consuming, but will pay dividends in overall scene render time