Translate Group
Move
(default keyboard shortcut T)
When you move an (unparented and unrotated) item in Layout, generally your mouse movements have the following effects:
| Movement | Move |
|---|---|
| Left/Right LMB | Left/Right |
| Up/Down LMB | Fwd/Back (3D*), Up/Dn (orthogonal) |
| Up/Down RMB | Up/Down |
| *3D = Perspective, Light, and Camera views | |
For parented and rotated items, see also the subsequent discussion on Coordinate System.
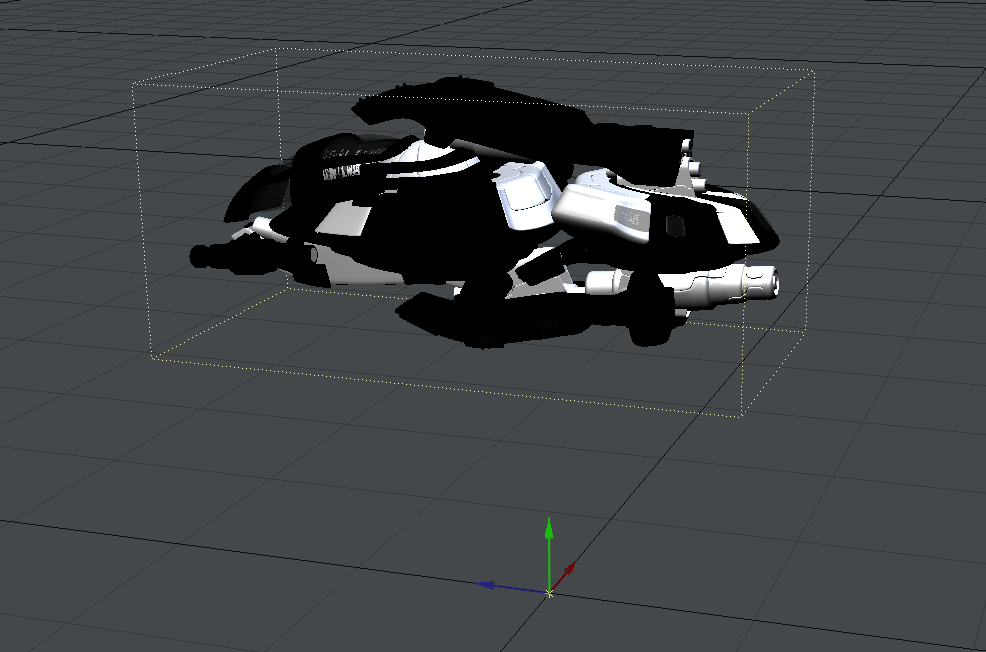
You generally use a viewport’s arbitrary horizontal and vertical axes to adjust an item’s position (Move tool). As such, no matter how much you have rotated a Perspective view, dragging your mouse left or right will always move the item left or right on your display. Dragging your LMB left/right in the Right view would move an object along the Z axis. The same mouse movement in the Back view would move it along the X axis.
![]()
Local Axis Adjustments
Sometimes you may want to move an item using its local axes instead. You can do this by simply holding the Ctrl key as you drag. The movement will be along the object’s local axis, no matter what view you use (or how much you rotate the item).
| Movement (Ctrl) | Move |
|---|---|
| Left/Right LMB | X axis |
| Up/Down LMB | Z axis |
| Left/Right RMB | Y axis |
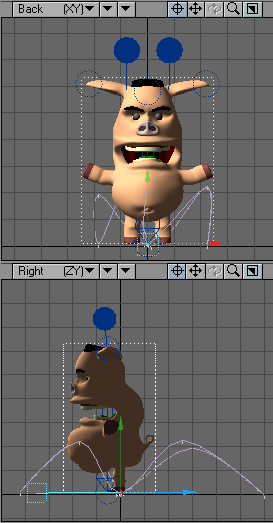
Understanding pivot points is fundamental to understanding LightWave.
The pivot point is a point of reference used for all objects and does not correspond to any point used in an object’s geometry. The pivot point is the center of position, rotation, and scaling. By default, it is located at the object’s local Origin. The pivot point, a small yellow star, becomes visible when you select an object.
You cannot animate the pivot point.
Pivot Point (Shown selected with handles)
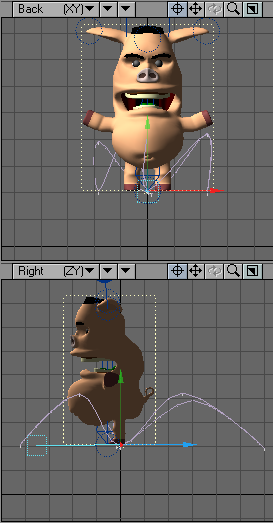
Moving the Pivot Point
You can modify the pivot point from its default position in Layout or Modeler. Think of this as giving an offset amount from the object’s local Origin. When you move the pivot point, the object will appear to stay in the same position. On the face of it, this might seem confusing to you; if the pivot point is the point used to reference position, the object should move if the pivot point is moved. The reason the object doesn’t move is because LightWave automatically adjusts the object’s position by the same amount the pivot point is moved.To move the pivot point in Modeler:
Select View > Pivot to activate the Pivot Point tool and move the crosshairs to a new position in any viewport.
This wiki has additional info about moving the pivot point in the Pivot Group section.
To move the pivot point in Layout:
- Select the object.
- Select Modify > Translate > Move Pivot.
- Move the pivot point as you would any item in the Layout. (If you select the Move tool and look at the object’s Position settings, you will see that they have been changed to compensate for the movement in the pivot point - the object will not visibly move.)
We strongly suggest that you leave an object at its default rotation and scale before you move its pivot point in Layout or you may get unpredictable results.
Layout or Modeler
Setting the pivot point in Modeler saves its position in the object file. Setting it in Layout only saves the data in the scene file. As such, it is usually best to set your pivot point position in Modeler.
Why Move the Pivot Point?
You might be wondering why you might want to move the pivot point. Why not just model all objects so that the Origin is the desired center of rotation? Well, you certainly could do this and should probably try to do this as much as possible. However, there are often circumstances when multiple objects are just parts of a larger element. You want the individual parts to be positioned in their respective locations by default. But you may want to rotate them individually, around their own center point.
Let’s take puzzle pieces for example, where all of the pieces fly in to form the complete puzzle. If you modeled each piece centered around the Origin, it would be a real pain to move each piece perfectly into its final resting place. It would be much easier to load each piece by default at its resting position and then set arbitrary starting positions and rotations. To do the latter, you need to move the pivot points to the center of each piece. A robot is another good example. The arms, legs, feet, torso, etc., are all separate objects, each modeled in their natural resting position in Modeler. However, all parts must be rotatable around a unique axis. This is possible only by moving the pivot points of each object.
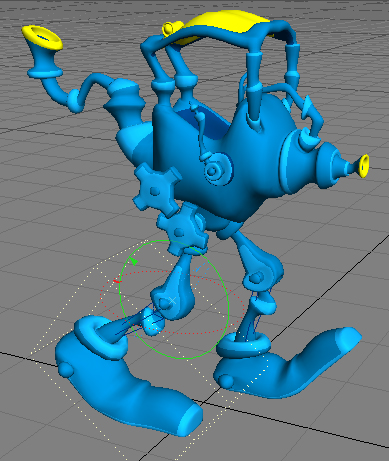
Pivot Point moved so that rotation is at the Knee.
Move Path
You can move an item’s entire motion path directly in a viewport using the Move Path tool (Modify > Translate > Move Path).
Path Tool
(default keyboard shortcut Ctrl Y)
The Path Tool (Modify > Translate > Path Tool) will allow you to directly edit the current item’s motion path, right in a Layout viewport. To use, simply activate the Path tool and drag any of the current item’s keys. The perfect tool for tweaking an item’s motion path.

Green Handles on motion path represent each Keyframe.
The key will only move along the vertical and horizontal axes of the view, even in perspective.
Add to Position
You can numerically add to Position values by using Add to Position (Modify > Add to Position). It works like editing the Position input fields in the lower-left corner of Layout, but adds to the existing values instead of replacing them.