Items Tab
Add
Null
(default keyboard shortcut Ctrl-N)
The Null Object
Null objects are special objects that can be used for many different purposes in LightWave Nulls can act as a target or parent item for lights or cameras, or perhaps a handle to help in manipulating a group of objects. They are often used with object/bone hierarchies to group major components and with Inverse Kinematics to act as goals for items to reach for.
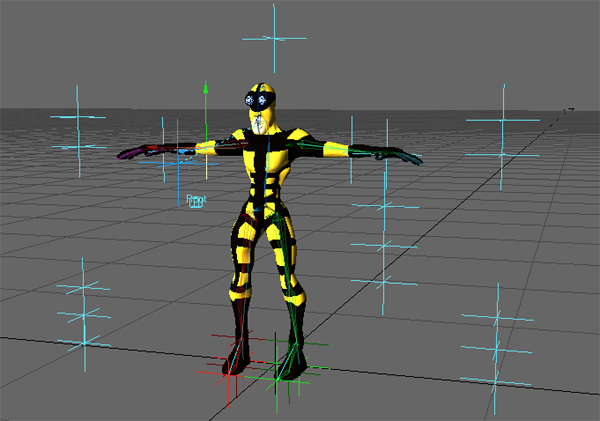
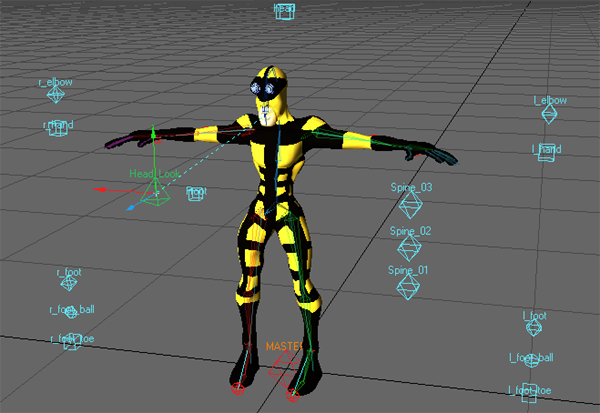
Example of a character using Null objects for Inverse Kinematics and Proxy Items.
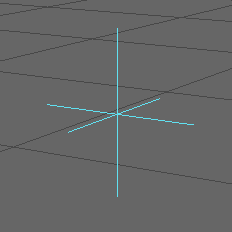
Null objects appear in the Layout window as six-pointed stars or jacks; however, they never render in an image. Null objects, like the camera and lights, will appear to grow or shrink in relation to objects as the grid size is changed. They can be moved, rotated, scaled, and so on, just like any regular object.
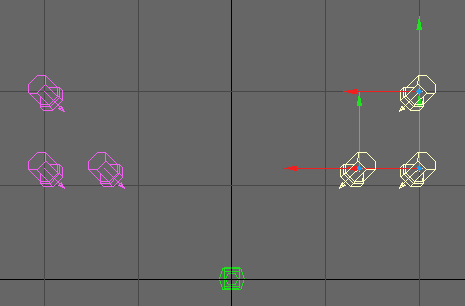
You can change the appearance of a Null object by applying “Item Shape” in the Add Custom Object list, within the Object Properties panel.
Null Objects with Item Shape Applied
To add a null object:
- Select Items > Add Null (or hit Ctrl-N).
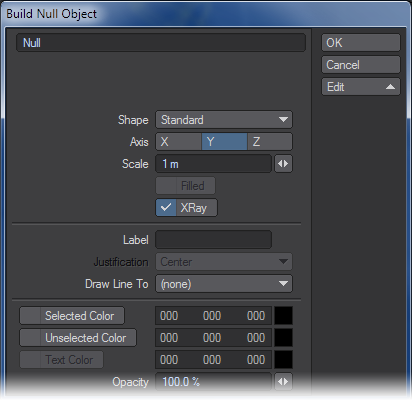
- Enter the name you wish to use for the null object in the dialog that appears or accept the default name of “Null.”
- If you would like to change the properties of the null click on Edit and the menu will expand.
When there are multiple items of the same type with the same name, a numerical suffix is added automatically (e.g., Null (1), Null (2), etc.).
- Shape - Determines the shape of the null. Standard is the default Star null
- Axis - Determines the direction the null faces towards the positive axis
- Filled - If this option is available and you select it, the item shape will be a solid color
- Label - You can enter text which will be displayed in the viewports
- Justification - If you enter text in the Label section, you can specify where on the null where to display that text
- Draw Line To - Will draw a line from the null to the selected item
- Selected Color - When the null is selected, this will be the color of the null
- Unselected Color - When the null is not selected, this will be the color of the null
- Text Color - If you have entered text, this will be the color of the text
- Opacity - Determines the opacity of the null - whether it is transparent and see-through or solid
Null objects are created by LightWave on a scene-by-scene basis and are not real objects that can be saved to disk. They remain part of the scene file, however, and will reload with the scene.
Lights
Choose Items > Add > Lights and select the desired light type from the submenu. A dialog prompts you for a name when you add lights. Click OK to accept the default or type in the name you wish to use and click OK.
See Lights for more information
Camera
You can add additional cameras by choosing Items > Add > Camera; however, only the Current Camera is used to render a scene. If you have more than one camera in the scene, use the Current Camera pop-up menu on the Camera Properties Panel (or Layout’s Current Item pop-up menu) to select the currently active camera. A dialog prompts you for a name when you add a Camera. Click OK to accept the default or type in the name you wish to use and click OK.
See Camera for more information
Convert Powergons
Powergons allow you to execute a short Layout command script, which is attached to selected polygons in Modeler. You can use this feature to quickly add, say, lights using polygons for positioning. Moreover, all of the lights properties can be defined as well.
Executing the Commands
Powergon commands that are attached in Modeler can be loaded into Layout. Then choose Items > Add > CVT Powergons. This executes any command scripts attached to the selected object.
For more information about Powergons see Add/Edit PGons
Clone
This opens a submenu with four items:
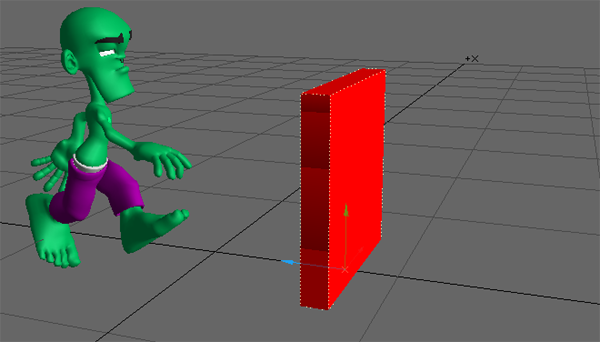
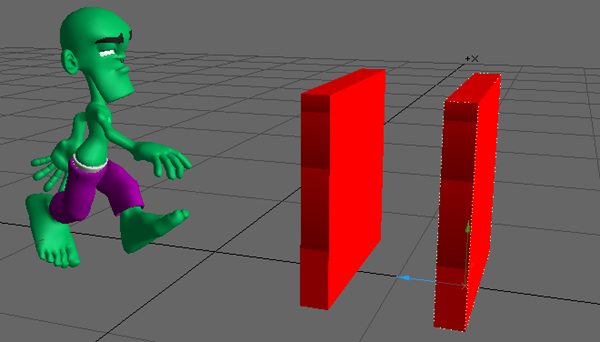
Clone
(default keyboard shortcut Ctrl C)
If you want to duplicate an item that is already in your scene, you can just choose Items > Add > Clone > Clone. The new item will inherit all of the source items properties and motion. As such, this can be a real time saver.
Steps to cloning an item:
- Select the item you would like to clone.
- Choose Clone ( Items > Clone ) and input the number of clones you would like to create. Click OK.
- You should now have clones of your original object.
The newly created Clone(s) will be located at the exact coordinates as the original so you will need to move them.
Clone Hierarchy
(default keyboard shortcut Shift Ctrl C)
If you want to duplicate an item and all of its children in a hierarchy that is already in your scene, you can just choose Items > Add > Clone > Clone Hierarchy. The new items will inherit all of the source items properties and motion. As such, this can be a real time saver.
The newly created Clone(s) will be located at the exact coordinates as the originals so you will need to move them.
Clone Instance
(default keyboard shortcut Alt-C)
This will create a null, with an Instancer, with an instance of the original object. The object in the scene will be called “<Original Object Name>_inst”. Very useful for placing instanced trees or cars in a scene for example.
Python Bake Instance
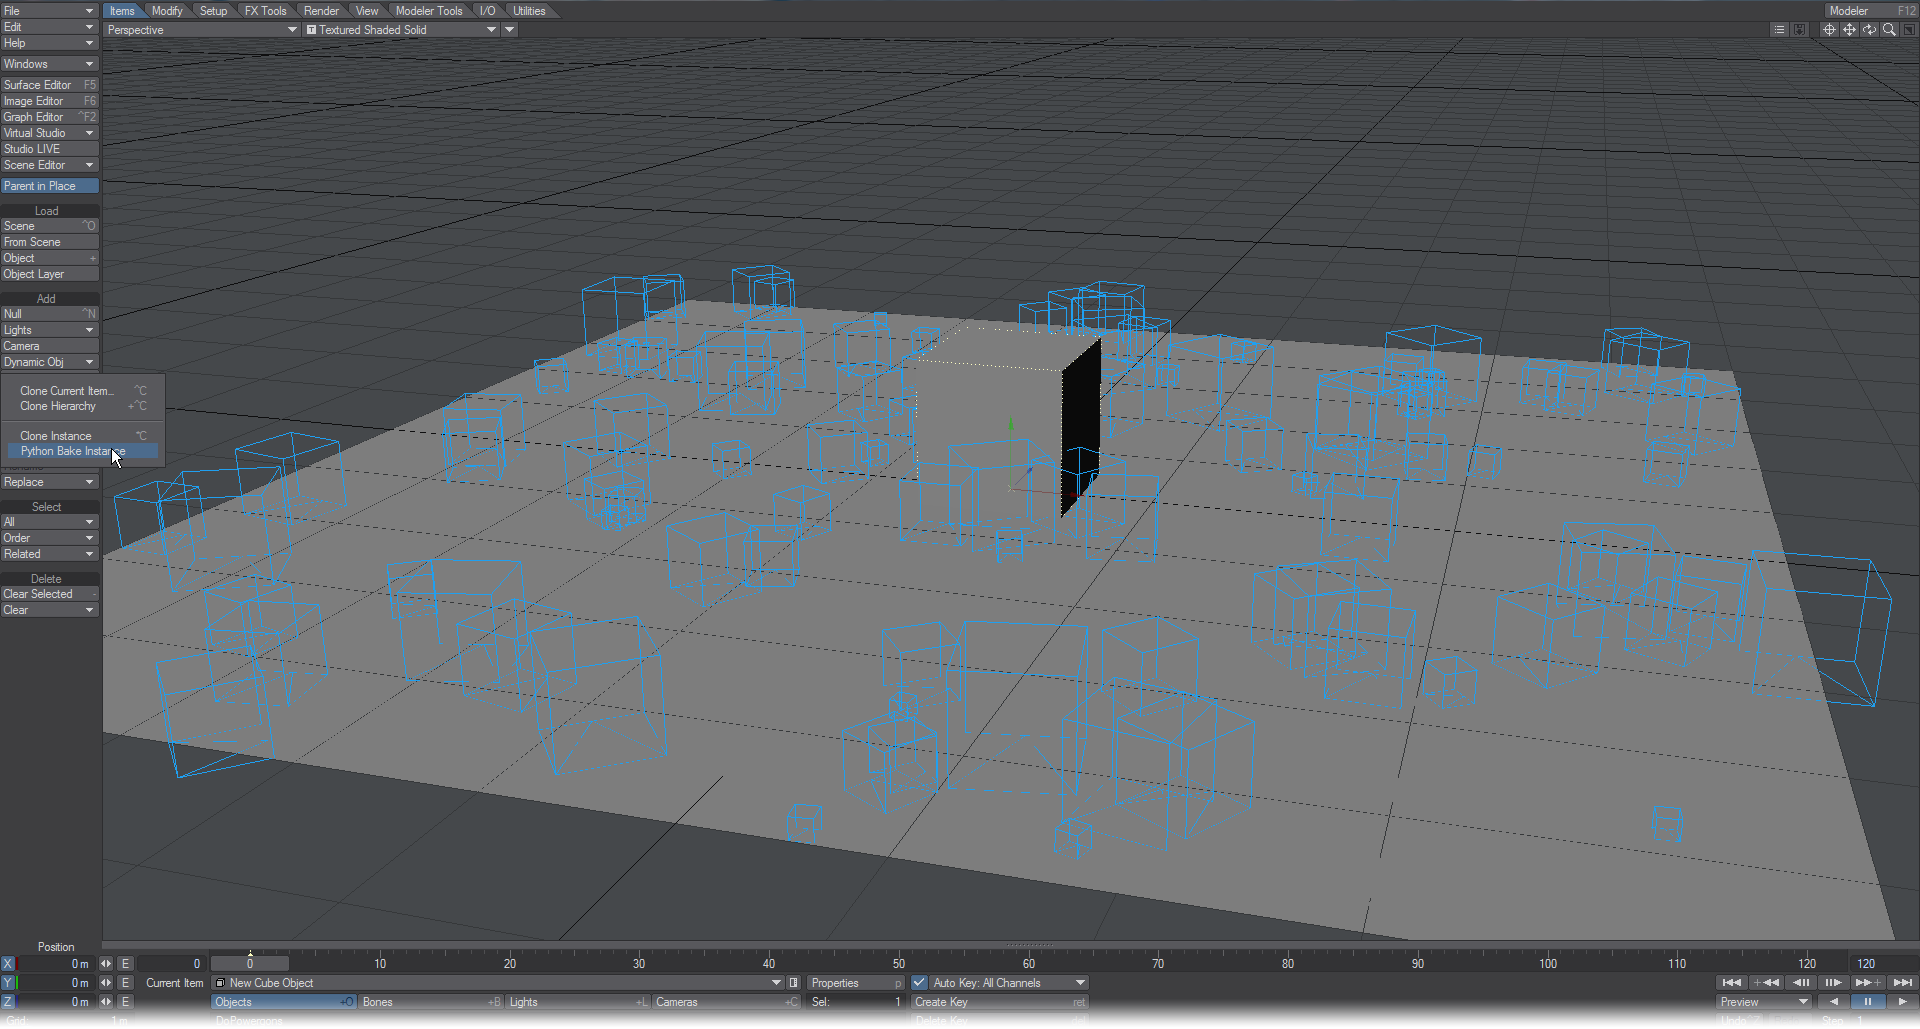
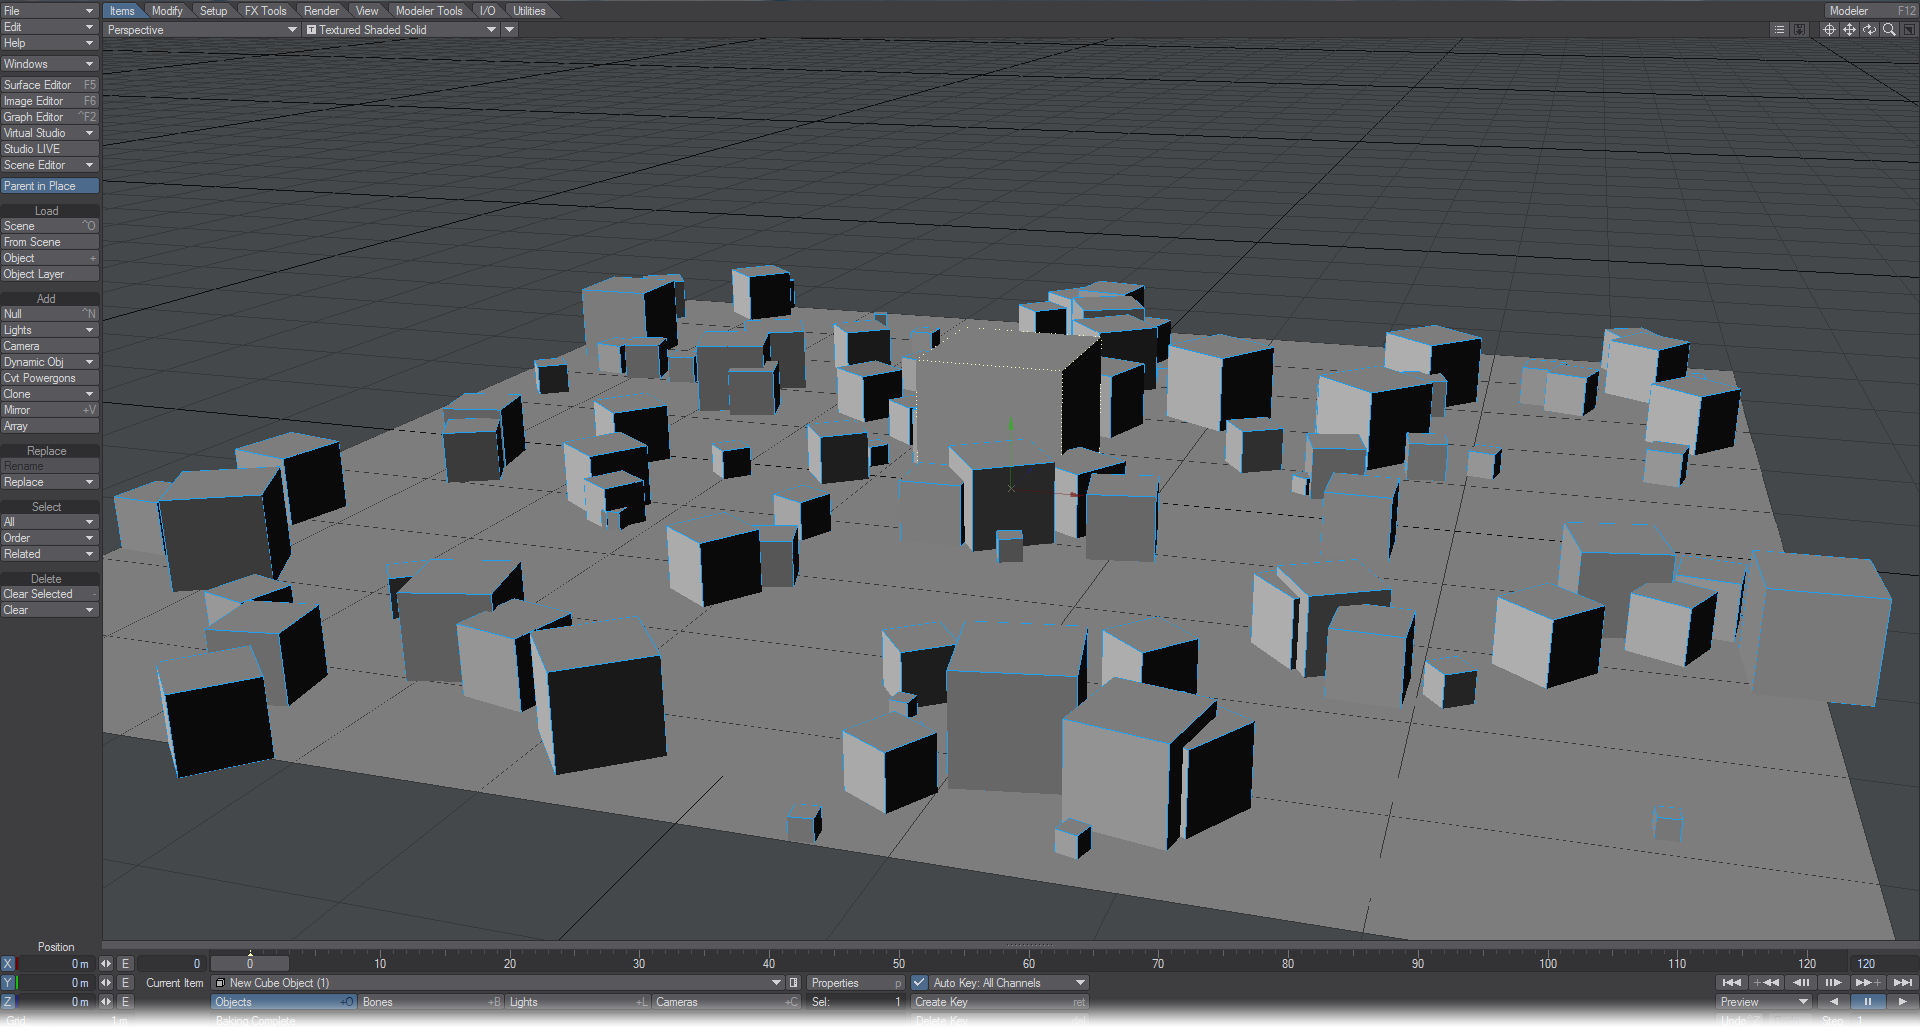
This will converted instanced geometry into real objects.. To use, select the original of the instanced objects and run this command.
Mirror
(default keyboard shortcut Shift V)
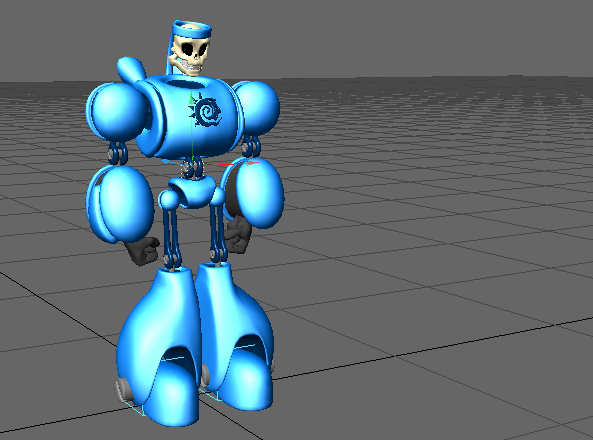
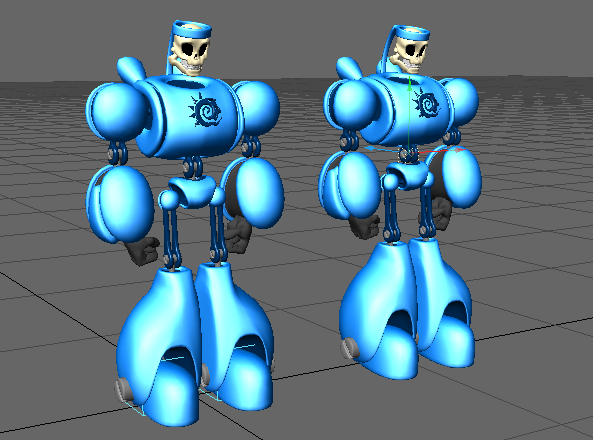
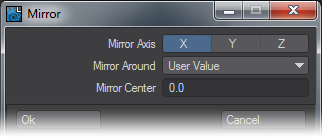
If you want to duplicate an item or group of items that are already in your scene, you can choose Items > Add > Mirror. This tool works in a very similar way to clone with one difference. Instead of duplicating the selected item(s) on top of themselves, Mirror gives you the option to mirror the selected items along the X, Y, or Z axis.
Steps for using Mirror in Layout:
- Select the item or items you would like to duplicate.
- Choose Mirror ( Items > Mirror ) and a dialog box will appear. Choose the Axis to Mirror on, you can choose an offset.
- Click OK.
Your original items and the mirrored ones will remain selected.
Array
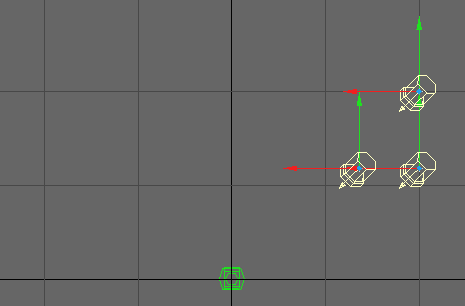
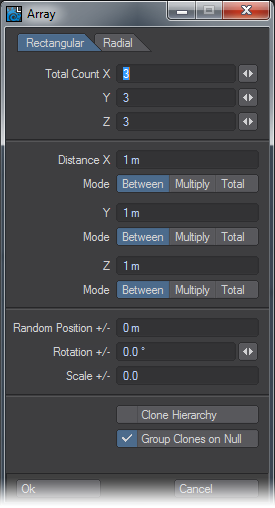
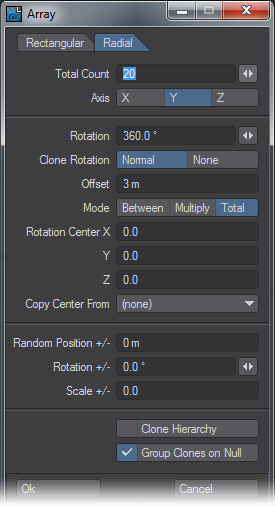
Array is a non-interactive tool that will create an array, rectangular or radial, of selected items.
Array cannot be undone, so the best way to use it is to save your scene and create the array. If it isn’t exactly as you’d like Revert Scene to Last Saved.
Rectangular
- The Total Counts at the top of the window represent the final object count in your array.
- The Distances can be individually set as
- Between - The distance between each member of the array
- Multiply - the distance between the members of the array gets multiplied by the number from the original unit. That’s to say, the original item is item one, the second item in the array in a direction is item 2 and so on. The distances between arrayed items will be Item 2 at 4 m, item 3 at 6 m and so on.
- Total - the arrayed item quantity will all fit in the distance entered.
Radial
- Total Count - will be how many items are in the radial array.
- Axis - will be around which axis the array will be created.
- Rotation - Is how far in degrees you would like the radial array to go.
- Clone Rotation - This can be set to either:
- Normal - The cloned items are rotated so that they face “along” the line the are cloned on.
- None - The clones maintain their original aspect.
- Offset - This value gives an offset between clones based the Rotation Center values given.
- Copy Center from - Allows you to use another scene item as the basis of your radial array. It is purely that item’s coordinates that are used. It is not otherwise implicated in the array.
Common
- Random Position +/- - gives a random offset in the X,Y and Z dimensions to the positive and negative of the extent chosen to each item in the array.
- Rotation +/- - gives a random rotation in the H, P and B dimensions to the positive and negative of the extent chosen to each item in the array.
- Scale +/- - gives a random scale in the X, Y and Z dimensions to the positive and negative of the extent chosen to each item in the array.
- Clone Hierarchy - For each item, its descendant(s) will also be copied.
- Group Clones on Null - When the clones are created, they will all be parented to a null called Rectangular or Radial_Array_Group .
Replace
Rename
You can rename the current item, like cameras, bones, and lights, but not objects, using Items > Replace > Rename.
Replace
The commands found in the Items > Replace > Replace drop down menu let you replace the current object with another object, a layer from another object or a null object. You might use this feature to animate a very complex object by inserting a stand-in object with a low-polygon count and then replacing it when it is time to render.
Replacing a Multi-layer Object
When replacing a multi-layer object, select the first layer before replacing. The first layer will be replaced with the first layer from the new object file. Subsequent layers - belonging to the same original object - will be replaced if their layer numbers match those found in the new object file.
You can also use Items > Replace > Replace > With Layer to replace an object with a single layer from a multi-layered object. A dialog will appear to let you specify the layer.
