Bkg to Morph
This command allows you to turn a background layer into a new Endomorph.
How do I use this tool?
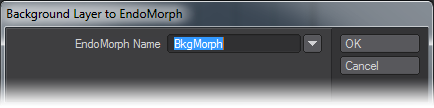
Assuming that the background layer has the same number of points and point order as the foreground layer, you click the button to open the dialog.
Enter a name for your new morph in the EndoMorph Name field, or choose an existing name from the drop down menu. The menu contains all the names of all the Morph Maps used during the current session, whether or not the objects remain open, and whether or not the maps have any points assigned to them. If you choose the name of an existing morph for this object, the new one will replace the old one, which is similar to overwriting any other kind of file.
It’s suggested that you name your morph using the group.pose format; like Eyes.Open or Mouth.Smile. That will cause the morph to appear on the same tab with all the other poses in that group when you use Morph Mixer in Layout.
Tap Enter or click OK, and you’ll have another morph!
This tool is best used for changes made to the base geometry in other places; for instance, when you have saved an object with deformations using Save Transformed Object in Layout (File > Save > Save Transformed Object.). It can also be useful when you need to see the object while making the morph. Simply copy the object into a new layer, make the changes, then use this command to create the morph. (Don’t worry about any other morphs on the copy, they won’t affect the final outcome.)