Rotate Tool
(default keyboard shortcut Y )
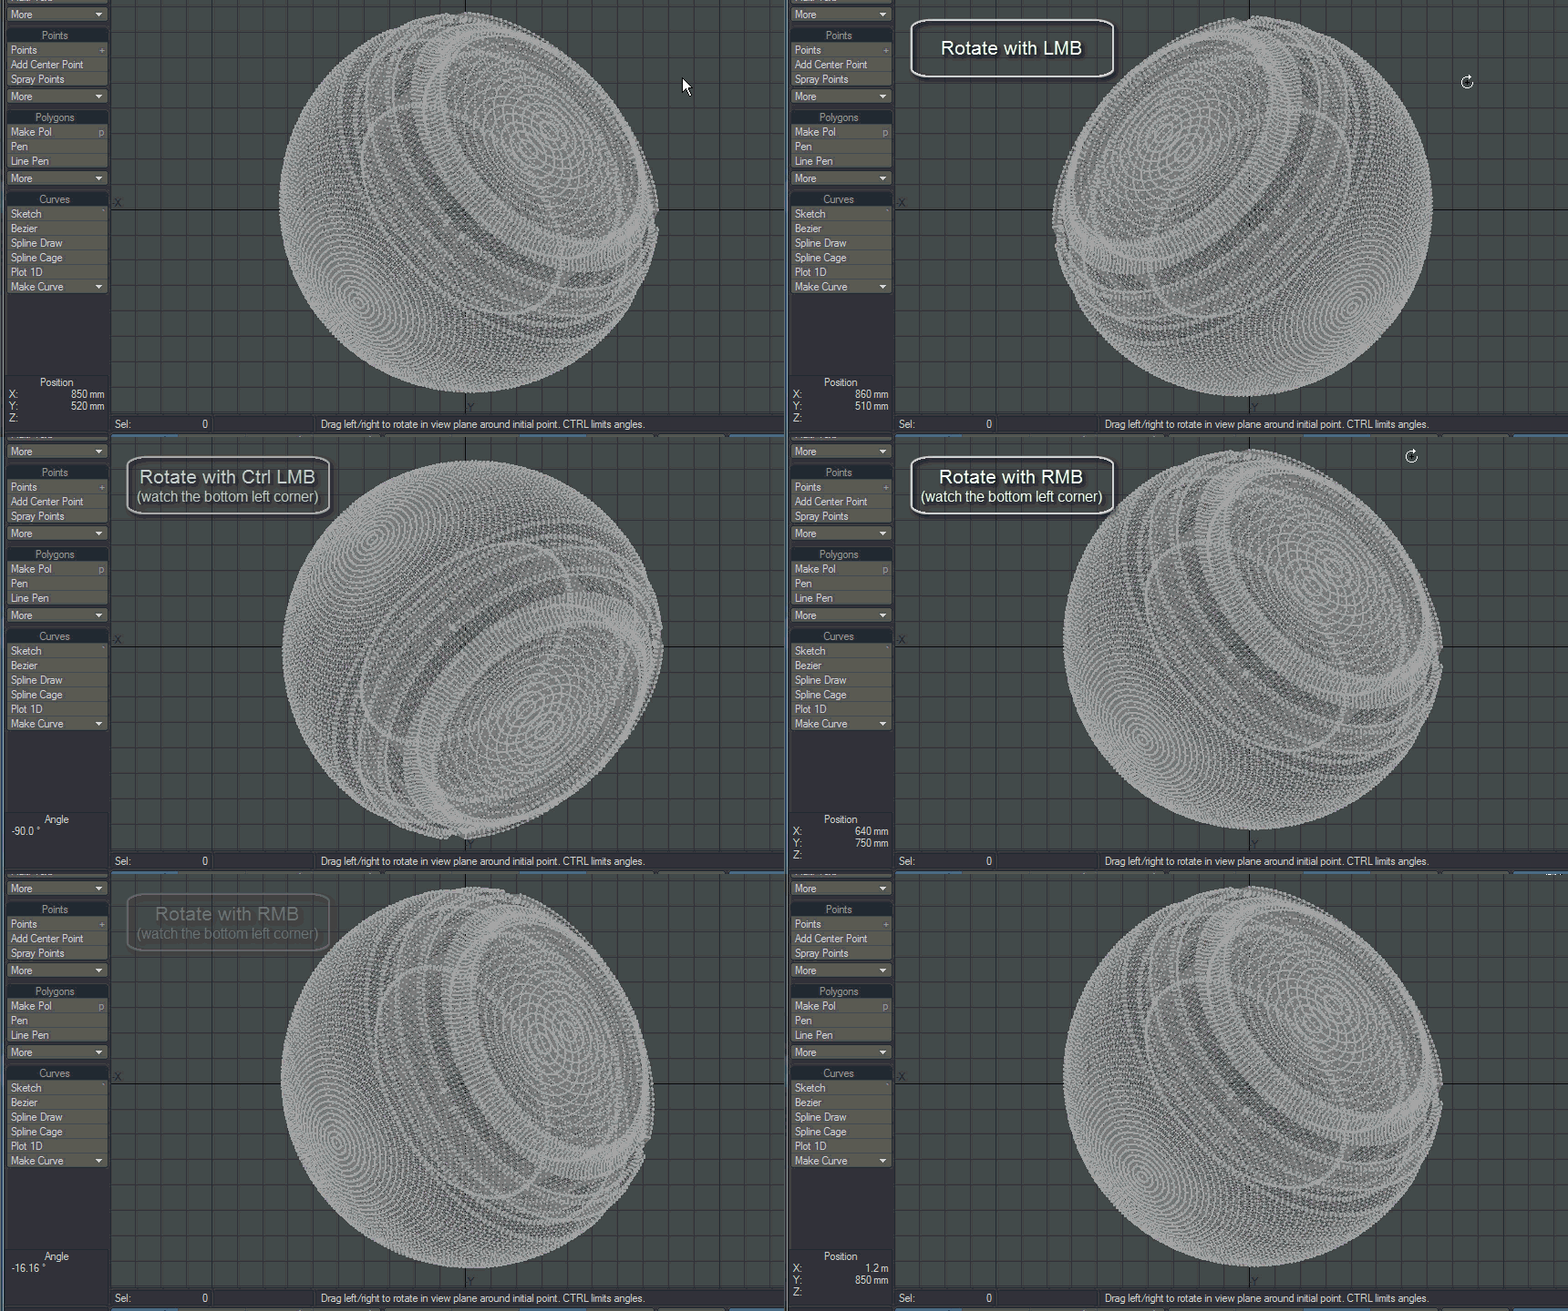
Select Modify > Rotate, click and drag your LMB left for counter-clockwise rotation or right for clockwise rotation. The center of the effect is determined by the Action Center setting. Hold the Ctrl key down as you drag to rotate in 15-degree increments. The information display (lower-left corner of the interface) will tell you the angle of rotation, that is, the number of degrees you have rotated.
Rotating an entire object in Modeler is very similar to as doing it in Layout, except that you rotate around the perpendicular axis of the viewport. Because of that, you will often have to use various viewports to rotate an object.
The Rotate Numeric Panel
The Angle defines the degree of rotation. The Axis setting defines the axis of rotation. When you click in a viewport, the axis is an imaginary line running perpendicular to the view you are editing in (i.e., coming straight out towards you). For the Back view, it would be the Z axis; in the Top view, it would be the Y axis; and in the Right view, it would be the X axis. If arbitrary axes were used, no Axis will be selected.
The Center XYZ values define the center of rotation coordinates.
In any viewport, pressing the R key (Rotate 90 Right) will rotate an object clockwise 90 degrees around a perpendicular axis located at the current mouse pointer location. You can also map the Rotate 90 Left command to a hot key as well.
Using the RMB (and Ctrl) for controlling motion will result in much finer rotation increments.

