Magic Bevel Tool
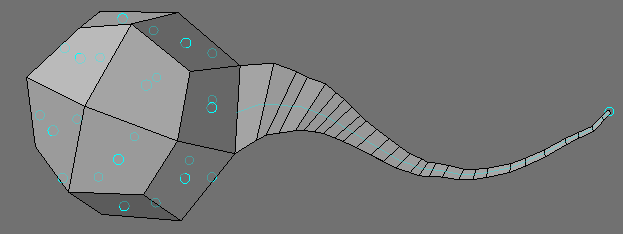
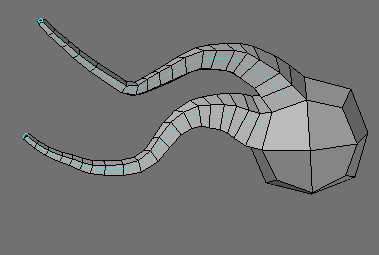
The Magic Bevel tool (Multiply > Extend > More > Magic Bevel) lets you interactively drag out a bevel along an editable path with tremendous control over how the bevels are created.
This tool works on polygons, SubPatches, one-point polygons, two-point polygons, and Metaballs.
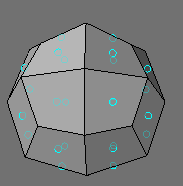
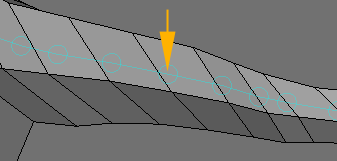
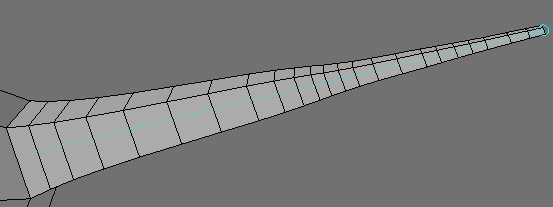
You create the bevels by dragging any of the blue circle handles. All polygons will get a handle regardless of what is selected. The path will be drawn along the vertical and horizontal axes of the viewport, so use a Perspective viewport to bevel off-axis.
You can use Magic Bevel on polygons on multiple layers at once and the bevels will be on the same layer as the original polygons.

Operation:
Magic Bevel offers the following operations:
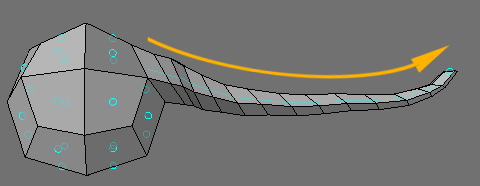
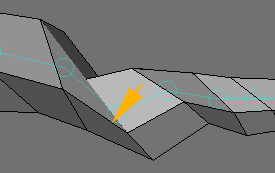
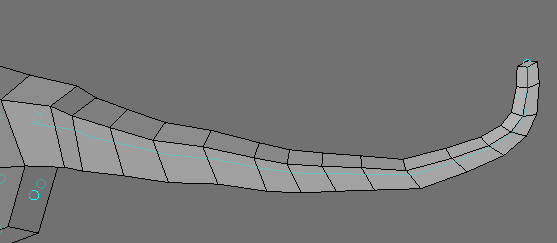
- Extrude - Extrude is selected by default and is the mode that initiates the bevel creation. Simply left click on one of the knots and drag out new geometry.
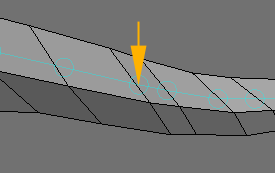
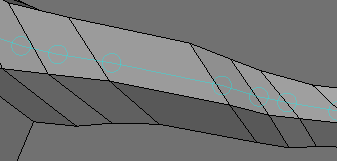
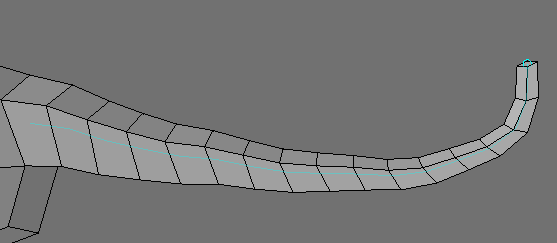
- Edit Path - If you activate Edit Path, drag handles will appear at each bevel. You may drag them to change the positioning of each bevel.
- Delete Knot - If you activate Delete Knot, you can interactively remove knots from the path. Simply Left-click on the knot you would like to remove.
- Delete Path - Activating Delete Path will give you the ability to remove an entire path. Left Click on the knot at the end of the path to remove it.
- Uniform Spans - Applying Uniform Spans to a magic bevel path will evenly space each segment in the path.
- Straight - Activating Straight and clicking on the end of a path will align the entire path on the polygons normal.
- Move by Path - When Edit Path is active, you may also activate Move By Path. This option moves all of the bevel positions, from the current edit up to the end of the path, together at the same time.. When this is off, only the selected point moves.
- Spline - The Spline option turns the path into a smooth spline path. This will change the bevel positions slightly.
- Uniform - The Uniform option causes the bevels to occur evenly along the path. You will notice that the bevels will no longer occur at each edit handle. This only works when using the Spline option.
- Align to Path - The Align to Path option aligns the bevel polygons with the tangent of the path. When this is off, the angle of the bevels matches the starting polygon.
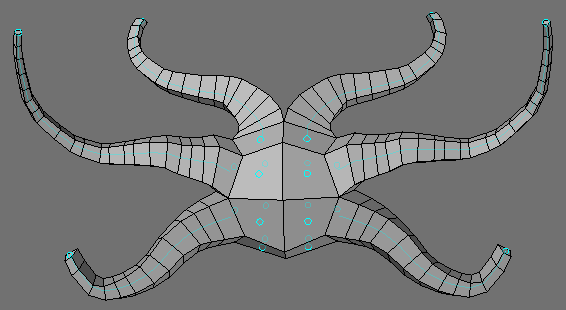
Symmetry:
- Axis - Choose the X,Y, or Z axis to determine which axis symmetry to work from.
- Sync Direction - Sync Direction allows you to decide in which direction the sync will occur.
- Sync Symmetry - Pressing Sync Symmetry will update the geometry in the Sync Direction to match the other half.
- Precision - The Precision value sets mouse sensitivity and determines how closely the bevels follow the path. When your mouse pointer moves this many pixels, a bevel is created. Higher values are less precise and result in longer segments.
- Scale - The Scale value sets how much to size down (or up) each successive bevel.
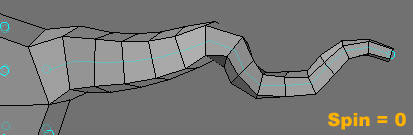
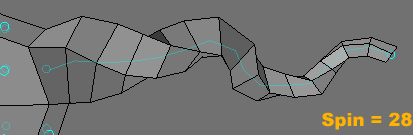
- Spin - This setting will determine by how many degrees each new bevel will rotate as it is created.
- UVs for Sides - The UVs for Sides option at the bottom of the numeric panel assigns some default UVs based on the geometry of the object. Note that a UV Texture Map must be currently selected or this option will be ghosted.
- U Repeat - All geometry created will share the same U coordinates.
- V Repeat - All geometry created will share the same V coordinates.
- U Rotate - Adjusting U Rotate will shift the U coordinates of the map.
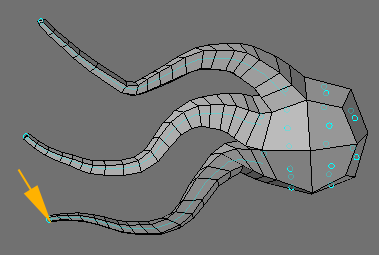
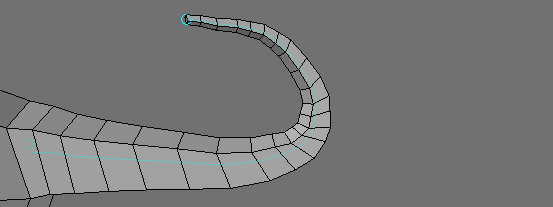
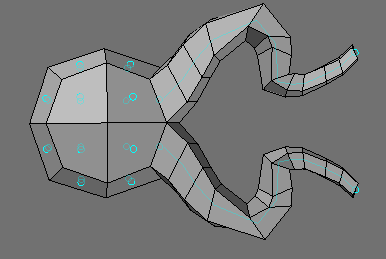
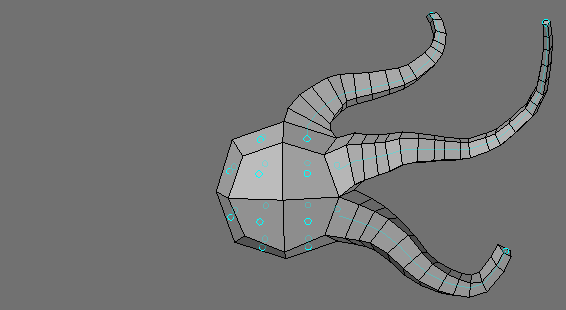
If you click your RMB after you create a bevel path, blue handles will appear on the new bevel geometry.