Create Skelegons
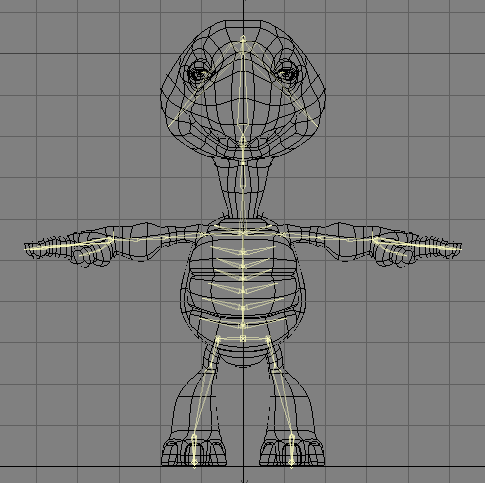
One way to create a bone hierarchy is to use LightWave’s Skelegon feature in Modeler. Skelegons are a polygon type that can be added to your object in Modeler; they look like bones. You can create a complete skeletal structure out of polygons, hence the name Skelegons. Skelegons set up only placeholders for the bones. When you load an object with Skelegons into Layout, the Skelegons must first be converted to bones before you can use them for skeletal deformation.
Genoma is a system for rigging using skelegons that has several presets for creating humanoid and animal rigs.
There are several advantages to this system. First, you can use existing points in a character to create the Skelegons, if you wish, or you can draw your own Skelegons manually. Having this function as a Modeling tool makes the creation process much easier, as building a skeleton is inherently a Modeling task. Since the Skelegons are considered polygons, you can use any of the Modeling tools to create and modify the skeleton.
Another benefit is that the Skelegons are saved in the object file itself. This means that you no longer need to create a separate scene file to hold bone positions.One of the most beneficial features of this system is that when you modify the shape of the model, the bone structure can be modified at the same time, so you do not need to make secondary modifications to that skeleton.
Imagine that you build a character and spend a lot of time creating the bone structure. The client then decides he/she would rather have the character with shorter legs and really long arms.
Typically, the Modeling changes would be simple but recreating the skeletal system would be an arduous task at best. With Skelegons, the process becomes one simple step which only involves modifying the geometry.
With Skelegons, a series of base skeletons can also be stored and used as templates. The rubber band editing style of the Skelegons makes it very simple to modify an existing skeleton to fit all types of characters.
Remember that Skelegons are only placeholders for bones.
Creating Skelegons
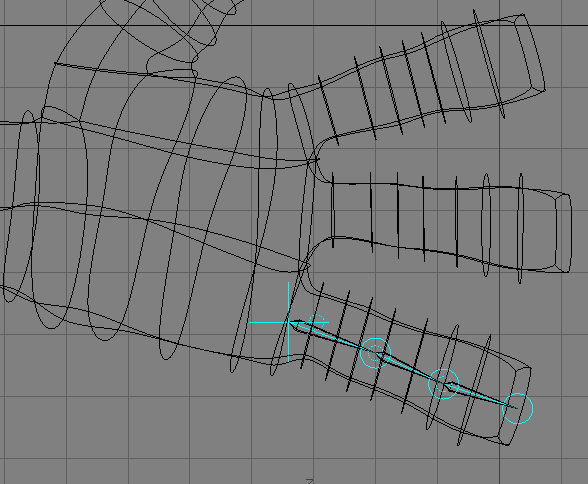
Like drawing bones in Layout, you can use the Create Skelegons tool to draw Skelegons directly into a Modeler layer. Just choose Setup > Skelegons > Create Skelegons, Left Click and drag your mouse. When you release the mouse button a Skelegon is created. With the tool still active, you can drag your mouse again to create yet another Skelegon attached to the first. Select the tool again to turn it off.
You can customize the Name used for each Skelegon, as well as the Weight Map name, on the Numeric Panel. When Digits is active on the Numeric Panel, bone names are incremented, like Bone01, Bone02, and so on. You can specify the initial number in the Start At field.
If the Part Tag option is active, the bone name will also be used as a Part name automatically. Click the Delete Last button to delete the last Skelegon being created.
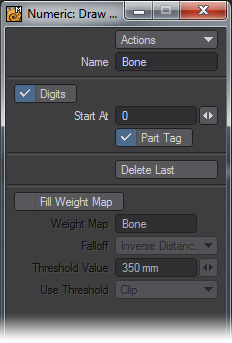
The lower portion of the dialog combines the functions of the Bone Weights plugin (Map > Bone Weights). Activate Fill Weight Map to gain access to these functions. Remember that Weight Maps are part of geometry, not Skelegons. Thus, you need some geometry in the foreground to use this feature. The Weight Maps will be automatically created for the geometry.
Note that you can also activate the Fill Weight Map option after you have finished drawing your Skelegons or even toggle it on and off. This, however, must be done prior to making the Skelegons, by dropping or switching the tool.
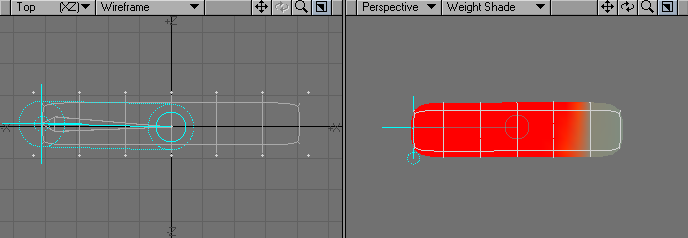
Define the base Weight Map name in the Weight Map field. The maps will be named sequentially (e.g., Bone01, Bone02, and so on). The Falloff setting corresponds to the falloff that you can normally use on bones when you are not using Weight Maps.The resulting Weight Maps will give you a nice starting point for modifying bone influences.The Threshold Value is a distance from the bone that defines a capsule-shaped region.The Use Threshold pop-up has several settings. This will take the Weight value at the Threshold Value distance and either: ignore it (Off); set all weights outside the distance to 0 (Clip); subtract the threshold weight from all weights, so the weights go smoothly to 0 at the threshold, then start to become negative (Subtract); or subtract the Threshold Weight value as above, then clip the negative weights to 0 (Blend).
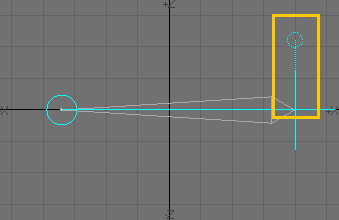
Bank Rotation Handle
When you edit Skelegons, a bank rotation handle will appear. The default angle for the handle is perpendicular to the viewport the Skelegon is first drawn in. Drag it to change the bank rotation to apply when it’s converted into a bone.
Converting Skelegons to Bones
Skelegons cannot be used directly in Layout. They must be converted into bones first.
To convert Skelegons into bones:
- In Layout, select the Skelegon object.
- Choose ( Setup > Add > Cvt Skelegons ). This converts the Skelegons, which are only placeholders, into actual bones. Note that the bones are immediately ready for action. Rest positions are set automatically and bones are activated.
- If your Skelegons were in a Modeler layer by themselves, you need to point the regular object to the newly created bones. Select the regular object and then open its Bone Panel. Select the Skelegon object in the Use Bones from Object pop-up menu.
If you want, you can simplify the process by cutting and pasting the Skelegons into the same layer as the object before saving. Then you can avoid the Use Bones from Object feature.