Image Viewer
The Image Viewer is used throughout LightWave (Render Display, Image Editor, etc.) to show an image using colors up to the capabilities of your computer’s display. Once open, you do not need to close the Image Viewer window. In fact, if you do, any unsaved images will be lost.
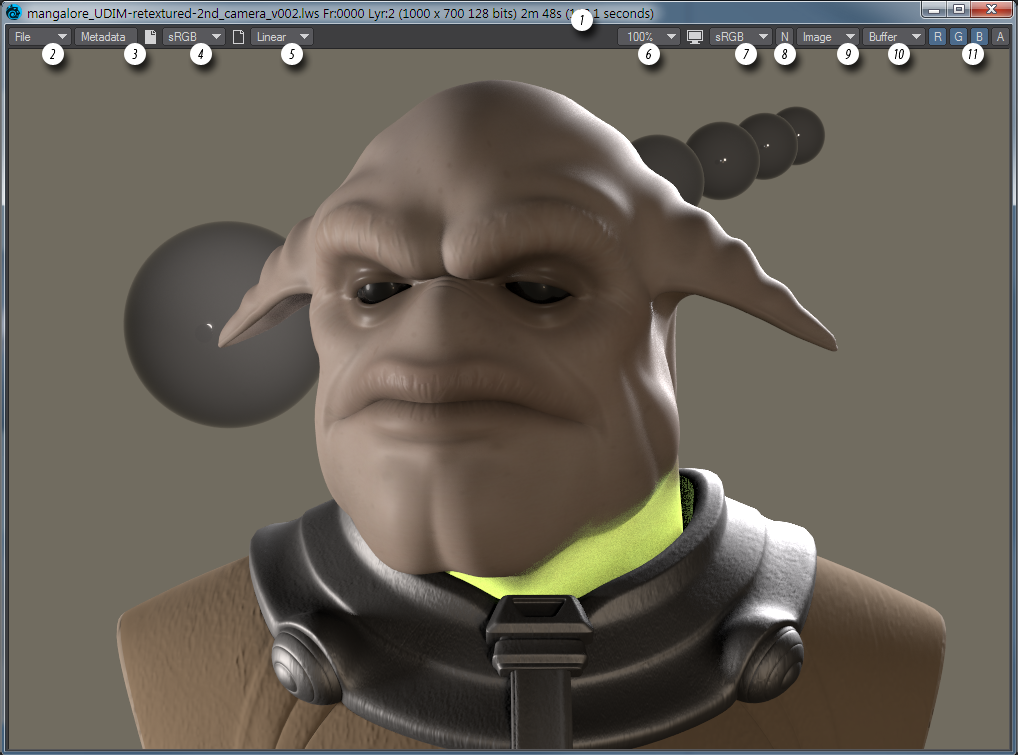
The Image Viewer can hold multiple images, depending on how it is used by LightWave. You can switch between multiple images using the Layer pop-up menu (or the keyboard shortcuts PG Up and PG Dn). 1. Titlebar Pixel Information, 2. File Menu, 3. Metadata, 4. Save Color Space, 5. Save Alpha Color Space, 6. Magnify, 7. Display Color Space, 8. Normalize, 9. Image Layer, 10. Buffer Layer, 11. RGBA
You can choose to see the regular image or whatever buffers you have rendered using the Image pop-up menu in the upper-right corner.
1 Titlebar Pixel Information
If you click and drag your mouse pointer over the image, information about the pixel beneath the pointer will appear in the titlebar. The first set of values is the X and Y position. This is followed by RGBA color information for non-floating-point images. For floating-point images, percentages are used.


You can adjust the size of the window by dragging any corner. Any time the entire image is not fully visible in the viewer window, use the scrollbars or hold the Alt key to scroll around. The Metadata panel will open when you click on the Metadata button. Metadata is information about the image and can be stored with the image.
2 File Menu
Using the File pop-up menu, you can save the current image to a file.There are several different ways of saving a file:
- Save RGBA - The default option. Use this to save any kind of image (8 bits per channel up to floating point). Versions of savers with built-in Alpha channels are referred to as 32, while those without are 24. Images without a 24 or 32 are saved without Alpha.
- Save Exposed - if you use the Image Viewer Image Controls you can define a new Black Point and White Point for your image. If you wish to save this version use Save Exposed.
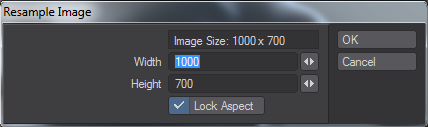
- Save Resampled - Asks for a filename first then opens a window where you can choose the size you want, with optional locked aspect.
- Save All Buffers - Saves all rendered buffers for an image in one operation. Buffers will be named with the format NAME_BUFFERNAME.
- Copy to Clipboard - Hitting Ctrl C will copy the current Image Viewer layer to the clipboard so that it can be added to an image editor.
- Frame Buffer - Sends the current layer to a dedicated frame buffer such as a DV camera. Once a device has been selected, Auto-send and Send options become available.
- Stereo - Shows Stereo images in different ways:
- None - Images not shown in stereo
- Anaglyph - To be viewed with red/blue glasses
- 3D Glasses - To be viewed with NVidia stereo glasses or similar
- Side by Side - Views left and right images side by side
- Image Controls - Opens the Image Controls window detailed below.
- Clear Current Layer - Deletes the layer being shown
- Clear All Layers - Deletes all layers in the Image Viewer
3 Metadata
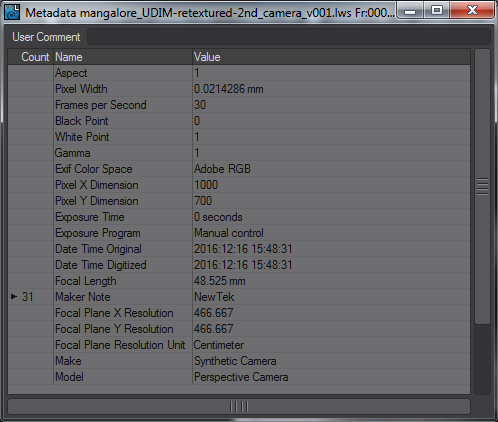
Presents a window containing EXIF data for the render. Detailed information on the render is in the Maker Note hierarchy.
4 Save Color Space
Allows you to choose a color space for files saved to disk.
5 Save Alpha Color Space
Allows you to choose a color space for alpha channel files saved to disk.
6 Magnify
The Magnify menu has several settings that will affect the magnification level of the image. You may also press the plus (+) or minus (-) key to increase or decrease the level of magnification. If the entire image is not visible in the window, holding the Alt key down as you drag on the window will scroll the image around.
7 Display Color Space
The color space used for display in Image Viewer.
8 Normalize
The N button switches between a linear view of a buffer, which may have many thousands of different levels not all of which can be shown on screen to a Normalized version where all data fits in the 0-1 range to be able to be displayed. Depth Options in Render Properties have been adjusted to make a pleasing gradient for this image
9 Image Layer
Chooses between the different image stored in the Image Viewer. The keyboard shortcuts PG Up and Pg Dn can also be used to switch images.
10 Buffer Layer
Chooses between the buffers rendered for an image. Each image in the Image Layer list can have multiple Buffers.
11 RGBA
Quick buttons to show individual channels or the alpha for a render without needing to go into the Buffer Layer list.
Image Control Panel
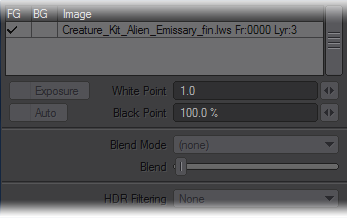
An Image Controls menu item also appears on the File menu. On the Controls dialog, you can select a foreground image by clicking in the FG column. You can also blend a foreground and background image in real-time using the Blend Mode pop-up menu and then dragging the Blend slider.
Most of the modes are self-explanatory. The Difference mode shows the difference between the foreground and background pixels (i.e., foreground minus background). If the Blend slider is all the way to the left, the actual difference is shown. Increasing the Blend scales up the difference to make it more noticeable. If the foreground and background pixels are very close, the result looks black.
If you are displaying a high dynamic range image, you can access special parameters if you activate the Exposure option. This allows you to adjust HDR data much like the HDRExpose image filter, but in real-time.
The White Point is the input intensity considered to be the hottest white. Anything above this will be the same white in the output. The Black Point, expressed as a percentage of the nominal black point (1/255), is the darkest non-black pixel level in the input image that will be preserved. Anything darker will come out black. This control is overridden by the Auto option, which uses the image data to compute a black point.
When the Image Viewer is the active window, pressing the P key will display/hide the Control Panel.