Render Properties - General

The General tab covers overall settings for your rendering. Here is where you’ll set a render range and choose what portion of the scene you wish to render.
- Range Type - There are three options to choose from this menu:
- Single - this allows you to set a range of frames to render the way existing users of LightWave will be familiar with. You set a first frame to render, a last frame to render and you can set a Frame Step. If you decide that you only want to render every other frame, set this to 2, every third frame? Set it to 3, and so on.

- Single - this allows you to set a range of frames to render the way existing users of LightWave will be familiar with. You set a first frame to render, a last frame to render and you can set a Frame Step. If you decide that you only want to render every other frame, set this to 2, every third frame? Set it to 3, and so on.
- Arbitrary - parses the frames you choose to render. You can set a frame range, a disparate single frame or two and a range again. To mark non-contiguous frames, put the frame number followed by a comma. To mark a range put the first frame number, a dash and then the last frame number in your range.
If you wish to you can render frames one to ten of your sequence, jump to frame 18, then render frame 25 and finish up by rendering frames 40 to 50 of your scene.

- Keyframe - is very useful for creating storyboards. You have access to any object, light or camera in your scene and you can use the channels for movement, rotation or sizing for the item in question (you can’t choose channels that don’t exist - for instance, there are no size options for the camera). Every time that a keyframe for the item and channel appears in the scene, LightWave will render the frame.

The render range you choose is set independently from the scene frame range. If you use the Single range - the range that’s always been available in LightWave - you will be asked to confirm if the range you’ve selected does not match the number of frames in the scene.
- Arbitrary - parses the frames you choose to render. You can set a frame range, a disparate single frame or two and a range again. To mark non-contiguous frames, put the frame number followed by a comma. To mark a range put the first frame number, a dash and then the last frame number in your range.
- Auto Frame Advance - If this is unchecked you will need to hit the Continue button on the Render Progress window at the end of each frame. This option is checked by default.
- Frame End Beep - A beep will sound once a frame has finished rendering.
- Animation End Beep - A beep will sound once all frames in a render range have finished rendering.
Preview - This dropdown menu offers ten choices:
Off

320 x 240
640 x 480
800 x 600
1280 x 720
1920 x 1080 (on UHD screen)

Camera Resolution 25%
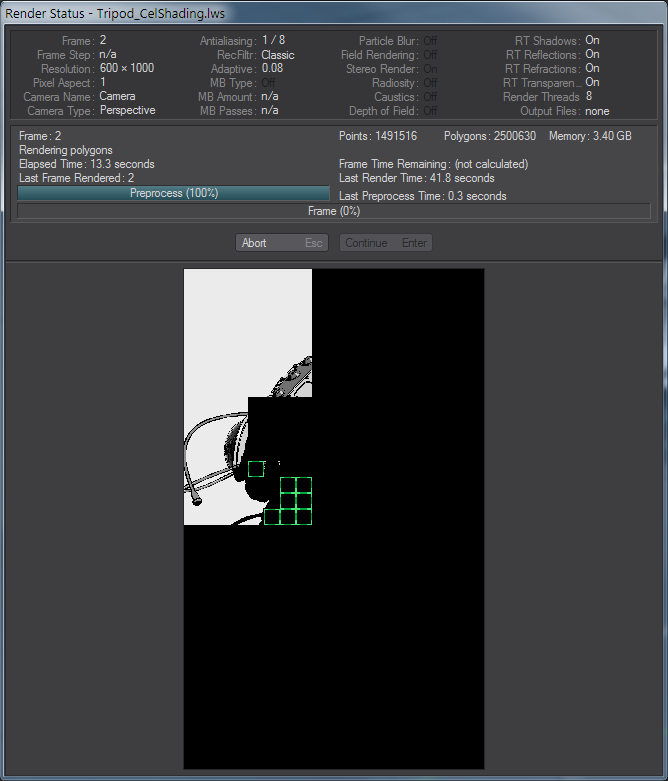
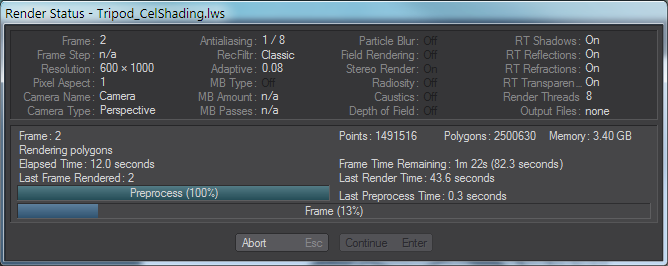
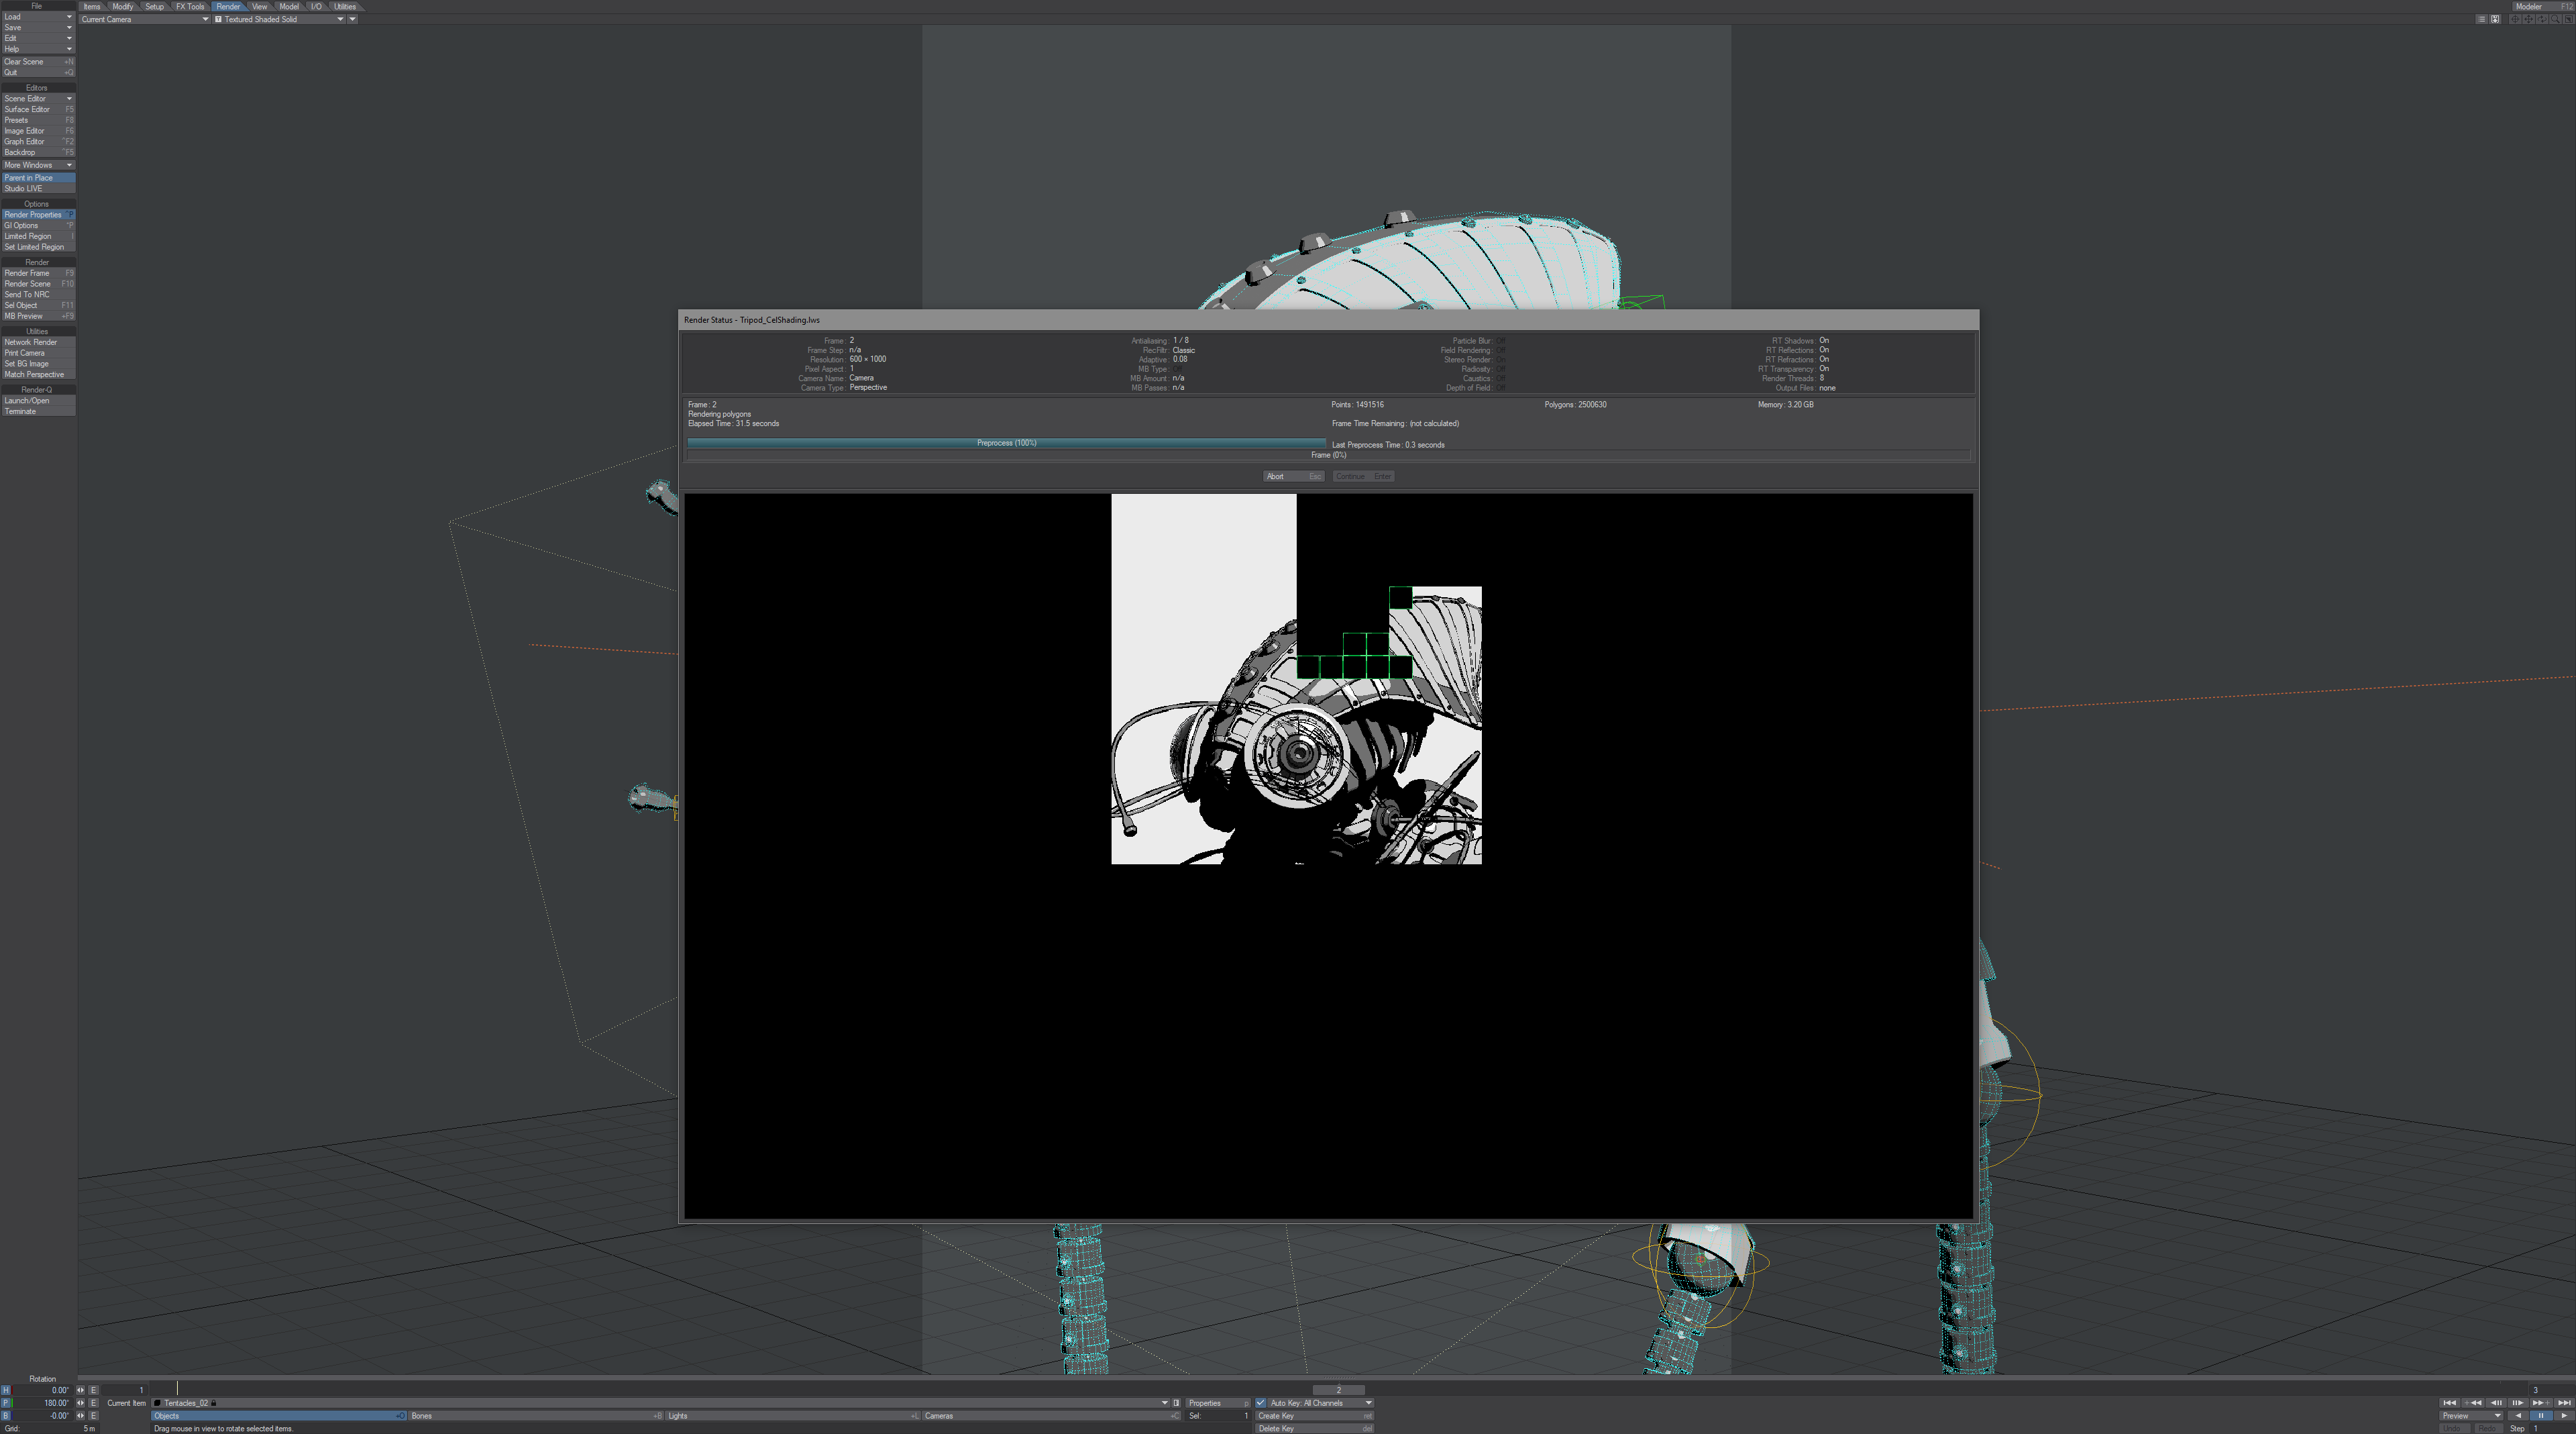
Camera Resolution 50% (showing green preview pass boxes)
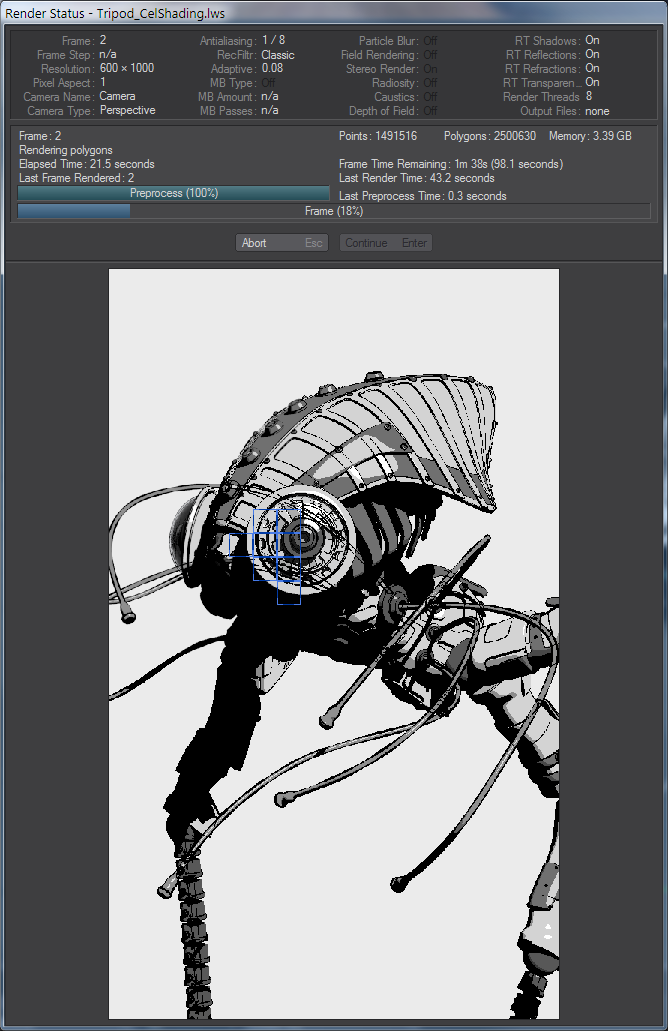
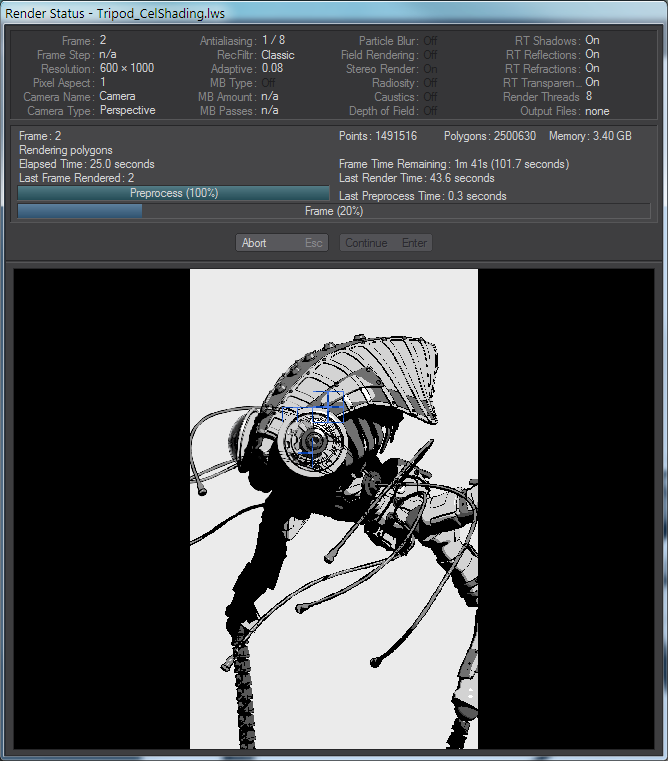
Camera Resolution 75% (showing blue render pass boxes)
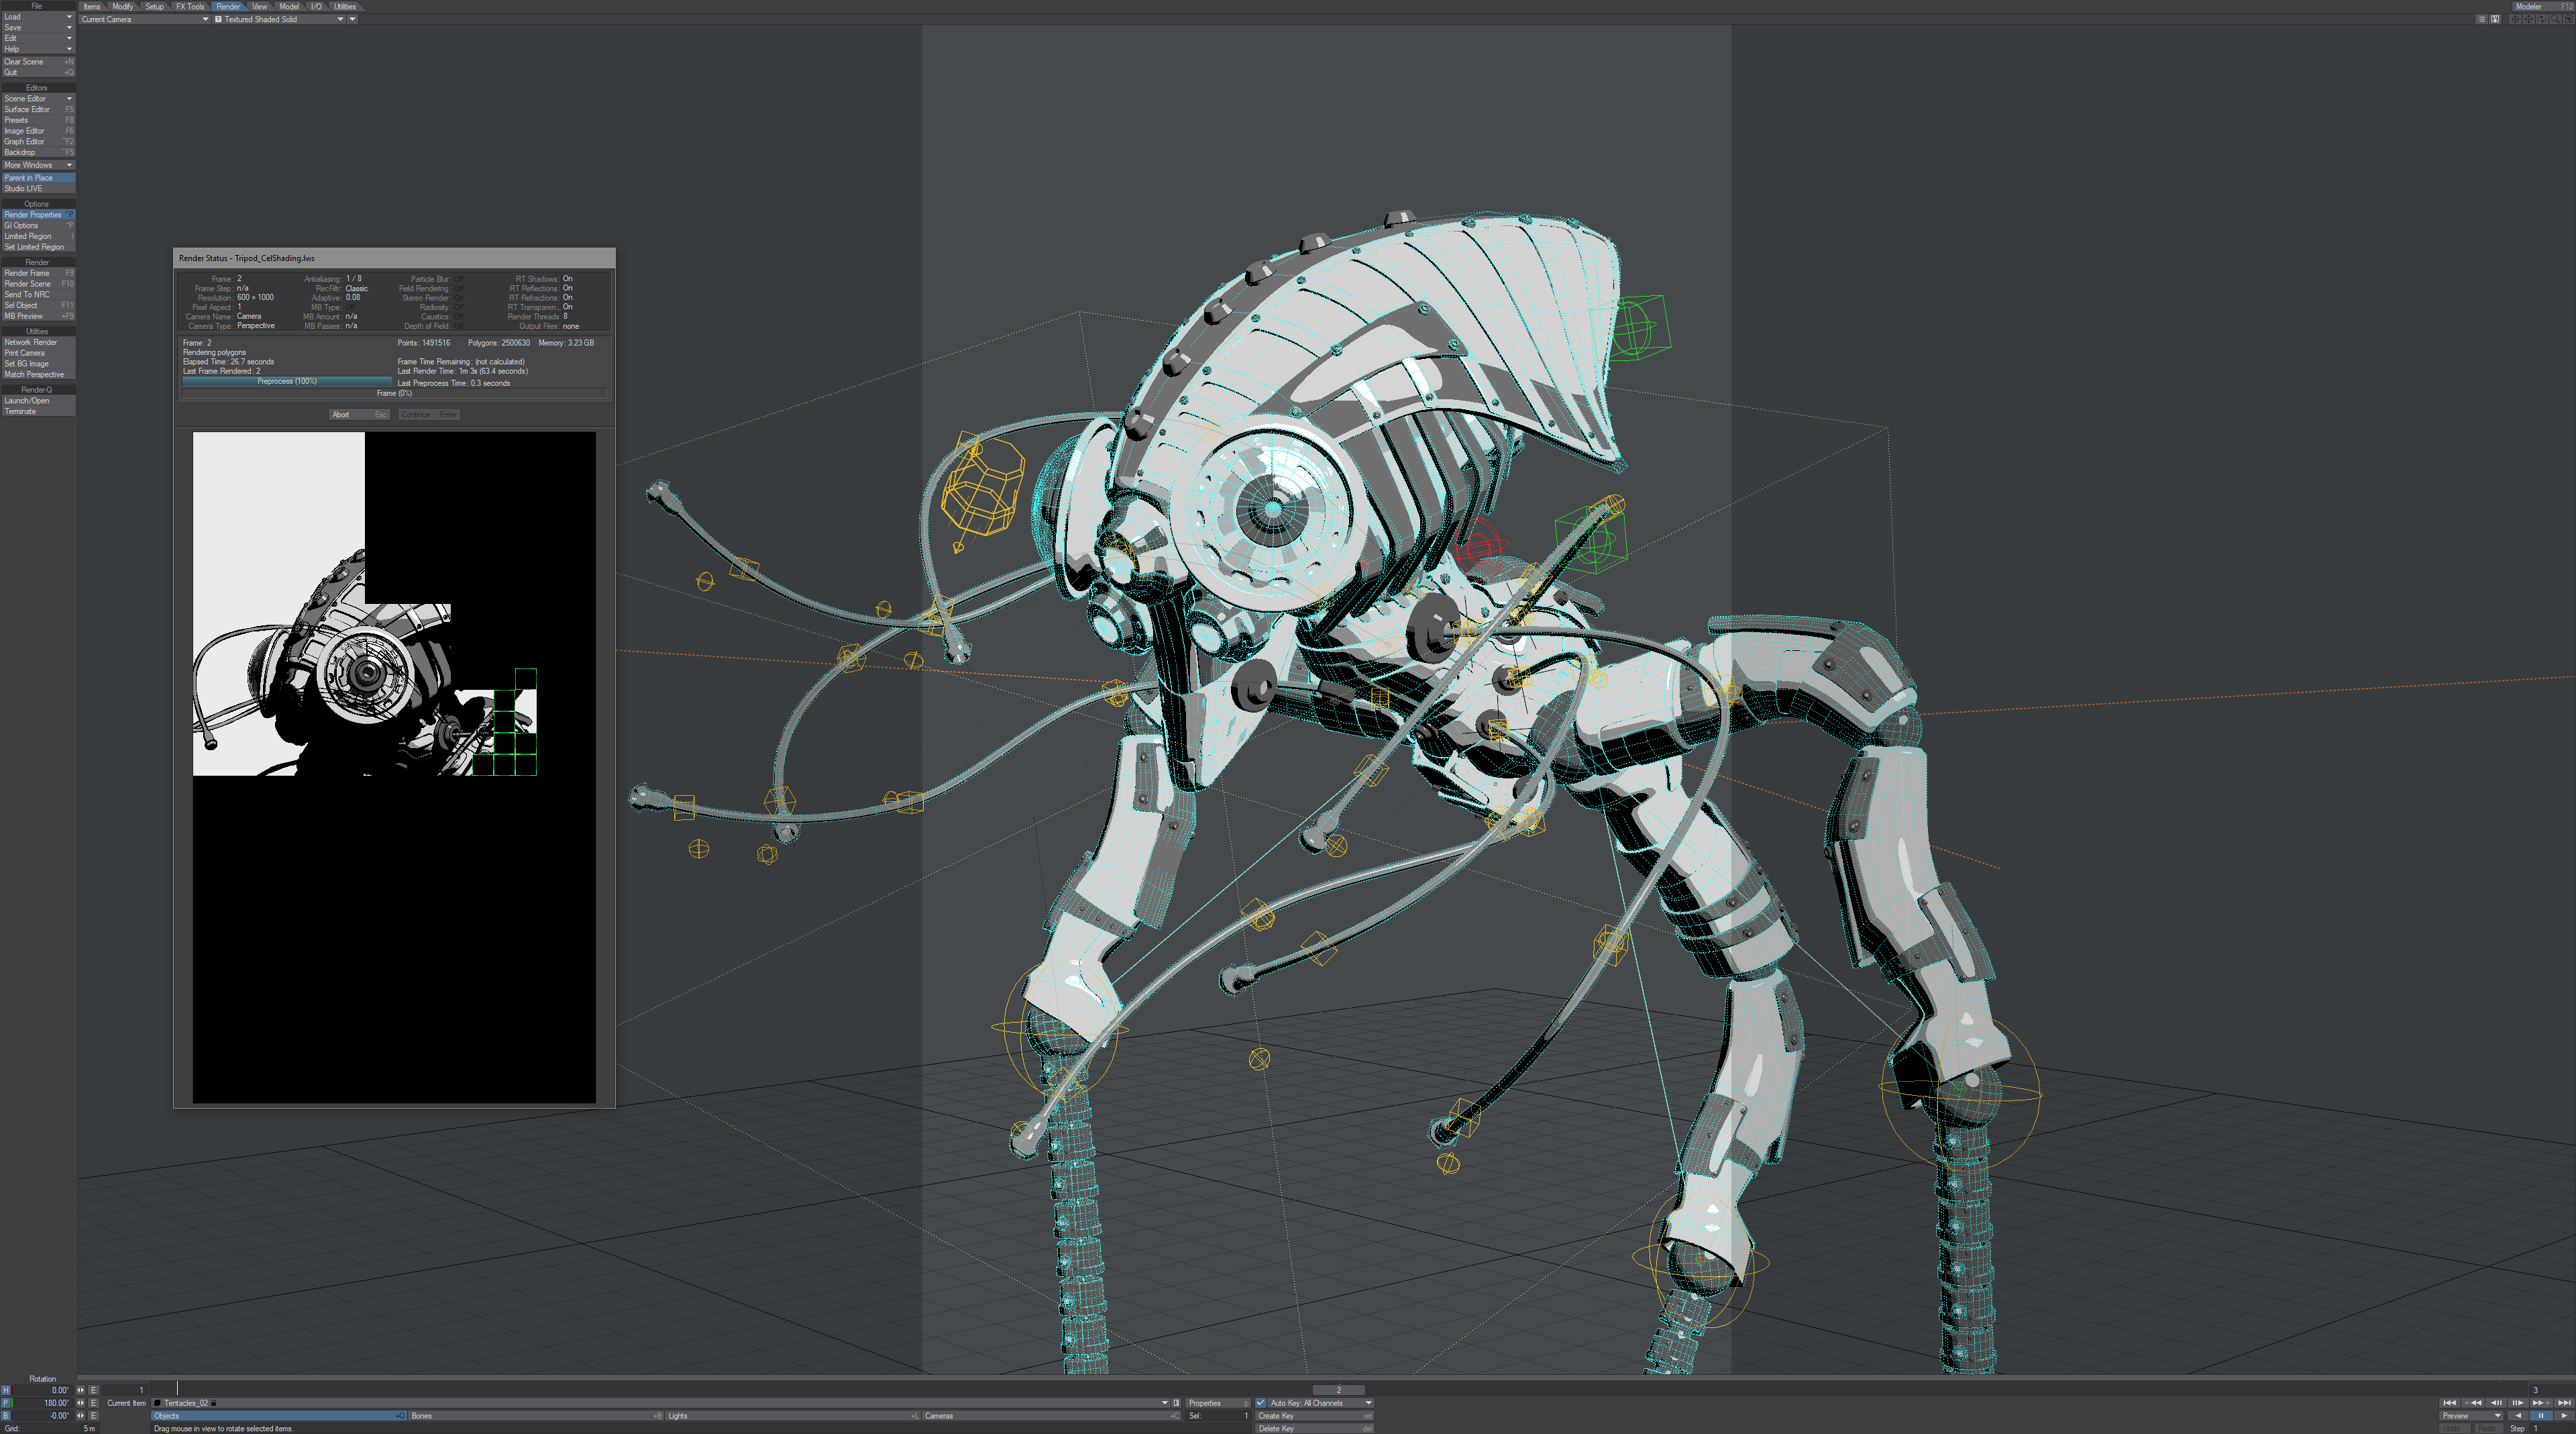
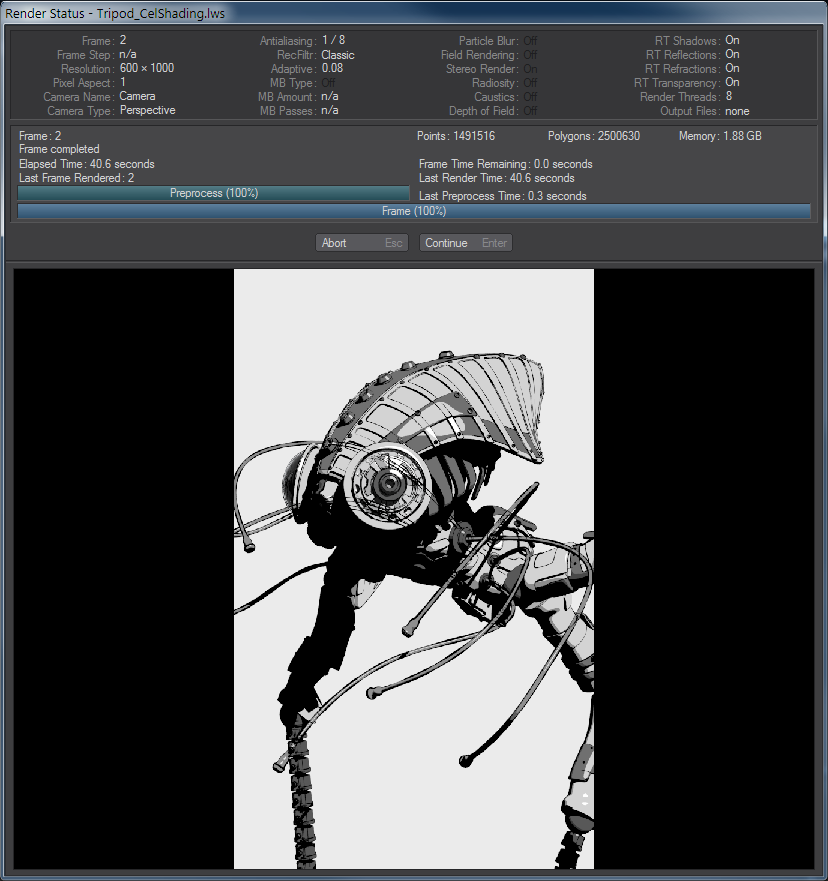
Camera Resolution 100% (on UHD screen)
- None - There will be no render preview image, but the scene stats and progress bar will be retained.
- 320 x 240, 640 x 480, 800 x 600, 1280 x 720, 1920 x 1080 - LightWave scales the rendered scene to fit inside this window where necessary, so turning off the preview can make rendering slightly faster.
Camera Resolution 25 %, 50 %, 75 %, 100 % - Rather than a defined size, this version of the preview will conform to your camera resolution.
- Render Display - This sets the destination for your F9 renders. It can be set to:
- (none) - Renders will finish and be thrown away. Not useful for F9 renders, but indispensable when using F10 to render.
- DVView - Renders will be sent to a DV device. Only NTSC DV devices are supported.
- Image Viewer - The entry you will normally choose. Renders will be displayed in LightWave’s Image Viewer window.
- Python Frame Buffer - Renders will be sent to a demonstration Python script that will display them.
- Python - Selecting this will open a file requester for you to choose a Python script that will be called once your render finishes.
- Render2Image - Uses an Object custom object called Visor to present renders. Visor is explained here.
- Preview Pass - This toggles whether the initial green pass will be shown in the Render Display window. A render without this separate prelimnary pass gives exactly the same end result, but more rapidly since there isn't an extra pass made.
- Limited Region - This dropdown presents three choices - Off, Include Borders and Exclude Borders/Cropped. They can be switched between with the default keyboard shortcut of L.
This command allows you to limit the area of your screen that is rendered. Hitting L a single time will give you Limited Region Include Borders - that is to say an area of your scene renders inside an image at complete size. If you press L again, you get Limited Region Exclude Borders / Cropped, which will render just the segment of your image at whatever size you chose. Pressing L a third time will remove the Limited Region.
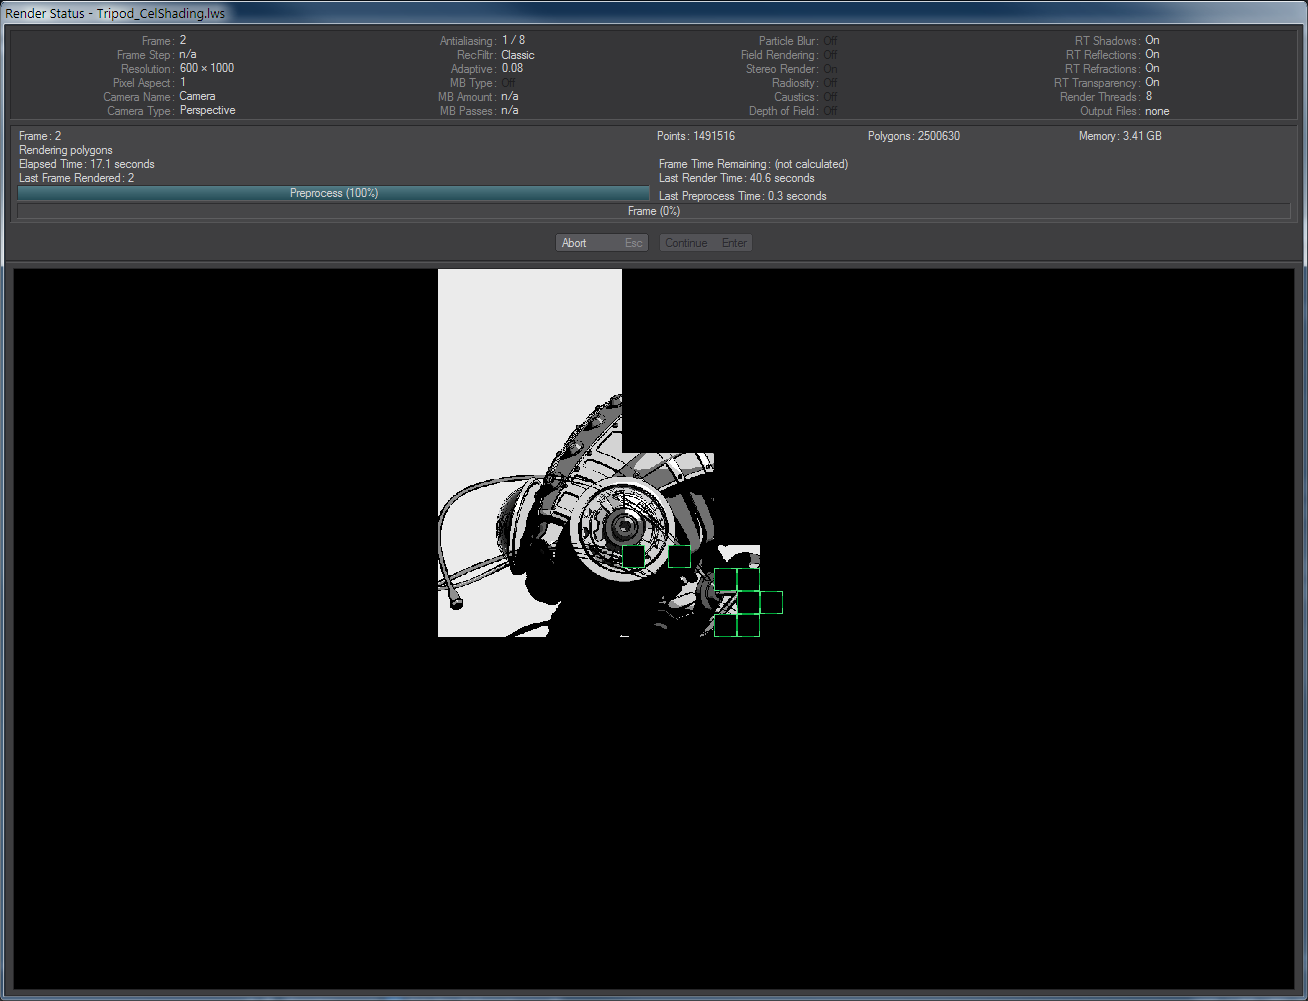
Further, if you engage Limited Region, the Render Preview window will respect the Limited Region set, as shown below:
- Overlay - The Data Overlay option lets you place a descriptive title (of up to 20 characters) along with a frame reference in the lower portion of the rendered image. This is useful when you generate large numbers of animations for others to review and approve before final rendering. It can serve to identify the scene being rendered, and the specific frames you may wish to change. The Data Overlay pop-up menu setting determines the format for the frame reference. Enter the text in the Label field. If Data Overlay is not set to Off and the Label field is blank, the scene name will be used automatically. There are five options:
- Off - The default option
- Frame Number - The frame number being rendered.
- SMPTE Time Code, Film Key Code, Time in Seconds - Appropriate to the frame being rendered.
