RHiggit!
RHiggit is a modular, re-editable rigging system that can be used for all kinds of FK and IK rigging. From humanoid characters to all manner of multi-legged (or winged) creatures, RHiggit is fast, flexible and editable once you have begun animation.
note
You can create weightmaps using the new weightbrush tool first, though it is not obligatory and this guide will mention when weight maps need to be assigned. Rigging is scary business, but RHiggit is pretty forgiving. Even when you have already been animating your rig for some time, if you end up with a rig problem you can edit your setup without losing the animation you've already done.
Find yourself a humanoid to rig, load it into Layout and select it so you can hit the RHiggit > BodyBuilder button. As soon as you do, you'll get this window:
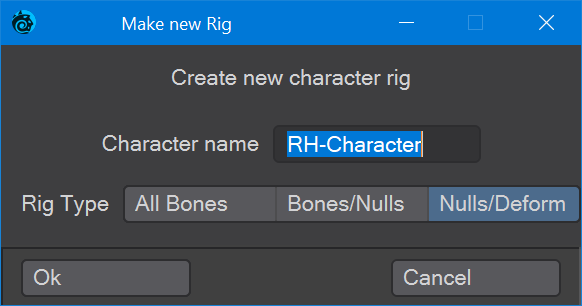
For now, just hit okay. We can go into naming and the choice of rig type later. Next, you'll be confronted with this window:
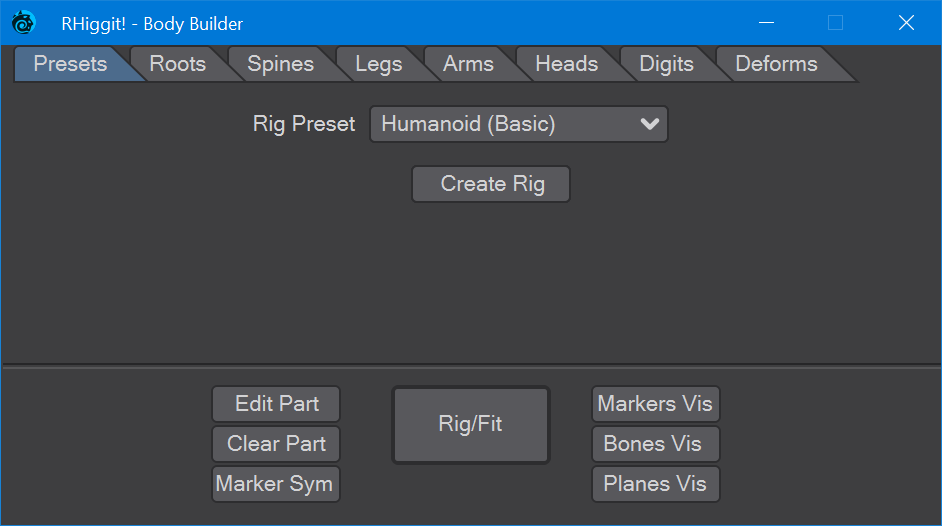
Again, for right now, select the Humanoid (Basic) preset and scale it to fit your model. Size the groundplate so that the central control is at the Centre of Gravity for your character. This will make sure that all control elements are scaled appropriately. Hit Create Rig - you will need to be a little patient as the rig is built.
The next thing to do is go around your rig methodically. Pick a marker (the bigger red and smaller blue circles) and move it into place. Use your various views to do this accurately and remember that the Back view is from in front of your character looking to the +Z distance and is numpad 1; the Top view, looking down, is numpad 2 and the Right view looking left is numpad 3. Once you've picked a marker, you can go around the whole rig pressing the down arrow to move to the next marker. Don't try picking the next marker from the viewport, especially in an orthographic viewport. You might inadvertently choose something from the wrong side of the body, and it would be better to use the mirroring that sticking to the left side gives.
note
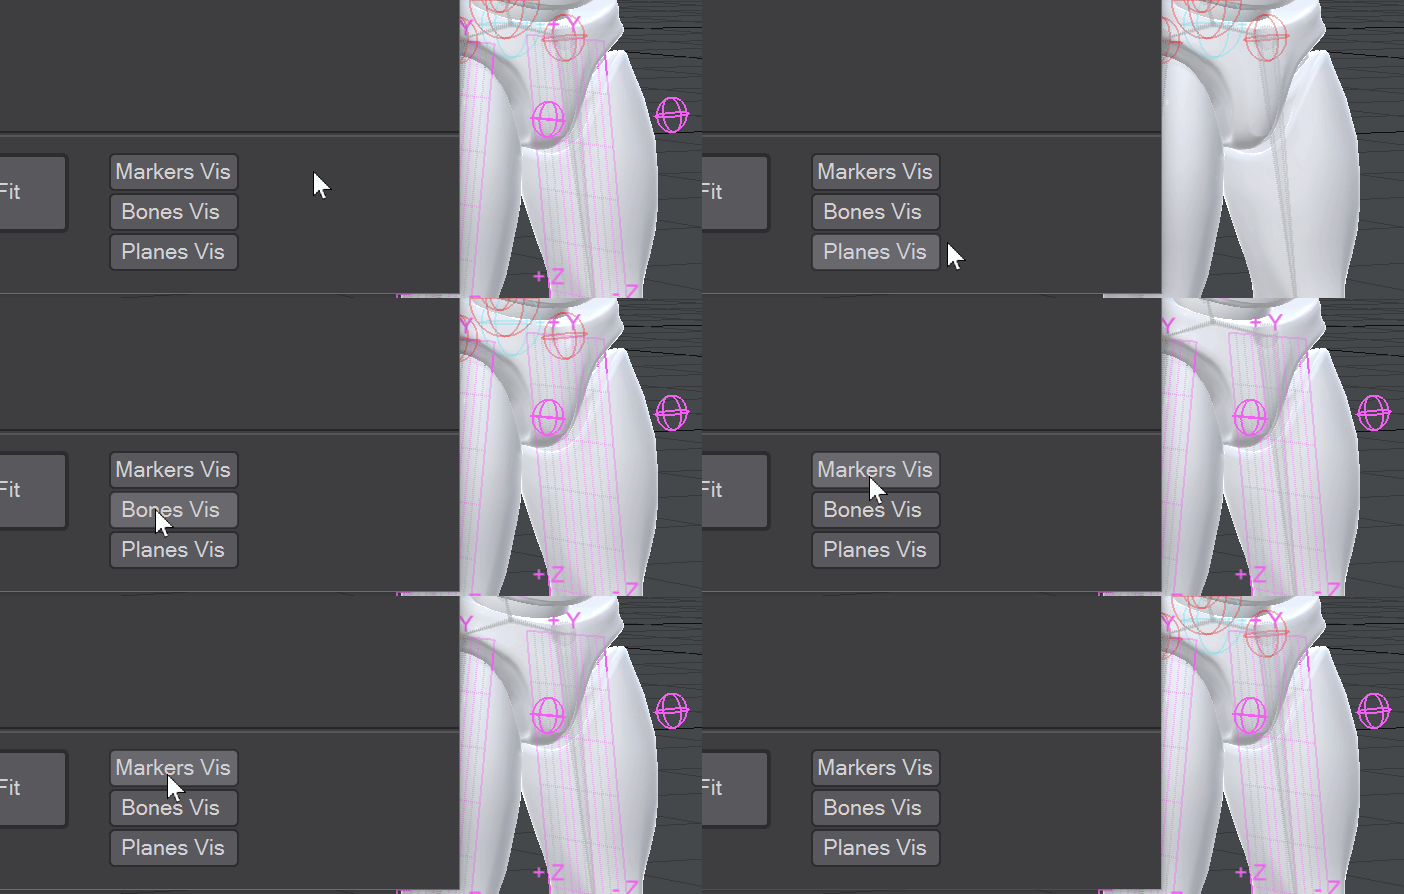
Placing your elements can sometimes be confusing and that's when the visibility toggles come in useful. You can use any combination to make things simpler; they purely affect visibility while you are fitting your rig.
tip
Keep an eye on the Current Item list, to make sure you have the marker you want!
Arms and legs are awkward for rigging. They'll probably be okay, but often you'll get a model that has them straight, or one pretty much doing the splits. Put your shoulder or hip markers in place as best you can, then don't be scared of rotating or scaling markers to better fit the limbs of your character.
You'll need to switch between the Back and Right views for this because there are markers for the inside and outside edges of the foot, but also toe and heel.
Hands are even more finicky than feet, but the basic rig doesn't have fingers so you can breathe a sigh of relief.
The main thing to bear in mind is to set up the neck properly - the Neck Root marker should be down in the chest (at the level of your clavicle), not above the shoulders. Then you want the Head Root marker just below the bottom of where the jawline meets the ear. The robot I'm using for the example does not have any eyes, but neither does the basic rig.
If you've created weightmaps for your character, now's the time to set them up. Double-click on a bone to switch into bone mode and select the bone then press P to open the Bone Properties panel.
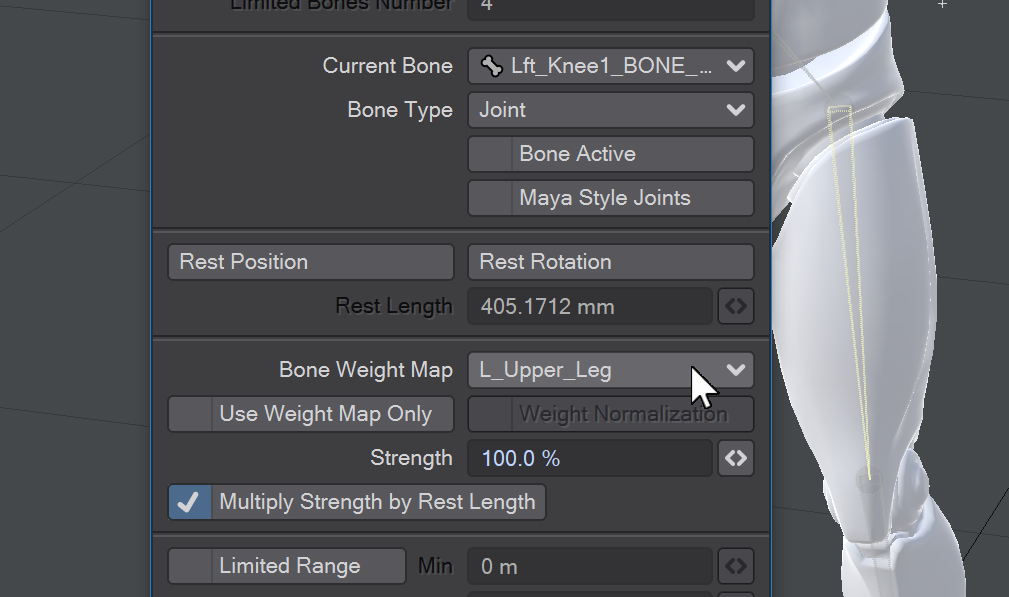
Once you are happy that everything is in the right place, hit the big Rig/Fit button on the BodyBuilder window and wait while RHiggit does its thing. You'll know you can start animating when you see this message:

note
If you haven't already been saving your scene regularly, do so now. Save it as
character-rig.lwsso that if there's a crash you won't have lost everything.
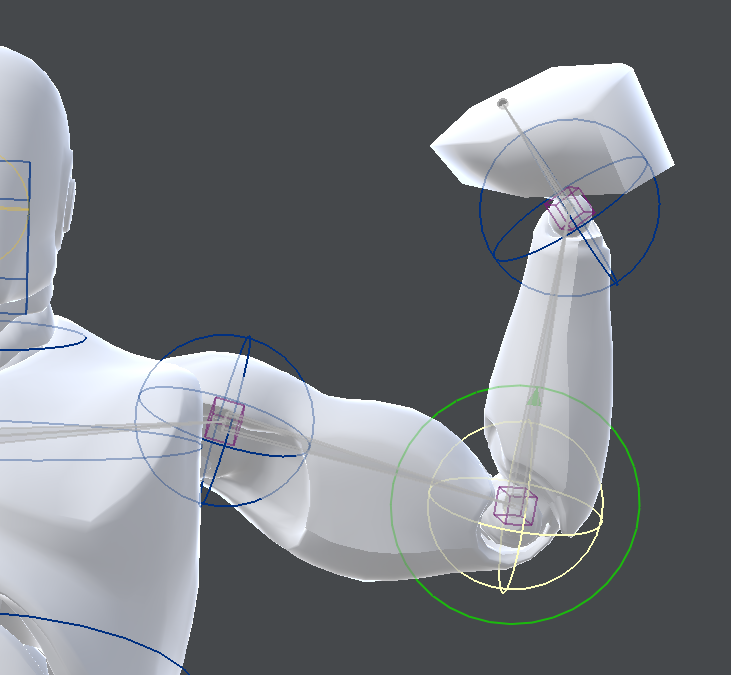
FK and IK are the two styles of animating a rig. Some articulations work better with one than the other, but you will use both. Think of FK - Forward Kinematics - as being a little like traditional claymation, Wallace and Gromit would be a good reference. This is the simplest form, you take a bone and act directly on it. If you have been following along, try rotating and positioning one of your character's arms - a wave, perhaps or a curled bicep.
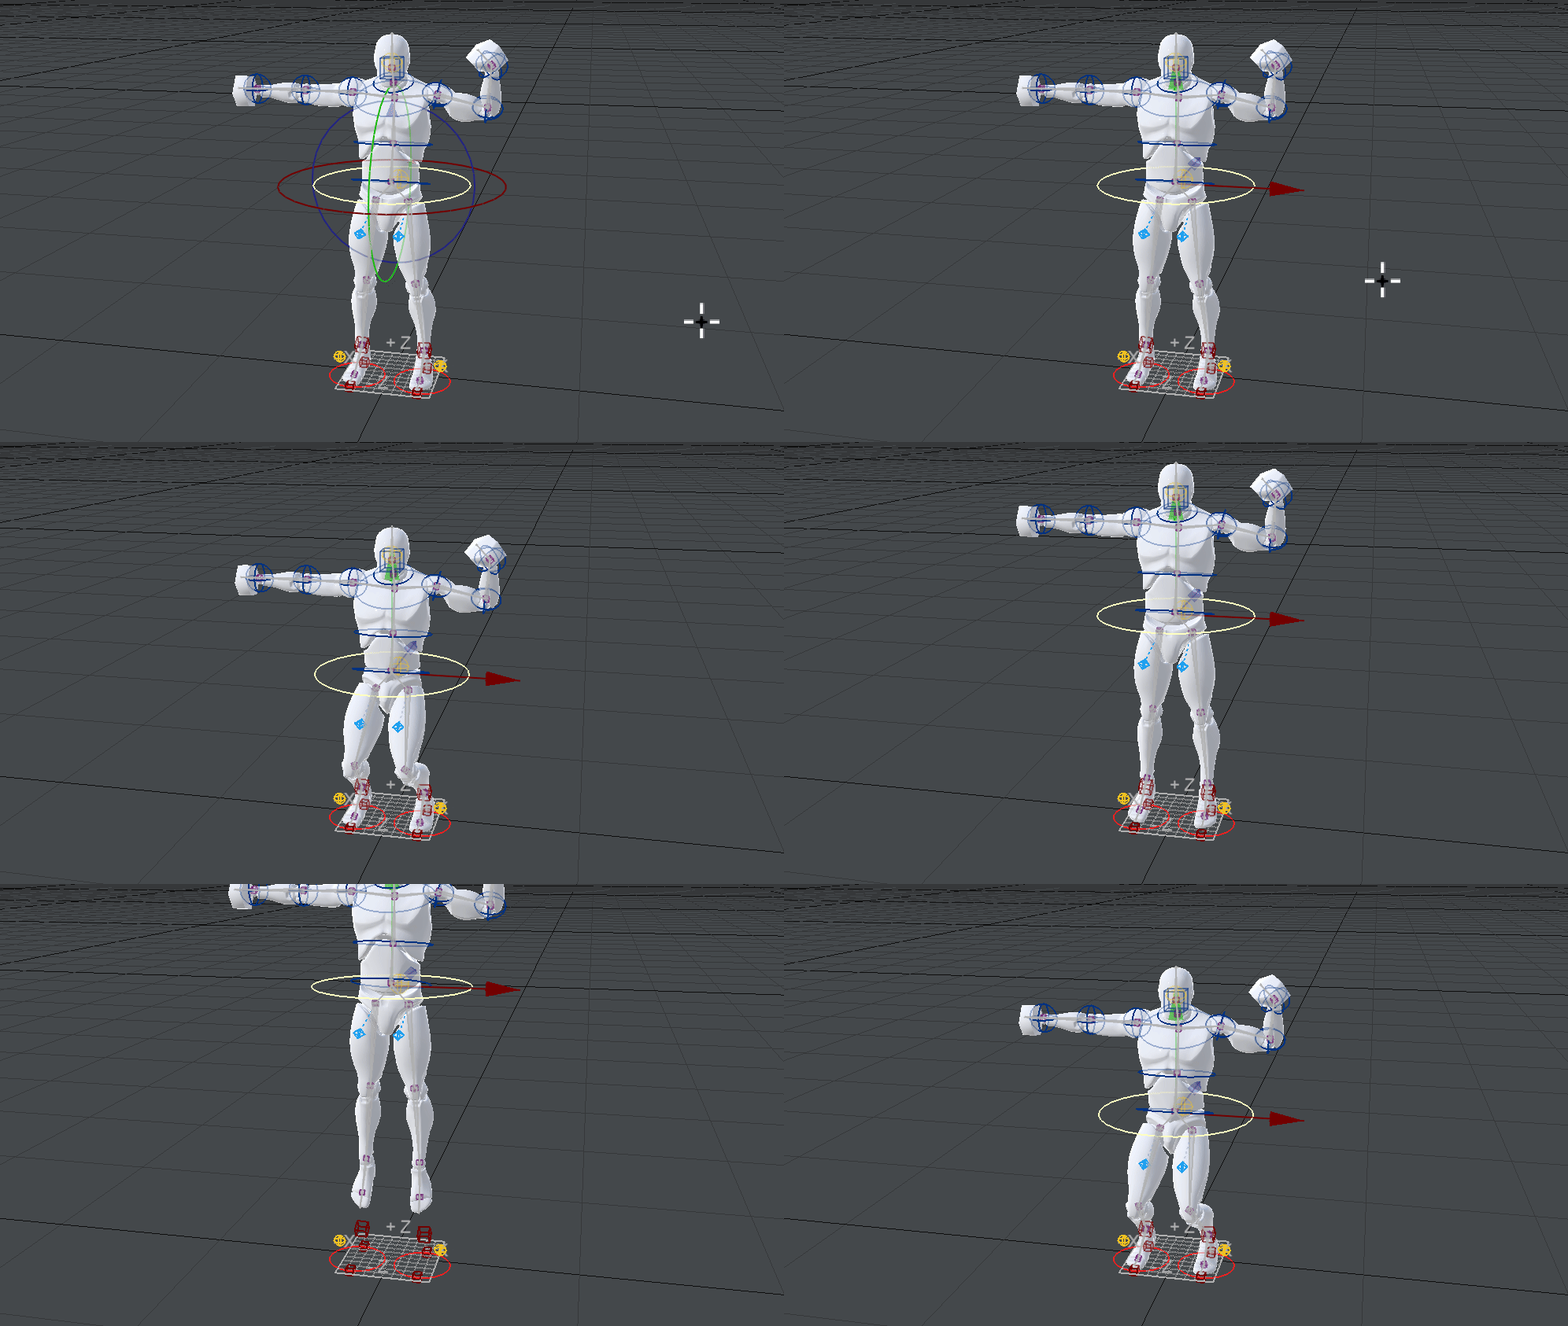
Now, select that big red ring around your character's waist, make sure you are in Move mode, and use the RMB to move the ring up and down. See how the knees bend and the toes point just using one control? That's IK - Inverse Kinematics. It's more complex, but easier to do. With IK, you set up a control rig, which takes care of some of the more tedious aspects of animation.
To start with, just do exploratory motions with your new rig. Rotating the shoulder - don't forget to use both the left and right buttons to check the different axes; rotating the elbow; rotating and moving the hips. If anything looks out of the ordinary, you can always jump back to rigging mode. The problem might also be with your weight maps, in which case you'll need to use Weightbrush - the animation you have performed will not be affected, but note that you will need to choose your character model from the Current Item list. You will not be able to pick it from the viewport because RHiggit will have locked it from selection.
The BodyBuilder window can be kept on-screen while animating because you might need to return to rigging mode. If you have closed it, the good news is that you can reopen the window and click on the Rig/Fit button again. It might just take a moment to reacquire your rig. Once you have modified your rig - perhaps you want to add IK controls for the arms as well, hit the Rig/Fit button to go back to animating.
Craig 'Rebelhill' Monins made a comprehensive tutorial video playlist here: RHiggit! YouTube playlist. Written documentation will also be provided, but will not be available immediately. Hopefully, this will be enough to at least get you started.
