Viewports
Viewports
The largest part of the interface consists (by default) of four viewports. You can edit in any viewport and will be spending a lot of time in this area of the interface. The default four viewports starting in the top left and moving counter-clockwise are labeled Top, Back, Right, and Perspective.

The Top view is an overhead point of view looking down on the object. The Back view looks directly at the object from the rear. The Right view is positioned as if you stood to the object’s right. Perspective is a forced perspective view that you can rotate by holding the Alt key and dragging your mouse on it.
You can change the relative sizes of the windows by dragging any border between the viewports.

As you grow familiar and gain experience with Modeler, you will find yourself switching back and forth among these viewports, changing their size, position, and function, and even changing the number, to get the best view from which to use a particular tool. You can adjust the screen to see as much or as little detail as you want, by using various options.
You can Maximise a viewport by moving the cursor over it and pressing the Numeric 0 key on the keyboard.
Save View Presets
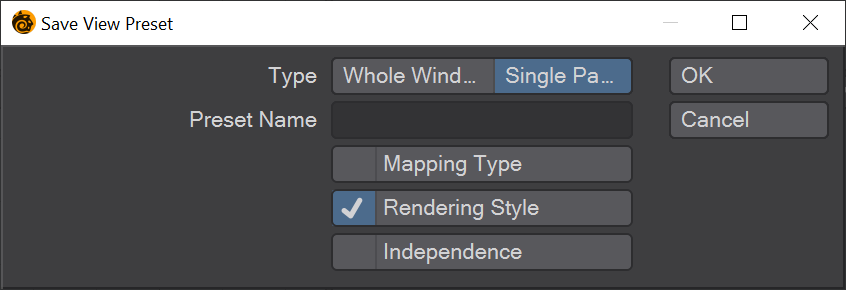
You also have the option in Modeler of saving viewport presets. You can place the cursor over a particular viewport and use the Ctrl key in combination with any of the number keys on the numeric keypad to map that viewport or the whole window to that hotkey. For example, if you place your cursor over the perspective viewport and hit Ctrl numpad 9, you can assign that viewport to that hotkey. Each time you hit the numpad 9 key while holding the cursor over ANY viewport, it will change to your preset. This is a great way to easily switch viewports or even whole viewport setups instantly for different workflows.
Resetting Tools
Non-interactive areas (e.g., not a button) on the toolbar and bottom border (including the left-corner information display and grid size) act as a Reset button, much like you might use the ESC key on other applications. What happens when you click in a reset area depends on the current state of tools. For example, if you have points/polygons/edges selected and you are in the Point/Polygon/Edge Selection Mode, they become unselected.

All built-in tools (i.e., primitive and modifying) maintain their state, if they are used, unselected, and then used again. The default state of the tool can be recovered by dropping (clicking in a reset area or choosing View/ Selection/ Drop Selection when a tool is selected, but inactive.) If the tool is active, the first drop deactivates the tool, keeping the current settings. The second drop would then reset to the default settings.