Multi Text
The Multi Text tool (Create > Text > Multi Text) generates multiple lines of text and gives you control over size, kerning, and leading. In addition, it can load ASCII text files, making it a versatile text generation tool.
As with the other text tools, you must have at least one font loaded into Modeler before you can use this utility. Any font available to your operating system including PostScript, TrueType and OpenType formats is usable.
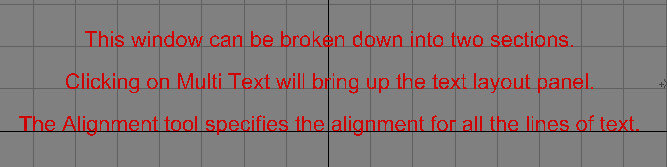
Clicking on Multi Text will bring up the text layout panel.
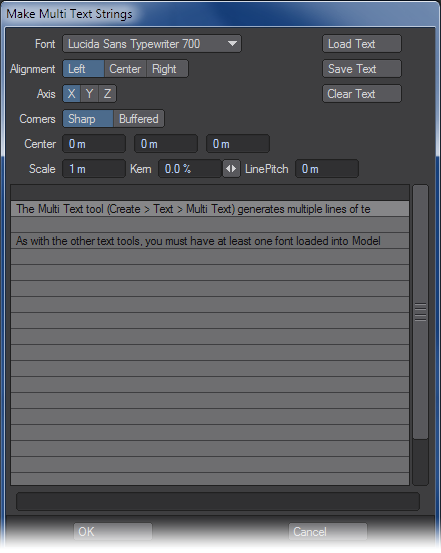
This window can be broken down into two sections. The top section contains text formatting options, while the bottom section contains text entry options. You begin by choosing your typeface from the Font pulldown menu. Remember that only fonts which have been loaded with the Edit Fonts utility will be displayed in this list.
The Alignment tool specifies the alignment for all the lines of text. The choices of Left, Center, and Right operate just like their counterparts in word processing programs.
The Axis buttons determine which direction the text object will face once it has been created.
The Corner buttons determine whether or not extra points will be created around the hard angles of the characters in your font. Many letters, like an M, have sharp angles. When you extrude these letters, you wind up with sharp edges, which look unrealistic when rendered because they lack the tiny bevels needed to catch the specular highlights. These bevels require extra points in the letter’s polygons; and by selecting Buffered Corners, the extra points needed to round and refine your polygon’s sharp edges are added.
The following picture shows the letter M generated with Sharp Corners.
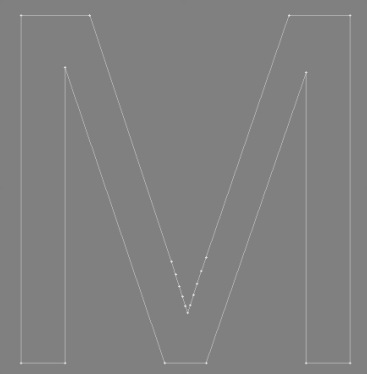
Notice that almost every corner forms an angle of 90-degrees or more. Now take a look at the same character generated with Buffered Corners:
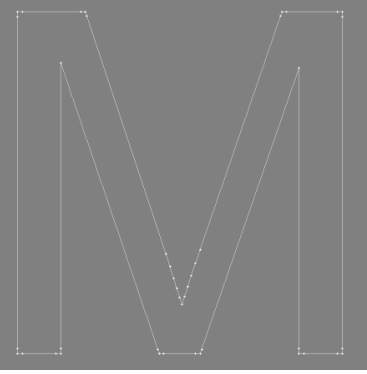
Extra points have been created around the sharp corners. These points act as a buffer, allowing you to move or delete the points at the edges to create a bevelled shape (as in the example below).
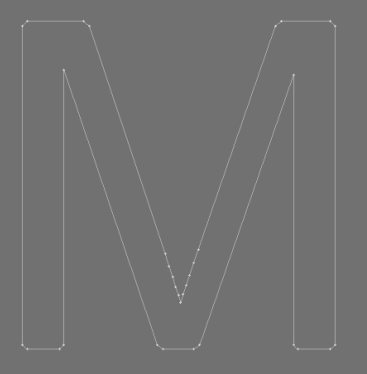
Occasionally, when making a relatively large bevel with the Bevel tool, buffer points can cross over each other and produce render errors. If this is the case, try regenerating your text using Sharp Corners and using the Edge Bevel tool to compensate for any sharp edges.
The Center input fields correspond to the X, Y, and Z coordinates, which determine both the left margin and base for the text object. More often than not, this can simply be left at its default, of 0, 0, 0 that used on a left-aligned text block, will produce an object which rests on the ground and is situated to the right of the origin. The image below uses center alignment.
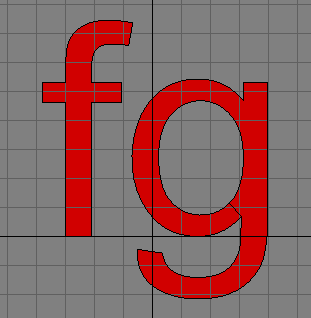
The Scale setting determines the height of the font from its lowest point to its highest point. It’s important to note that the Scale setting does not measure the height of your font from the baseline up. Certain characters, such as the lower case p, q, and g, all fall below the baseline. And characters like f, h, and k rise higher than the more common a, s, and e. The Scale setting looks at the lowest and highest points in your typeface and scales the font so that the range between them matches your target size.
The Kerning setting determines the spacing between letters. Kerning is determined by “em” space and is measured in percentages, with 100% being equal to the width of the capital M in your chosen font. Negative values will bring your letters closer together. Positive values will spread your letters farther apart.
Line Pitch refers to the spacing between lines of text (also known as leading). A value equal to the Scale of your text will usually produce good results. Increasing this value will push the lines further apart. Decreasing this value will pull the lines closer together.
The Load Text and Save Text buttons enable you to import and export ASCII text files for use with the Multi Text tool. ASCII character codes are respected in these files, allowing you to utilise the extended character set of most fonts.
The Clear Text button will erase all text in the composition window, leaving you with a clean slate.The lower half of the Multi Text tool enables you to enter and compose blocks of text.
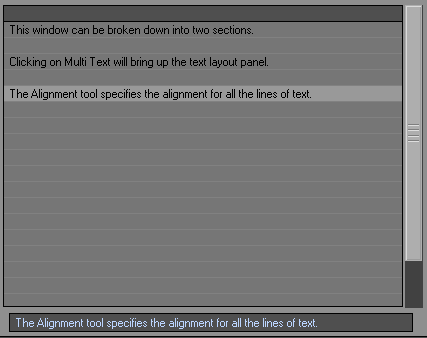
Text is entered one line at a time, and text lines can be entered in any order you desire. Before entering text, you must select the line onto which the text will be placed. The selected line will highlight as in the example above.
Once a line has been selected, text can be entered into the field at the bottom of the window. Pressing the Enter or Tab key will place the text into the selected line.
To edit a line of text, simply select it with your mouse. The text from that line will appear in the entry field at the bottom of the window. Proceed to edit the text, then press Enter or Tab when you are finished.
To clear a single line of text, select it with your mouse, then delete the text from the entry field at the bottom of the window. Pressing Enter or Tab will accept your changes and wipe the line clean.When you are satisfied with your settings and text layout, press the OK button. A new text object will be generated. Should you find that a particular setting was incorrect (such as the Kerning or Line Pitch), simply delete your text object and run the Multi Text tool again. Multi Text retains the settings from its last use through the duration of your Modeling session. Note that once Modeler has been shut down, however, your Multi Text settings will be lost.