Example - Point-to-Point
To keep things simple, we will use Layout-created objects to keep things quick. Please apply what we do here to your own objects and scenes. Likewise, we will be using Bullet defaults. You can achieve a completely different effect by varying settings, particularly the weight of your pendulum object.
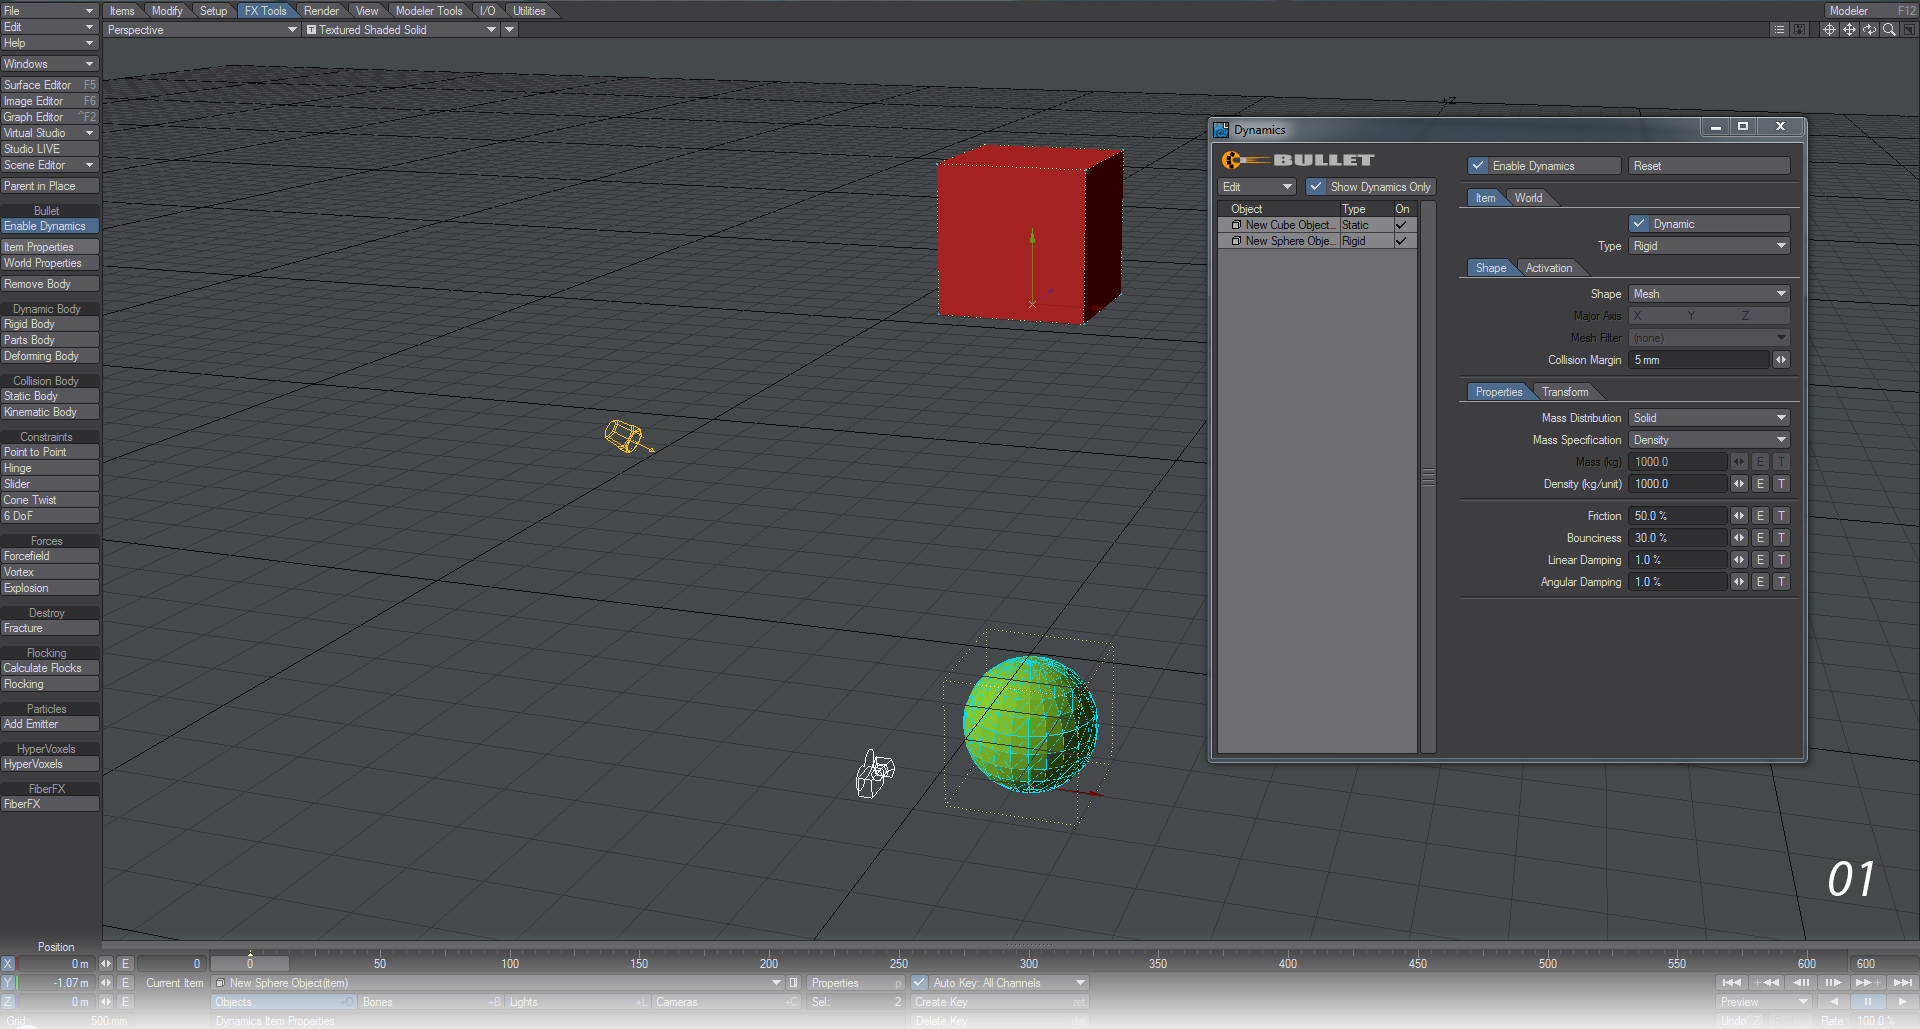
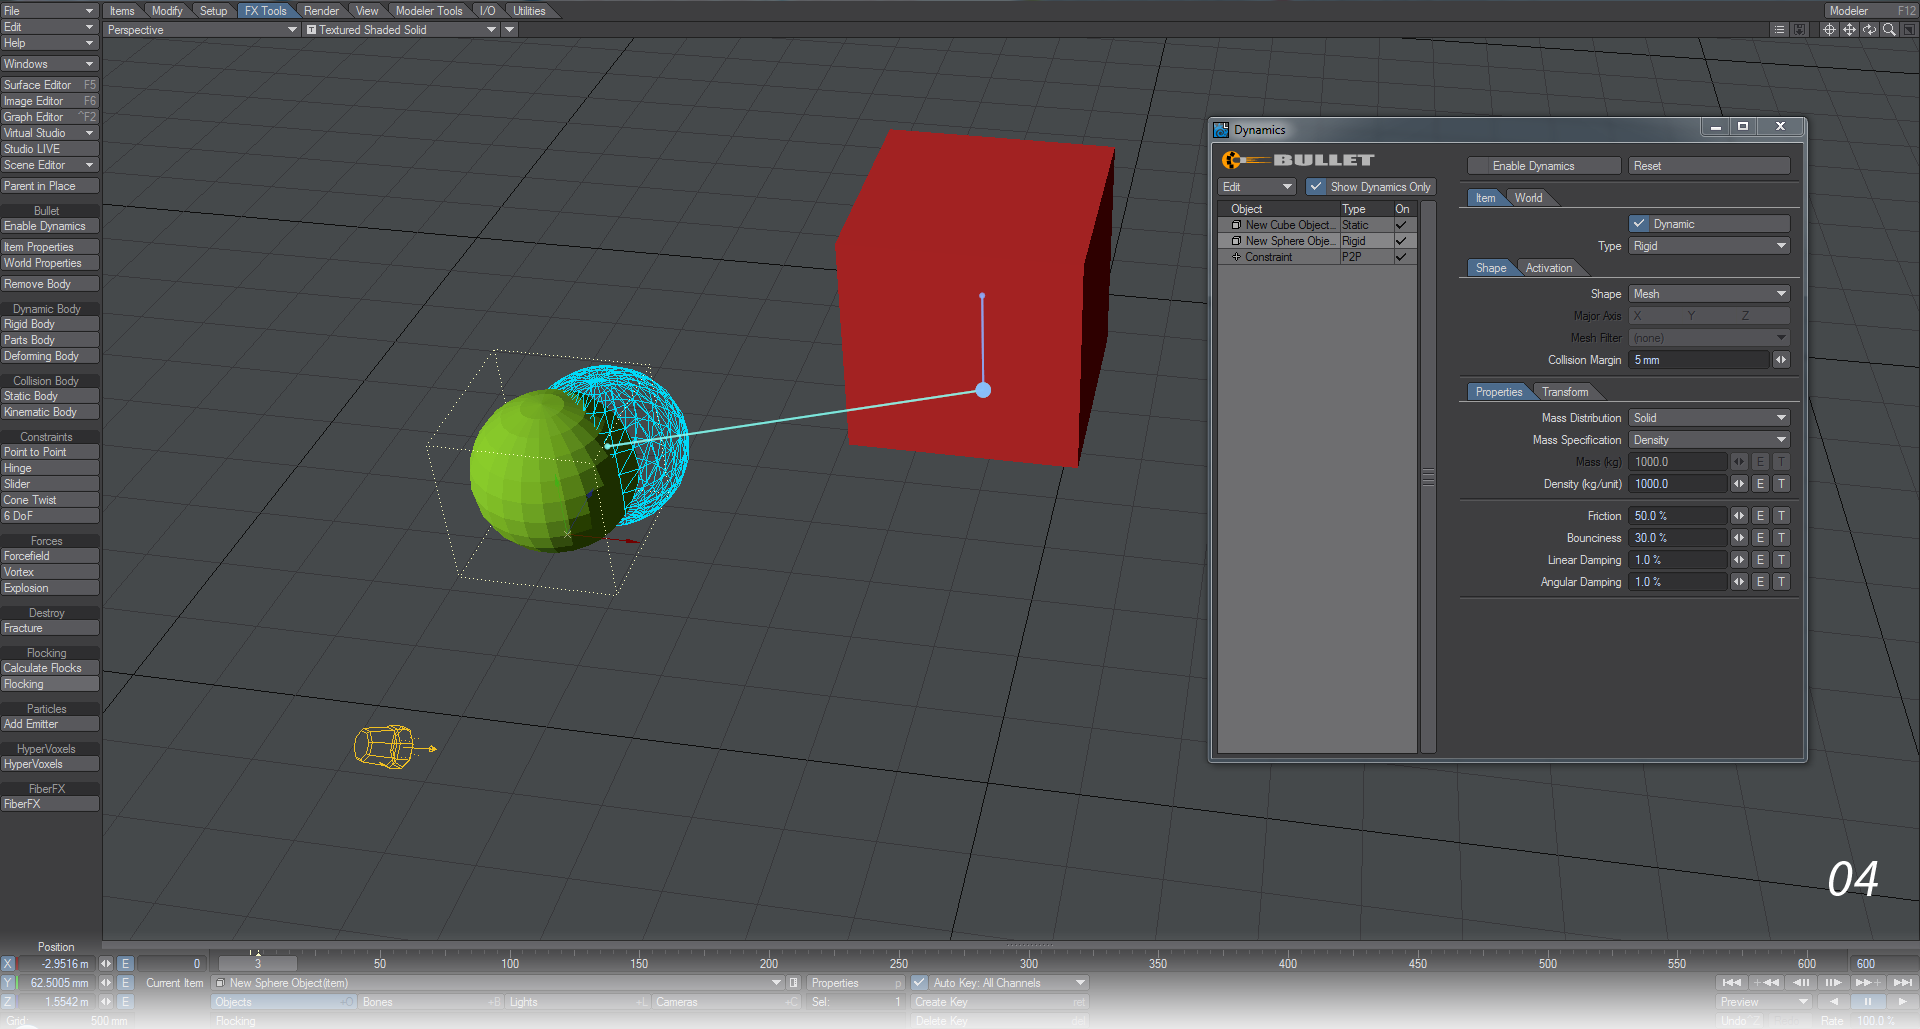
- As in our first constraint example, we will create a cube and sphere. Move the sphere to be below the cube. On the FX Tools tab, set the sphere to be Rigid and the cube to be Static.
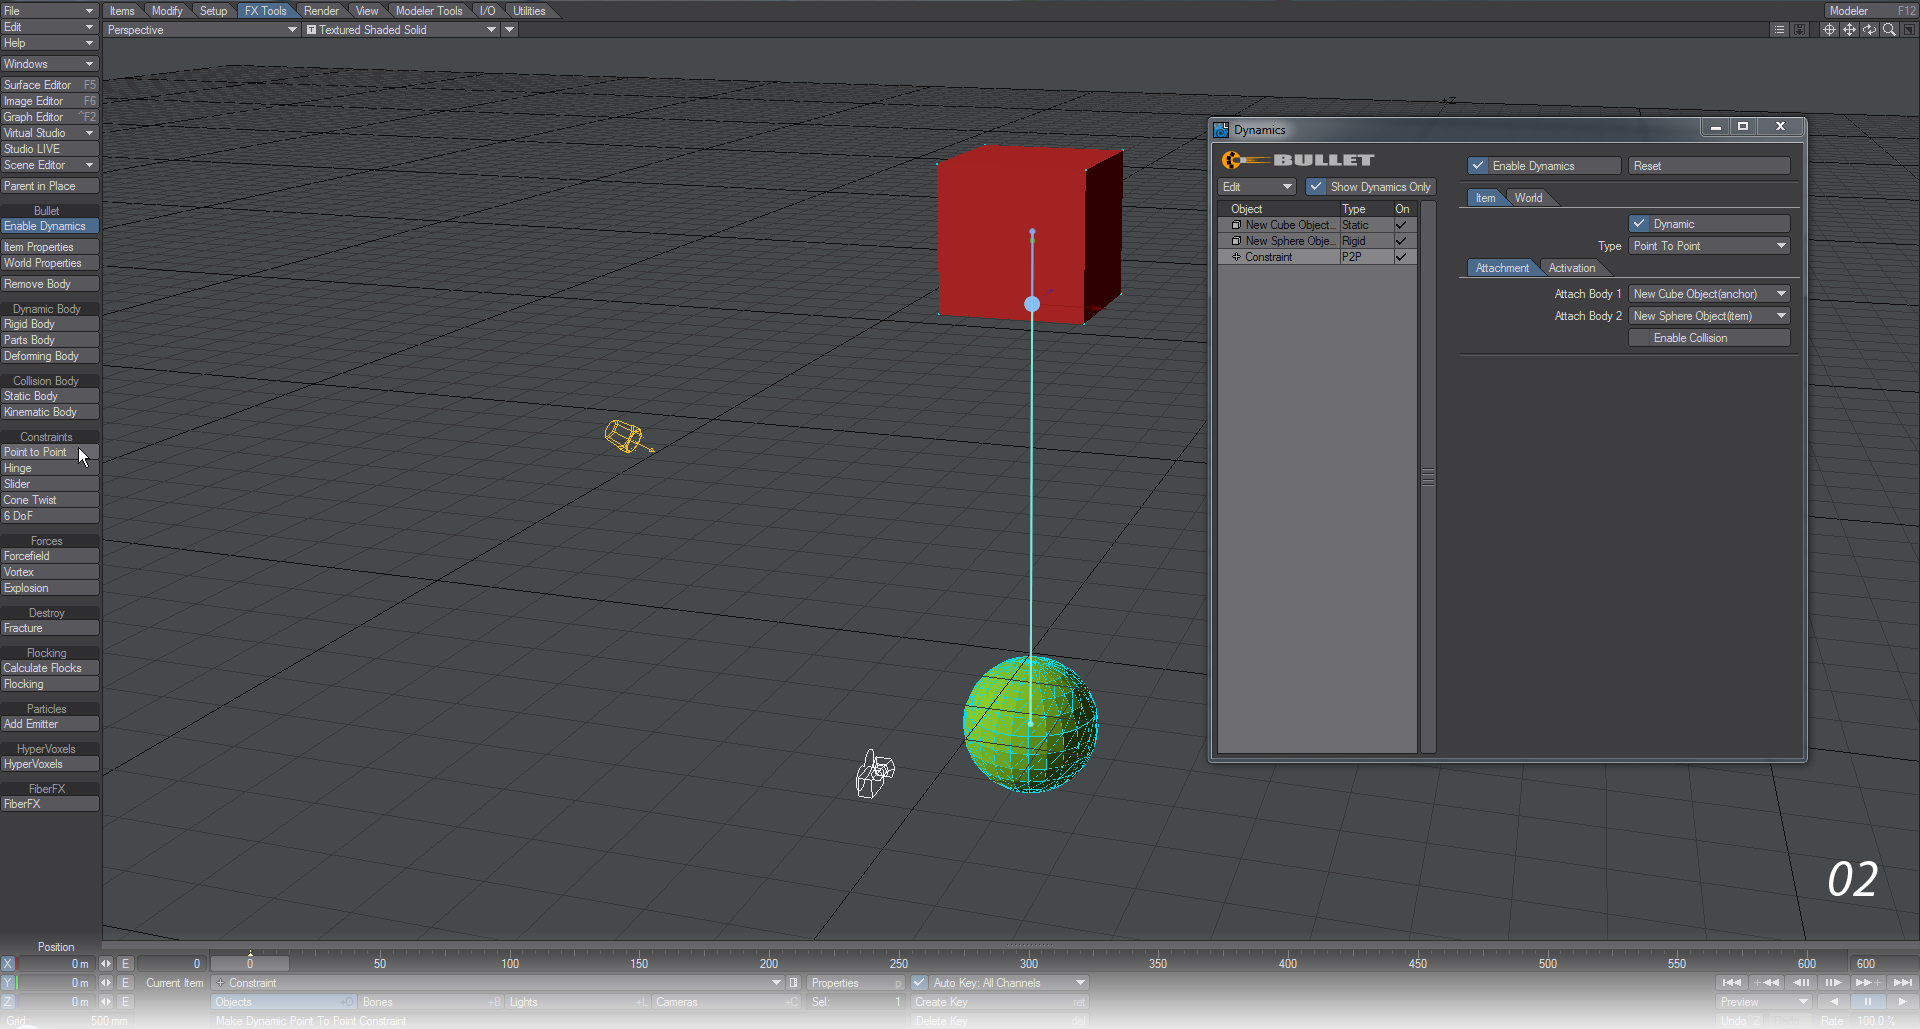
- Select the cube and then add the sphere to the selection and choose Point to Point from the Constraints group in FX Tools.
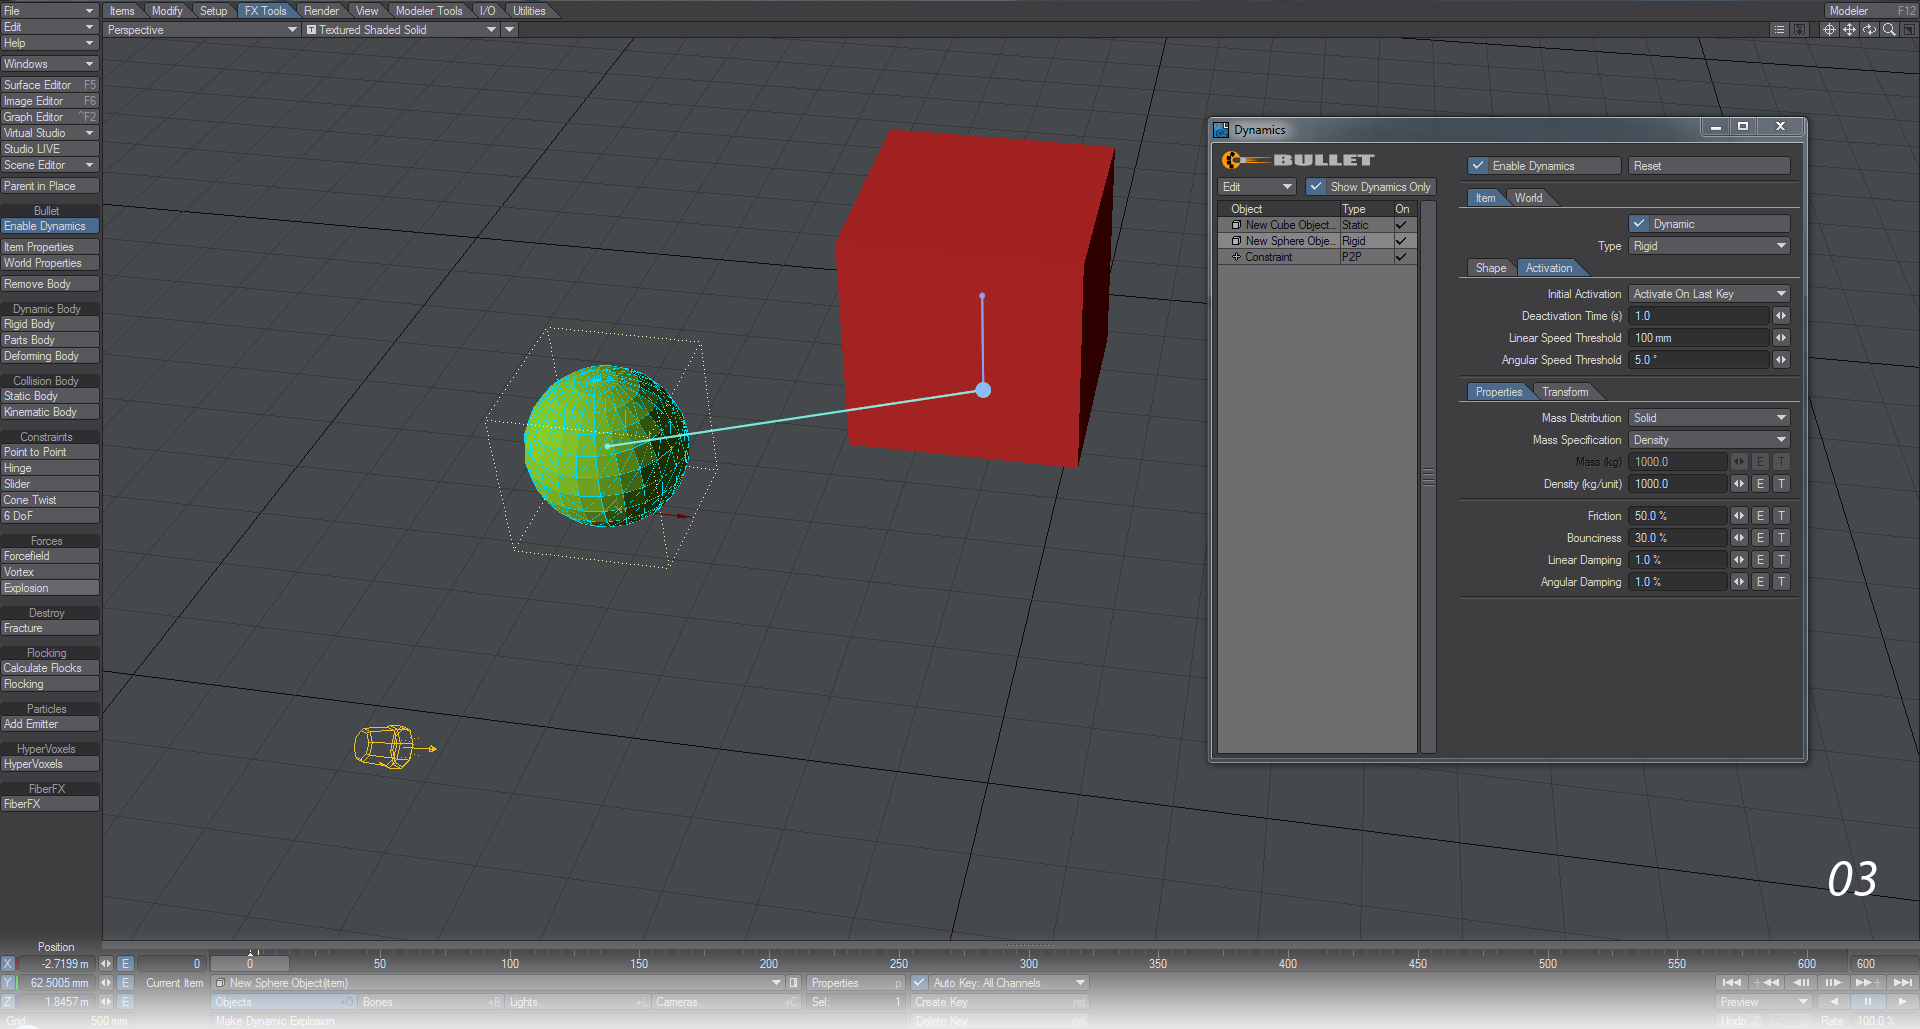
- The sphere won’t do much if we don’t give it an impetus. At frame 0, move it to the side and a little up on the Y and you will create a pendulum effect for the sphere. Hit Play to see it.
- Rather than a simple pendulum, let’s make the motion more interesting. First, set your scene length to 600 so we have more time to see the swing. With Enable Dynamics switched off, go to frame 2 of your scene and move the sphere somewhat sideways. A little difficult to describe in text, but imagine you are holding a real sphere and you want to swing it in more of a circle under the cube. In the Bullet window, set Item > Activation > Initial Activation to Activate on Last Key, then click Enable Dynamics. Hit Play again.
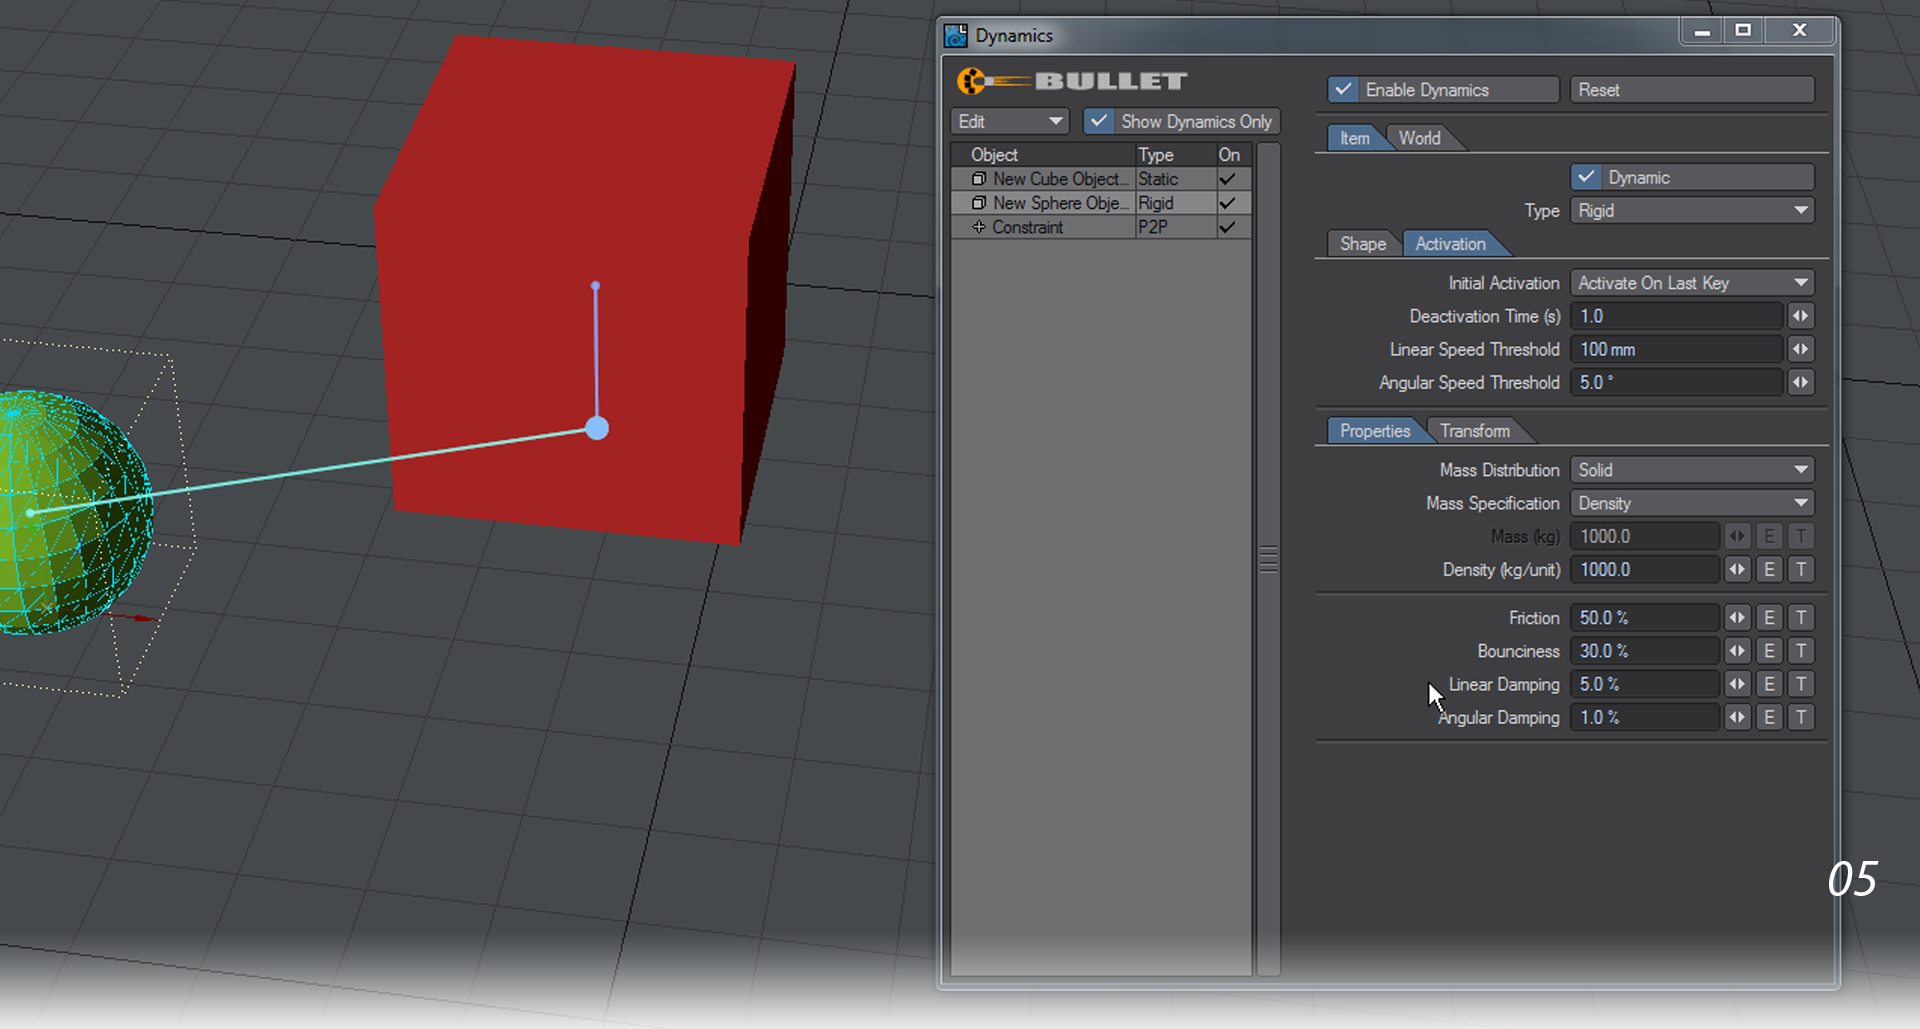
- The sphere will continue to swing for a very long time and as stated above, the Point to Point constraint has no damping feature. However, your Sphere already has the ability to be damped. Select your sphere in the Bullet window and on the Item > Properties tab you will see you have Linear and Angular Damping. You can increase the default values of 1.0 % to better control the swinging of your pendulum. Upping the Linear Damping to 50 % will stop your swinging sphere very quickly (within a couple of hundred frames), but setting it to something like 5 % will still feel like a realistic rate.