Example - Simple Motion Mixer
Using Layout Modeler tools we'll make a simple Motion Mixer scene
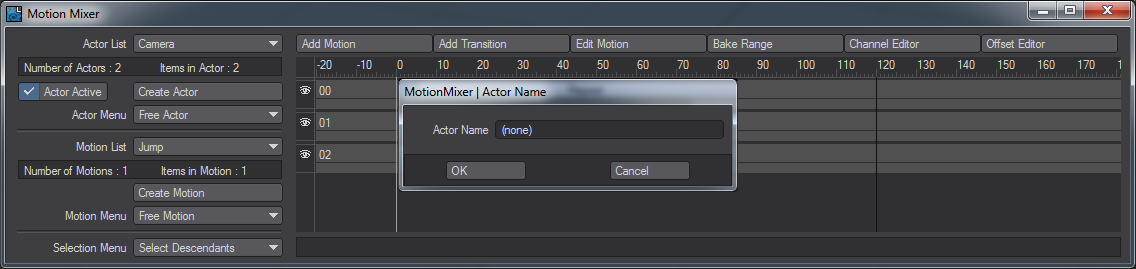
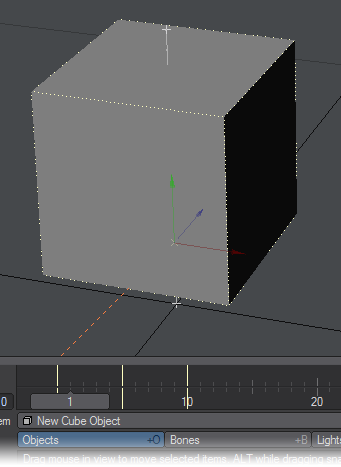
- In Layout, select the camera. Next, on the Motion Mixer Panel click Create Actor. Enter Camera as its name and click OK.
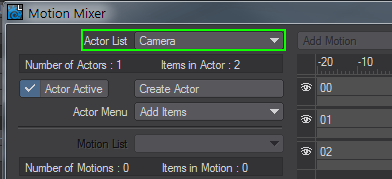
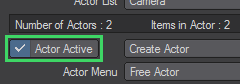
When you create an actor, you are telling Motion Mixer which items in the scene you want it to control as a group. Scene items may be added or removed at any time and an actor can contain items of different types (i.e., objects, bones, cameras, and lights). However, an item can only belong to one actor. An actor may represent a character and its bone structure, a mechanical apparatus such as an aircraft’s landing gear, or as in this case, an individual item such as the scene’s camera. - The panel will begin to come to life. The Actor List pop-up menu will display the “Current Actor”, which we just created. If you had other actors, you could use this pop-up menu to change the current actor.
If there were multiple actors in a scene, you would choose the “current actor” from the Actor List pop-up menu. The current actor is the one you want to work with and the one whose tracks and motions are displayed on the Timeline.
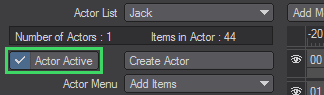
The actor information display shows the number of actors in the scene and the number of items defined in the current actor.
Anything in Layout with an Envelope (E) button can be used by Motion Mixer. When you create an Actor, you will see that a new item has been added to the Actor, called ExternalXChannels.” This is a “virtual” item to which any channels that are not part of an items channel group are added. There is a new entry on the Actor menu, Add XChannels, which will bring up a panel that will allow you to choose channels to add to the Actor. Double-click on a channel in the left-hand tree view to add it to the selection list.
Repeat steps 1-2 with the Cube object so that you now have two actors in Motion Mixer. Select the Camera again.
Now, let’s create a motion. Motions are segments of animation that can represent anything from a character’s walk cycle to a jet fighter performing a barrel roll. When an actor is active, Motion Mixer controls it. So to create a motion in Layout, you must first deactivate the actor. Disable Actor Active.
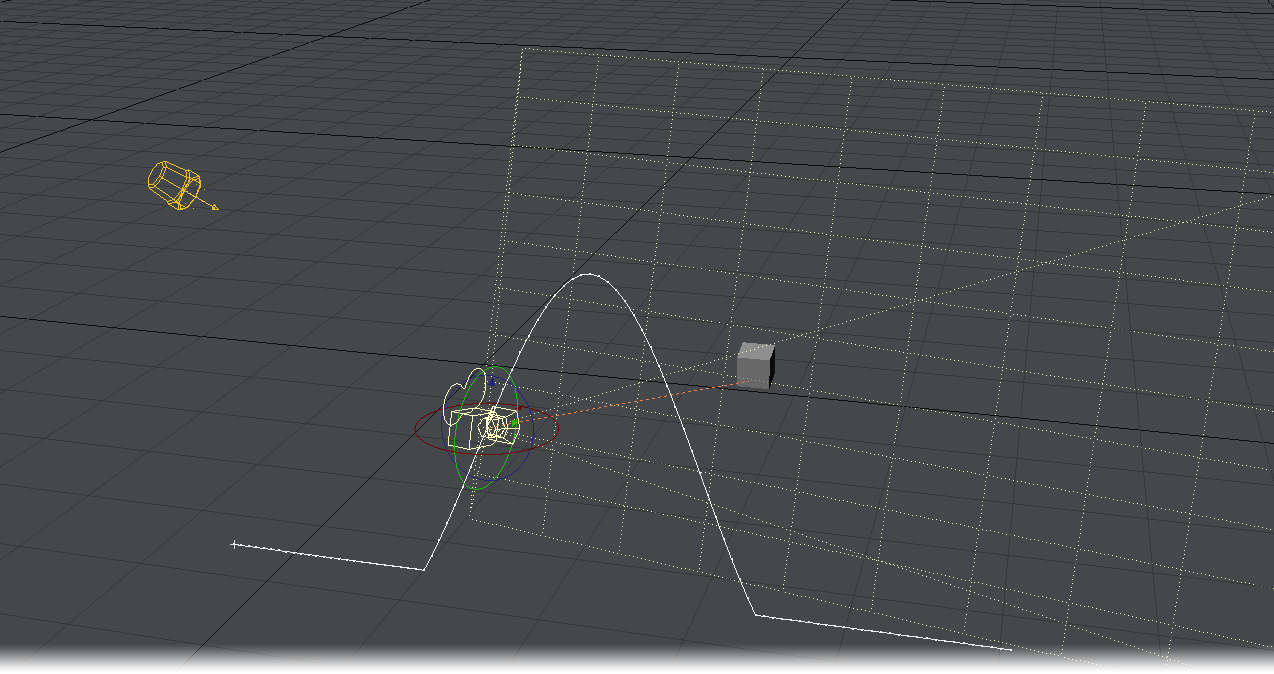
In Layout, keyframe the camera so that it moves straight along the Z axis from frame 0 through 40. Make a key at frame 20 that makes it jump up along the Y axis.
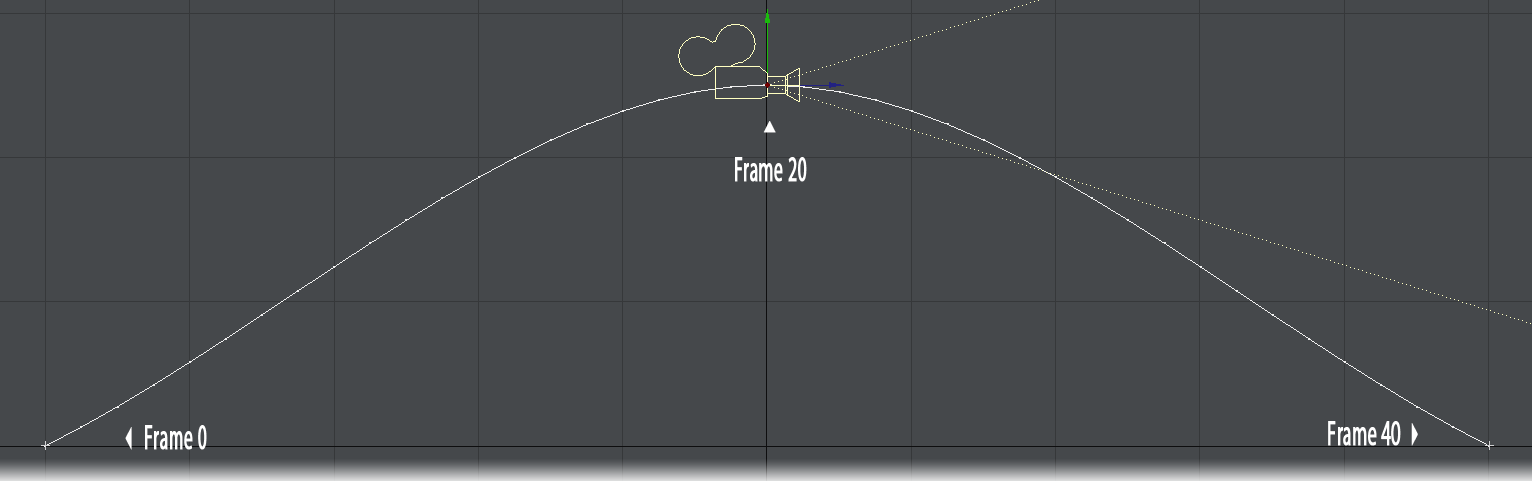
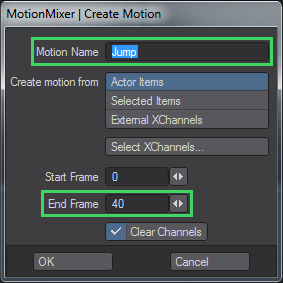
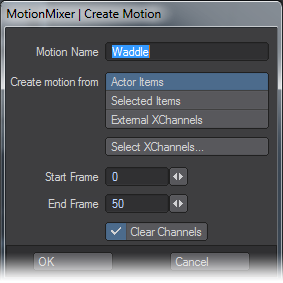
Click Create Motion on the Motion Mixer Panel. Enter Jump for the Motion Name and set the End Frame to 40, since that is the end of the motion we set up. Leave other settings at their default and click OK.
If we had used Selected Items instead of Actor Items, the motion would come from items selected in the scene.
XChannels are non-transformation channels (i.e., any channel other than Position, Rotation, and Scale). Select XChannels opens a new panel that allows you to specify which XChannels will be present in the motion. You can toggle them on and off later in the Channel Editor.
Clear Channels removes the animation from the items in Layout - after capturing into Motion Mixer of course. Since Motion Mixer normally overrides and controls the motion, the animation is not usually needed. However, you may wish to disable Clear Channels, so you can create further motions from different parts of the same animation.
The actual keyframed motion of the camera has now been “sucked” into Motion Mixer. If you drag the Layout frame slider, you will notice that the camera doesn’t move.
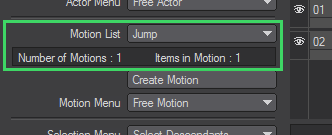
The motion information display will show the number of motions that are defined in the current actor and the number of items contained in the current motion. The Motion List pop-up menu will display the “current motion”, which we just created. If the current actor had other motions, you could use this pop-up menu to change the current motion - this is the motion you are working with.
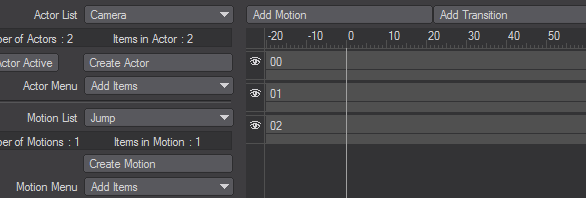
We can now add a motion to the timeline. Click Add Motion on the toolbar and then click on the 00 Timeline slot at frame 25. This will add the motion to the timeline.
If you want to cancel the operation, prior to clicking in the Timeline, click in an empty area of the panel, outside of the Timeline display. To remove a motion from the Timeline select it, hit the RMB and select Remove from the menu that appears
Enable Actor Active.
Drag the Layout frame slider. Motion Mixer is now in control and moves the camera. You can reposition the motion by dragging the center of the motion bar. You can scale the motion by dragging either end of the bar to resize it. The range and scale of the motion will be displayed at the bottom of the panel.
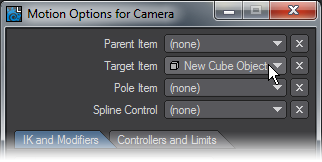
That’s it for the Camera, apart from to make it target the Cube. With the Camera selected, hit M and choose the New Cube Object as a target.
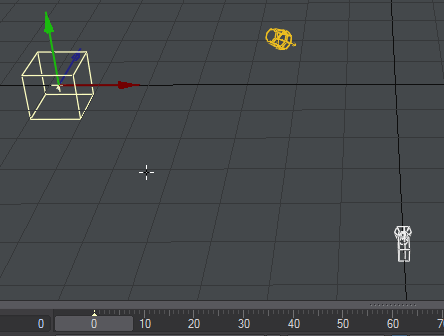
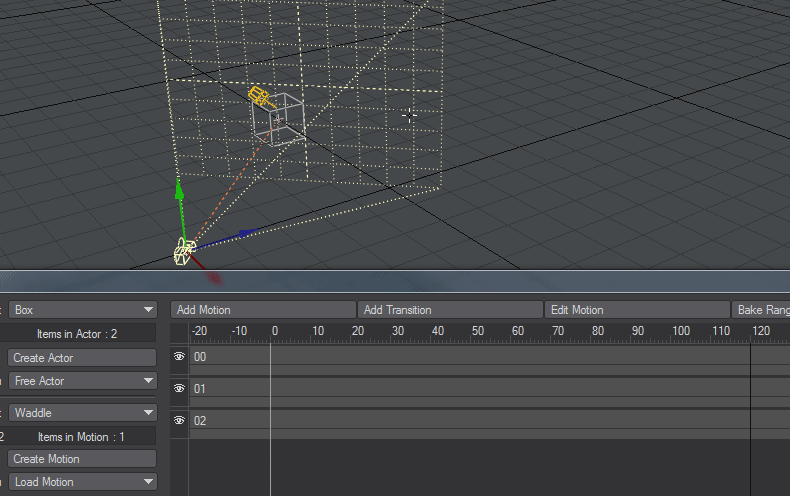
Now we’ll get the cube doing something. Set a keyframe at 50 having moved the cube along the X axis. Then at each ten frames between, rotate the cube a little this way and that on the Pitch to give it a nice waddle.
We’ll suck that motion into Motion Mixer like we did the Camera jump by choosing Create Motion and naming it Waddle.
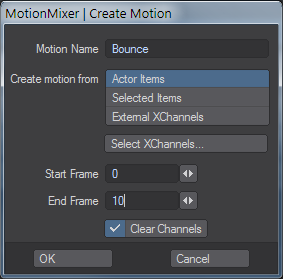
Let’s do another. Keep Actor Active turned off and this time go to frame 10 and hit Return twice to make a key without changes, then go to frame 5 and raise the Cube up a bit. Call this motion Bounce.
Now, make sure both actors are active, and add the Jump motion for the camera at frame 25. The camera will just follow where the cube goes and jump over its path, all the while keeping it in view.

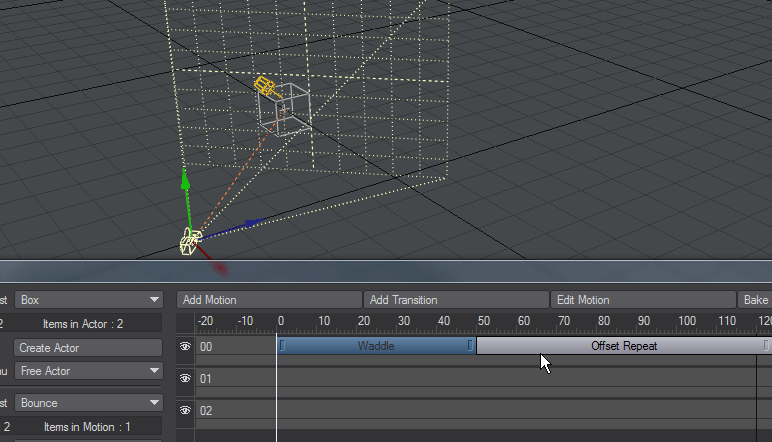
Add Waddle to the Cube’s timeline, by having it visible in the Motion List, clicking Add Motion and placing it at frame zero. We want the cube’s motion to continue through our animation, so right-click on the motion in the timeline and choose Add Post Behaviour. A small gray bar will appear after the blue bar of the motion and you can stretch this out with its handle to reach frame 150 (past the end of our scene). The gray bar will have Constant written on it, but right-clicking will allow you to change this to Offset Repeat, which will continue the motion of our cube.
Now swap the Motion List to our other motion, Bounce and add that to Timeline 01 a couple of times. My first was at about 30 and the second about 70. The only problem with our Bounce motion, as you’ll see when you hit Play, is that because our cube didn’t move along the X when we made it, every time it gets to a Bounce when we play, the cube jumps back to X=0!
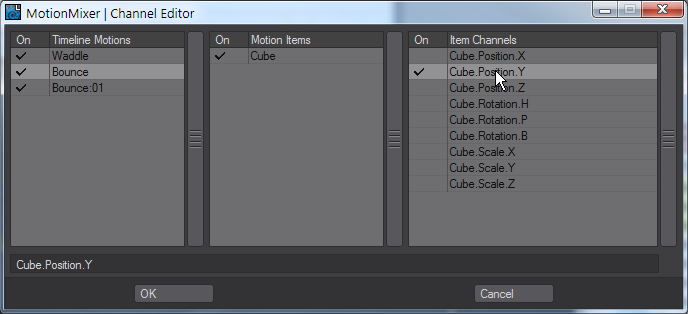
To prevent this from happening, select the first Bounce in the timeline and click on the Channel Editor button at the top of the Motion Mixer window. Select the motion and then turn off every channel apart from Y, do the same for the second Bounce. Now the cube continues on its way bouncing at a couple of intervals.
We’ll show you something else with the camera. With the Actor still active, go to the last frame in our scene (120) and move the camera along the X-axis, as though it’s tracking our cube. Again, we’ll have the same problem when the camera jumps, so use the Channel Editor again to remove channels from the Jump motion.