Example - Adding an Image with Nodes
Only the Standard material has T inputs with which you can add images, or procedural textures, quickly - so what to do with the all-powerful PBSDF node? The answer is simple but requires more than just the Surface Editor.
Let's start with our example object shown here. There's a box with a Left, Right, Back wall and Base surface to be textured.

For the sake of this tutorial, the flat colors and gradient have been made with images. If we click the T button for the Color channel of the Back Surface, we'll see the familiar sight of a Texture Editor.

But if we switch material to the new PBSDF material that is the default now for surfacing we'll see that there are none of the T buttons with which we are so familiar.


The reason is that an image needs to be attached nodally, so let's do that. Double click on the surface name, or click the Edit Node Graph button.
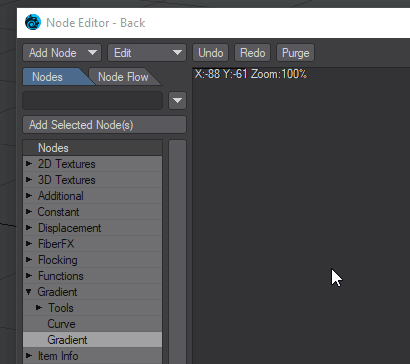
We have two ways to add the Image node we'll need to use. We can either explore the menu on the left - go into 2D Textures and choose Image - or we can use the search field above the list.
Either way, double-clicking on the entry will add it to our node graph. Double-clicking the node will open its window.

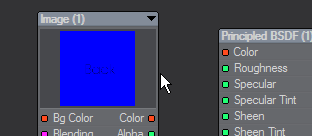
Although there are new entries, the interface for the Image node looks similar to the Texture Editor window, so there are definitely things that we can get started on right away. Clicking the drop-down at the top of the window is for choosing an Image, and we can map it in a Planar fashion in Z. We can also use Automatic Sizing for it to fit the wall. With that done, our Image node will show a thumbnail of the image chosen but our back wall is still default gray. We need to hook up our image node to make it work.
On all nodes, there are two columns of words with colored dots. The ones on the left side are Inputs, on the right they are Outputs. We need to hook the Color output from our Image node to the Color input on our material node - PBSDF - like so:
Once this is done, the image will be visible in OpenGL and of course VPR.


Go further by surfacing the box with a single surface, single UV map and UDIM image textures - Texturing the box with UDIM