Layout Display Options
(default keyboard shortcut D)
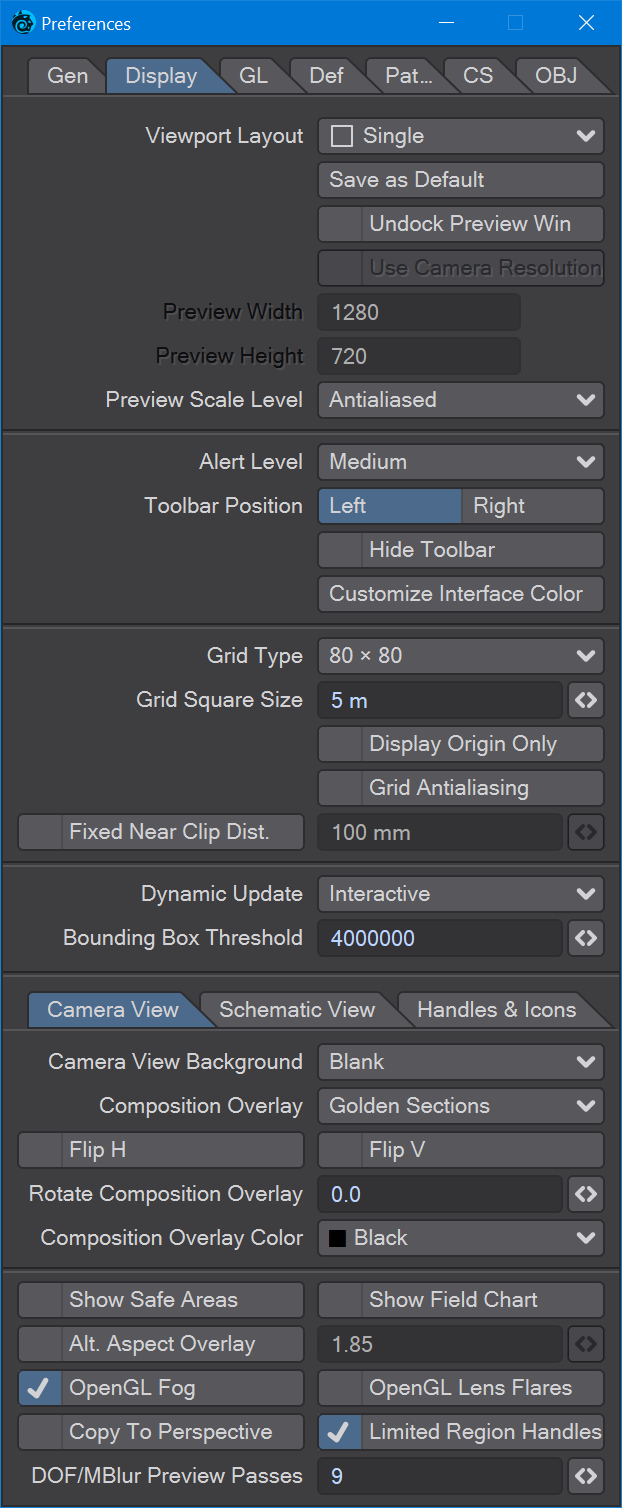
The Display Options Tab on the Preferences Panel (Edit > Display Options) controls the settings for display options that are global in nature.
The display always uses OpenGL; it is not an option. Also, many of the display options are approximations and your actual rendered results may be different.
Viewport Layout
You can display more than one viewport by changing the Viewport Layout pop-up menu. All of the normal viewport options can be set independently and all viewports will update simultaneously.

You can customize the relative sizes of multiple viewports by dragging the borders between them. Click the Save as Default button to use the selected Viewport Layout for future sessions. Otherwise, it will affect only the current session.
Undock Preview Window will make an undocked preview window when Make Preview is used. With Undock Preview Window active, Use Camera Resolution becomes an option. With Use Camera Resolution checked, the preview will use the resolution settings in the selected camera. Preview Scale Level is used for VPR previews and allows you to choose at what level to render previews. Every 32 pixels will be very rapid, but only clear in the largest strokes where Every 1 Pixel will be slower to render and clearer. Antialiased will render each frame to the best VPR can before it moves to the next frame.
Alert Level
The Alert Level setting controls how error, warning and informational messages are displayed. When set to High, these messages are displayed as dialog boxes, which you need to manually dismiss. The Medium level moves warning and information messages to an information line near the bottom of the interface and Low moves all messages.

Layout Information Line
Toolbar
The Left or Right settings determine on which side of the interface the Toolbar appears. (If you are left-handed, select Right.) If you are a keyboard shortcut expert, you can activate the Hide Toolbar option, which makes the Toolbar and Tabs invisible.
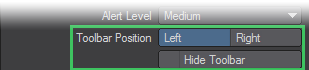
To redisplay the toolbar, press Alt F2 or open Display Options again.
Customize Interface Color
Brings up a new window that allows you to choose the interface colors that suit you. There are three tabs, each with specific settings.


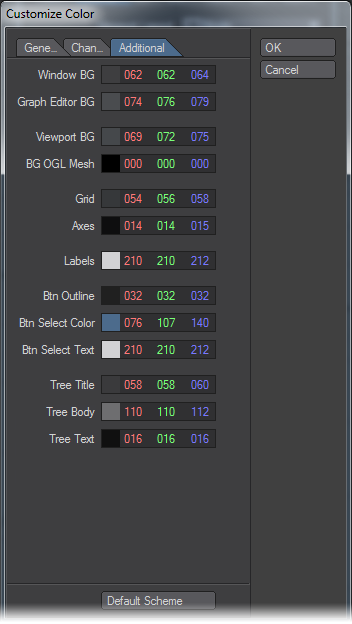
LightWave must be completely closed (including the Hub) for the new settings to take effect from the following launching of LightWave.
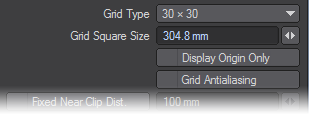
Grid Settings
Use the Grid Type pop-up menu to set the size of the overall grid or turn it off. Adjust the Grid Square Size to change the size of each square. Display Origin Only will display only the origin lines of the Grid. The Grid Antialiasing option will smooth out jaggies when active at the expense of a little processing time (should be imperceptible on modern systems).
Fixed Near Clip Distance
The near clipping distance is the point at which surfaces disappear in your OpenGL display. Normally, the distance to the near clipping plane is set automatically to one-tenth of the grid size, multiplied by the camera zoom factor. You may change the base value by activating the Fixed Near Clip Distance option and entering a value in the input field.
If near clipping becomes a problem, you may find it easier to just adjust the grid size using the [ and ] keyboard shortcuts.
The near clipping distance only affects your OpenGL display and has no impact on your rendered images. There is also a far clipping distance that is always set to 10,000 times the near clipping distance. Normally you never see its effects unless you zoom out extremely far or have very distant objects, like stars.
Dynamic Update
The Dynamic Update pop-up menu affects how the Layout window is updated with respect to changes on various panels. Interactive will continuously update the Layout window while changes are made. Delayed will update the Layout window when you release the mouse button. Off will update the window only when you close the panel.

Which setting you use will depend on many factors, like your processor speed, available processing resources, scene complexity, and so on. You may want to try Interactive and then back off to a lower setting, if updates become too sluggish.
Bounding Box Threshold
This value is an absolute limit for the number of points or polygons an object must have for it to automatically change to a bounding box during editing (move, rotate, size, etc.). For example, if the value is set to 5000, any object that has fewer than 5000 points or polygons will remain in solid or wireframe mode even as the object is manipulated. This can result in jerky movements depending on the speed of your computer and the quality of the video card. Any object with more points or polygons than the limit will automatically switch to bounding box mode so that the object can be manipulated smoothly. You should experiment and find a level that your computer can display at a decent rate and then leave that as your default.
The Bounding Box Threshold does not affect instances.