Add Group
Bone
Setup > Add > Bone. A bone will be added with its base at the selected object’s local Origin, along its positive Z axis.
Child Bone
(default keyboard shortcut =)
Setup > Add > Child Bone. A bone will be added with its base at the tip of the selected bone, along its positive Z axis. The new bone will be a child of the original selected bone.
Draw Bones
Draw Bones will allow you to draw a bone in any orthogonal viewport (This will not work in Perspective). This bone will be parented to the object. Each successive bone added will also be parented to the object. If you need to add a child bone use Add Child Bone or Draw Child Bone.
To draw a bone in a viewport:
- In any Layout orthogonal-view viewport, select the object, or existing bone if you are drawing a child bone.
- Select Setup > Add > Draw Bones . (Since this is the initial bone, you can alternatively choose Draw Child Bones.)
- Place your mousepointer where you want to place the base of the bone.
- Drag your mouse to create the bone.
Draw Child Bones
(Setup > Add > Draw Child Bones) allows you to draw child bones from a parent.
To use Draw Child Bones:
- Select a bone or object that you want to add a bone to.
- Click Setup > Add > Draw Child Bones.
- Use the LMB and draw out the bone to the length and in the direction you want.
If you want to continue adding bones just keep drawing more bones. The next bone will be added as a child to the previous bone. If you want to add a child to a different bone than the one that was just created you will have to select the bone first.
Convert Skelegons
One way to create Skelegons is to create curves first. You can then convert the curves into Skelegons, which will be placed between the curve knots (points). With Convert Skelegons, (Setup > Skelegons > Cvt Skelegons) you can even use points from the object to create the curves.
To use Convert Skelegons:
- In an open Modeler layer, create points that will correspond to the bases and tips of the bones you want to eventually create. (You’ll probably want the object to be boned in the background for reference.)
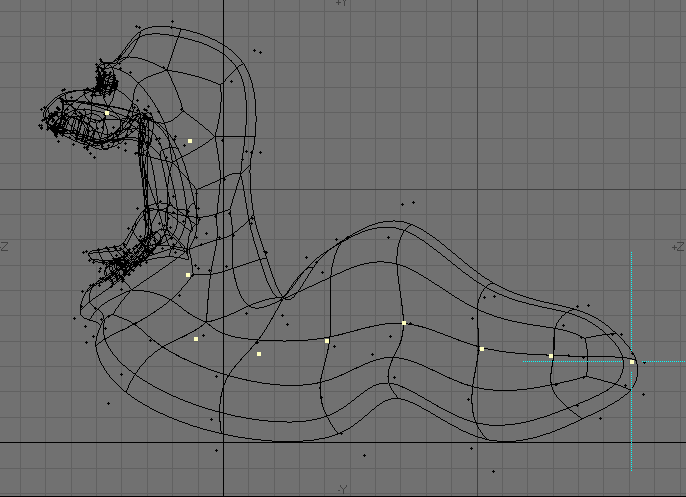
- Select points, working from the (theoretical) base of the first child bone to the tip of the last bone in the chain. Then choose Create > Make Curve > Make Open Curve to create an open-ended curve with your points.
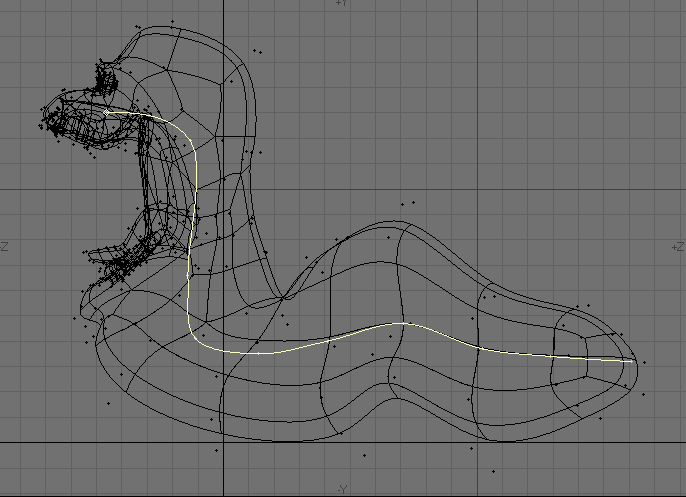
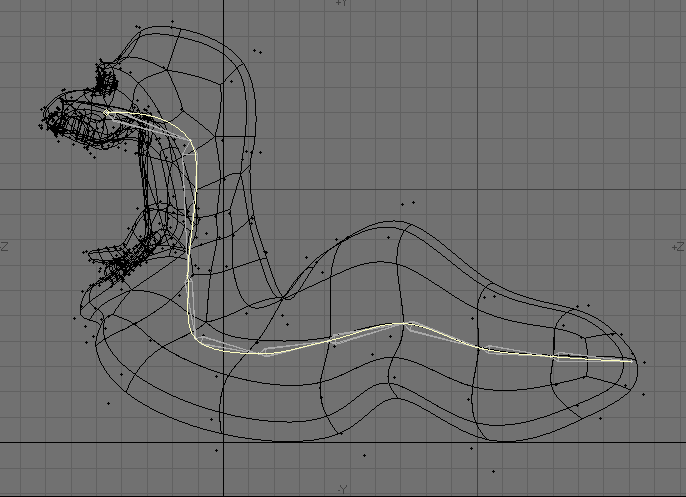
- Repeat the previous step for all chains, if you have more than one. You can use the same point in multiple chains.
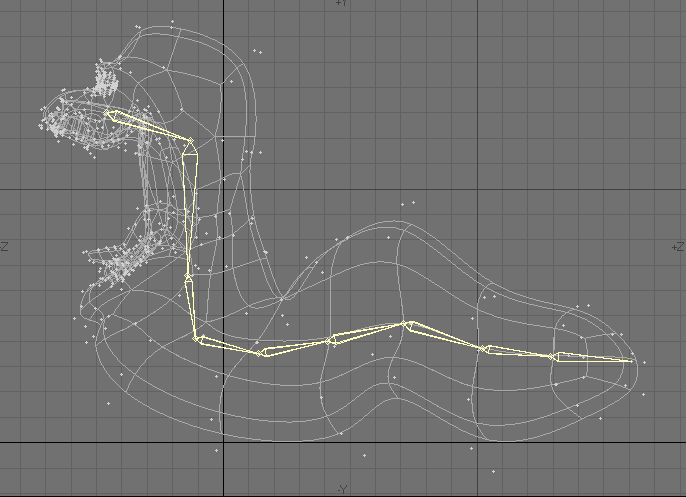
- Still in Modeler , choose Setup > Skelegons > Convert Skelegons to create the Skelegon from the curves. You can edit the base/tip of the bones using standard modelling tools. The Skelegon bones will stay attached to each other.
If you desire, you can select and delete the curve afterward. - If you want, you can optionally cut and paste the Skelegons into the layer with the normal object geometry.
Joints
An alternative to LightWave’s default Bone type is also available, Joints. Joints are similar to the way that rigs are created in other 3D applications and offer some advantages over LightWave’s own bone system, particularly if you are in a multi-app pipeline.

The older Bone type has been labeled Z-axis. You can change the bone type in the Bone Type drop-down menu in the Bone Properties Panel.
The easiest way to visually tell a Joint from a Z axis bone is the small circle where the bone types are connected. The small circle is actually the Joint, two connected joints are represented by a triangle pointing towards the child joint. Keep in mind that a single joint will be represented by only the circle portion as it does not have a child.
Deformation is entirely defined by the change in position of the joint. Currently, joint rotation has no effect whatsoever on deformation. Joint-based animation and deformation control allows for a “stretchy bones” effect with considerable control for the user. A more organic and natural motion effect for shoulder and neck movements can be achieved, for example, or a more exaggerated effect for cartoon-type characters. Even zero-length bones (e.g. isolated joints) can cause deformation (activate them and turn off Multiply Strength by Rest Length).
Add Joint
A bone will be added with its base at the selected object’s local Origin.
Add Child Joint
A bone will be added with its base at the tip of the selected bone, The new bone will be a child of the original selected bone.
Draw Joint
Draw Bones will allow you to draw a Joint in any orthogonal viewport (This will not work in Perspective). This bone will be parented to the object. Each successive bone added will also be parented to the object. If you need to add a child bone use Add Child Bone or Draw Child Bone.