Spline Displacement
Spline Displacement
Spline Displacement is not a new tool. It used to be called SplineControl
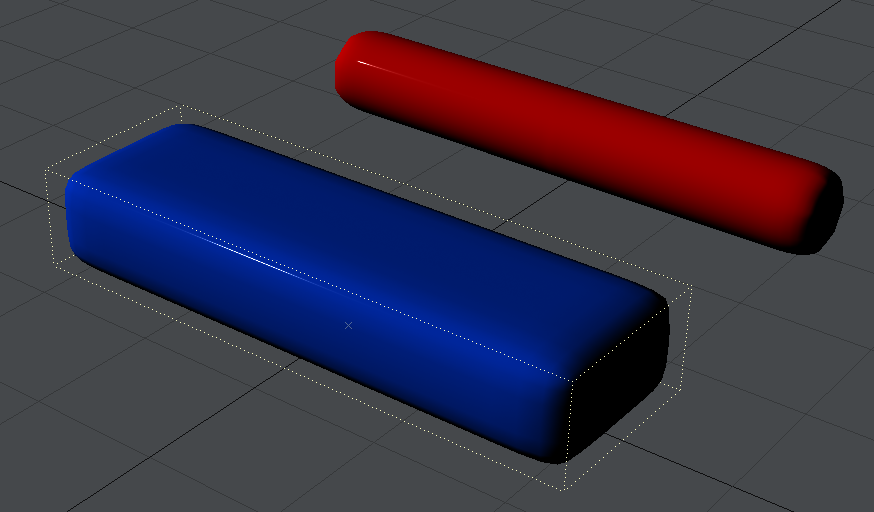
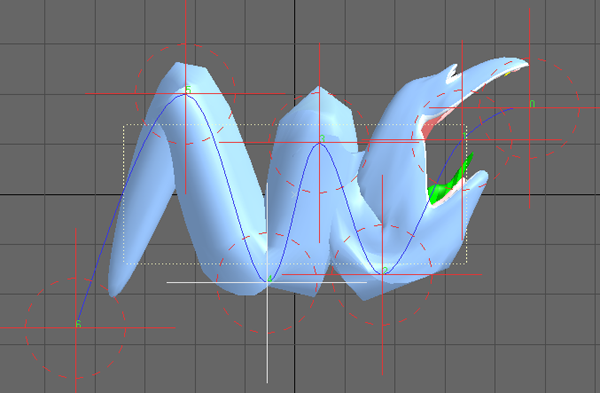
The Spline Displacement Tool (Modify >Tools > Spline Disp Ctrl) is a simple way to animate hoses, tentacles, etc. using a spline with control handles. This tool will create a spline the length of the object with a user specified amount of control points that can be used to deform an object.
To use Spline Displacement
- Select the object that you would like to animate with Spline Displacement.
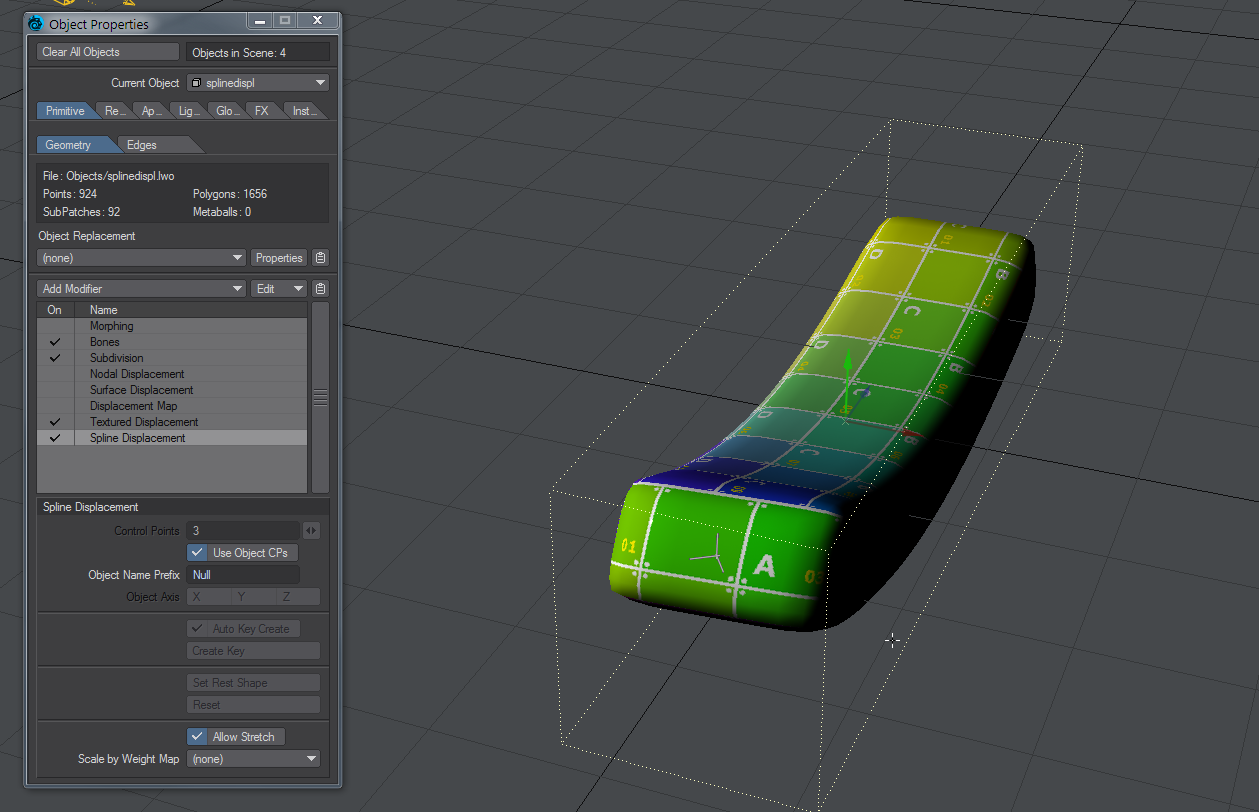
- In the Object Properties window, Primitive tab, Modifier section, choose Spline Displacement from the Add Modifier Dropdown menu.
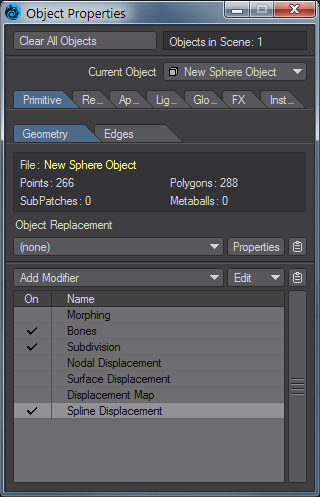
- Double-click Spline Displacement to open its interface.
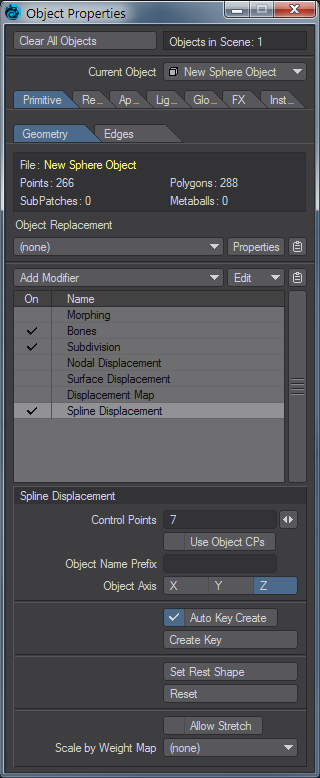
- Choose how many Control Points you want (you can change this later, but doing so might lose any animation set). The slider will set a minimum of 5 and a maximum of 256, but a minimum of 3 can be typed if desired.
- Use the Spline Displacement button (Modify > Spline Disp Ctrl) to activate and move the nodes around.
Spline Displacement Options
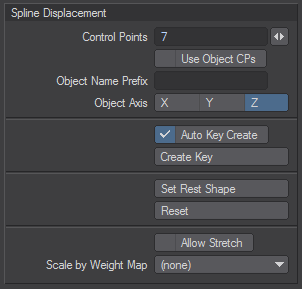
- Control Points - This field will determine the number of control handles that will be generated.
Each control point will be numbered starting from 0. This number will appear in OpenGL.
- Use Object CPs - Uses nulls with the names given in Object Name Prefix placed in scene as control points for the spline displacement
Object Name Prefix - Prefix for naming nulls for spline displacement
Spline Displacement can use other objects as controllers for the displacement. Here we look at moving our bar with null objects.
- Object Axis - Defines the axis the control spline will be drawn on.
- Auto Key Create - Similar to Layout’s standard Auto Key in that it will automatically create a keyframe as you move a control point. The only difference is that it will always create when on frame zero regardless of whether or not this option is active.
- Create Key - When Auto Key Create is not active use this to create a keyframe.
Hitting Enter on the keyboard will not set a keyframe for a control point.
- Set Rest Shape - Use this to change the default rest position of the control points in relationship to the object.
- Reset - This function works like undo, however instead of just undoing the last move it will reset all control points to their rest position.
- Allow Stretch - When this option is activated the object is able to be stretched past its original scale.

Left: Allow Stretch OFF, Right: Allow Stretch ON
- Scale by Weight Map - This option will use the Weight Map selected and only deform that area of the mesh.