Heat Shrink
Modify > Transform > Heat Shrink - Conforms polygonal geometry to a background object by a desired amount. You can completely transform your foreground geometry to match the background object, or some way in-between. Our example shows the Mangalorian head surrounded by a level 6 tessellated sphere and Heat Shrink applied.
There are several controls for Heat Shrink as follows:
Amount - How much you want to apply the geometry of your object to the object covering it. In our example, how much the sphere adapts to the statue’s form. The Amount can go into the Negative allowing you expand a shape to fill a space rather than just shrinking to fit.Offset - How far away from the underlying object the foreground object is wrapped. Giving some Offset allows a lower polygon count object to better conform to a higher polygon underlying object.Mode - There are six options presented here:
- X - Depending on the Sense chosen will start conforming the foreground to the background from the left, right or both sides. The Amount determines how much of the foreground conforms to the background object.
- Y - Depending on the Sense chosen will start conforming the foreground to the background from the top, bottom or both sides. The Amount determines how much of the foreground conforms to the background object.
- Z - Depending on the Sense chosen will start conforming the foreground to the background from the front, back or both sides. The Amount determines how much of the foreground conforms to the background object.
- Normals - Pushes the points along the mesh normal until they hit something.
- Sphere - Pushes the points toward or away from a central point until they hit something.
- Closest Point - Each point looks for the closest point in the background and moves toward it. Sense has no effect with this mode.
Sense - The Sense options determine from which direction Heat Shrinks starts conforming:
- + - Heat Shrink starts from the Positive side of the axis.
- - - Heat Shrink starts from the Negative side of the axis.
- Both Sides - Heat Shrink starts from both sides of the axis.
Example: Protecting our Alien Emissary with Heat Shrink
Because we don’t want anyone to pierce our alien emissary’s secret identity when crime fighting we will create a mask for her with Heat Shrink so no-one will recognize her.
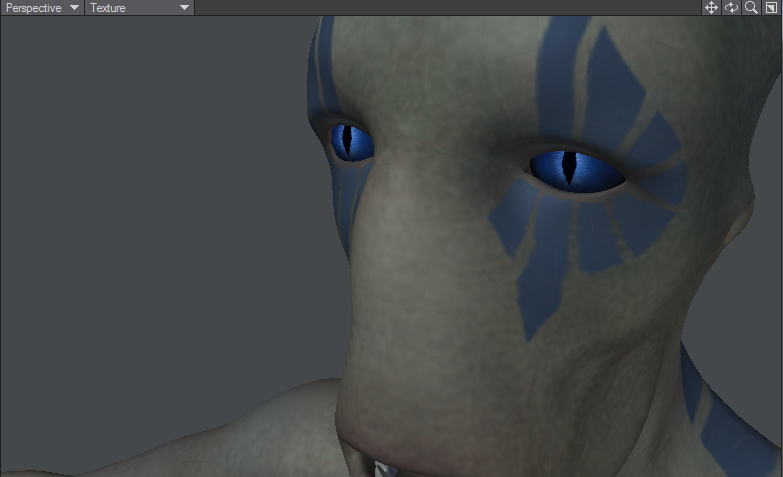
- We’ve loaded the Alien Emissary model found in the LightWave content, but she’s too recognisable. Let’s use Heat Shrink to help with that.
- With the emissary in the background, we’ll make a simple eye mask for her. This is just a subdivided polygon with holes for her eyes.

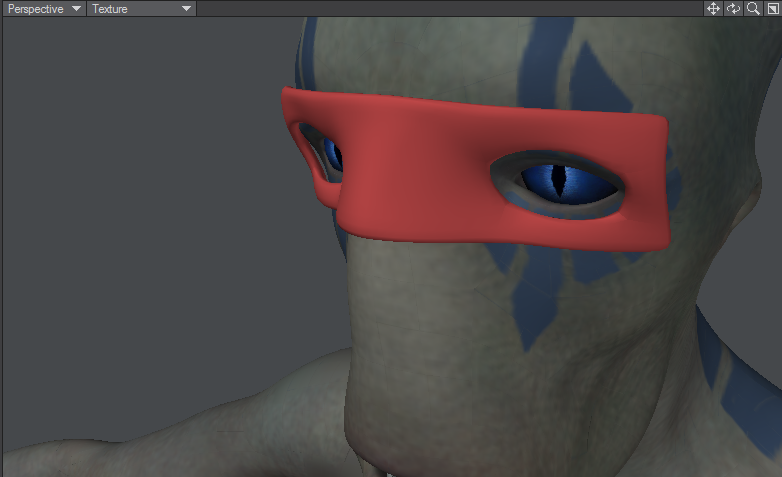
- Using Heat Shrink, we'll leave the defaults as is, but set Offset to 4 mm. Holding down LMB, we'll slide the mouse to the right to wrap the mask to the head. Once at 100 % here, we'll use the Thicken tool to give the mask some dimension. Finally, we'll convert to subpatch.
- Now she’s completely unrecognizable.