Backdrop Tab
(Default keyboard shortcut: Ctrl F5)
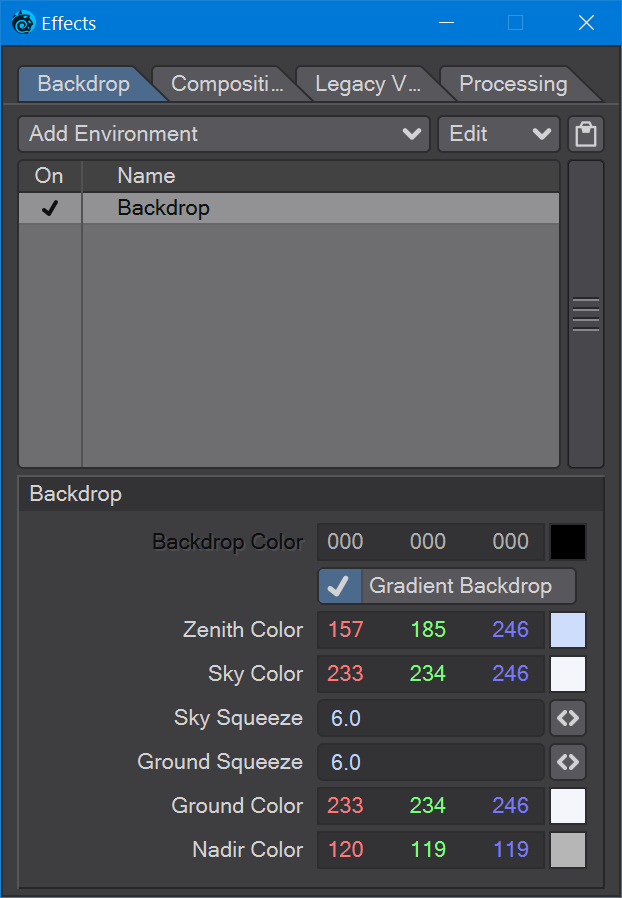
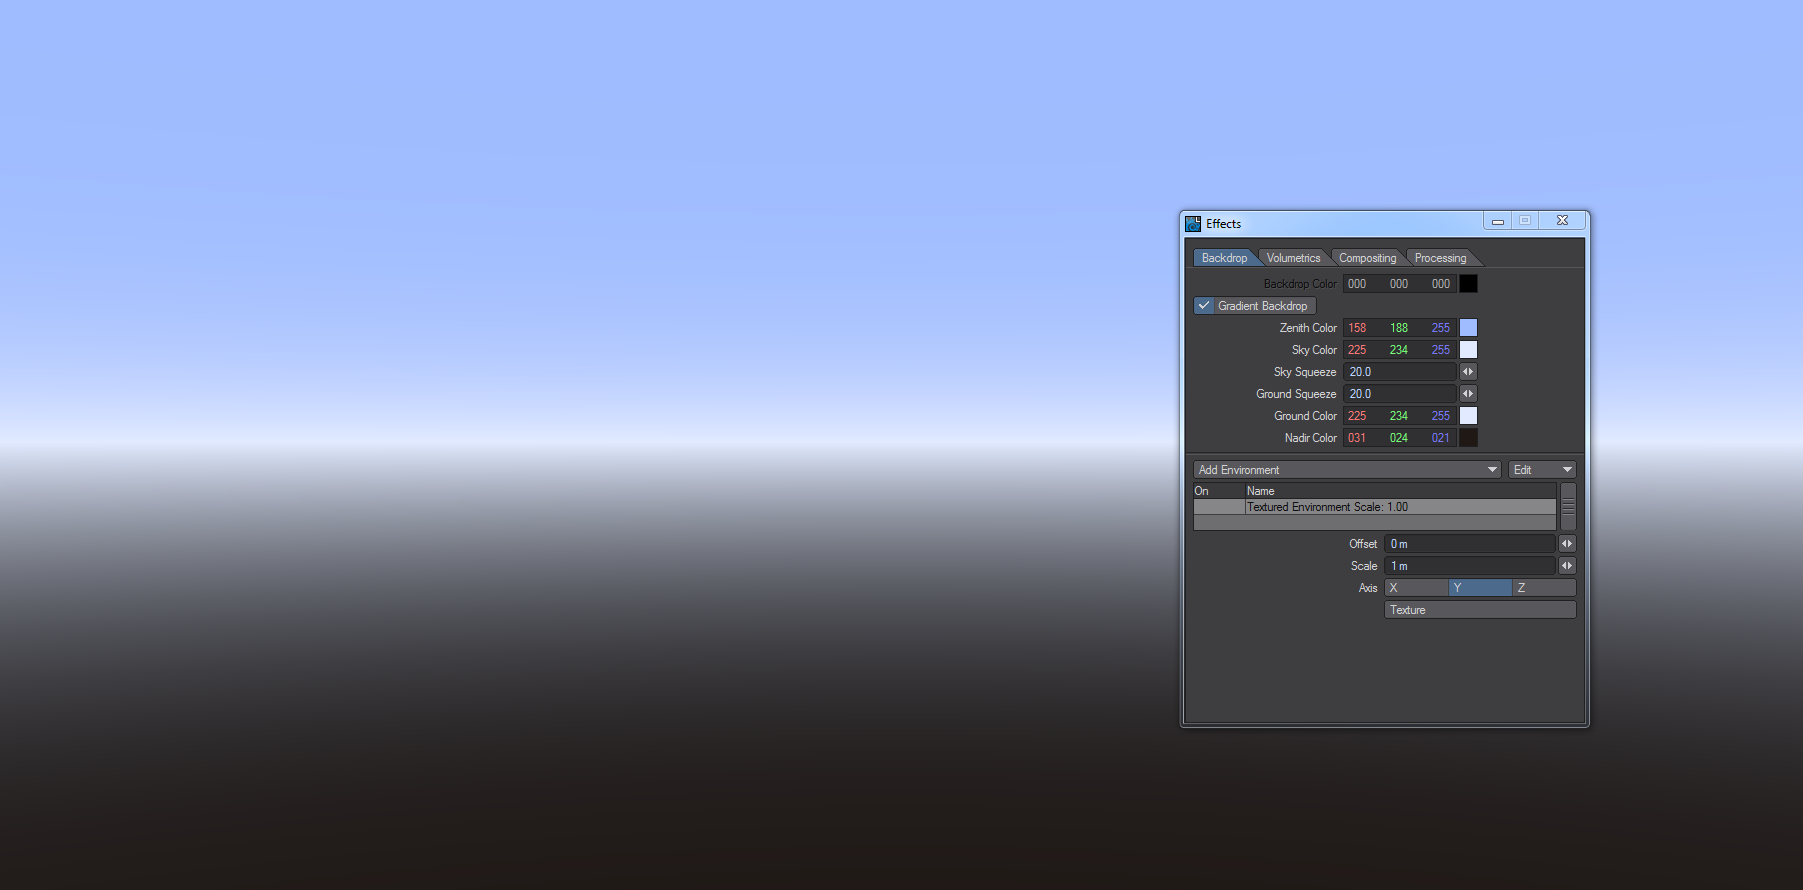
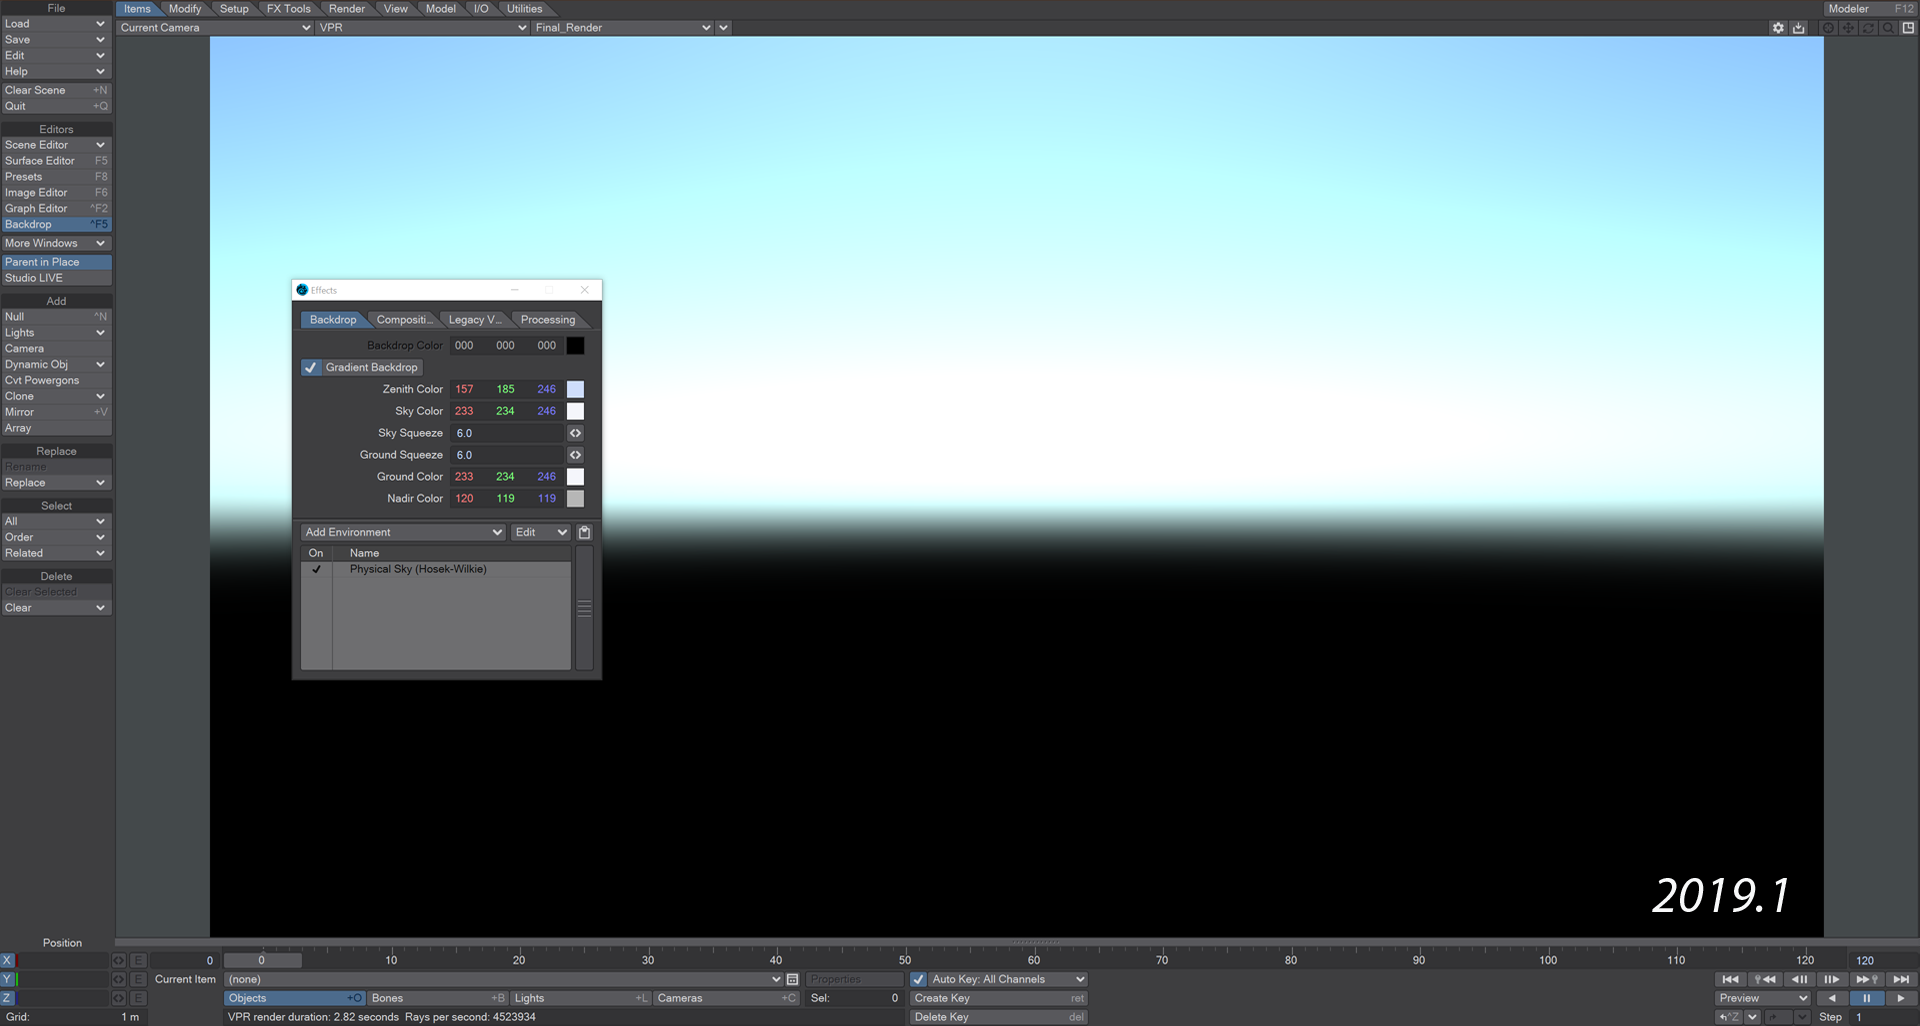
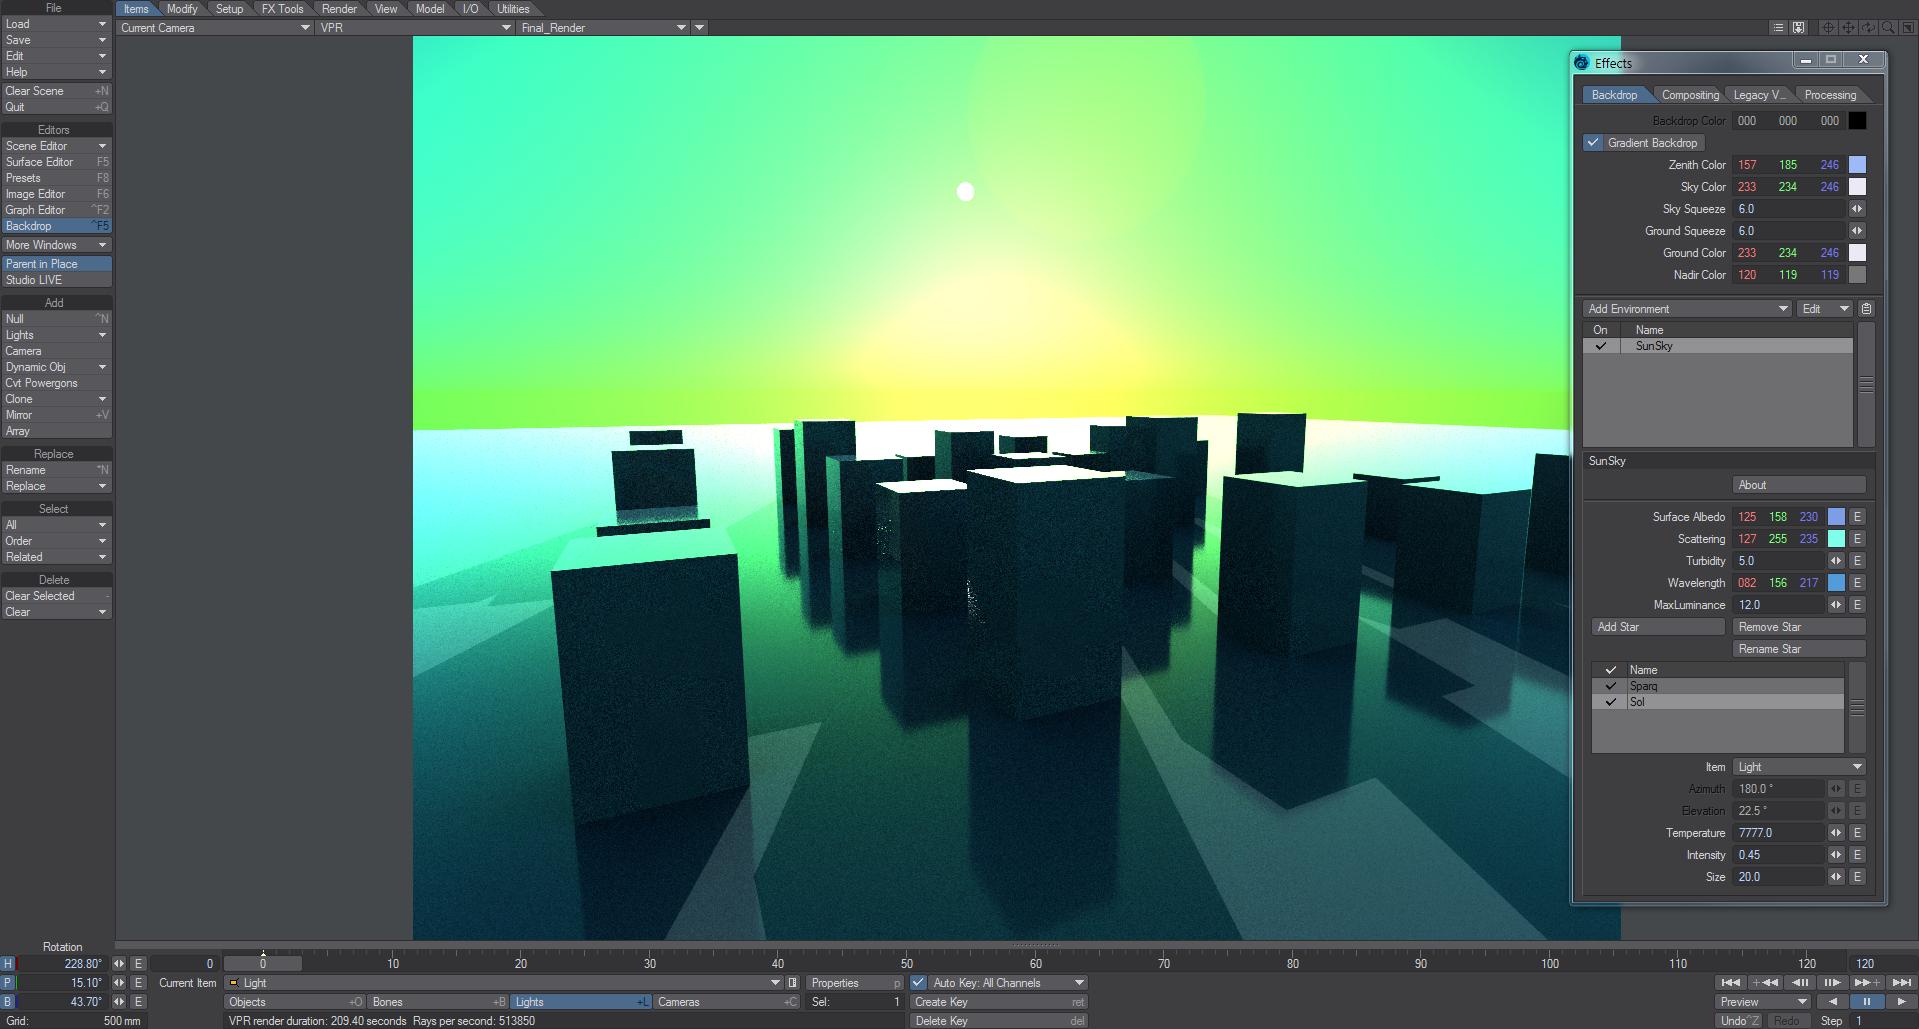
![]() This tab is for backdrops global to the scene, rather than specific to Environment Lights. There are a variety of different environment types, and by default, the Backdrop tab will always contain the Backdrop environment in a new scene.
This tab is for backdrops global to the scene, rather than specific to Environment Lights. There are a variety of different environment types, and by default, the Backdrop tab will always contain the Backdrop environment in a new scene.
Backdrop
LightWave lets you change the colors of the backdrop behind all of the objects in a scene. You can elect to have a solid color using the Backdrop Color setting or a Gradient Backdrop. By default, the gradient backdrop is used.
Gradient Backdrops
LightWave’s Gradient Backdrop settings essentially provide a quick earth-like environment background. Note that no shadows can be cast on the backdrop since it isn’t there. Although you're unlikely to use it much for real-life imagery, it is great for faking a sky behind mountain objects, instructional animations, and logo animations. Use it when you need something to stick in the background.
There are two gradient areas. Think of it as a huge sphere cut into two halves. One half rests on top of the Y-axis plane, and the other half sits directly beneath it.
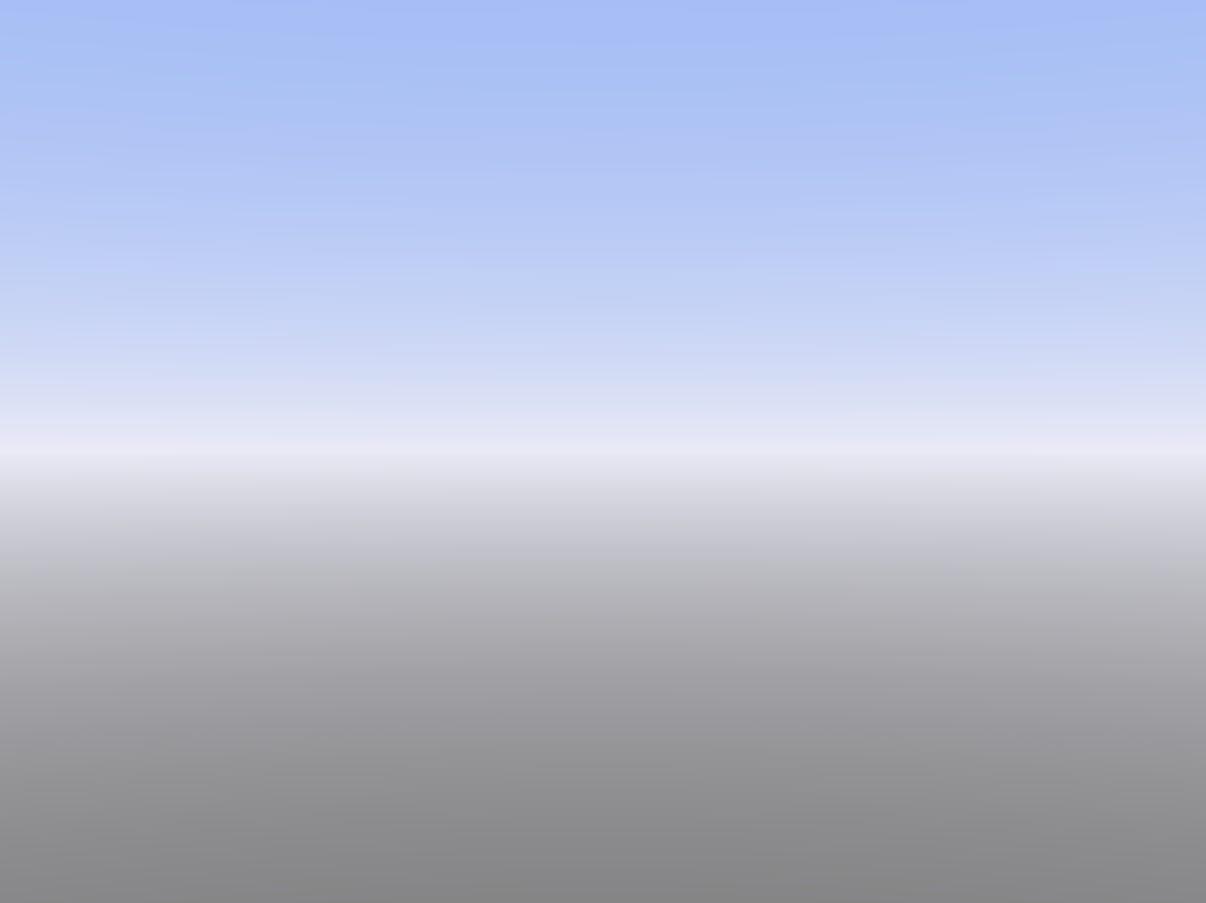
The Sky Color begins all around the edge of the top half of the sphere and gradually turns into the Zenith Color moving towards the top. The Ground Color starts all around the edge of the bottom half of the sphere and progressively turns into the Nadir Color moving towards the bottom. Note that there is no gradual change of color between the Sky Color and Ground Color.
If you want the Gradient Backdrop to blend everywhere with no sharp color change, make the Sky Color and Ground Color the same.
The camera is always positioned right in the center of the sphere. Thus, if you move the camera, the Gradient Backdrop will always look the same. However, if you rotate the camera, you will see the various colors.
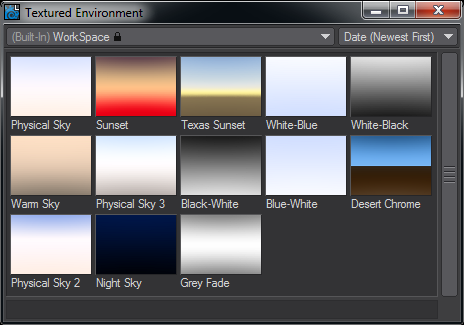
There are several additional Gradient backdrops available using the Textured Environment plugin available on this tab. Select it and hit F8 to bring up the Presets window in which you will see several choices, including an updated oldskool Desert Chrome backdrop.
Left: Sky and Ground Squeeze both at 6.0, Right: Both at 20
The Sky Squeeze value determines how the Zenith and Sky colors are blended. The Ground Squeeze value determines how the Ground and Nadir colors are blended. The default value of 6.0 yields a nice spread between the various colors. A lower value will spread the change in colors over a greater area, and a higher value will compress the change.
Other Environments
Several plugins may be used to create exciting backgrounds for your animations. You access these plugins by adding them on the Add Environment pop-up menu on the Backdrop Tab of the Effects Panel.
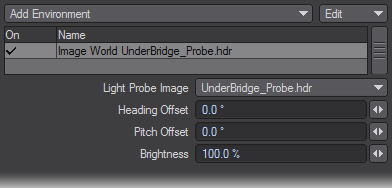
Image World
The Image World Environment lets you apply an image as a spherical environment wrap; this approach is perfect for high dynamic range images. You can offset the heading and pitch of the image, as well as adjust its brightness.
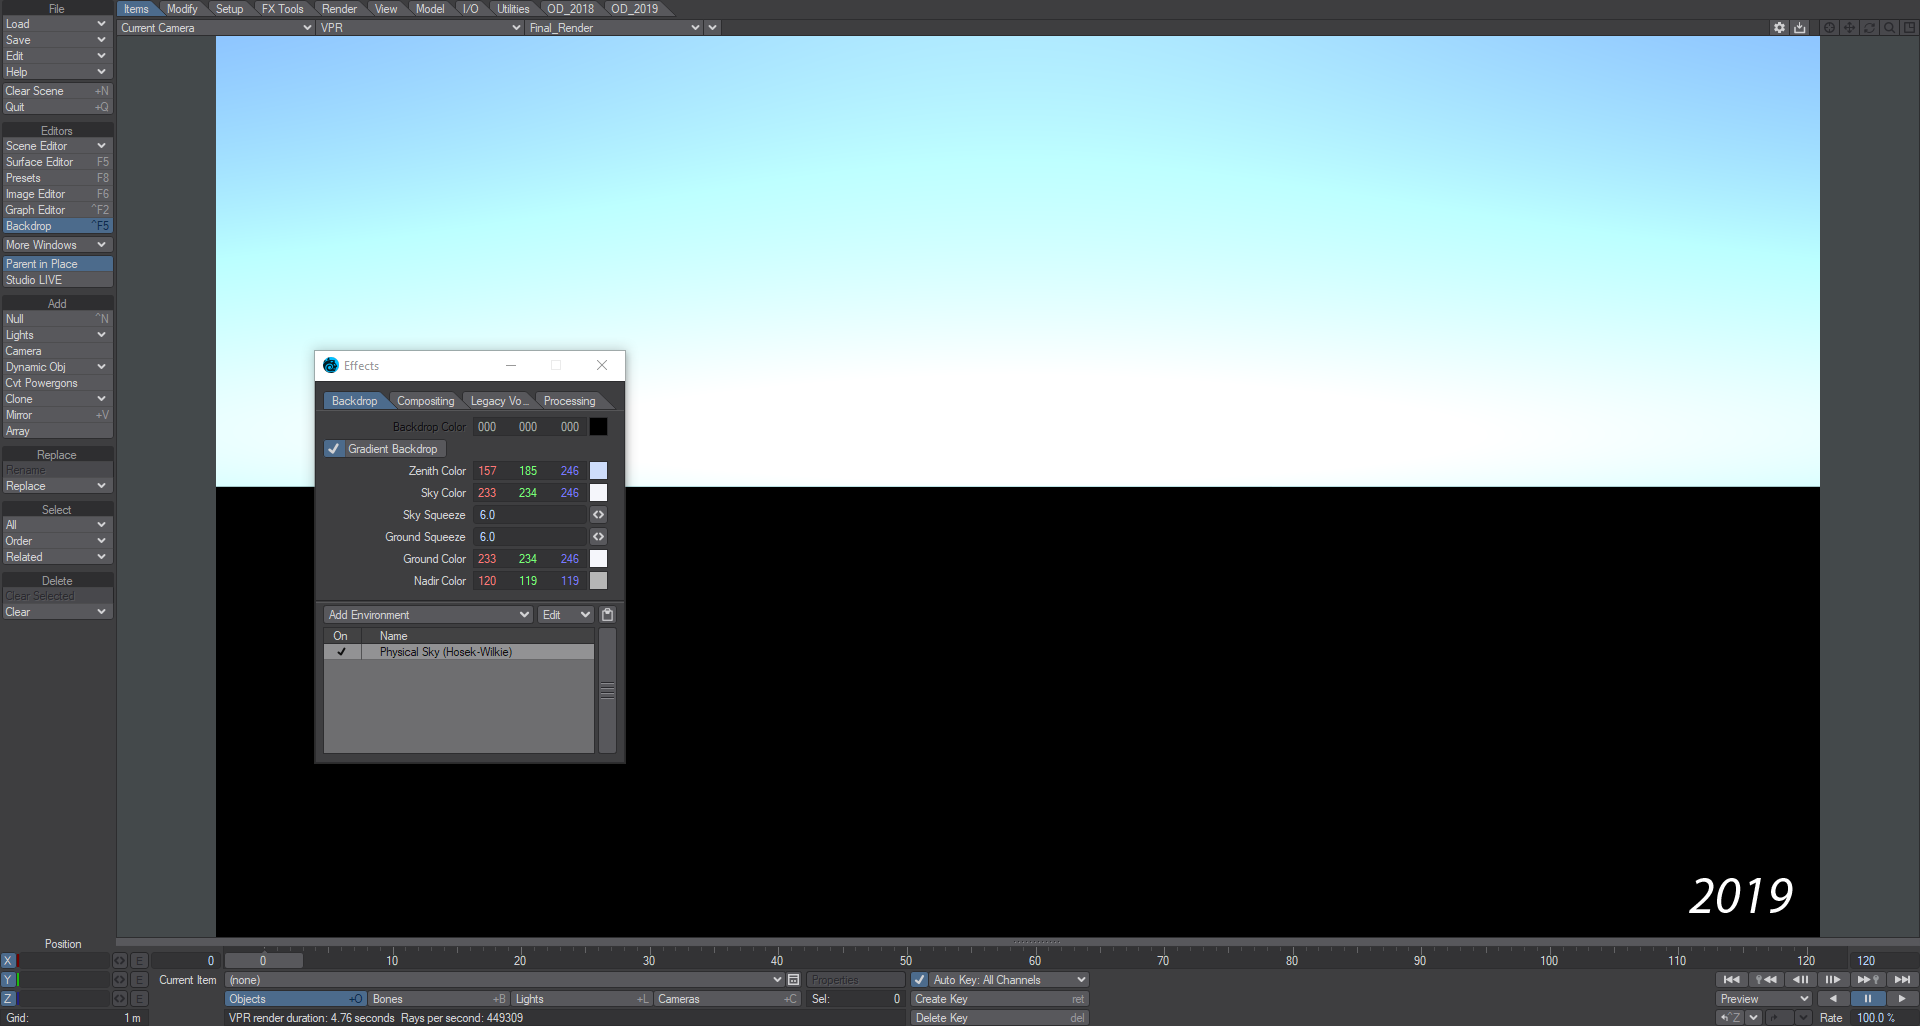
Physical Sky (Hosek-Wilkie)
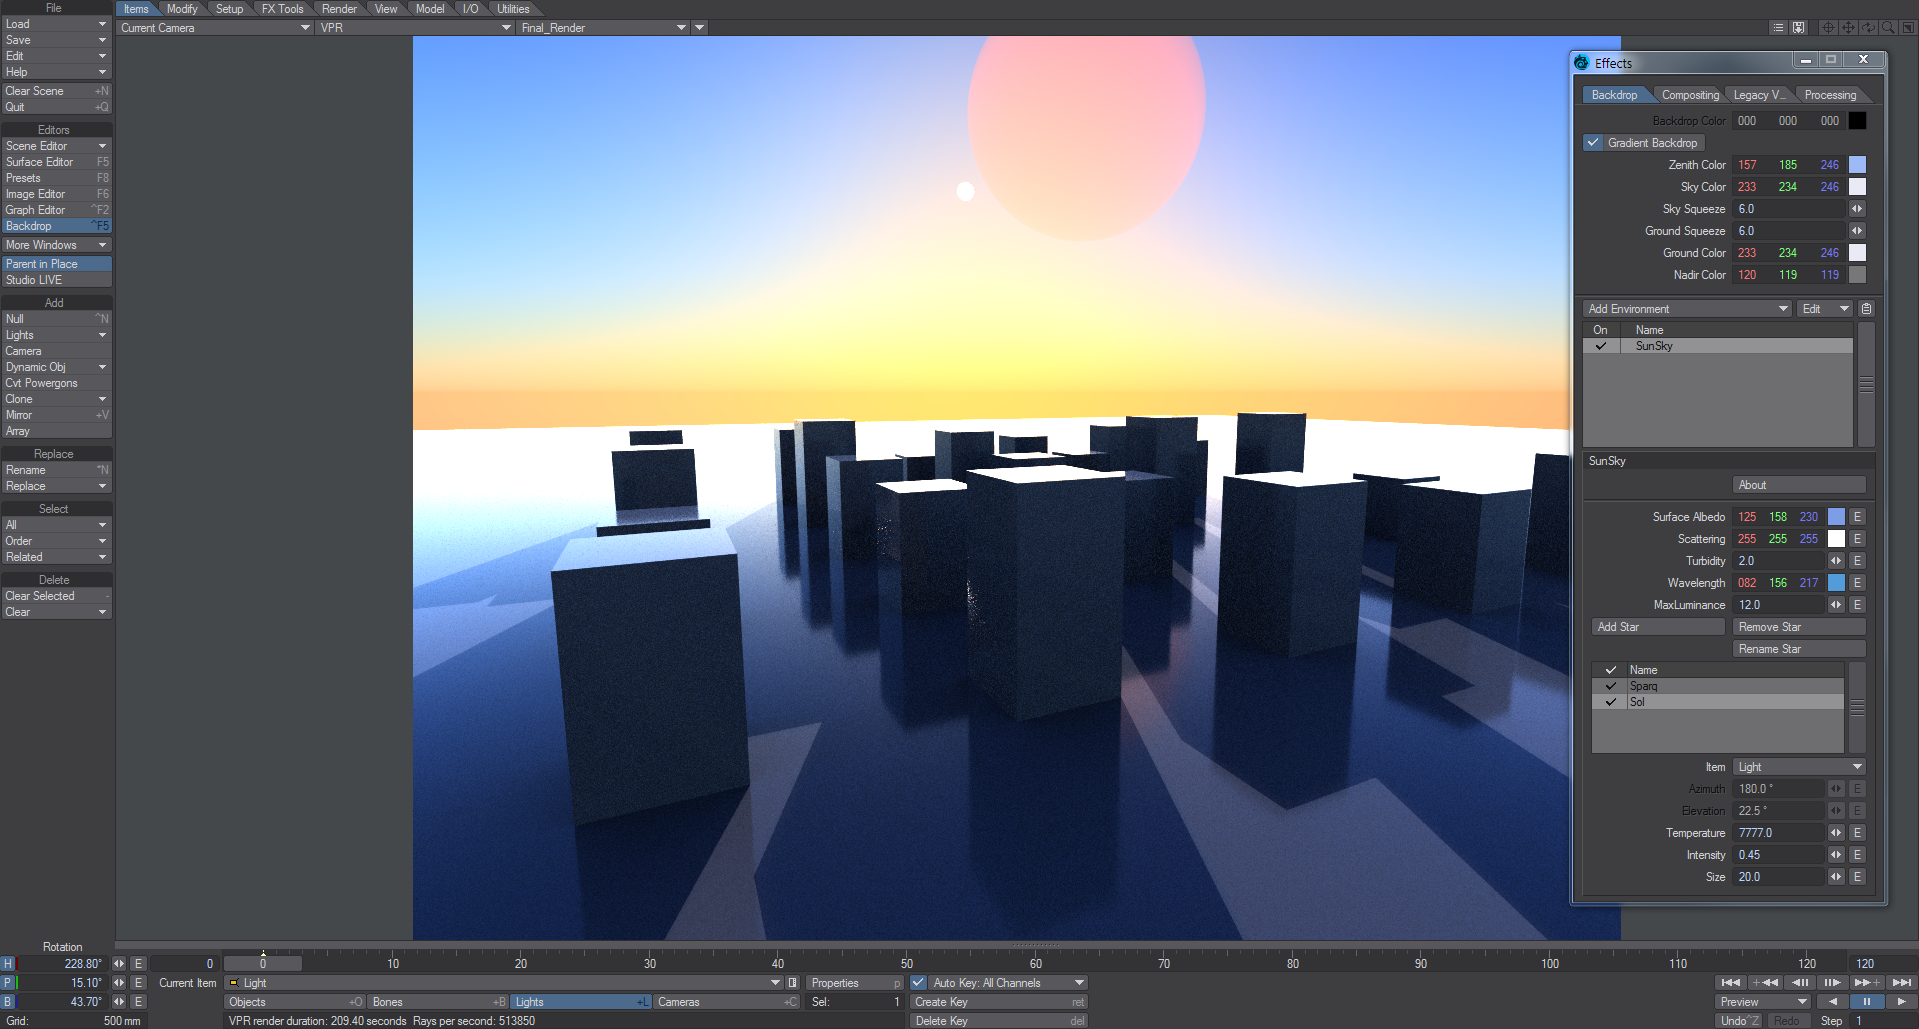
Physical Sky is a Backdrop shader, with its elements rendered beyond the furthest extremities of the scene. It is based on papers written by Lukas Hosek and Alexander Wilkie, the current best approximation of atmospheric light scattering. As can be expected from our everyday experience the atmosphere is thickest with the sun at the horizon, so, with default settings, more blue light is removed and the red is left, but these same settings allow for a wide range of different planetary atmospheres, real and imagined. This shader also allows multiple celestial bodies to be easily added and influence the atmosphere (Did someone say "binary star system"?)
Because SunSky is a backdrop shader, it means that although it can contribute to the lighting of a scene - using an environment light, say - you cannot interact with it. It's not possible to generate clouds using SkyTracer that will react accurately to it, but these things can be worked around using additional lights positioned in a similar position relative to the camera.
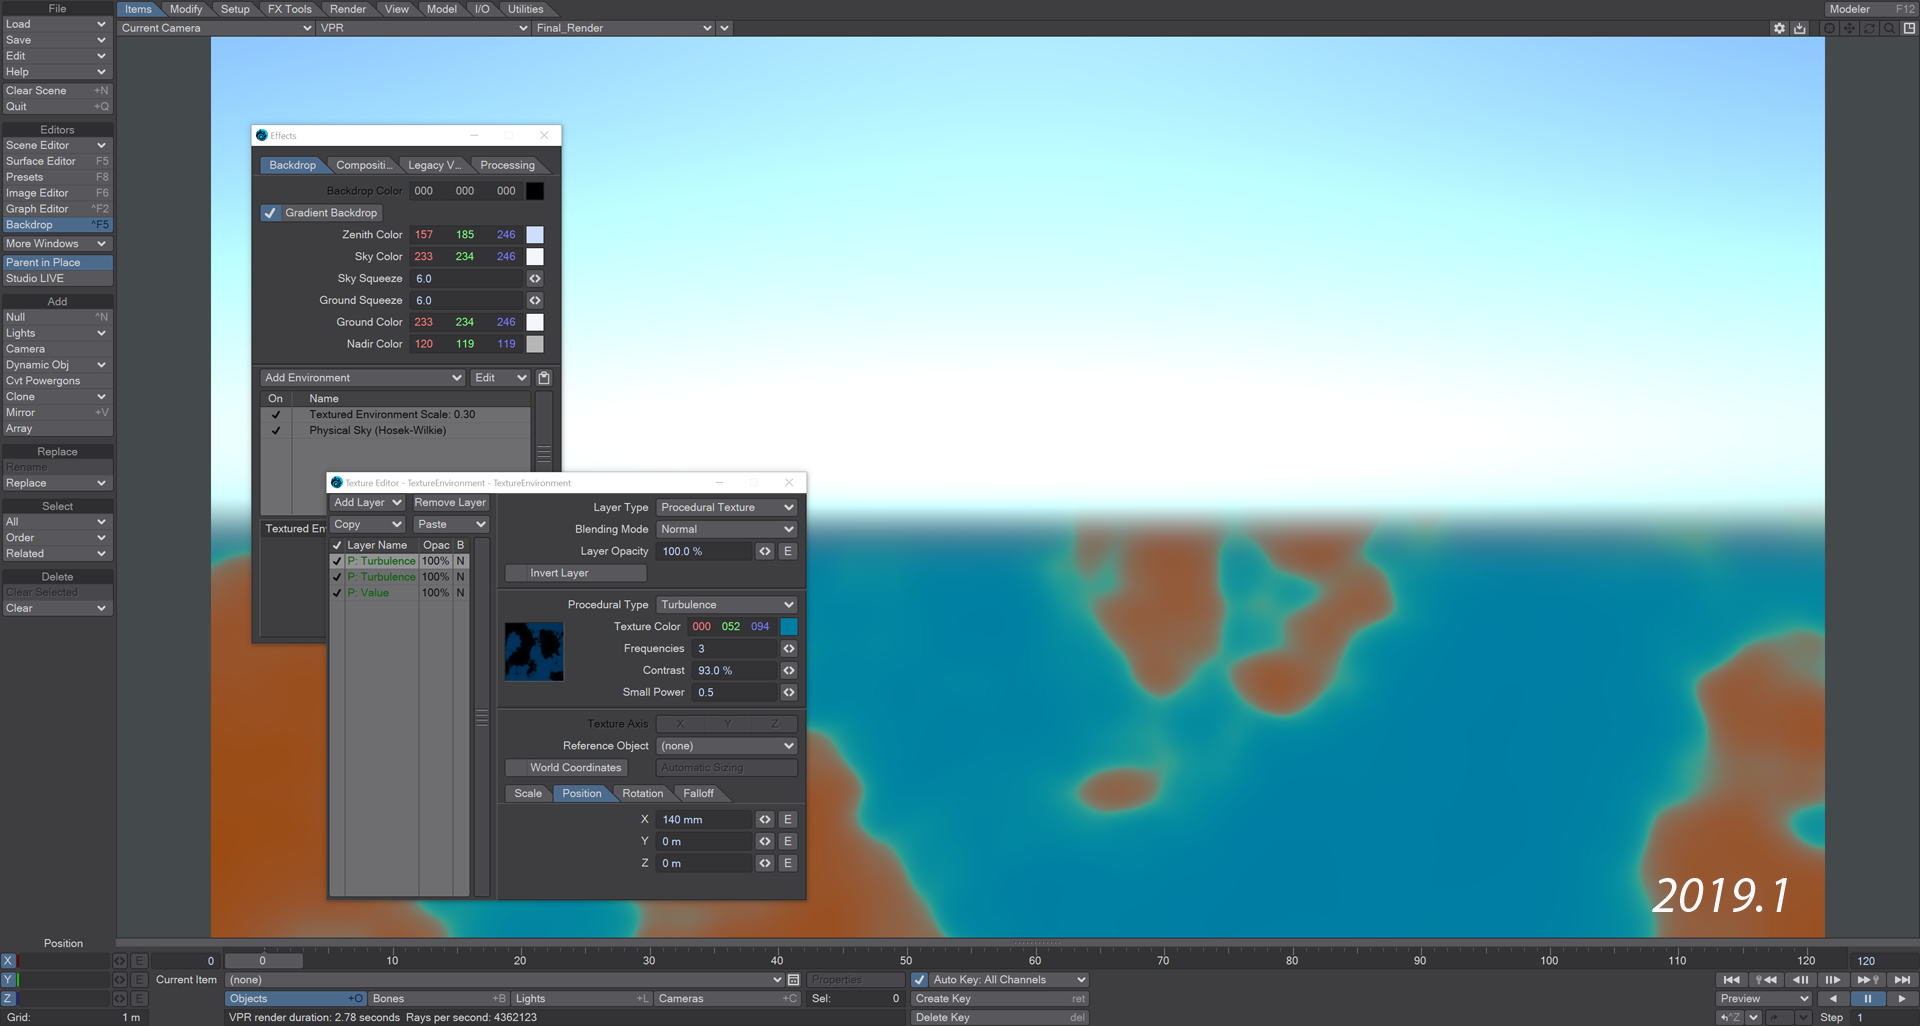
A softened horizon line and the possibility to color the "ground" portion of the backdrop were added in LightWave 2019.1.
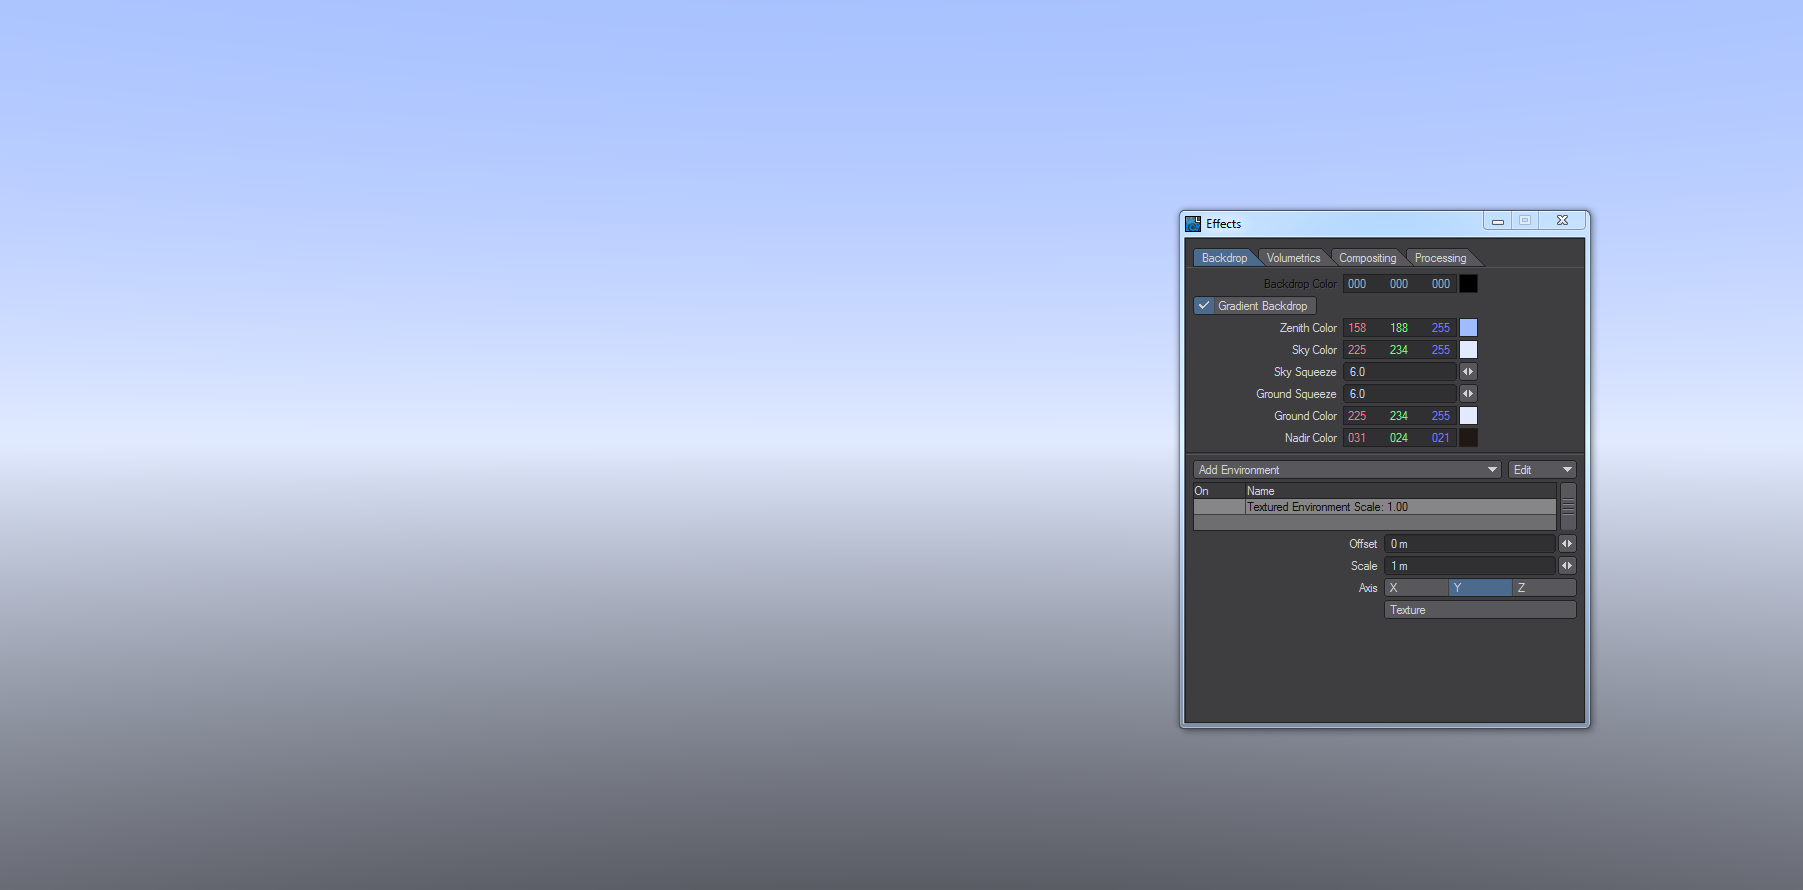
To do so, add a Textured Environment, make sure it is above Physical Sky in the Environment list, and you can have something like this:
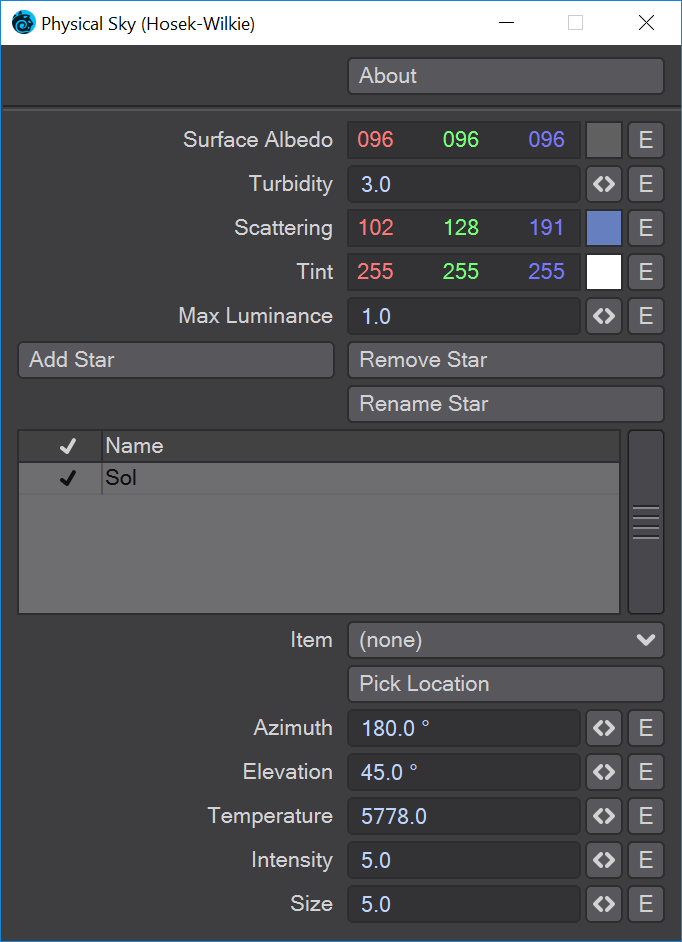
- Surface Albedo - Reflectance color from the planet. The default value of blue has been set because our planet is mostly water
- Turbidity - The reduction in the transparency of air because of the scattering of light by dust and smoke particles and water droplets. Increase the turbidity to make the atmosphere denser - hazier. Great for recreating LA sunsets
- Scattering - The scattered color of the sky itself
- Tint - Added for tinting skies. Leave white to use the sky color as normal, change the scattering color to multiply with the end result
- Max Luminance - Function added for tone mapping the final result. This will tone down the brightness value of a star to better match the rest of the scene
- Add/Rename/Remove Star - Add, rename or remove additional stars adding each to the bottom of the list. Because a backdrop is effectively flat, getting the stars in the right order for proper layering is done by dragging and dropping to reorder in the star list
- Item - Use an item's rotation to change the position of the sun in the scene. Because a sun is so far away, changing the position makes no sense. When using an item to control the sun's position, the following three options will be ghosted:
- Pick Location - Opens the Location Picker window
- Azimuth - The sun's position across the sky
Elevation - The sun's vertical position in the sky
The following three options are all linked - a low temperature implies a large size, a small size implies a high intensity and a high intensity implies a high temperature and vice versa. Care should be taken to balance
- Temperature - Similar to using the Kelvin scale in the color picker. The scale starts at 1000 and can go up and up, for instance, the temperature of Sirius is 25,200 K. The default value of 5,778 K is representative of the Earth's sun
- Intensity - A value to choose for the overall intensity of your star in the sky. The default value of 5.0 has been chosen for the Earth's sun
- Size - A value to choose for the overall size of your star in the sky. The default value of 5.0 has been chosen for the Earth's sun
If you are linking your SunSky with a light (in the Item dropdown), you should set the SunSky light to 0 to disable the SunSky version and only use the light in the scene. Otherwise, you will have a doubling of lights, and more noise inherent.
A small change to the Turbidity and Scattering color makes a dramatic difference
Python
Opens a file requester for a Python script-based backdrop.
Python Horizon
A script example of an environment created in Python.
SkyTracer 2
An older environment for non-realistic scenes.
Textured Environment
The Textured Environment lets you apply a texture as a spherical environment wrap; this approach is perfect for high dynamic range images. Clicking the Texture button launches the standard Texture Editor giving you access to gradients, procedurals, and the use of images to create an endless variety of textures.
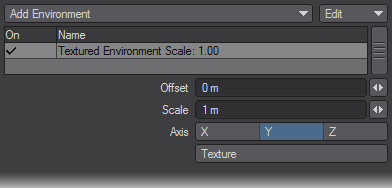
The texture is not stuck to the camera background, like a normal background image. Therefore, as you move the camera, you will pan over the environment.
An interesting application would be to use a gradient and select the (camera) Heading or Pitch as the Input Parameter. This lets you vary a glorious sunset sky based on the rotation of the camera. You might also use this to add a nebula behind your starfield using a simple Turbulence or Fractal Noise procedural texture.