Render Properties - Output - Saving Animation
Once you have chosen a base name for your animation you can choose a type. It’s a good idea to save an animation only in addition to, not instead of a file sequence. The reason for this is that in the case of a crash during a render you will have to re-render an animation from the start again, but with an image sequence you will be able to resume from the last frame rendered.
A file sequence is easily made into an animation using LightWave. Simply use the sequence as a background image sequence in an empty scene. If you set the resolution the same as the original frame size and save an animation, you will rapidly convert your still frames into an animation.
AVI
There are two AVI encoders in Output. You can choose from the system AVI that shows all system AVI codecs, or NewTek's own DirectShow AVI output.
QuickTime
Special Animation Types
Although most of the animation file types are self-explanatory, there are some that may require some explanation.
Flexible Float / Integer
NewTek experimental codecs for creating HDRI animation. They can only be played within LightWave itself.
Storyboard / 4x Storyboard
There are two storyboards in the list of file formats. They are unusual in the sense that they don’t make an animation, but rather a series of images as a storyboard. LightWave renders out each frame and pastes them together in grids of either 4 x 4 or 6 x 5 images, skipping every fifth frame. The standard storyboard makes a grid of 6 x 5 images with each image of 30 frames no bigger than the full individual image size (so a 640 x 480 storyboard frame will contain a grid of 30 images that would normally be 640 x 480). The 4X Storyboard will composite the images together at the size you render at, making for large images if you render at video resolution.
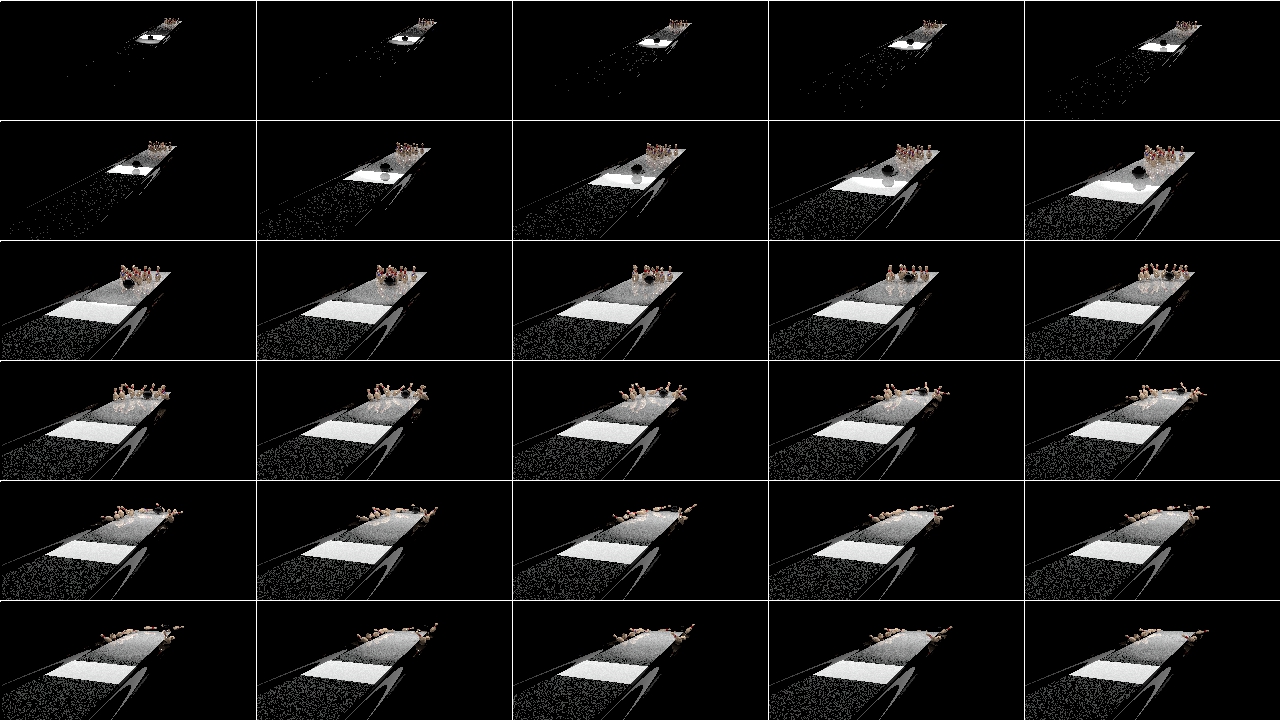
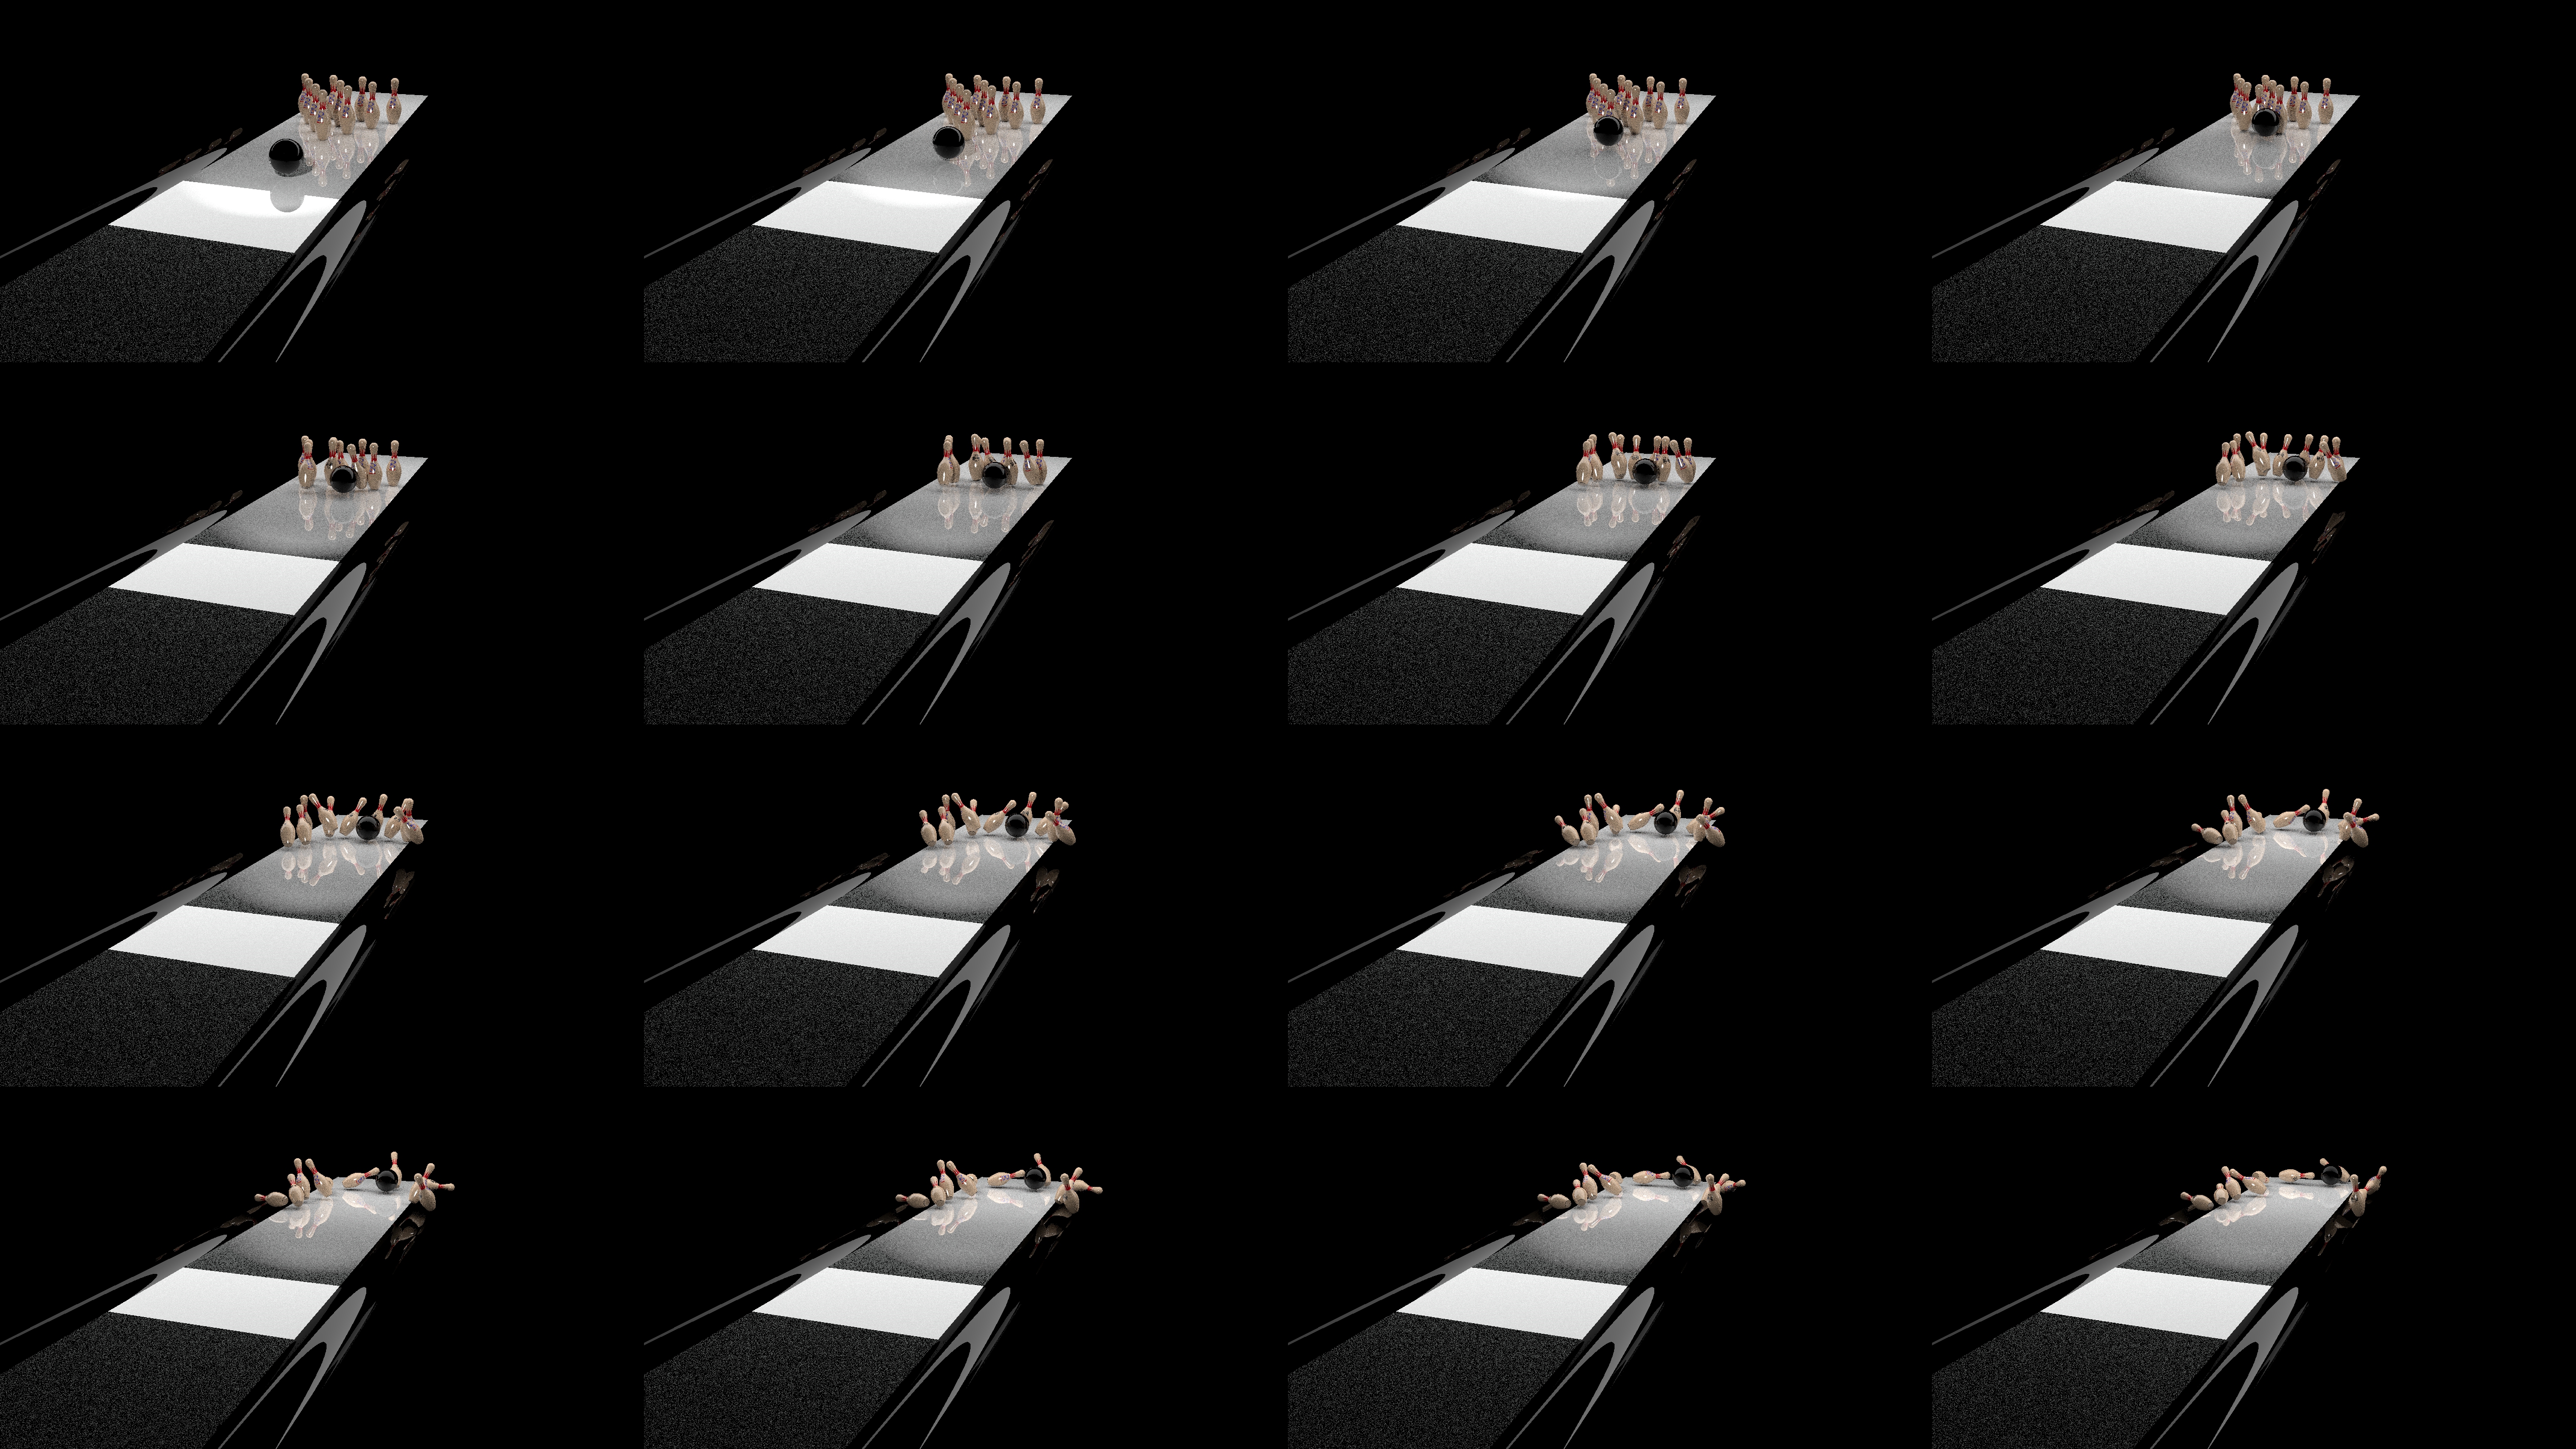
The 100 frames of this animation create three Storyboard images at 1280x720, or seven at 5120x2880 when using 4x Storyboard.
If you are using either storyboard function in realistic render mode, it’s a good idea to turn off antialiasing and effects you may have activated, just so you can make the storyboards more quickly.
FilmExpand
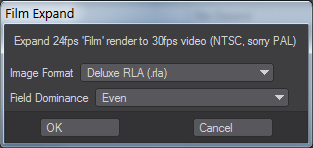
This converts an animation from 24 fps (film speed) to 30 fps (NTSC video speed) by rendering 30 frames for every 24 of the original animation. The interpolation works best when you use Field Rendering (Camera Properties Panel). When you select Field Rendering, an Options Panel appears where you can select the type of image to save and set the field dominance. It only works for NTSC video, not PAL.
SpriteGen

SpriteGen is an output to create sprites for games. It will create a single image that can be referenced by game engines to provide animation in games. Its encoding options are as follows:
- Tile Columns - The number of tiles across you want for your sprite sheet.
- Tile Width - How wide each sprite will be. Your camera resolution will still be rendered at, then each frame will be sized to fit this number. Make the camera resolution much bigger and the render will take longer than it needs to. Make the camera resolution much smaller than your tile and the sprites will be pixelated.
- Lock Aspect Ratio - With this checked, the Tile Height field is ghosted. If you want to have non-square sprites you can uncheck.
- First Frame - The first frame of your sprite sequence.
- Last Frame - The last frame of your sprite sequence.
- Frame Step - Set at 1, LightWave will render each frame between first and last. It can be increased for stylistic reasons.
- Premultiply Alpha - Checked by default, this will premultiply the alpha for the sprite making it fit against any background.
- Type - The image type for the sprite sheet.
- Animation File - A misnomer since the output is a single image.xxx