Hair
Hair
Edit Panel

Color Group
The base color of your rendered fibers. At the top of this tab is a dropdown menu where you choose the type of texturing you wish to use. There are two modes for coloring fibers, Mixed and Textured (default).
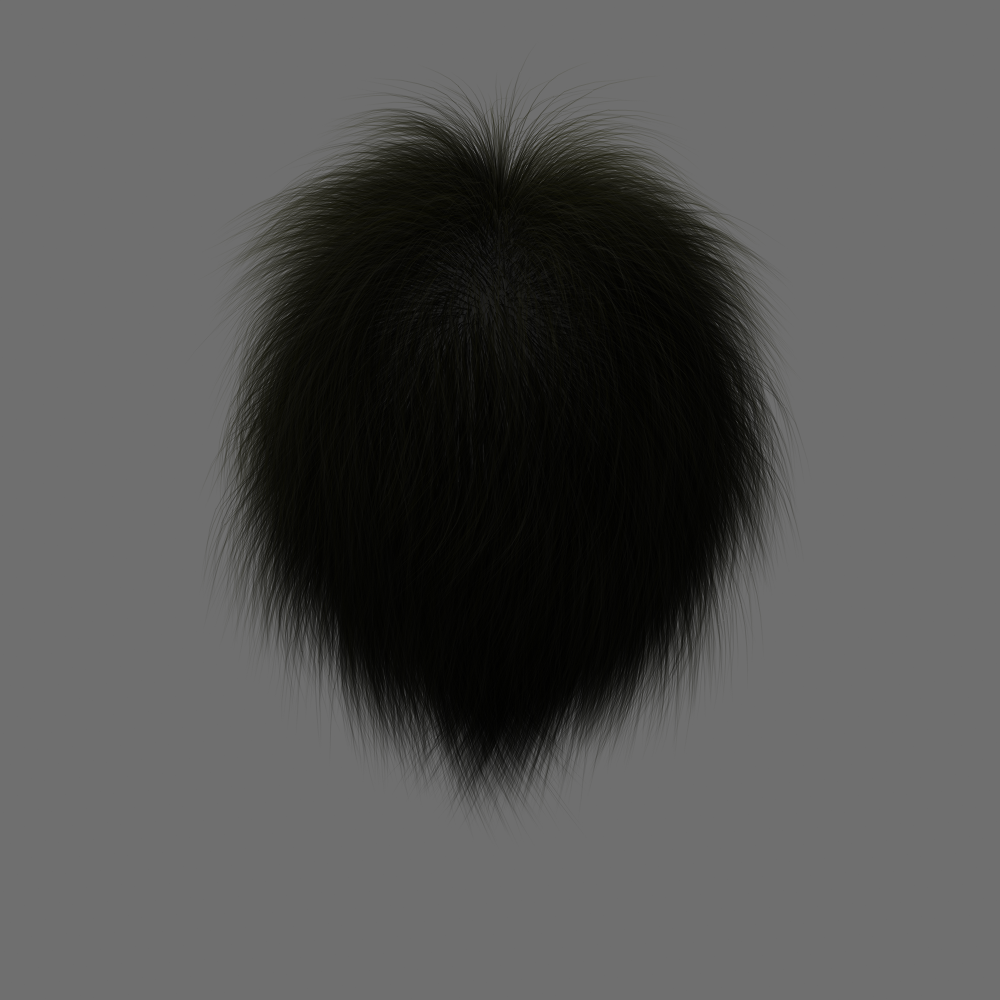
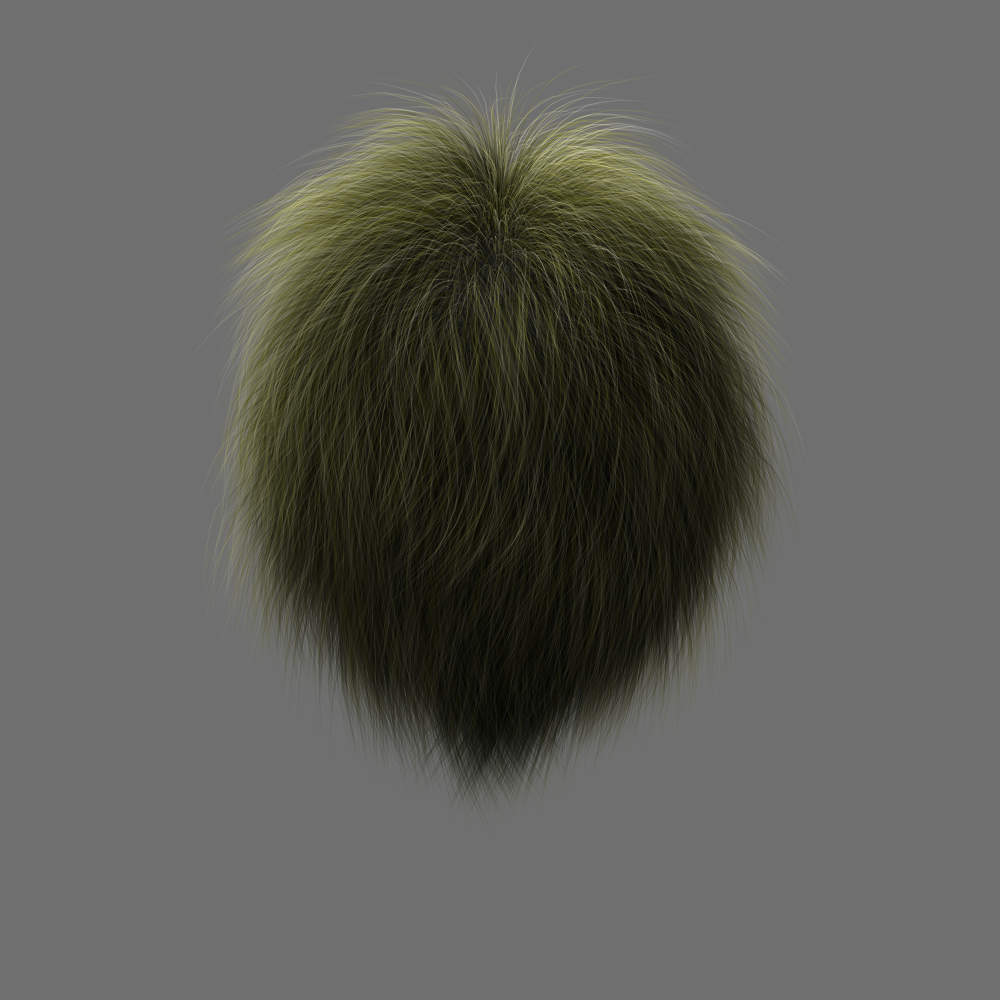
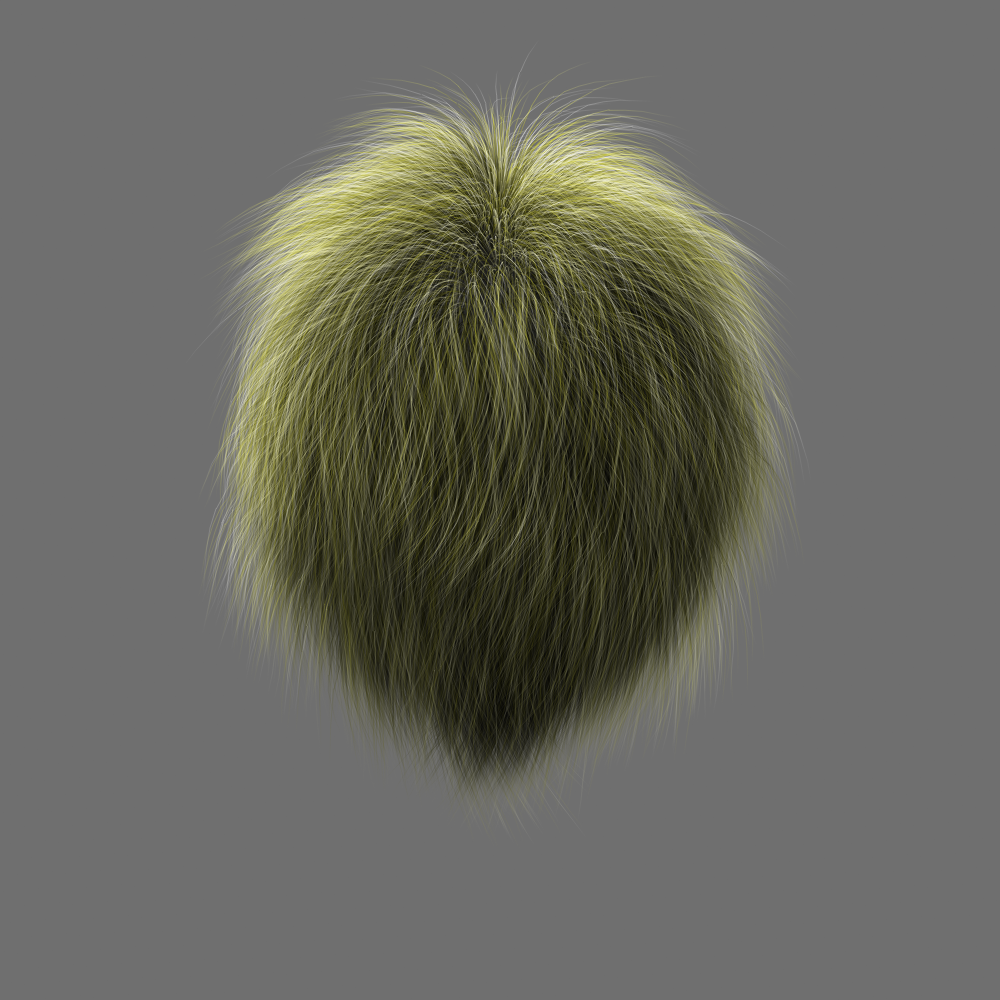
- Mixed - This color mode blends between two fiber colors (each with a different root and tip color). You can also set the amount each color influences the overall fiber color. At 0% Root / Tip Color 1 will be the predominant color, at 100% Root / Tip Color 2 will be the predominant color.
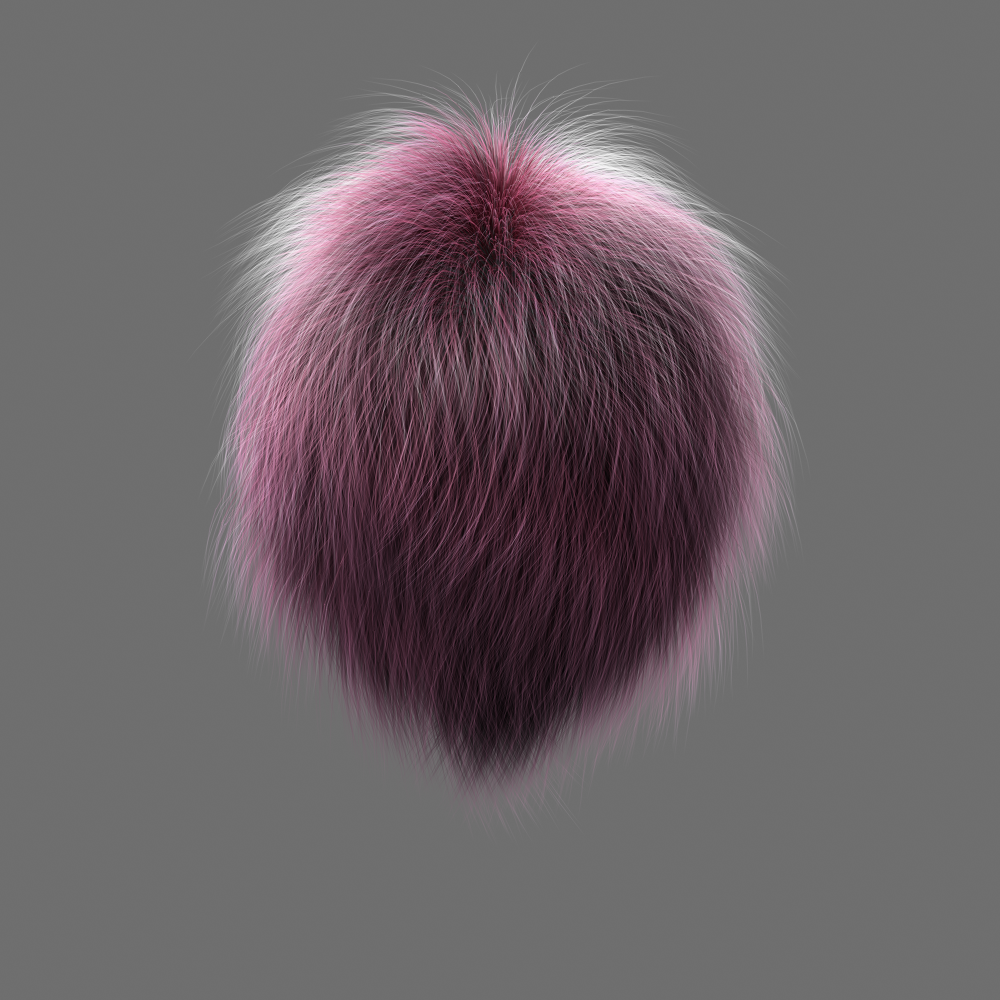
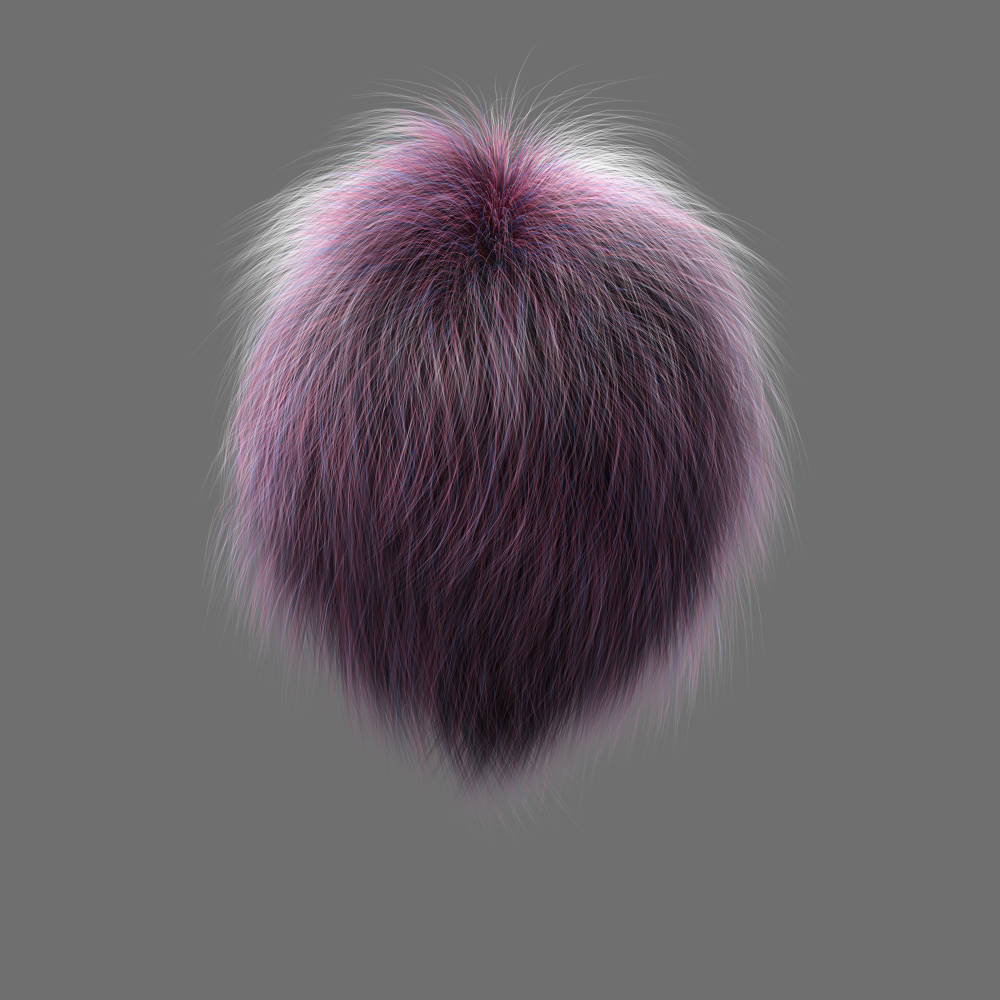

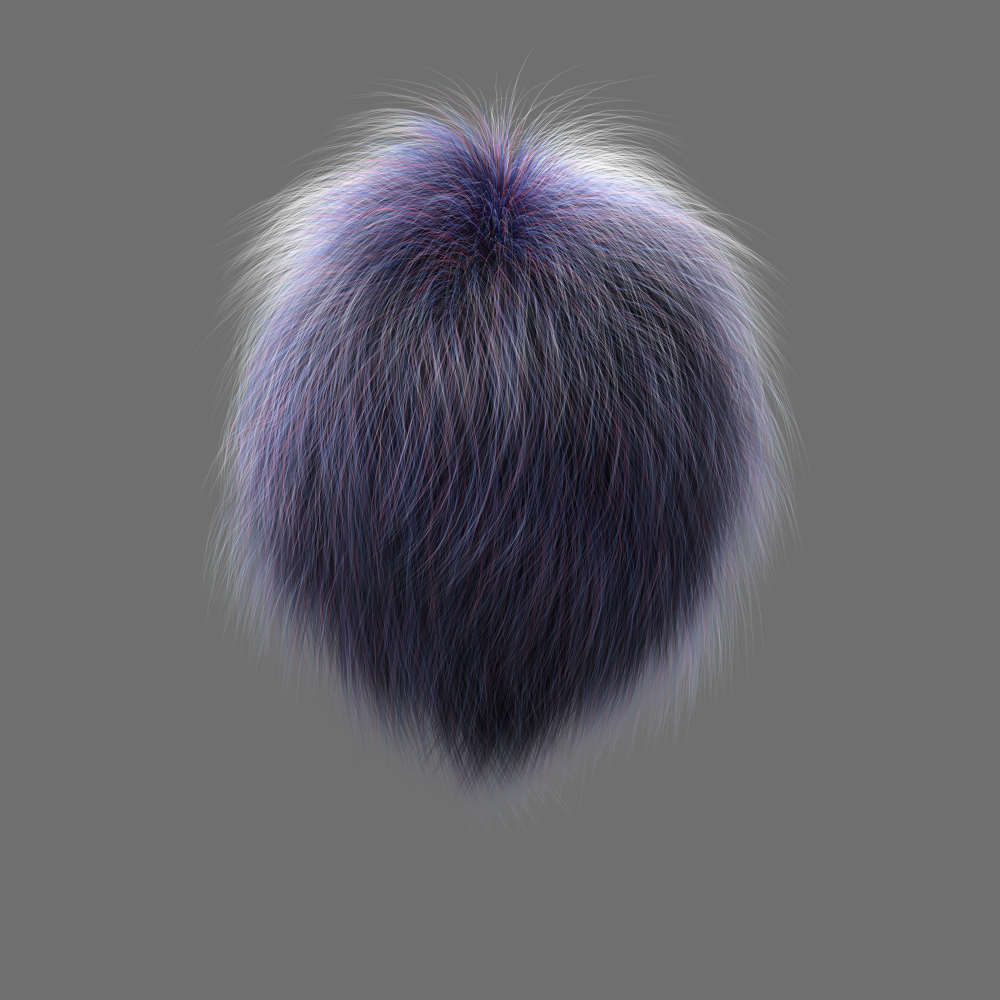
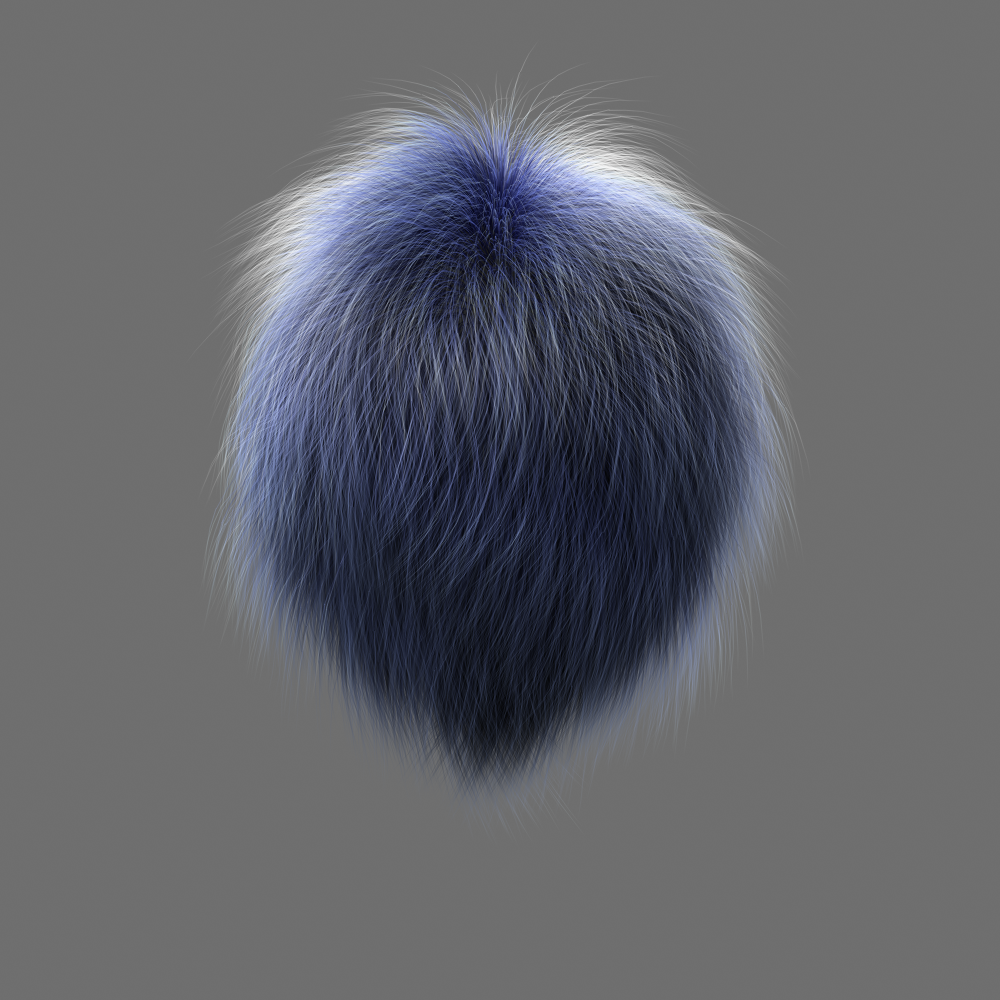
Color Mix 0%, Color Mix 25%, Color Mix 50%, Color Mix 75%, Color Mix 100% - Blend - When Blend is checked, the color values themselves are actually mixed, as opposed to just the quantity of fibers using those colors.


With Blend 0%, With Blend 25%, With Blend 50%, With Blend 75%, With Blend 100%
- Textured - When this mode is selected you will be left with only one Color setting. Unlike Mixed color mode, all your fibers will be the same color. However, you can now also use the standard LightWave 3D texture editor to color your fibers; this offers many options for texturing your fibers.


Plain Color, Texture Map, Fiber V Gradient*
- Highlight - This setting randomizes fiber shading by choosing lighter and darker values based on the original base colors used. The percentage determines how different the light or dark values are from the original colors.


Highlight 0%, Highlight 50%, Highlight 150%, Highlight 200%, Highlight 400%
- Diffuse - Determines how much your fibers react to the diffuse setting on lights. Essentially simulating the scattering of light over the fiber surface (not to be confused with sub-surface scattering). The higher the percentage, the brighter overall your fibers will look.
Diffuse 10%, Diffuse 50%, Diffuse 100%, Diffuse 200%, Diffuse 400%
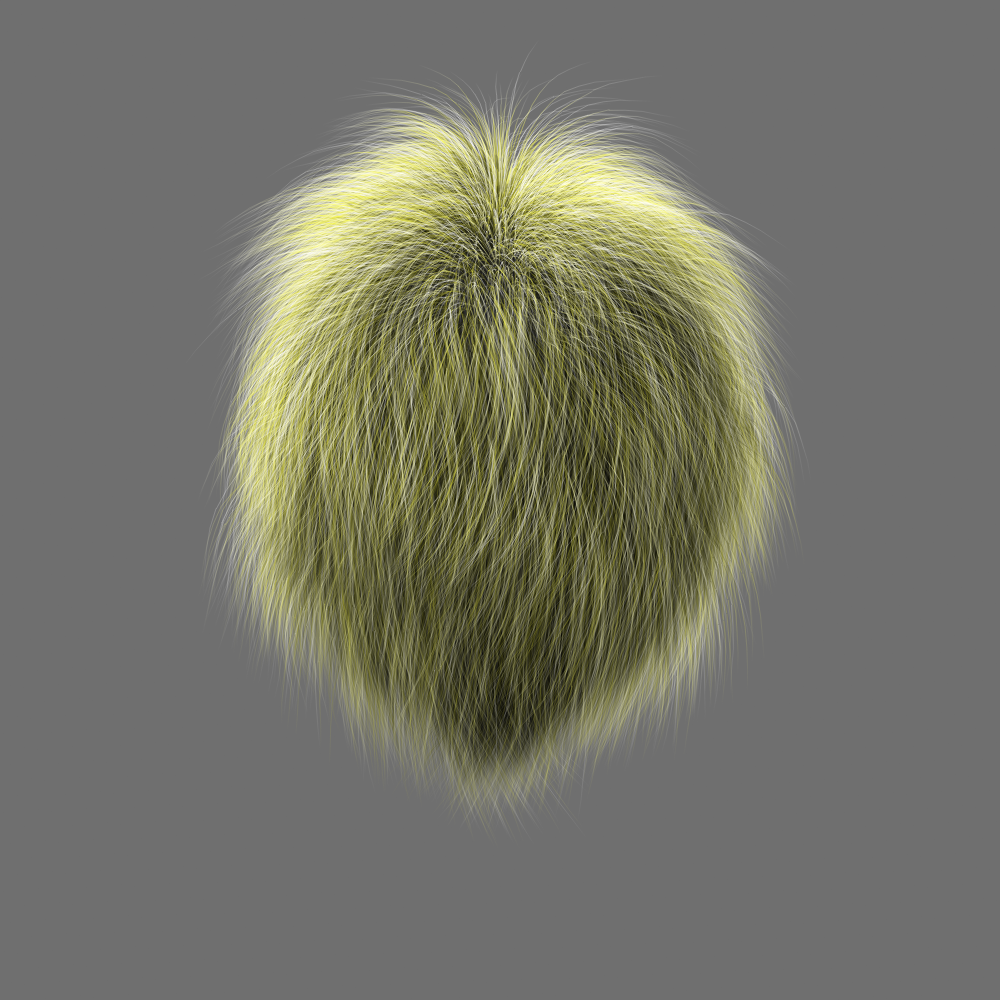
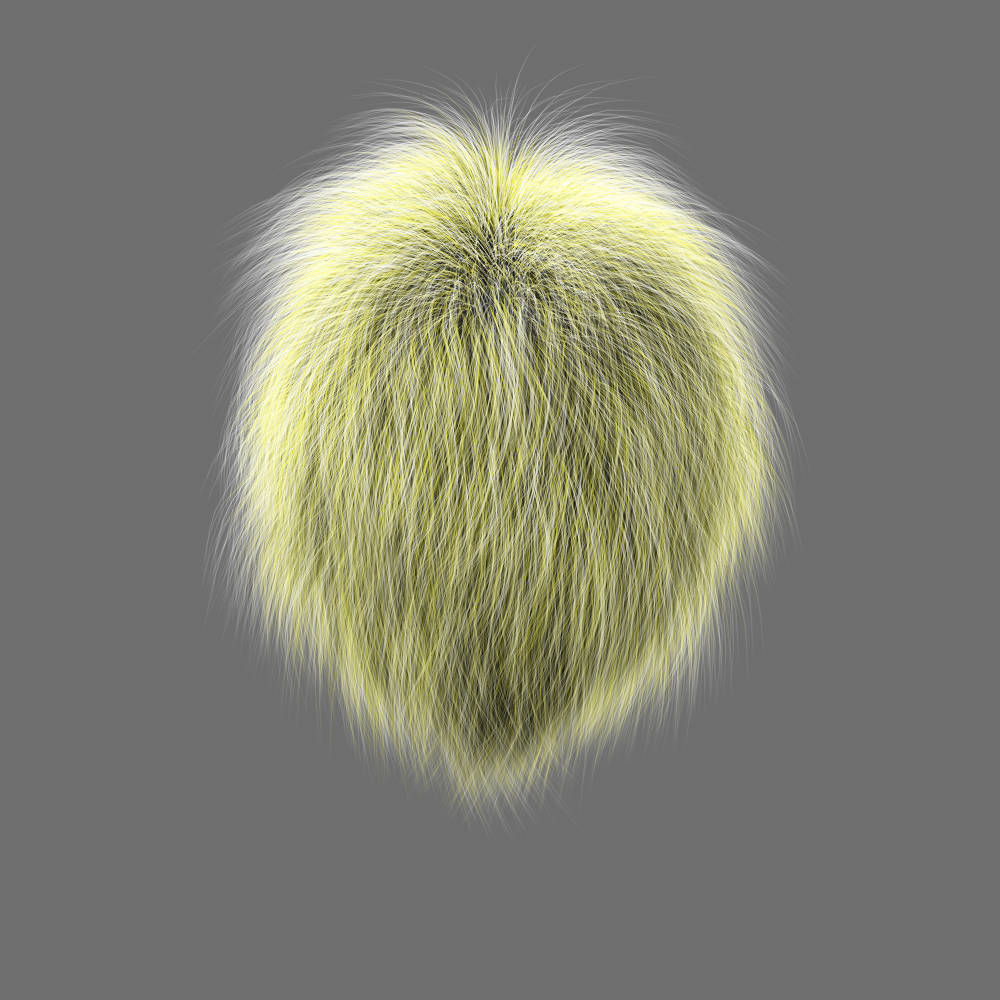
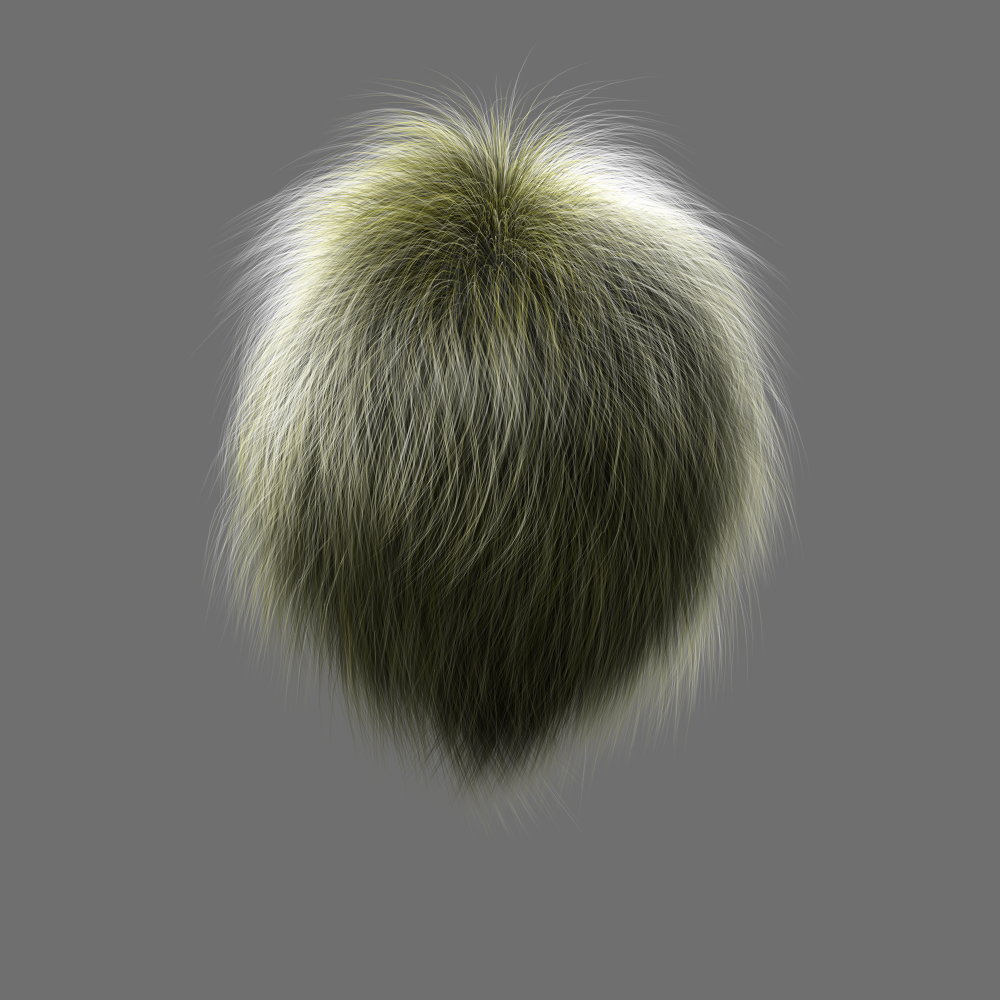
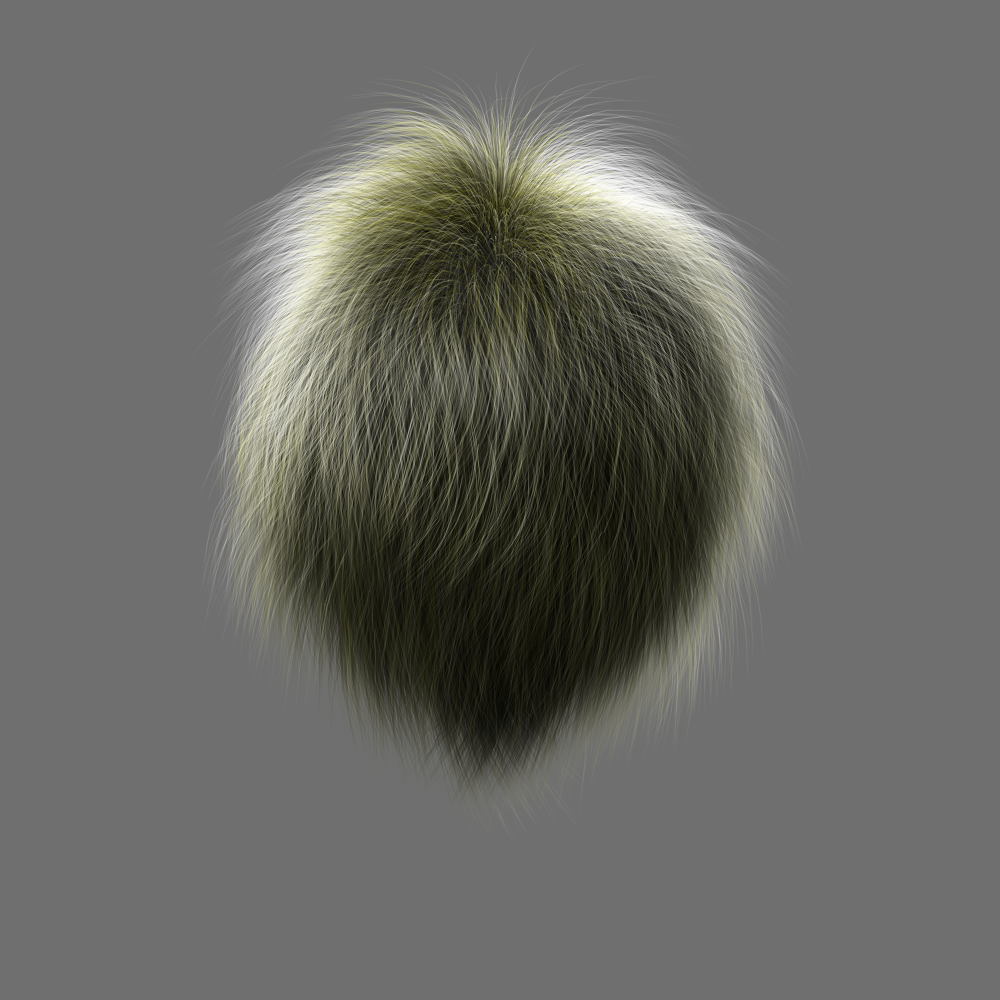
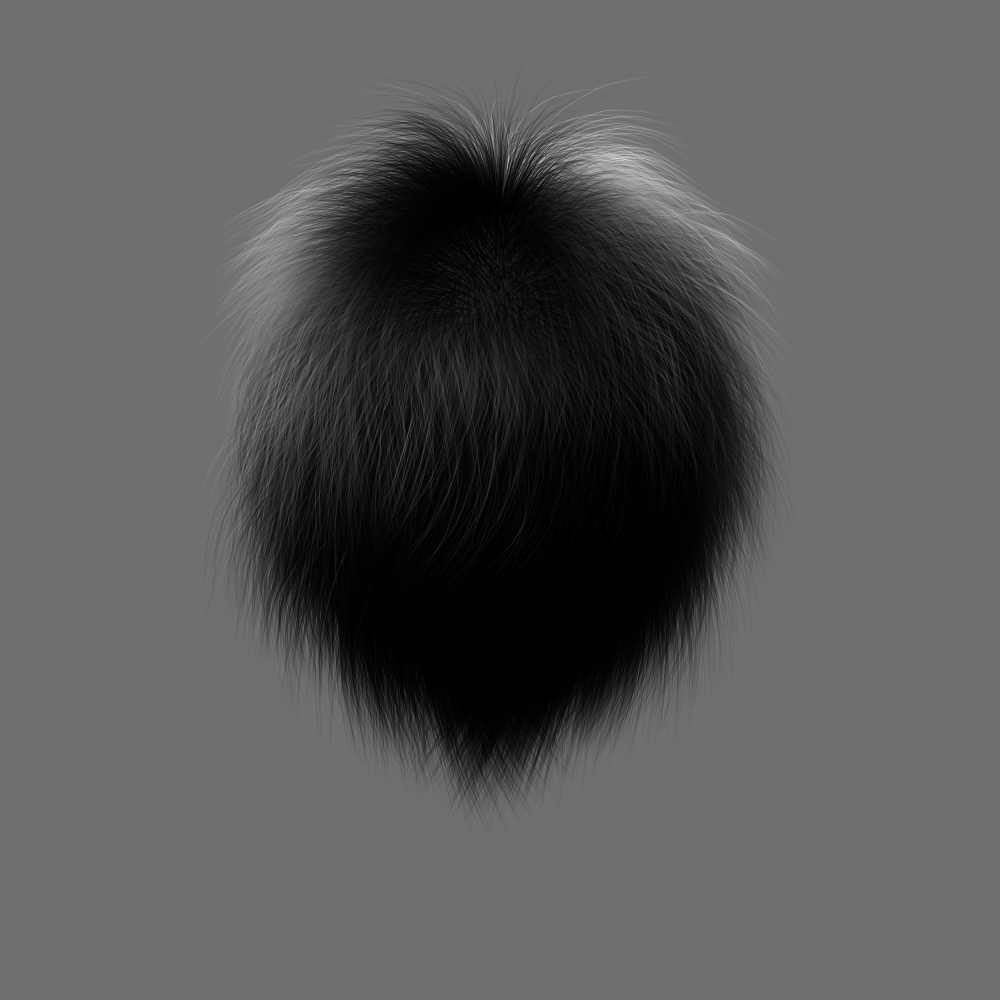
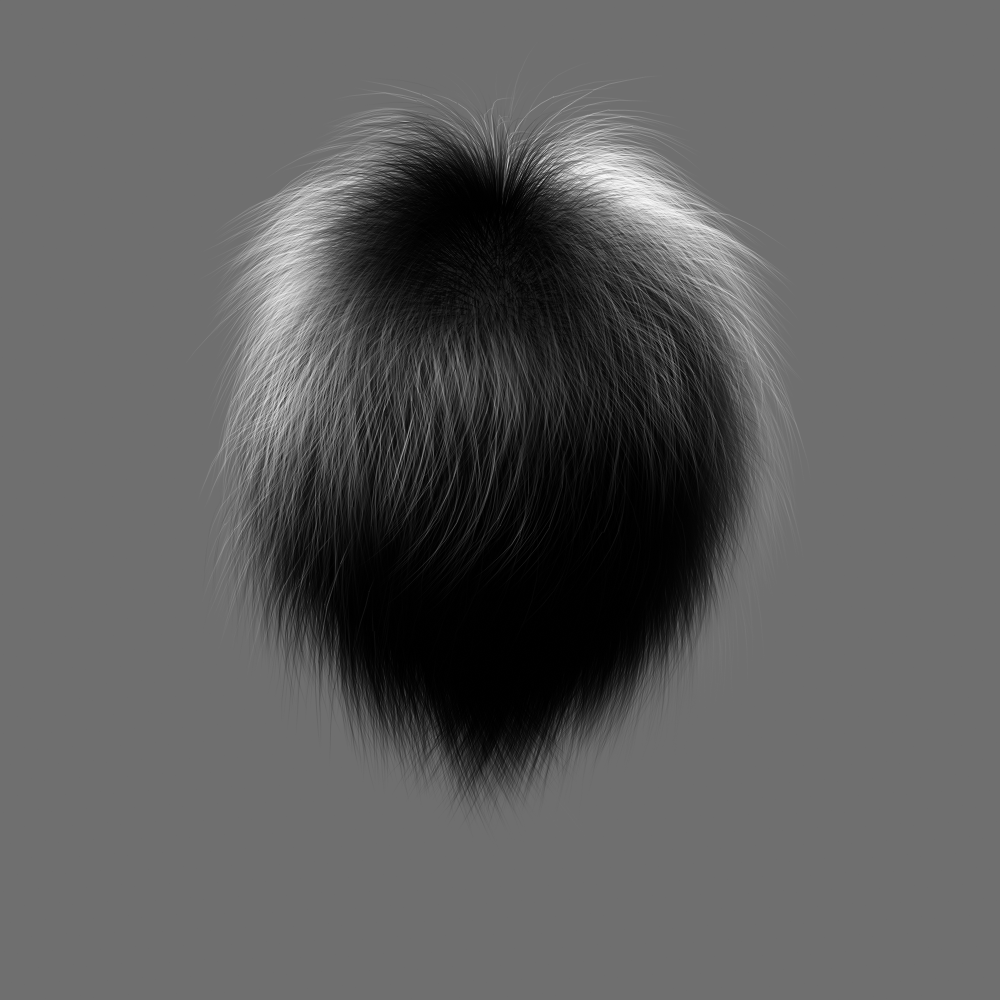
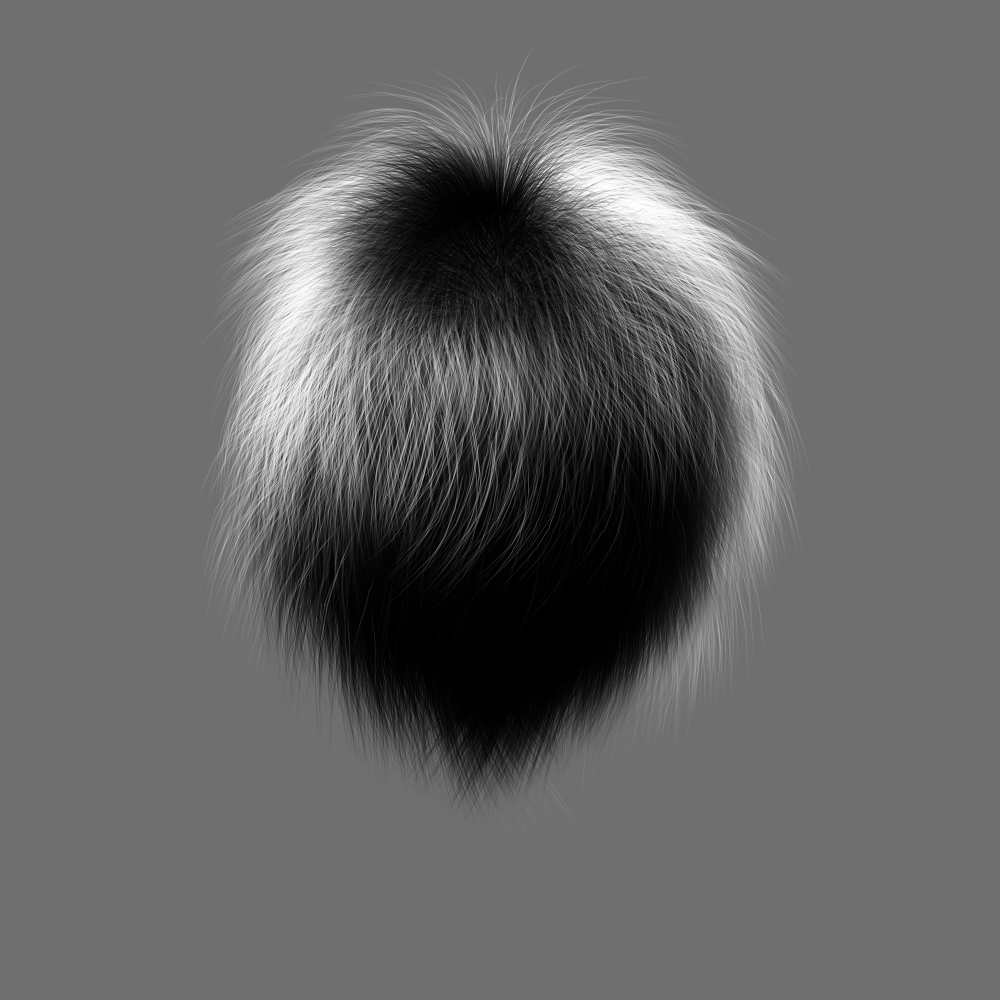
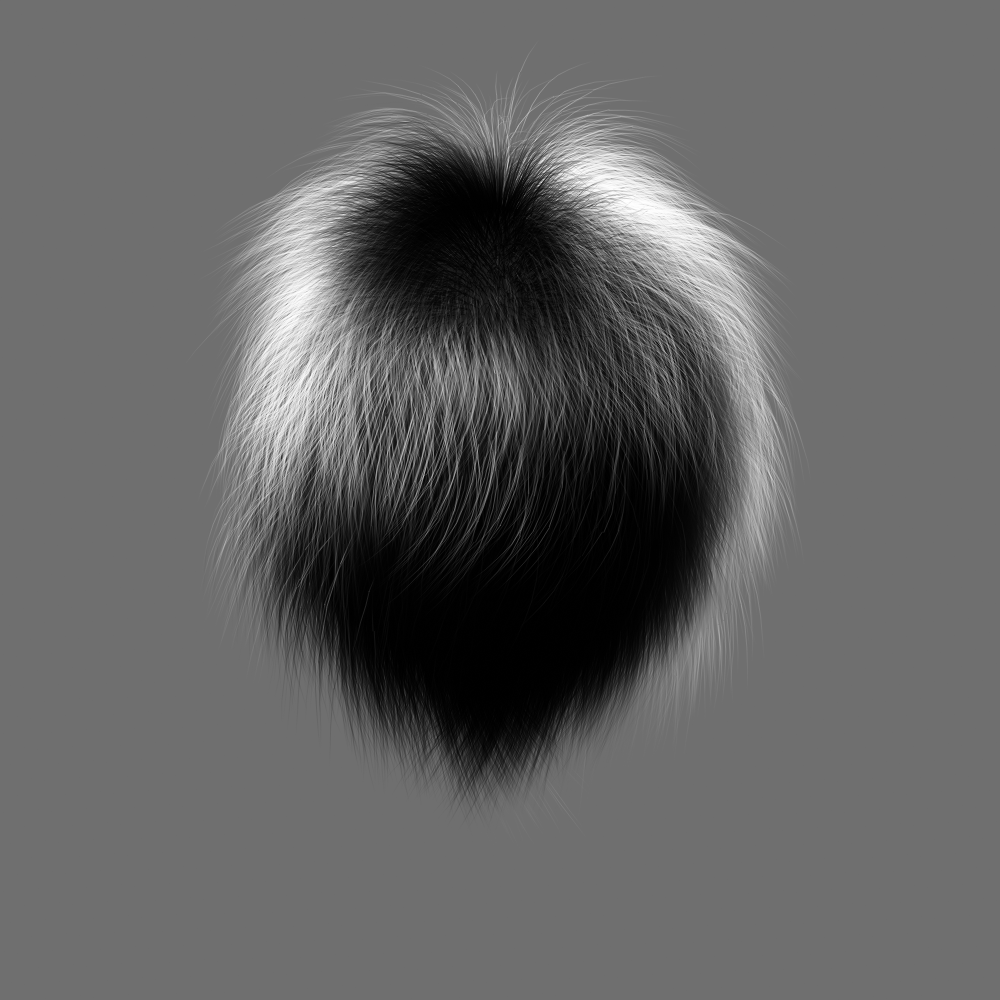
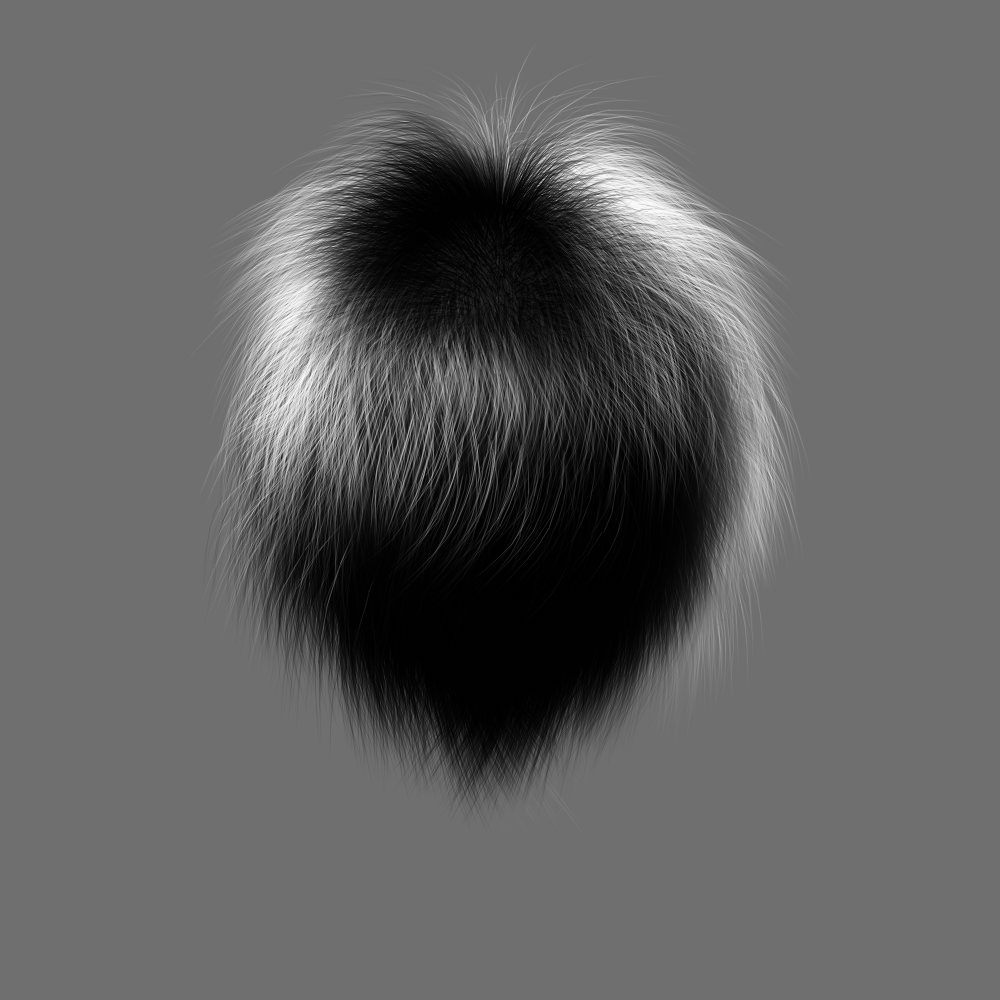
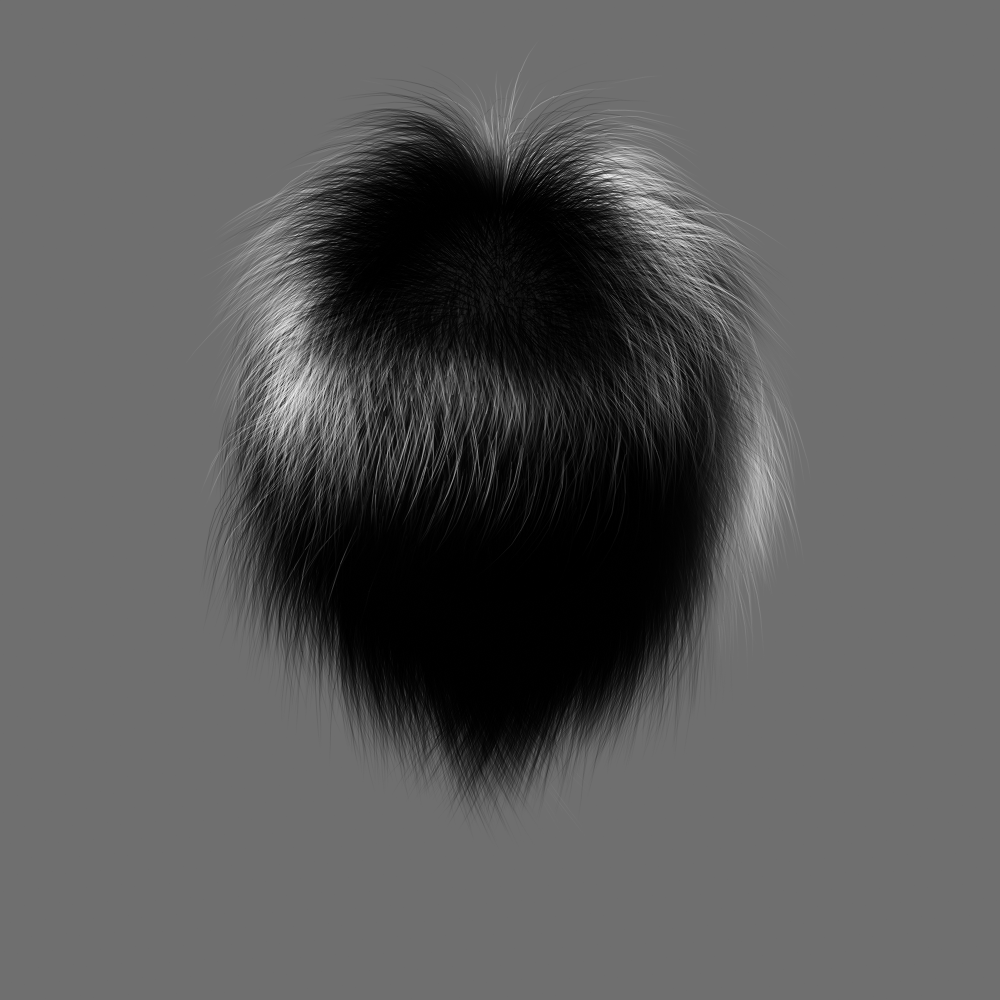
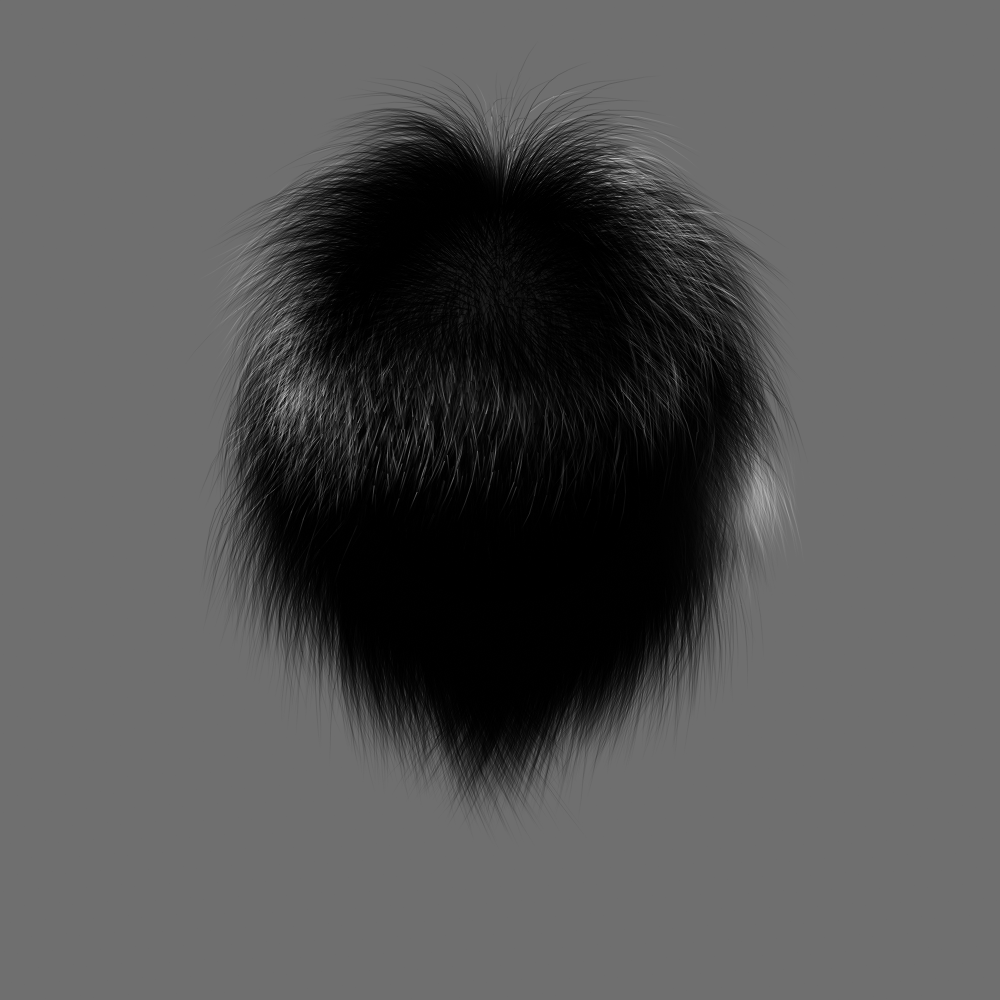
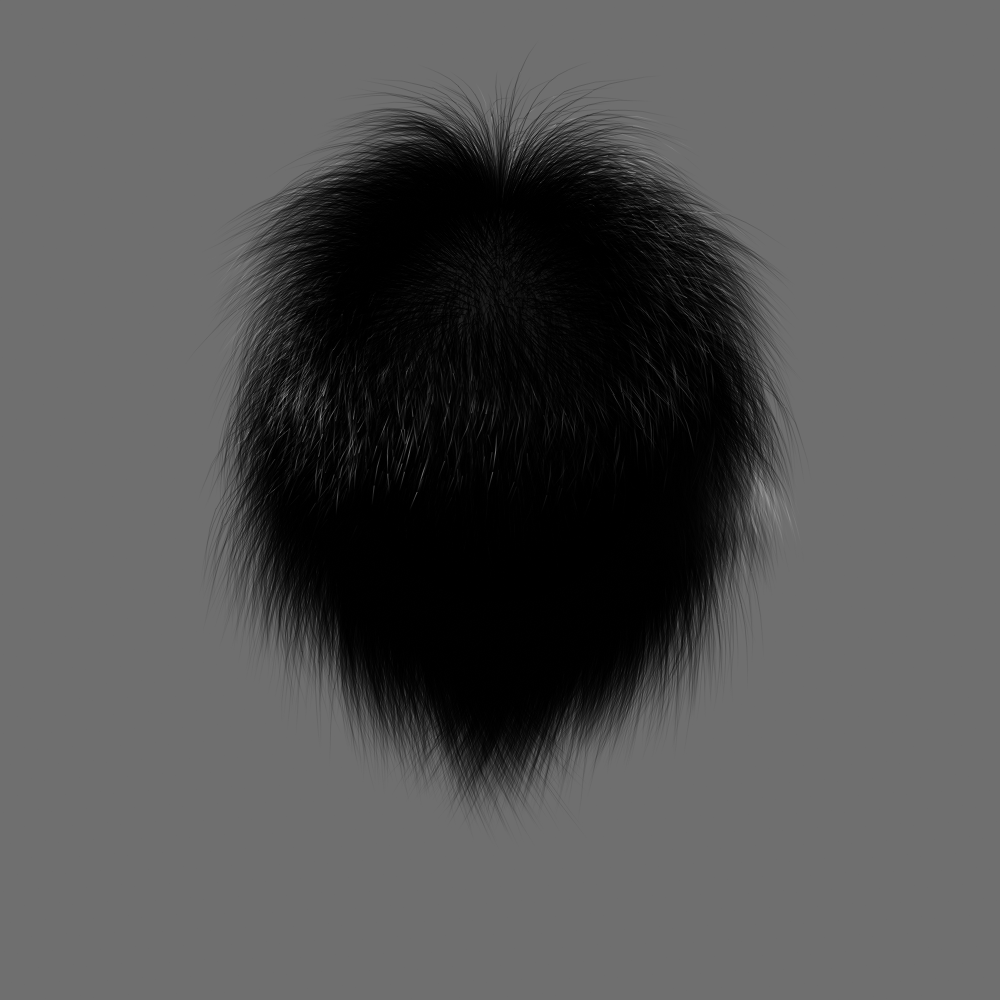
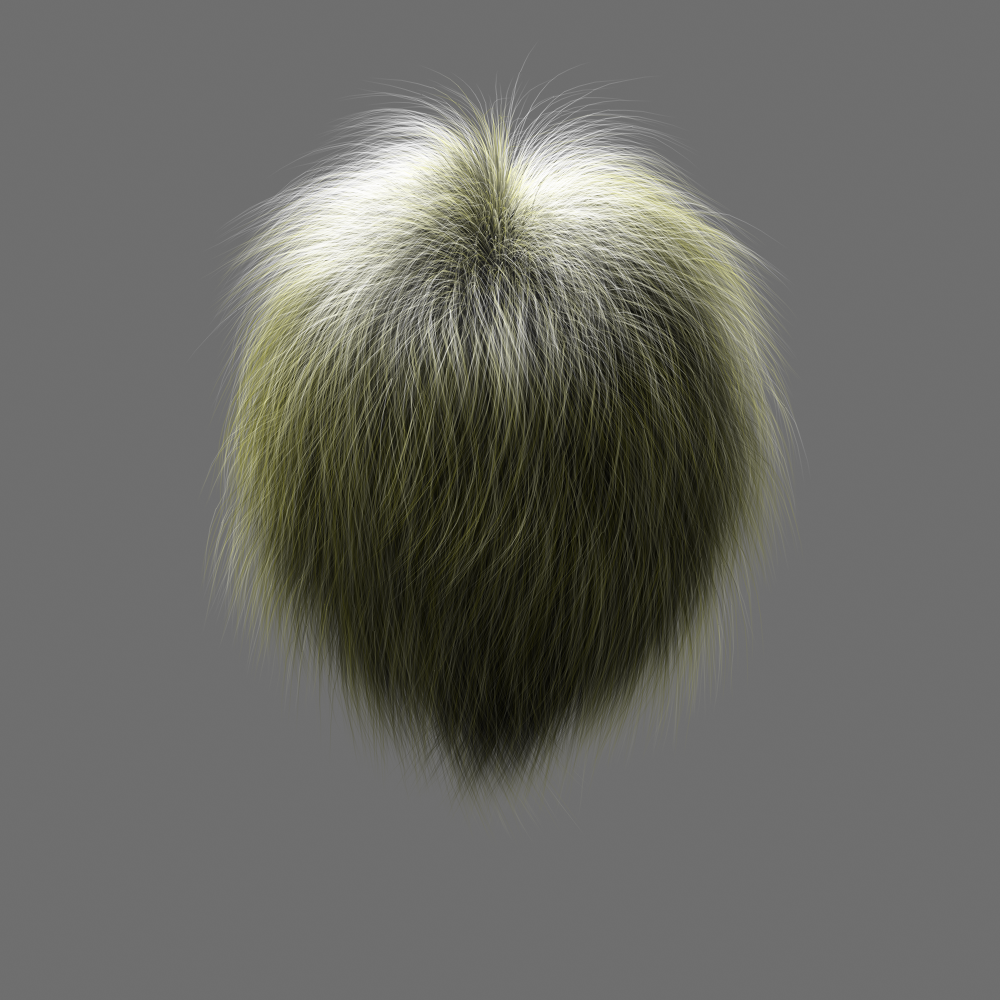
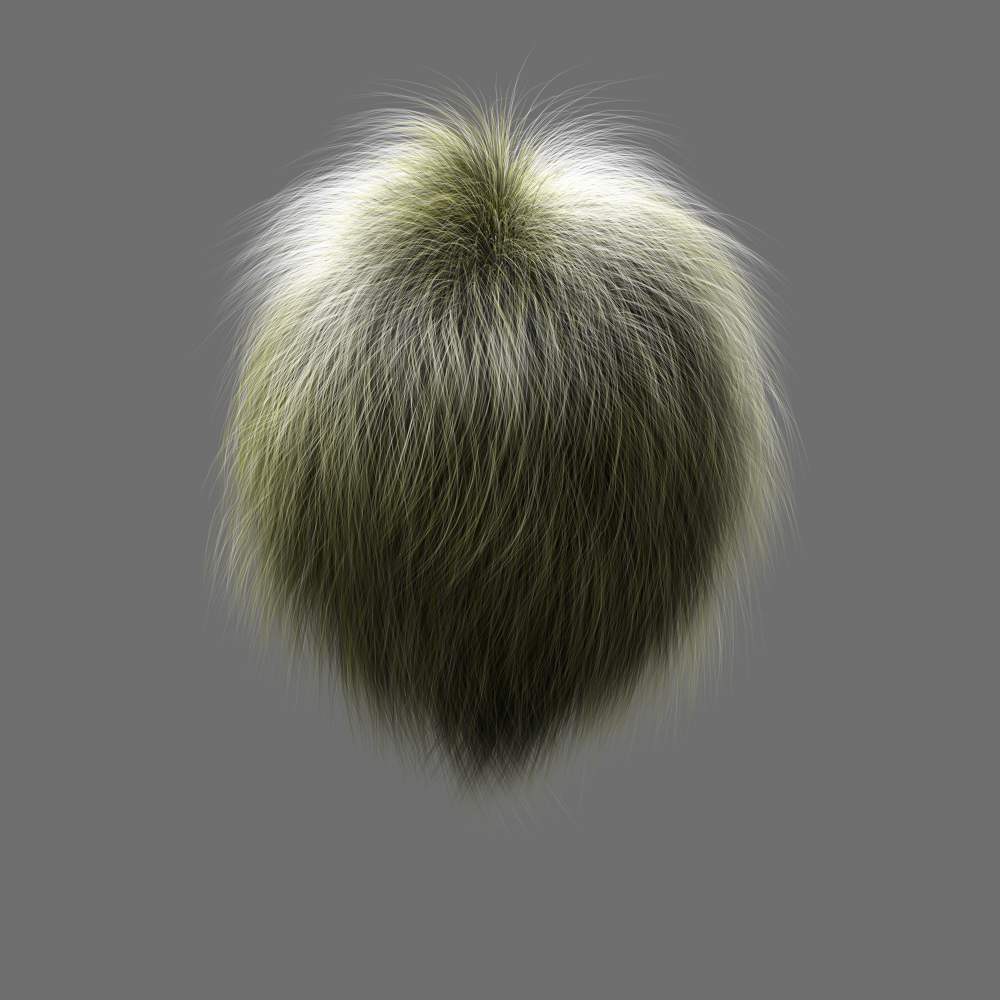
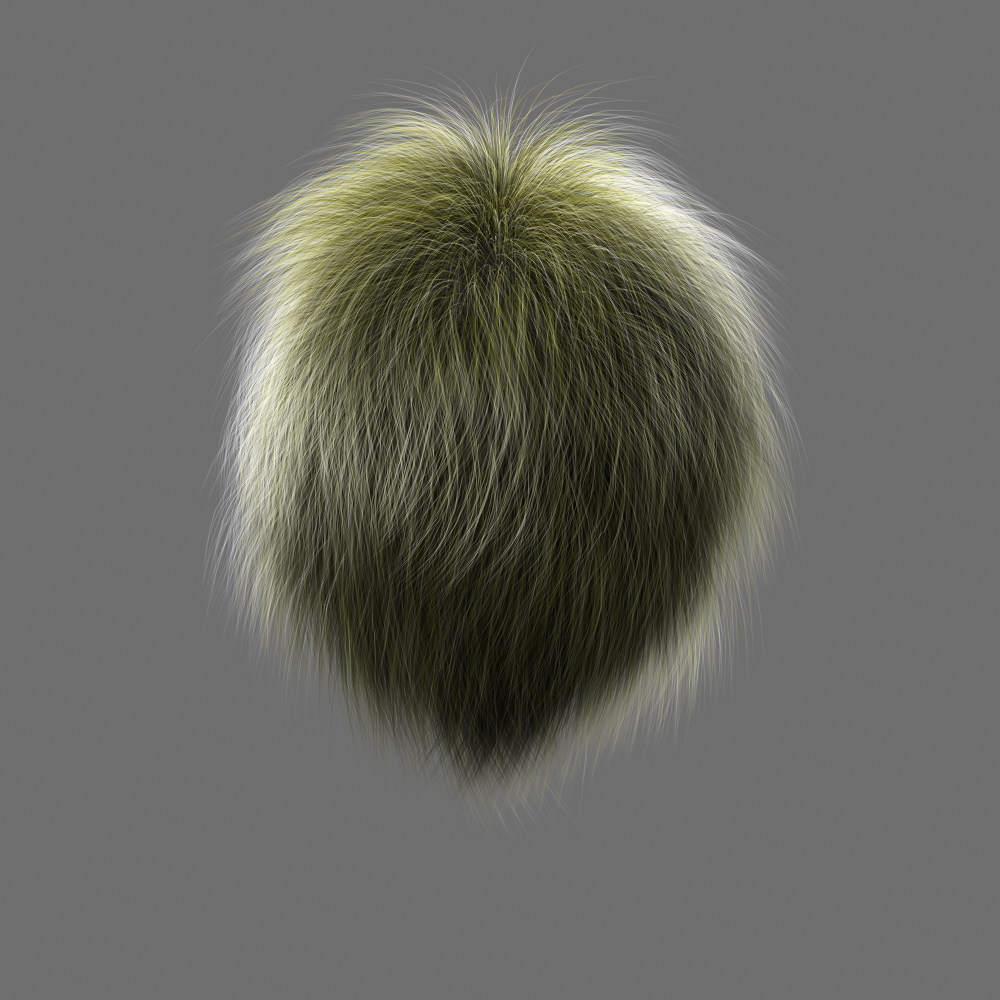
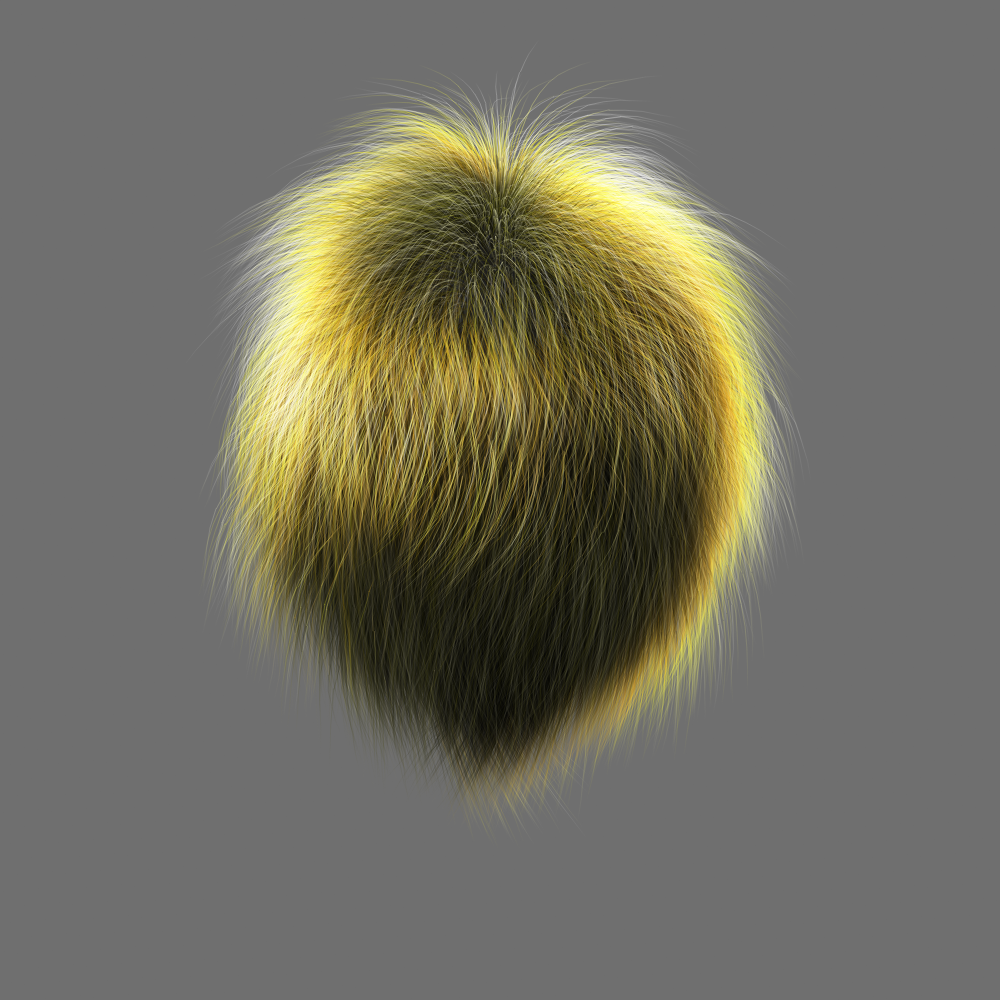
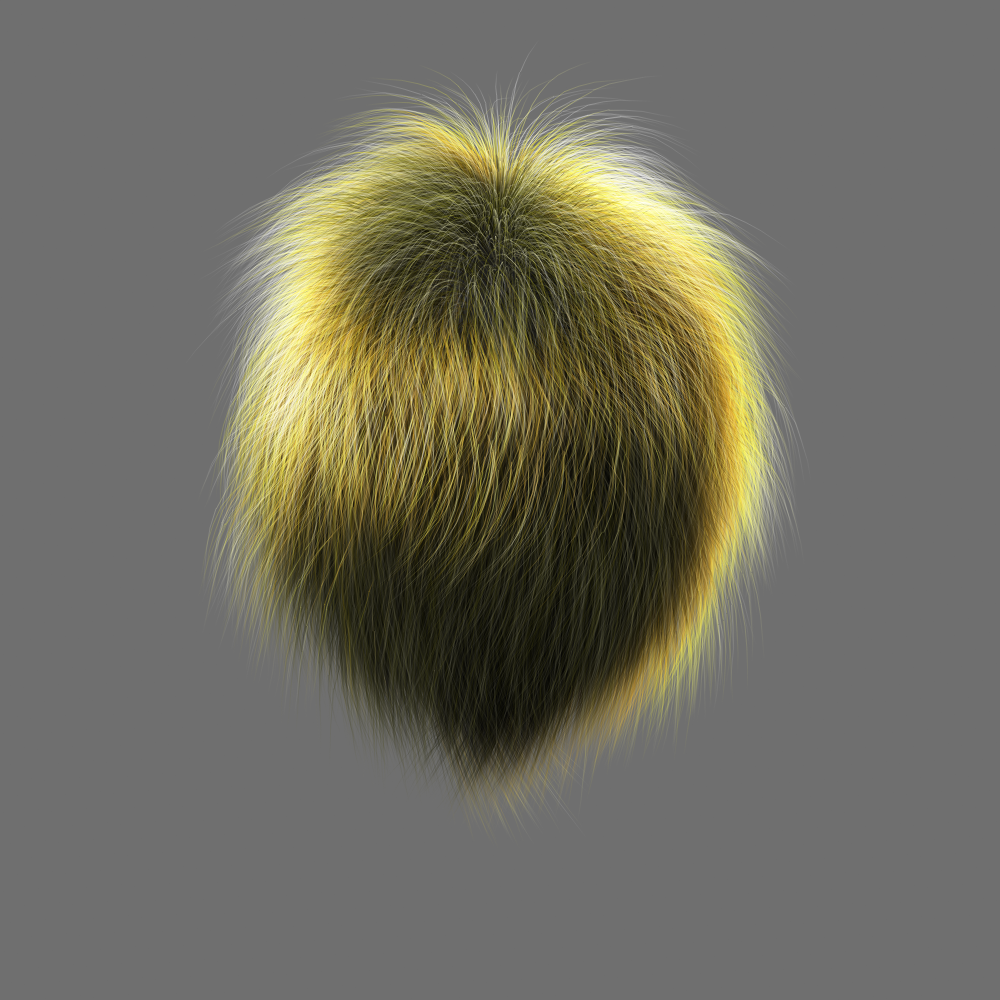
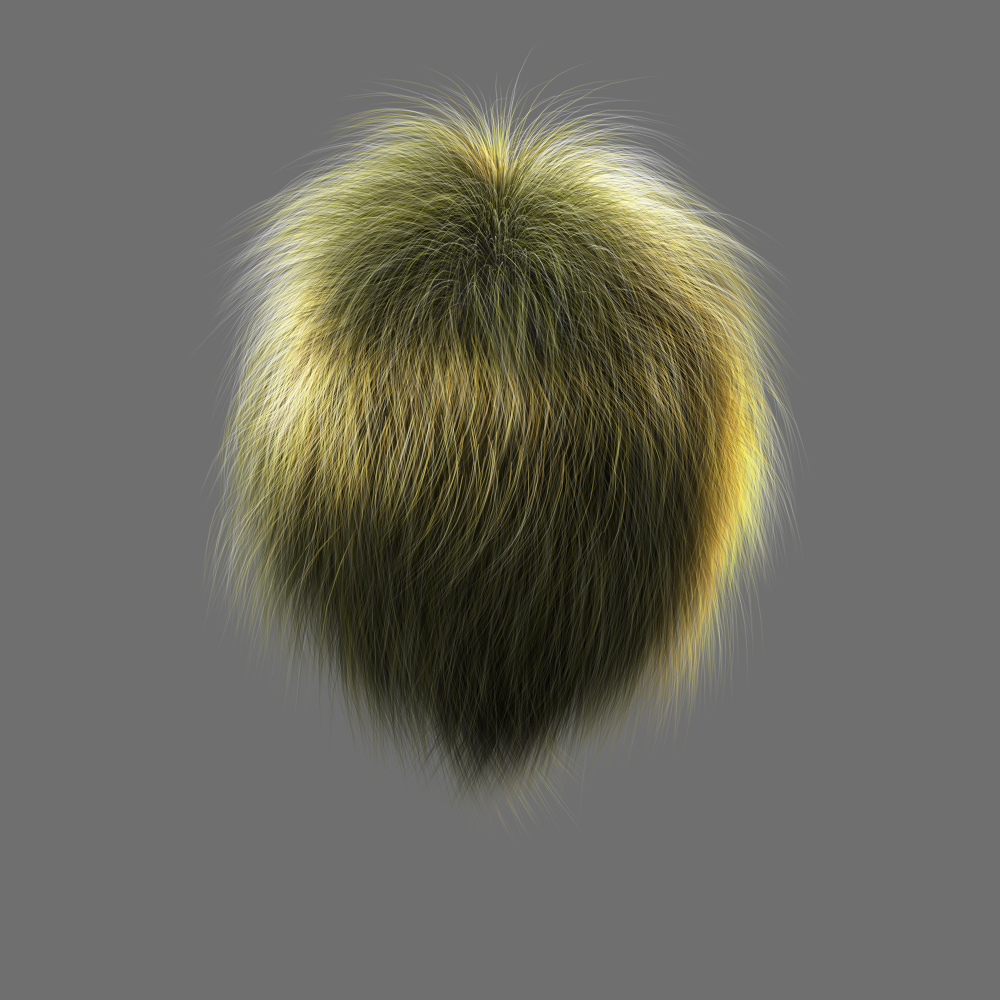
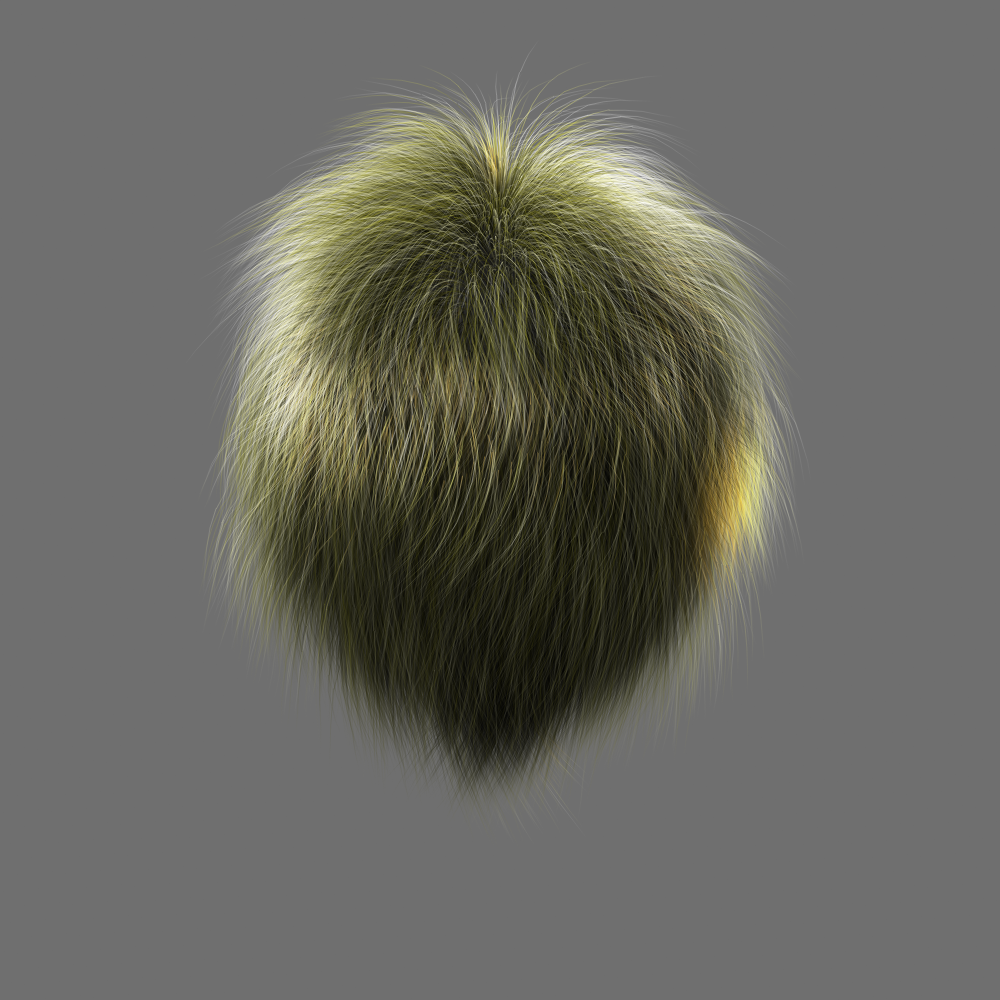
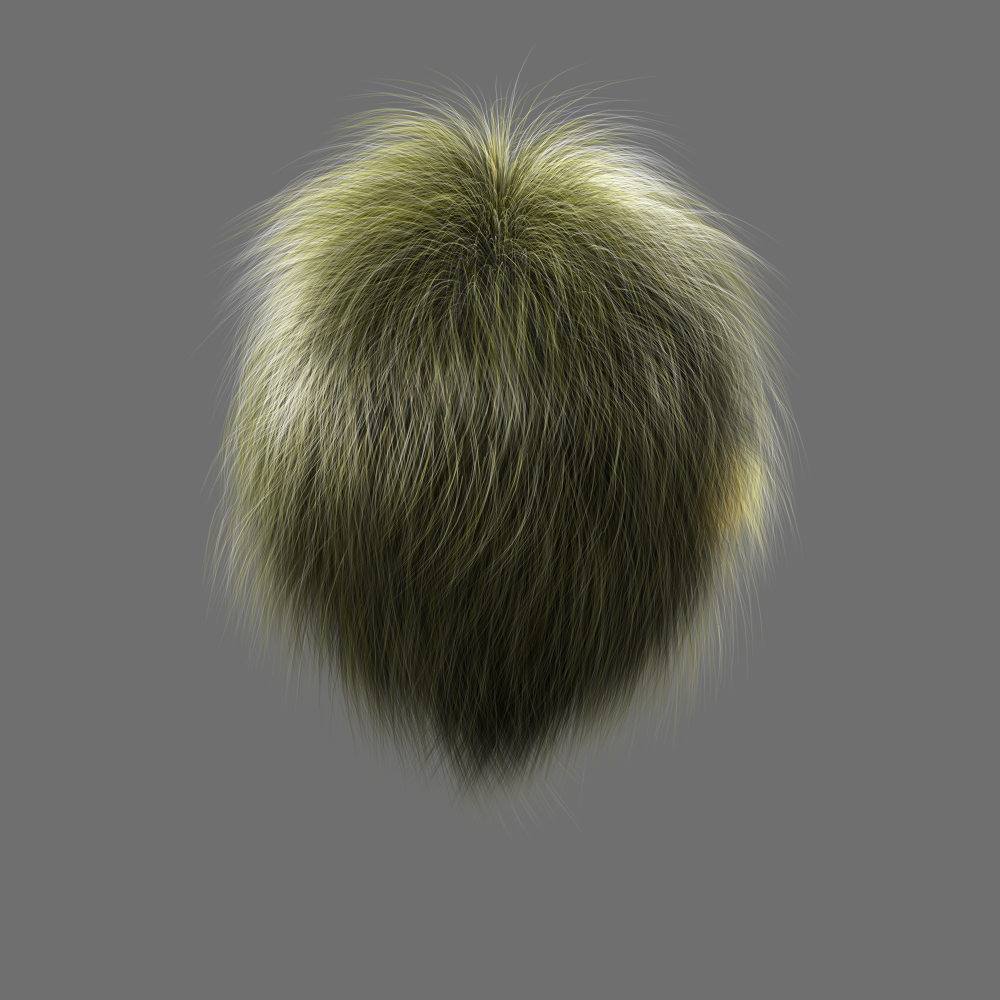
- Translucency - Translucency is only really apparent with lights placed behind the subject. Higher translucency settings give the impression of more light passing through the fibers making them lighter. This affects the outer edges of your fibers more than the main body. In the examples below ‘Diffuse’ was set to 75% and ‘Specular’ 100% to better see the effect (more noticeable down the right-hand side).


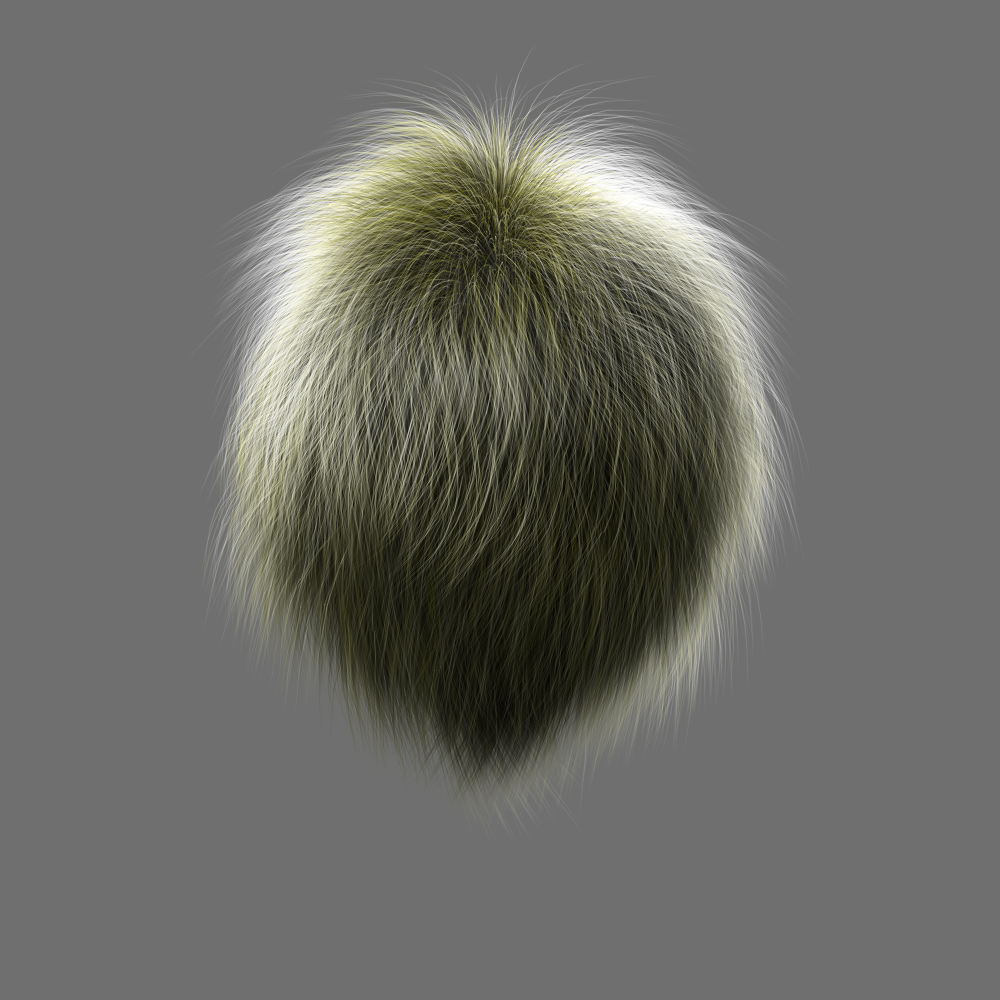
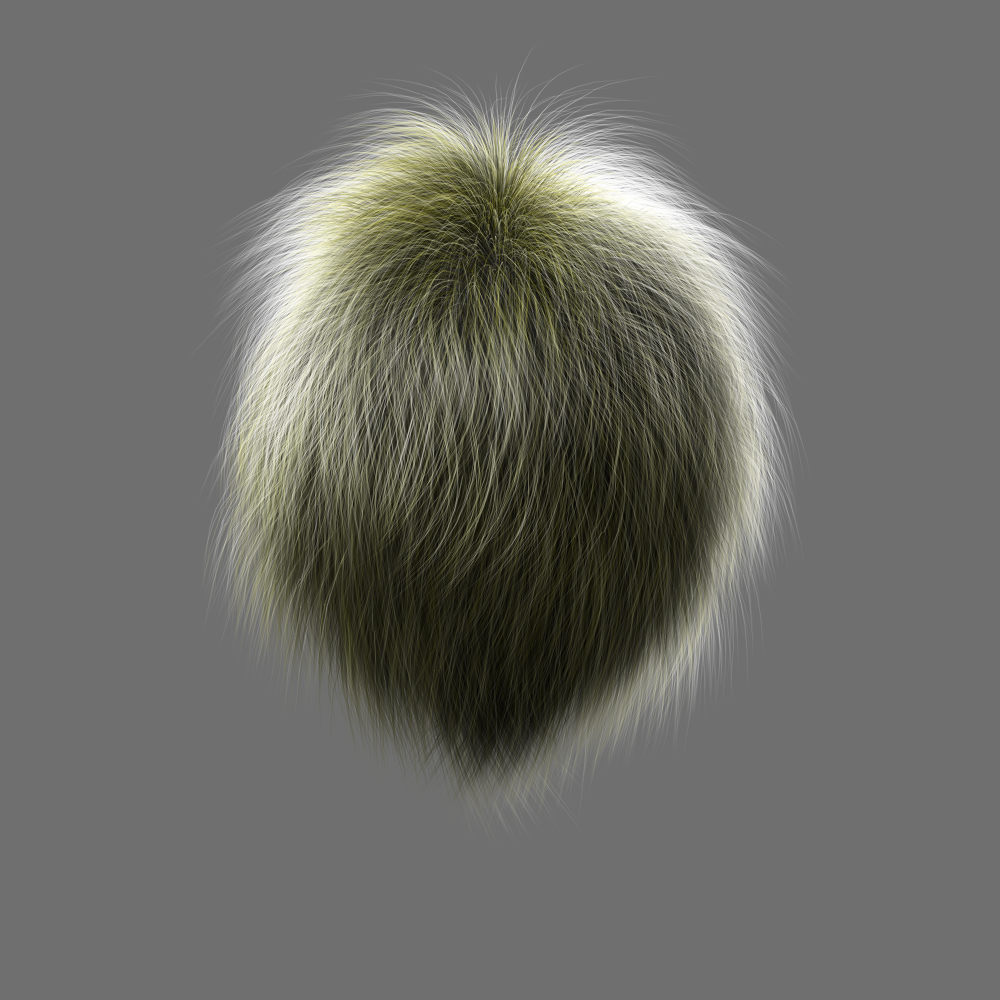
Translucency 10%, Translucency 50%, Translucency 100%, Translucency 200%, Translucency 400%
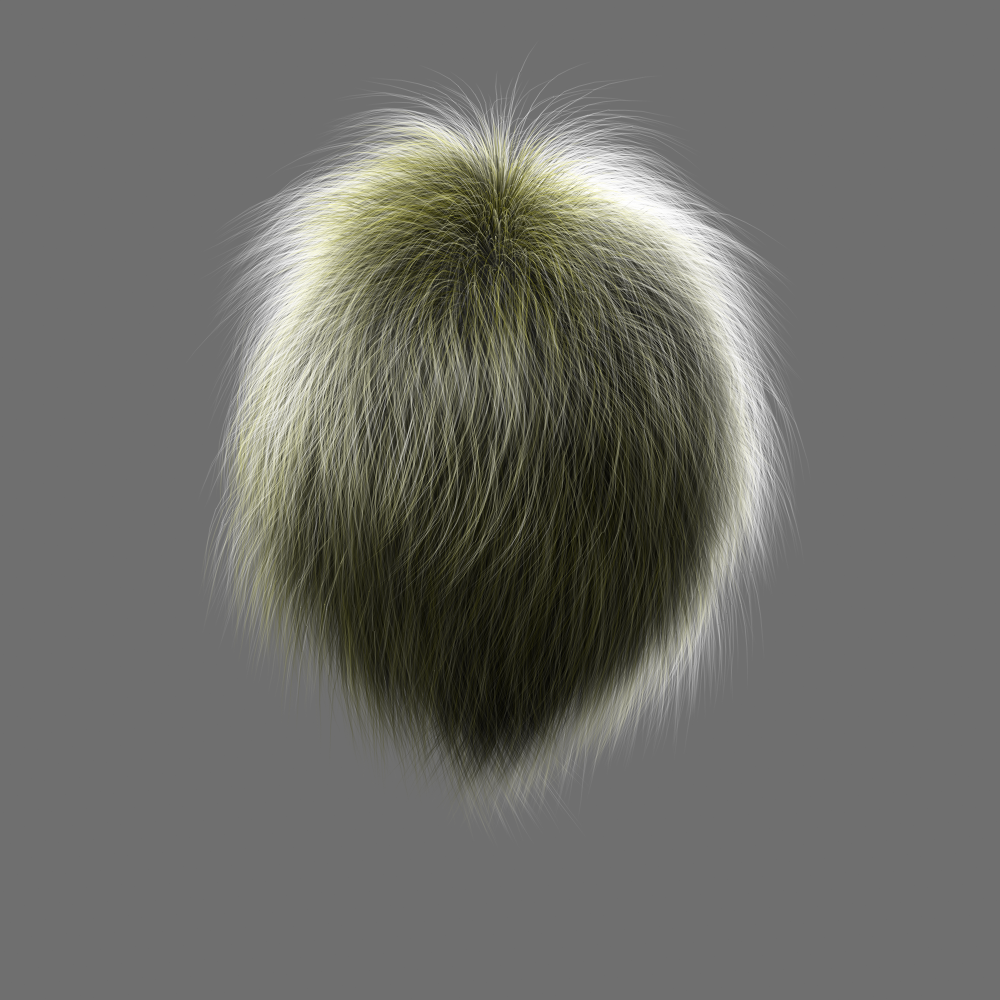
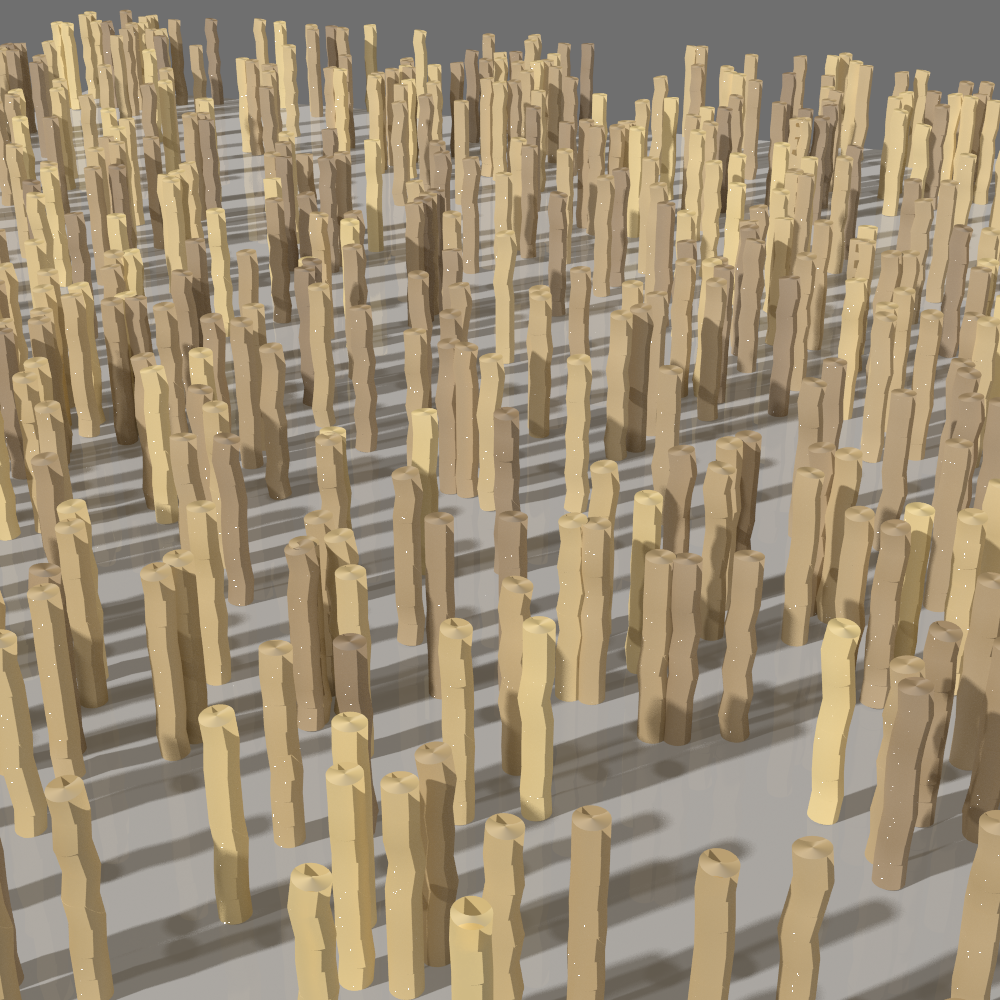
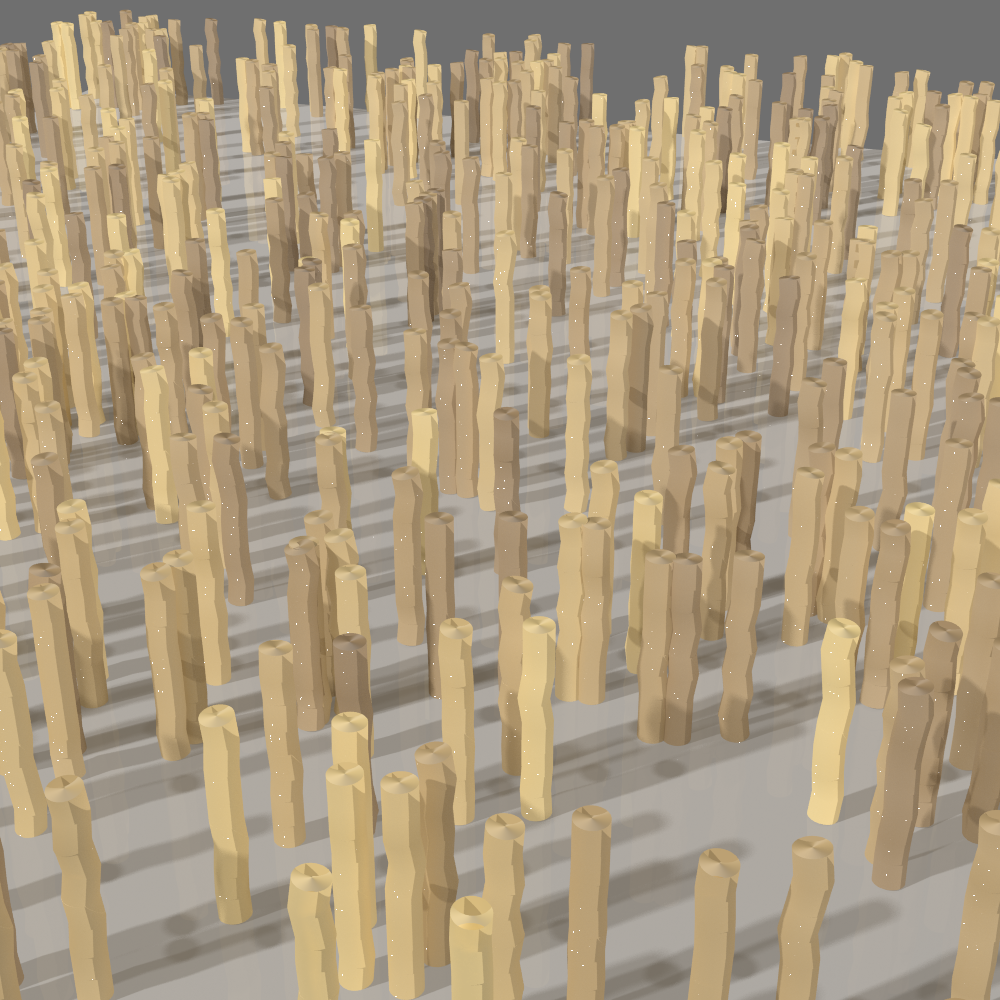
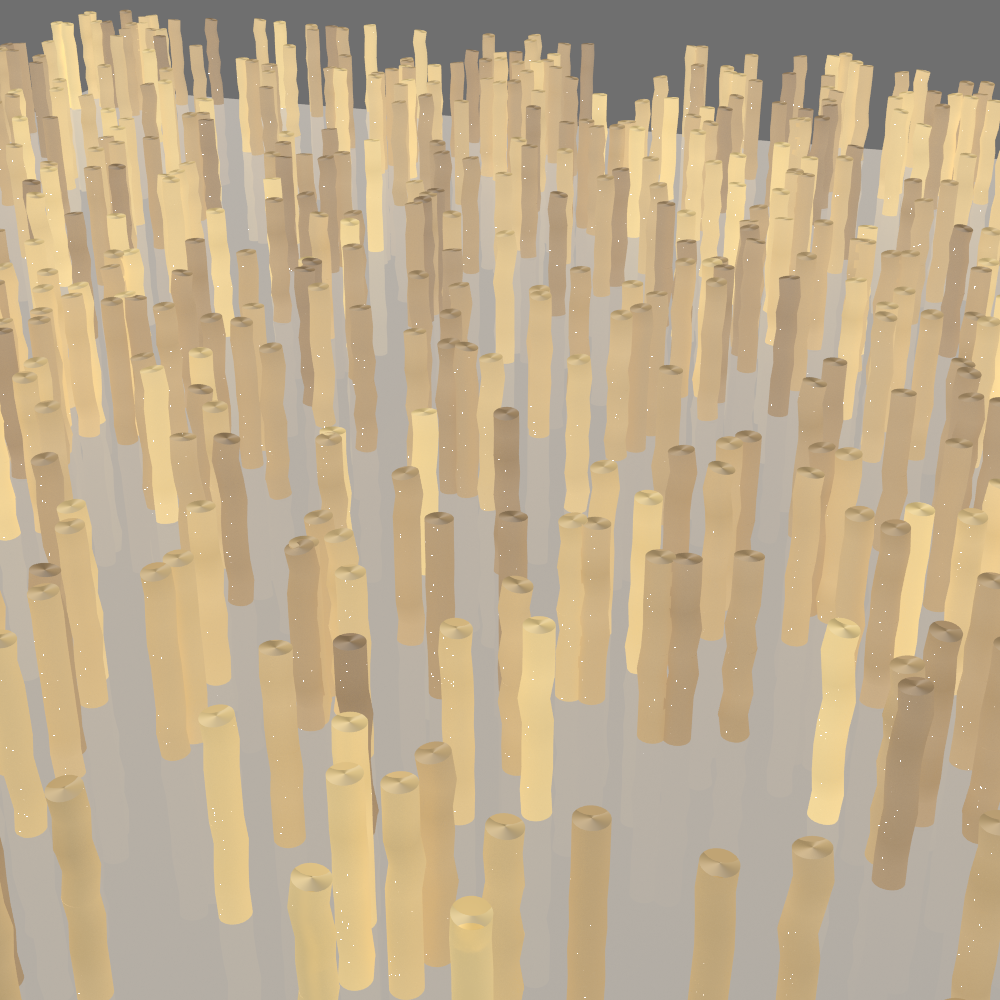
- Tip Transparency - Tip Transparency controls at what percentage along your fibers length (starting from the root) your fibers start to have transparency down to 0% at the ends, effectively ‘fading them out.' 0% means your fibers have no transparency, and so will appear solid right to the tips. 50% would mean that at 50% along your fibers, they start to ‘fade out’ until they reach 100% transparent at the tips. Makes hair look thick (0%) or fine and fly-away (100%). In the examples below Diffuse was set to 75% and Specular 100% to better see the effect.
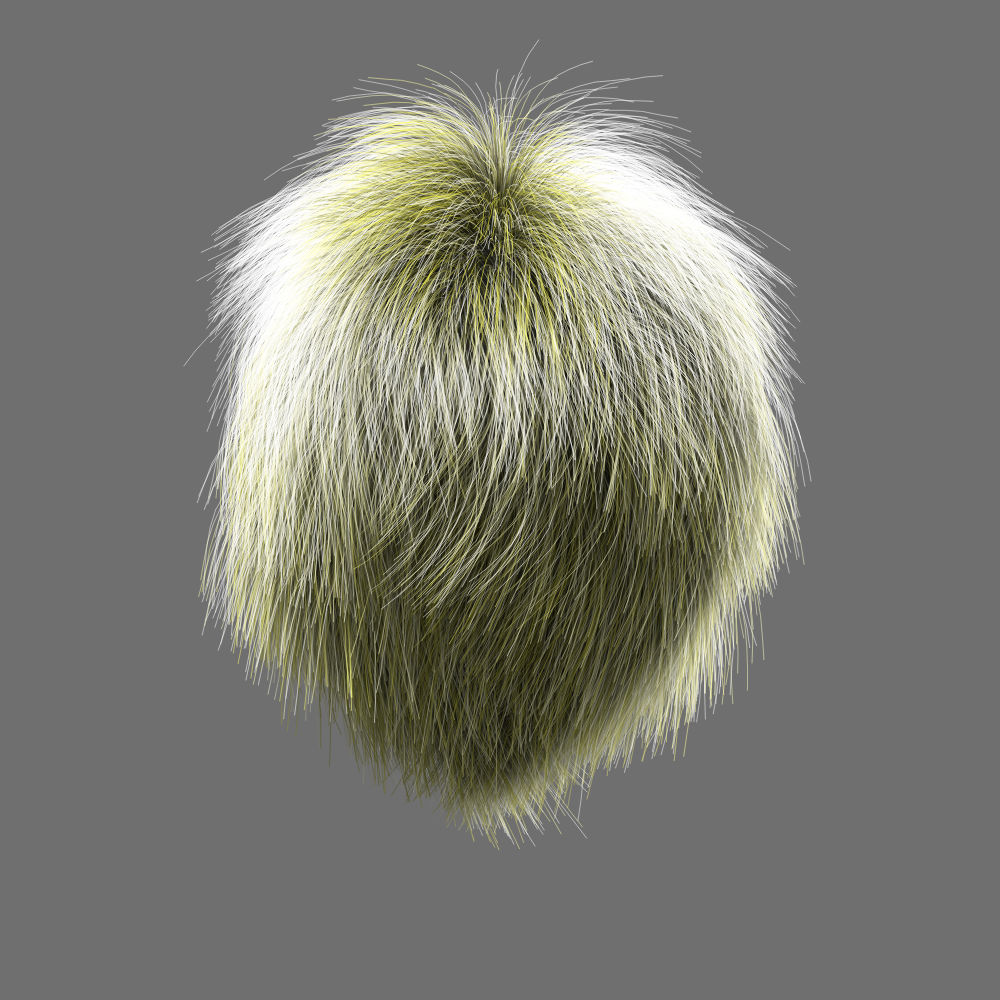
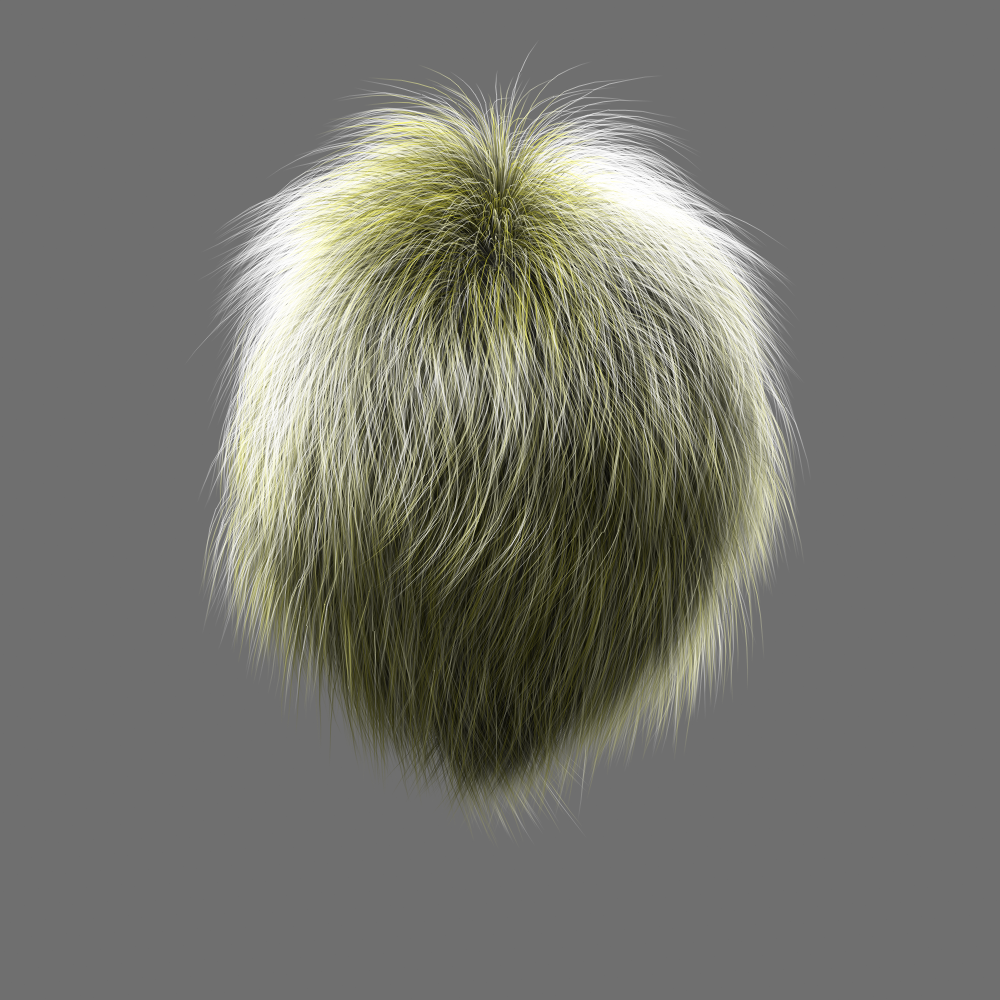
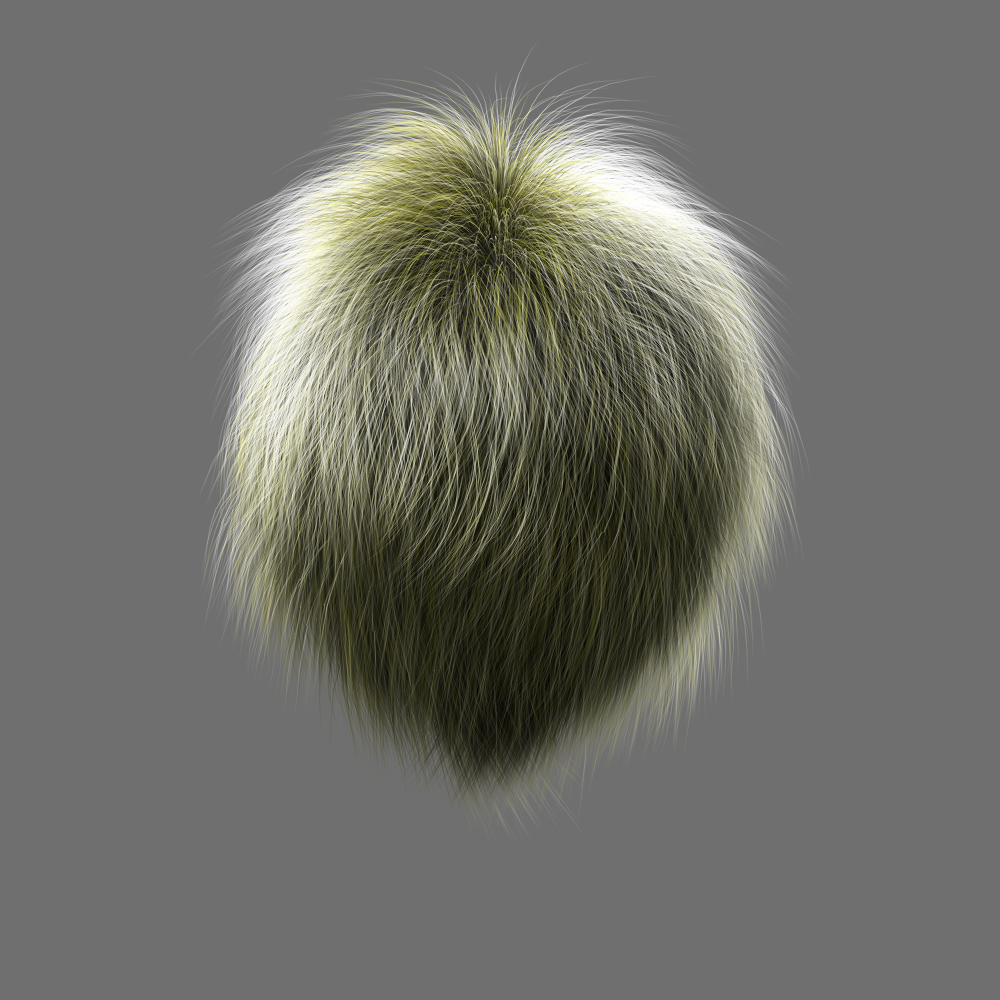
Tip Trans 0%, Tip Trans 25%, Tip Trans 50%, Tip Trans 75%, Tip Trans 100%
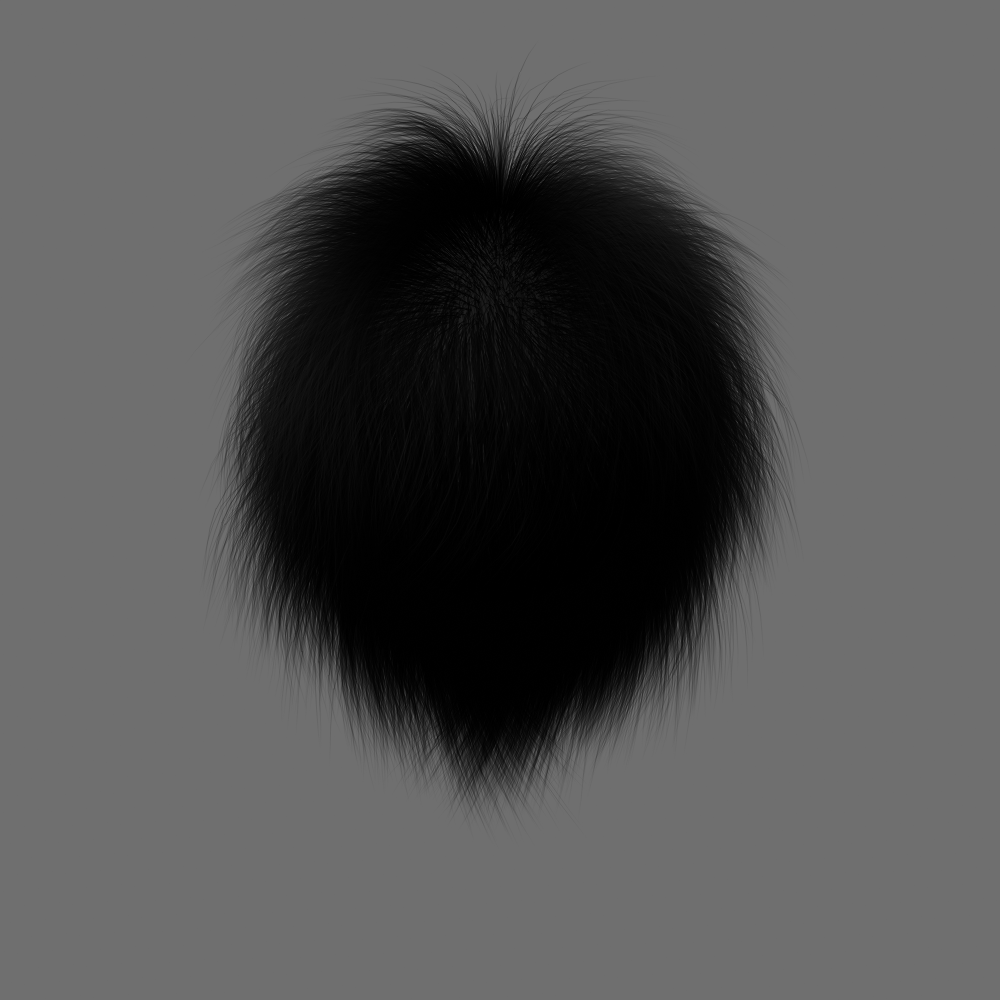
Shadow Transparency - Shadow Transparency controls the density of shadowing on fibers and from fibers.
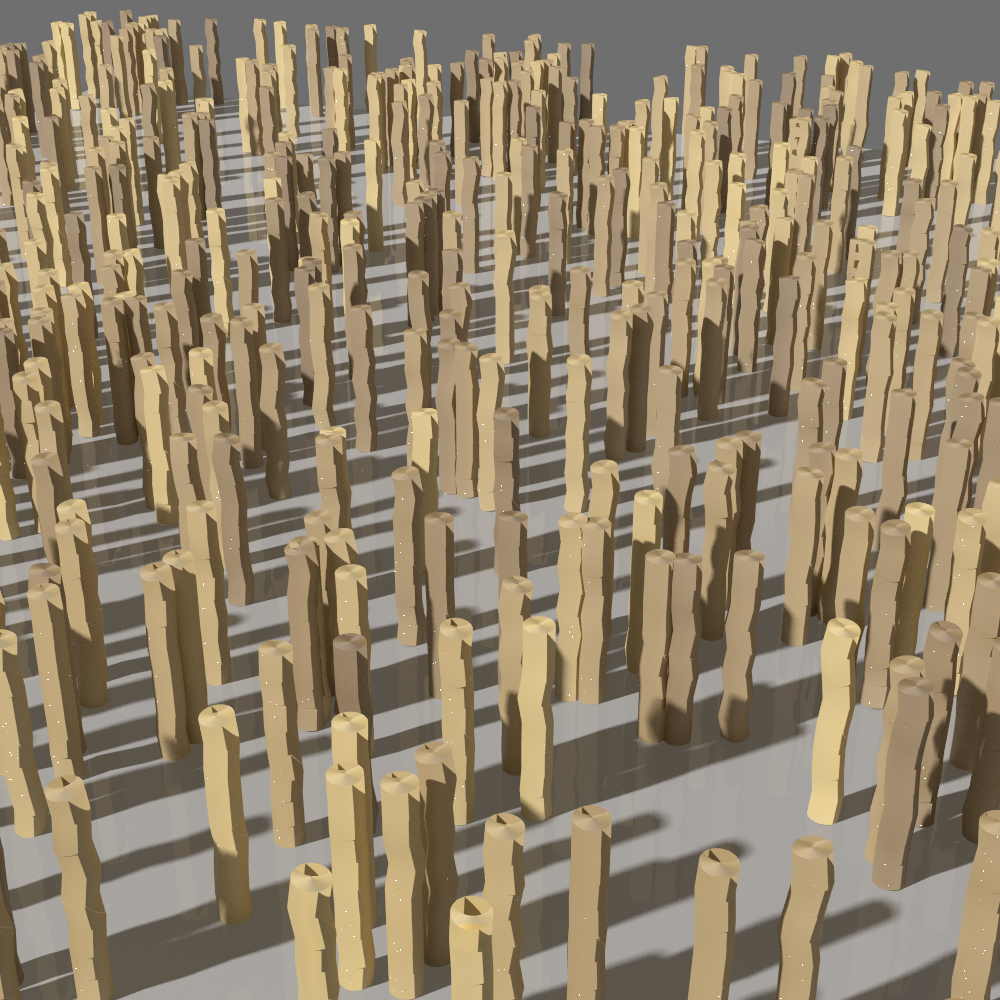
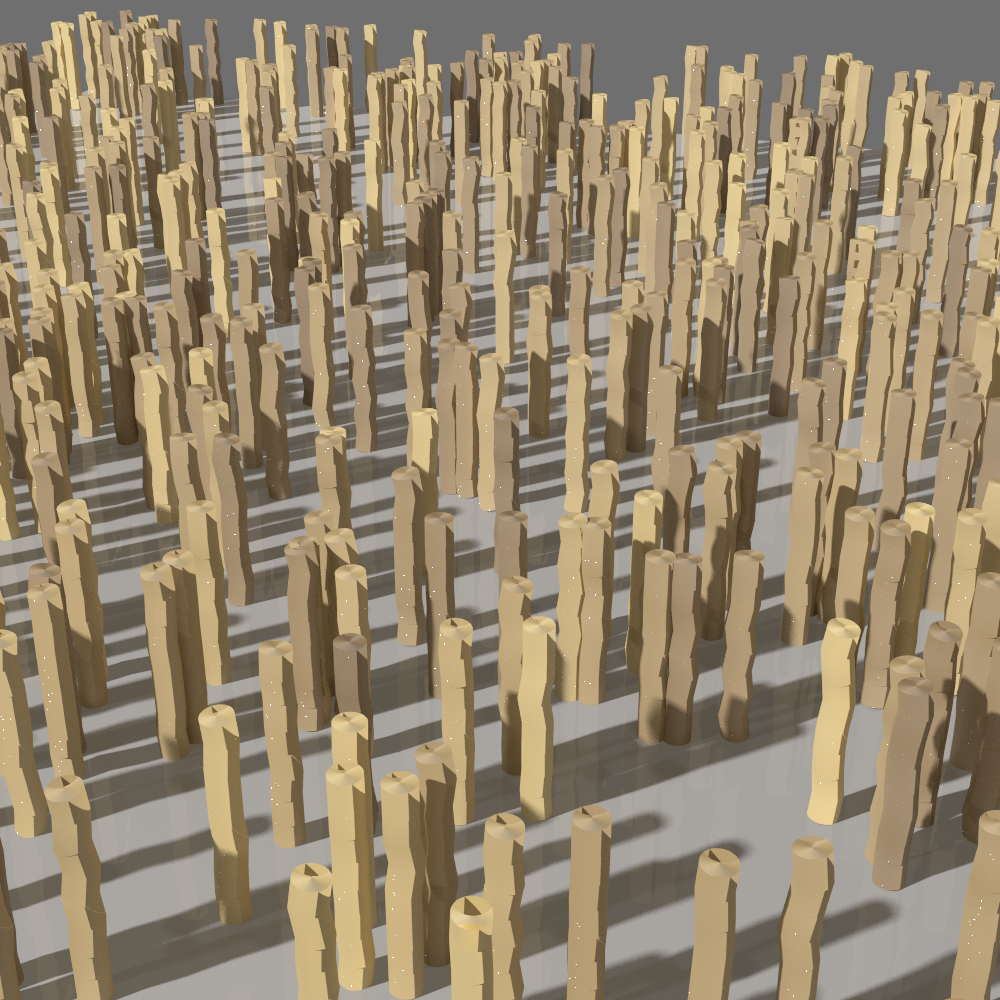
Shadow transparency 0%, 25%, 50%, 75%, 100%
Primary Specular Group
- Specular Color / Specular - Controls how much your fibers will react to specular settings on lights. As with other specularity settings in LightWave, this is the ‘simulation’ of lights being reflected on your fibers. Higher values will increase the intensity of this effect. You can also specify the color of the specular highlights using the Specular Color picker.

Specular 10%, Specular 50%, Specular 100%, Specular 200%, Specular 400%
- Glossiness - To see the effect of the gloss setting, you must have Specular above 0%. Much like the gloss setting in the surface editor, the gloss setting controls the spread of the specular highlights on your fibers. This setting works slightly differently, however. At 0% gloss is off, once over 0%, low values result in a broader spread of your specular highlights, as the percentage goes higher the spread then becomes narrower. In the examples below, a specular value of 200% was also used.
Gloss 5%, Gloss 10%, Gloss 30%, Gloss 60%, Gloss 90%
- Cuticle Tilt - This setting only works when the Specular setting is above 0% as it controls the position of the specular highlight on the fibers. At 0% the specular highlight is where it naturally lies when light hits it, negative values pull the highlights towards the roots, whereas higher, positive values push the highlights away from the roots and towards the tips. Think of it as a ‘manual override’ for where specular highlights hit your fibers. In the examples below Diffuse was set to 75%, Specular 100% and Gloss 5% to better see the effect. This is a setting that has no Envelope or Texture editor access.


Cuticle Tilt -100%, Cuticle Tilt -50%, Cuticle Tilt 0%, Cuticle Tilt 50%, Cuticle Tilt 100%
Secondary Specular
- Secondary Glossiness / Secondary Cuticle Tilt - This is only available if Secondary Specular is set to more than 0 %. Simulates the secondary ‘gloss’ or ‘shine’ fibers display (mainly hair) when light is bounced around inside the fibers as a result of being naturally translucent (not linked to ‘Translucency’ setting). Works the same way as the first Gloss setting. Cuticle Tilt 2 controls the position of the secondary gloss in the same way Cuticle Tilt controls the first Gloss setting.
Sec’dry Gloss 5%, Sec’dry Gloss 10%, Sec’dry Gloss 30%, Sec’dry Gloss 60%, Sec’dry Gloss 90%,


Cuticle Tilt2 -100%, Cuticle Tilt2 -50%, Cuticle Tilt2 0%, Cuticle Tilt2 50%, Cuticle Tilt2 100%
* In order to use a Fiber V gradient, add the FiberInfo node and a Gradient node. Create the gradient you wish to use and attach Fiber V as the Input on the Gradient and take the Color output from the Gradient and apply it to Textured Color on the Hair node.
