Principled BSDF
Principled BSDF

This material is physically plausible* and can be used exclusively for predictably texturing a whole scene. With it, you can create plastics, glass, metal and plenty of other surface types. By doing so, you will create consistent, predictable surfaces that will react to light and other scene elements the same way every time. BSDF stands for Bidirectional Scattering Distribution Function.
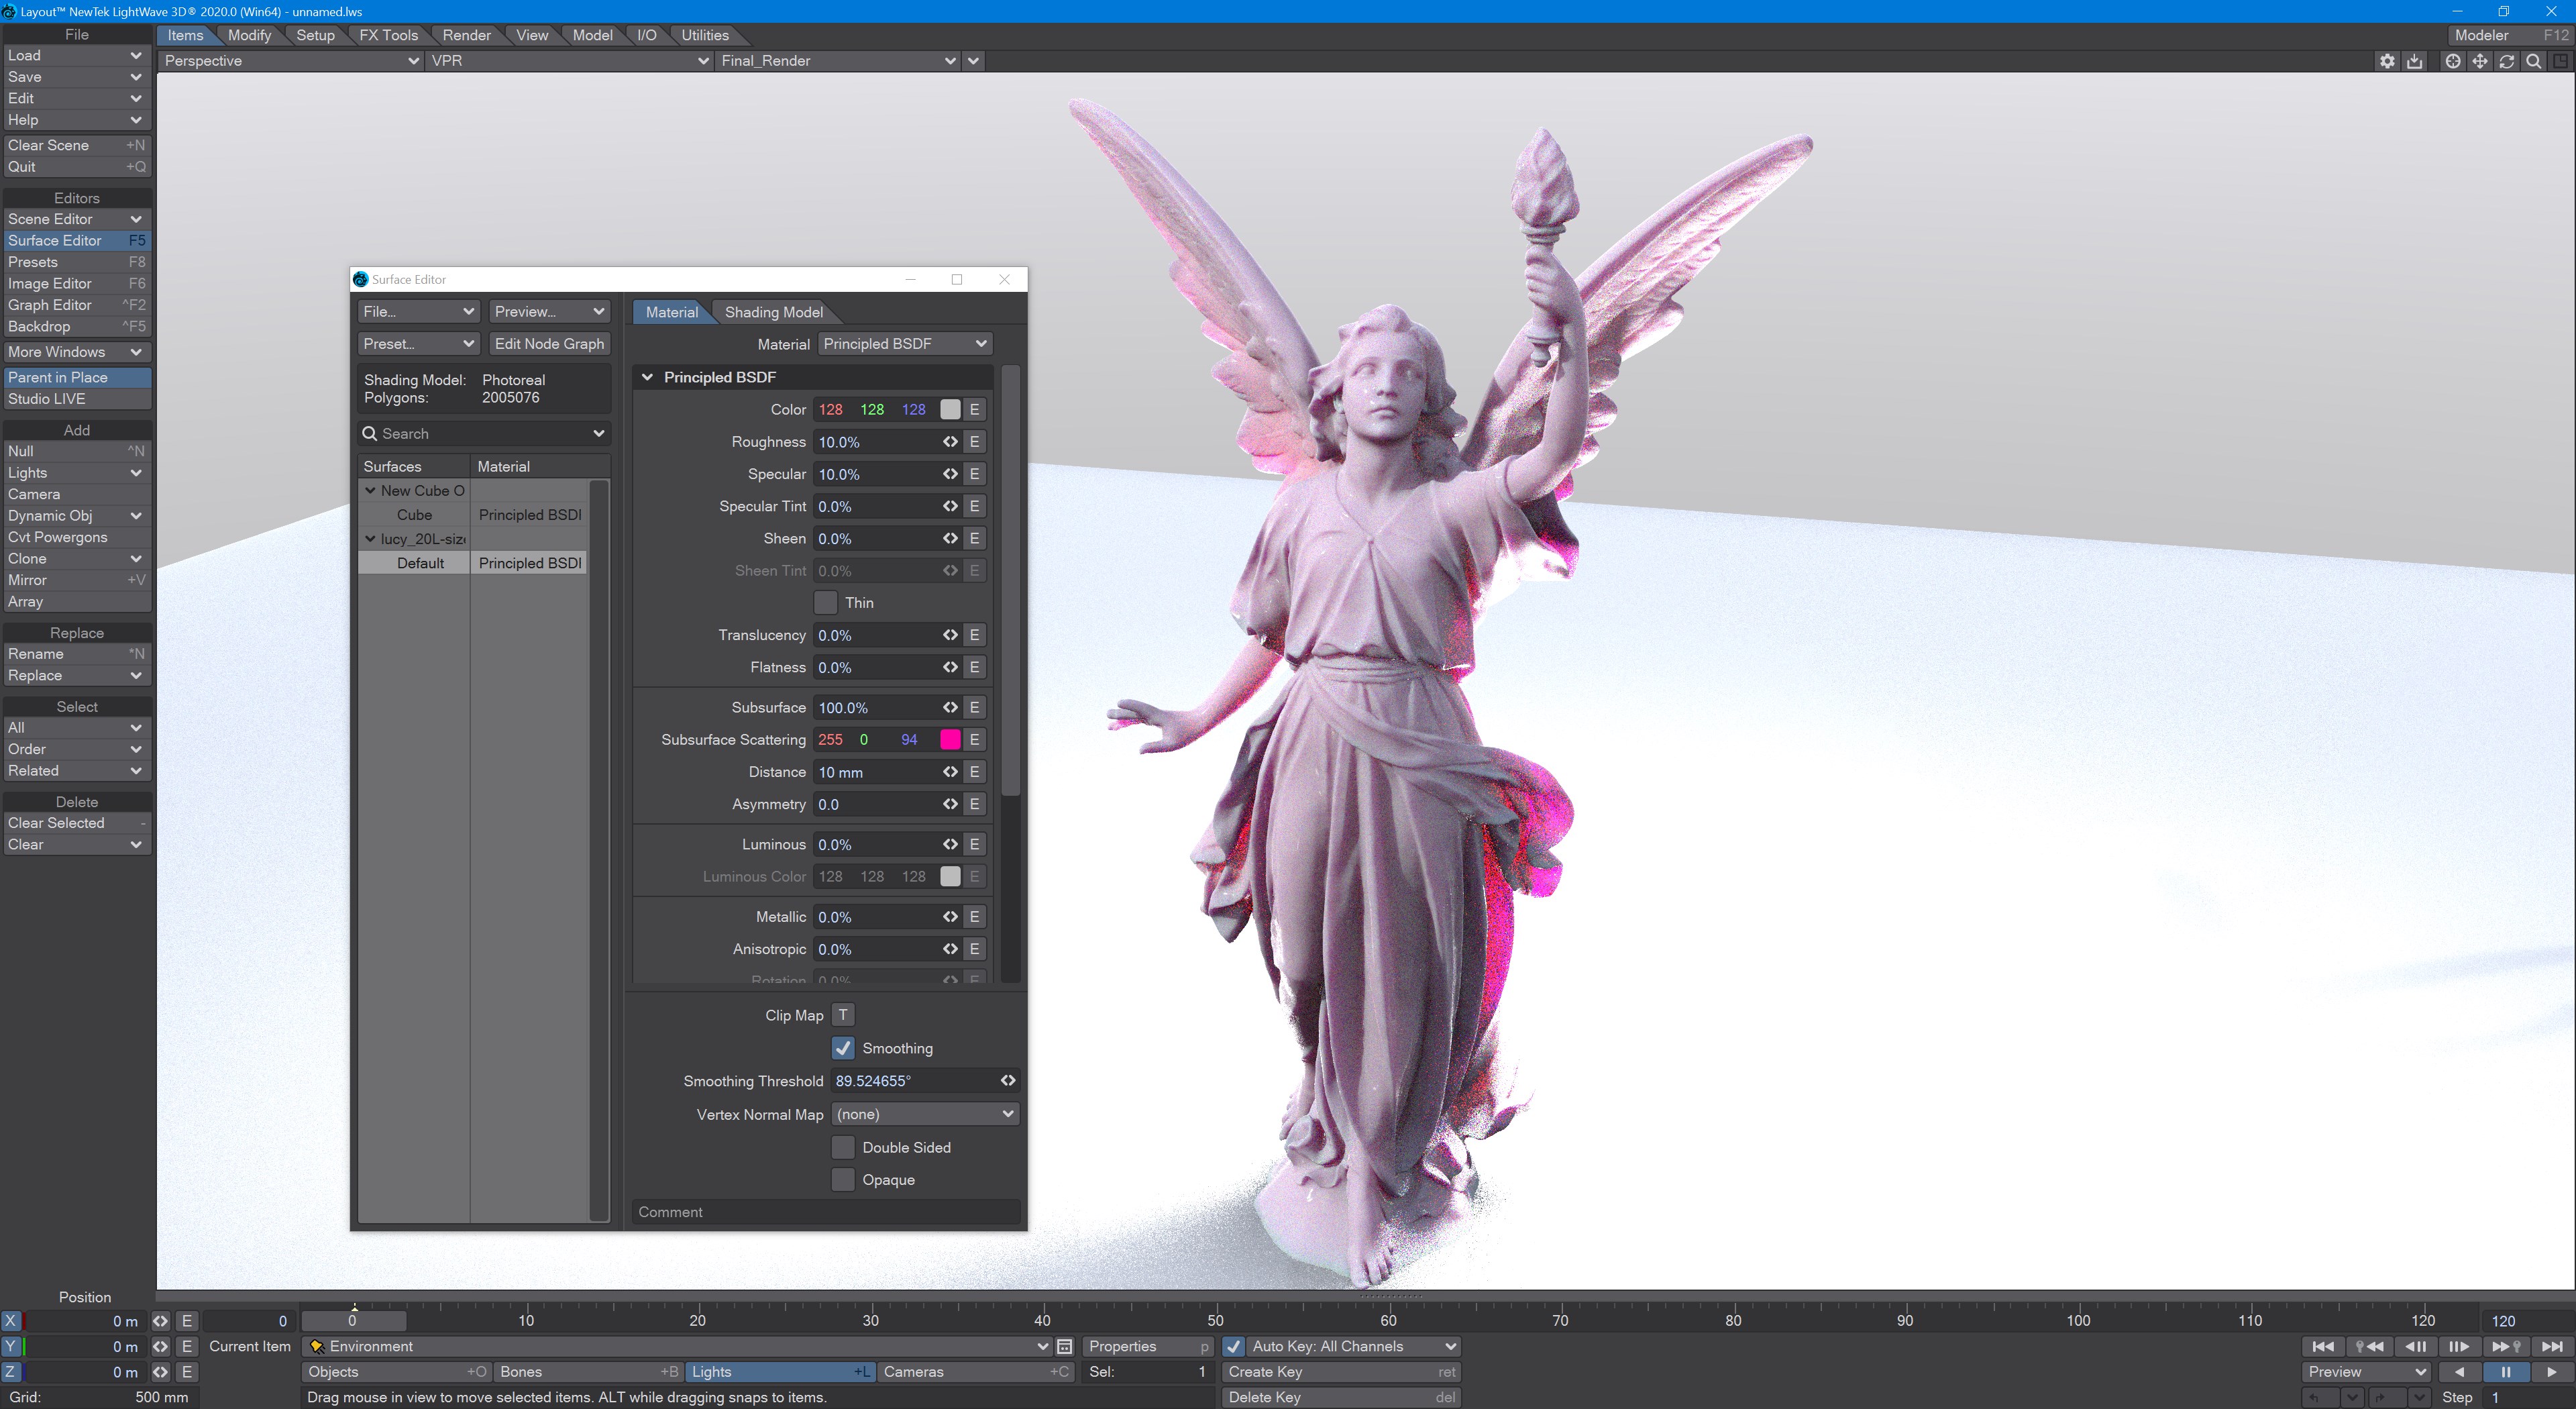
SSS used to have three control settings but now has four. Now, the Subsurface Scattering color input gives the scattering radius of the three colors not the base color of the subsurface scattering itself and uses Color as an input. To make a flesh tone, make the main Color a skin color and make Subsurface pinkish to scatter red more than green or blue.

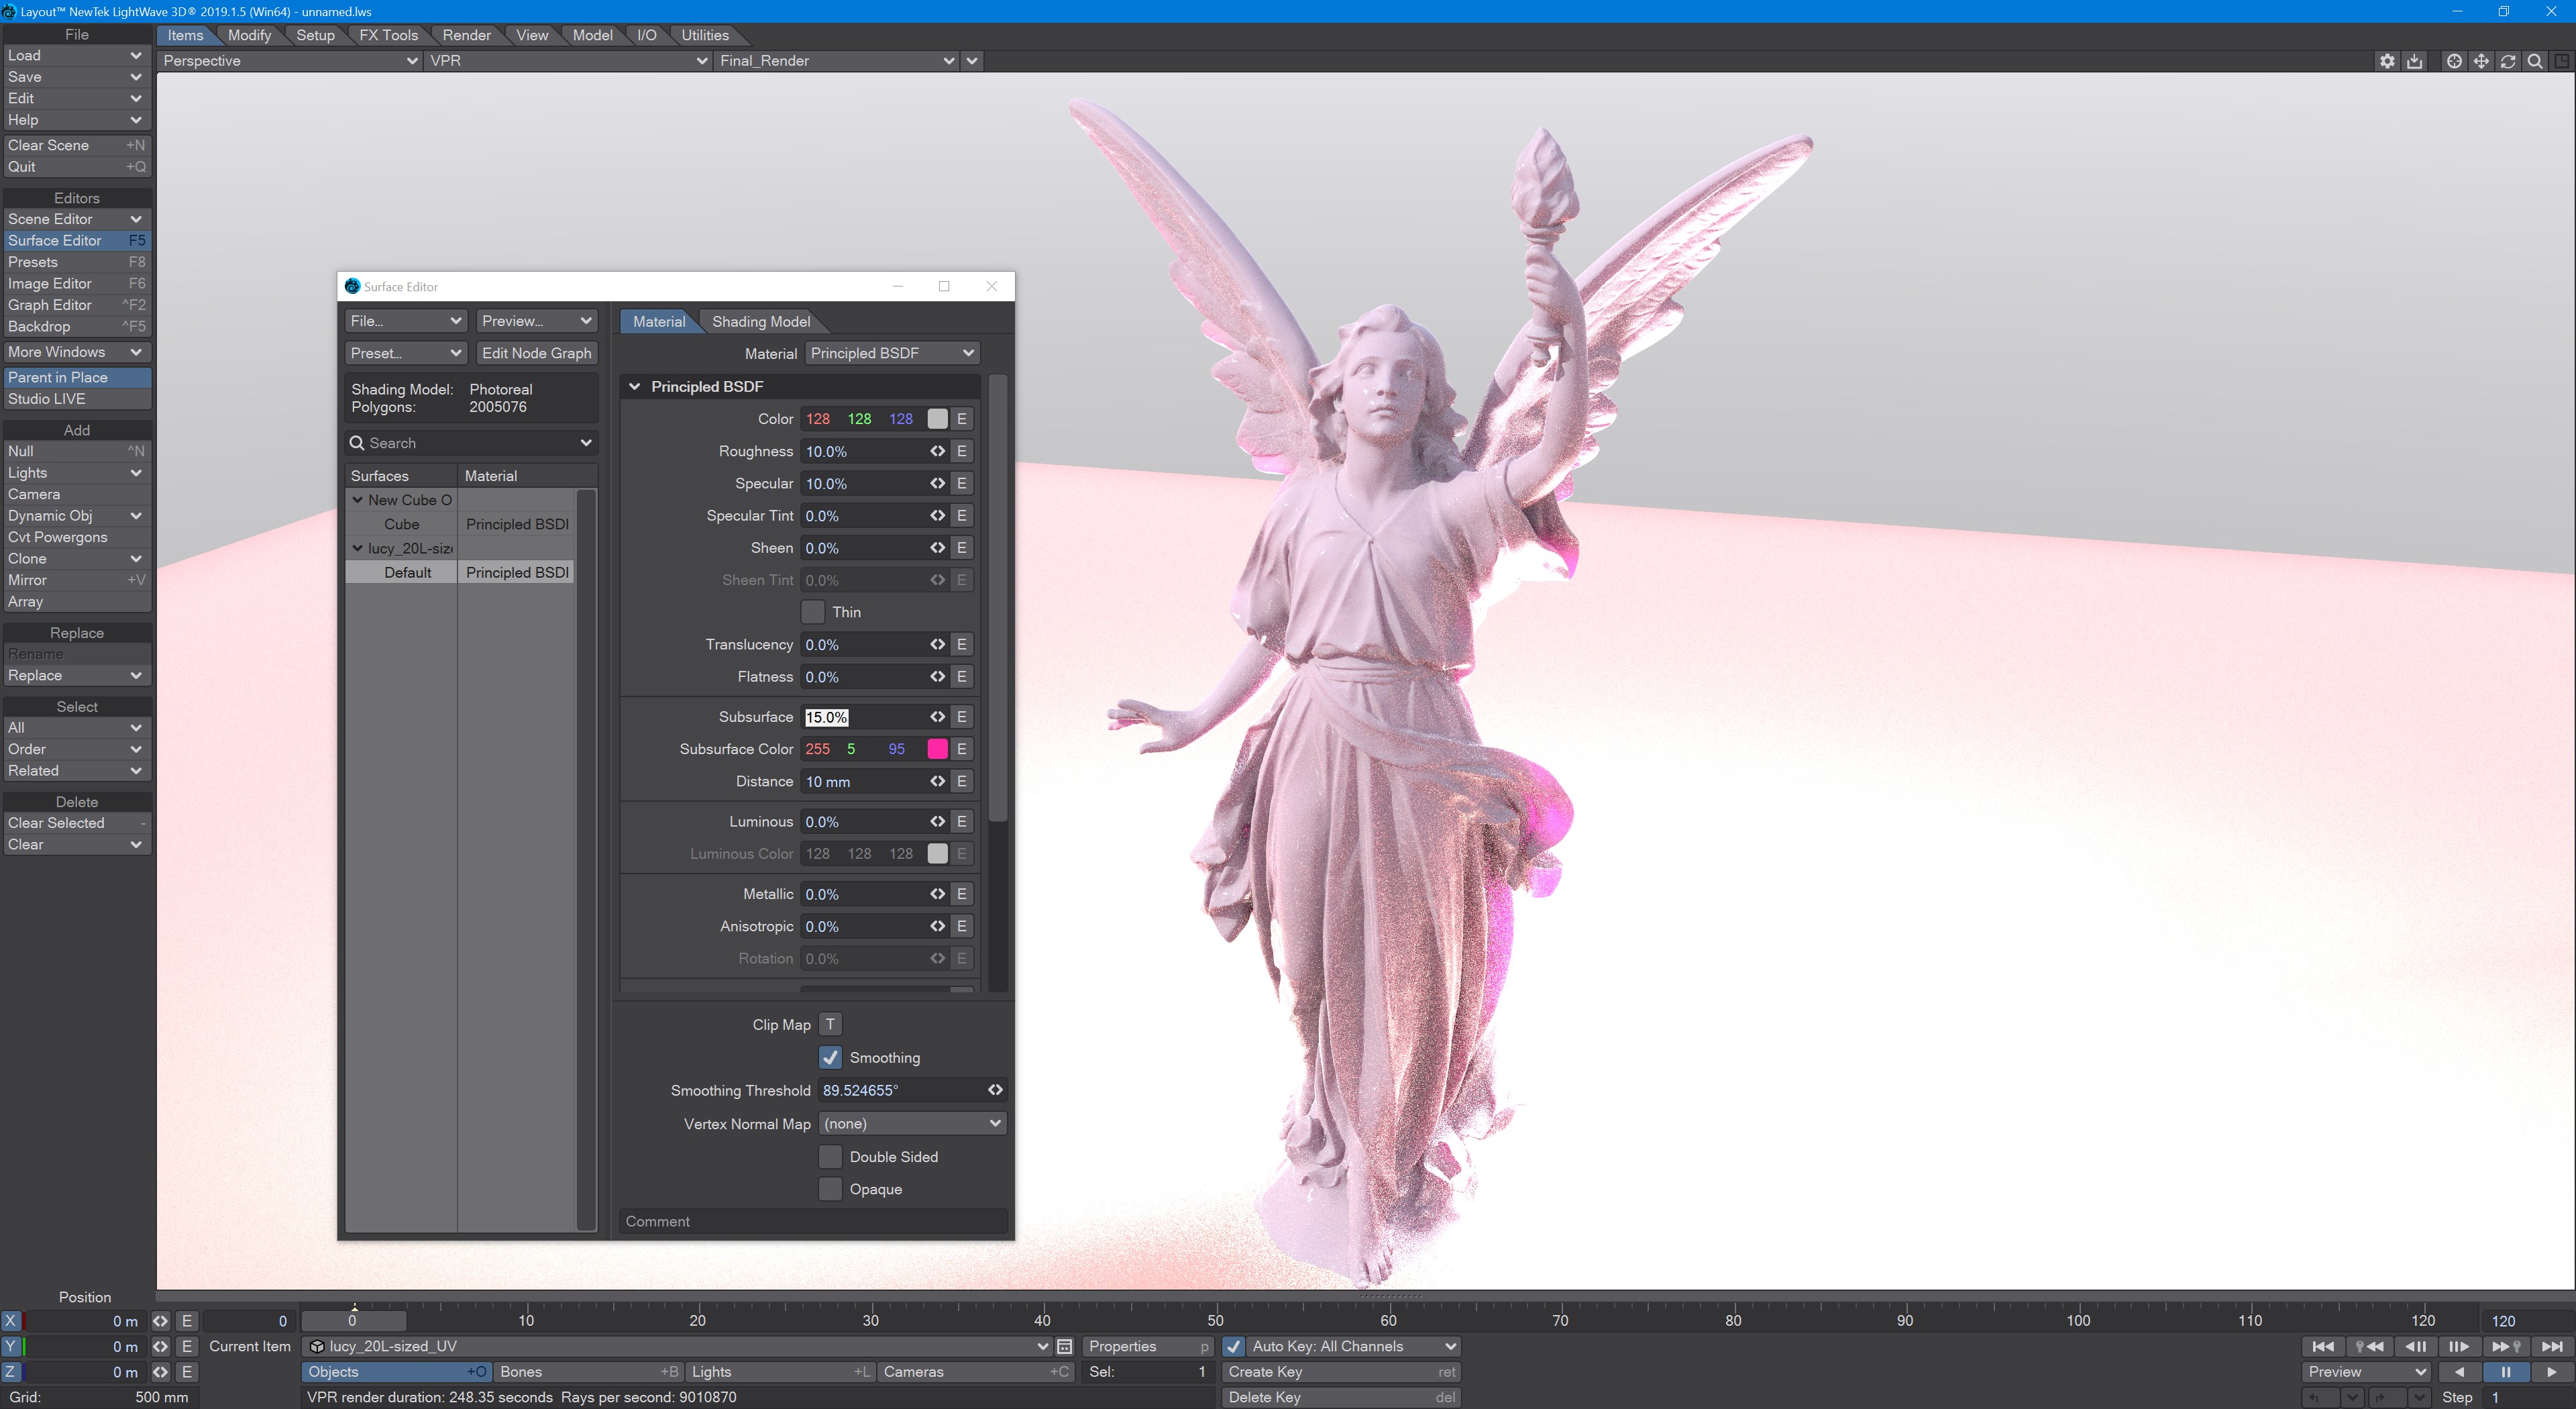
It's perhaps easier to visualize the subsurface scattering radius if you change the Color Format in Options to Float rather than the default of Integer. Then you will see that 255 Red becomes 1.00. The three color values are multiplied by the Distance to calculate how deep inside a surface rays penetrate.
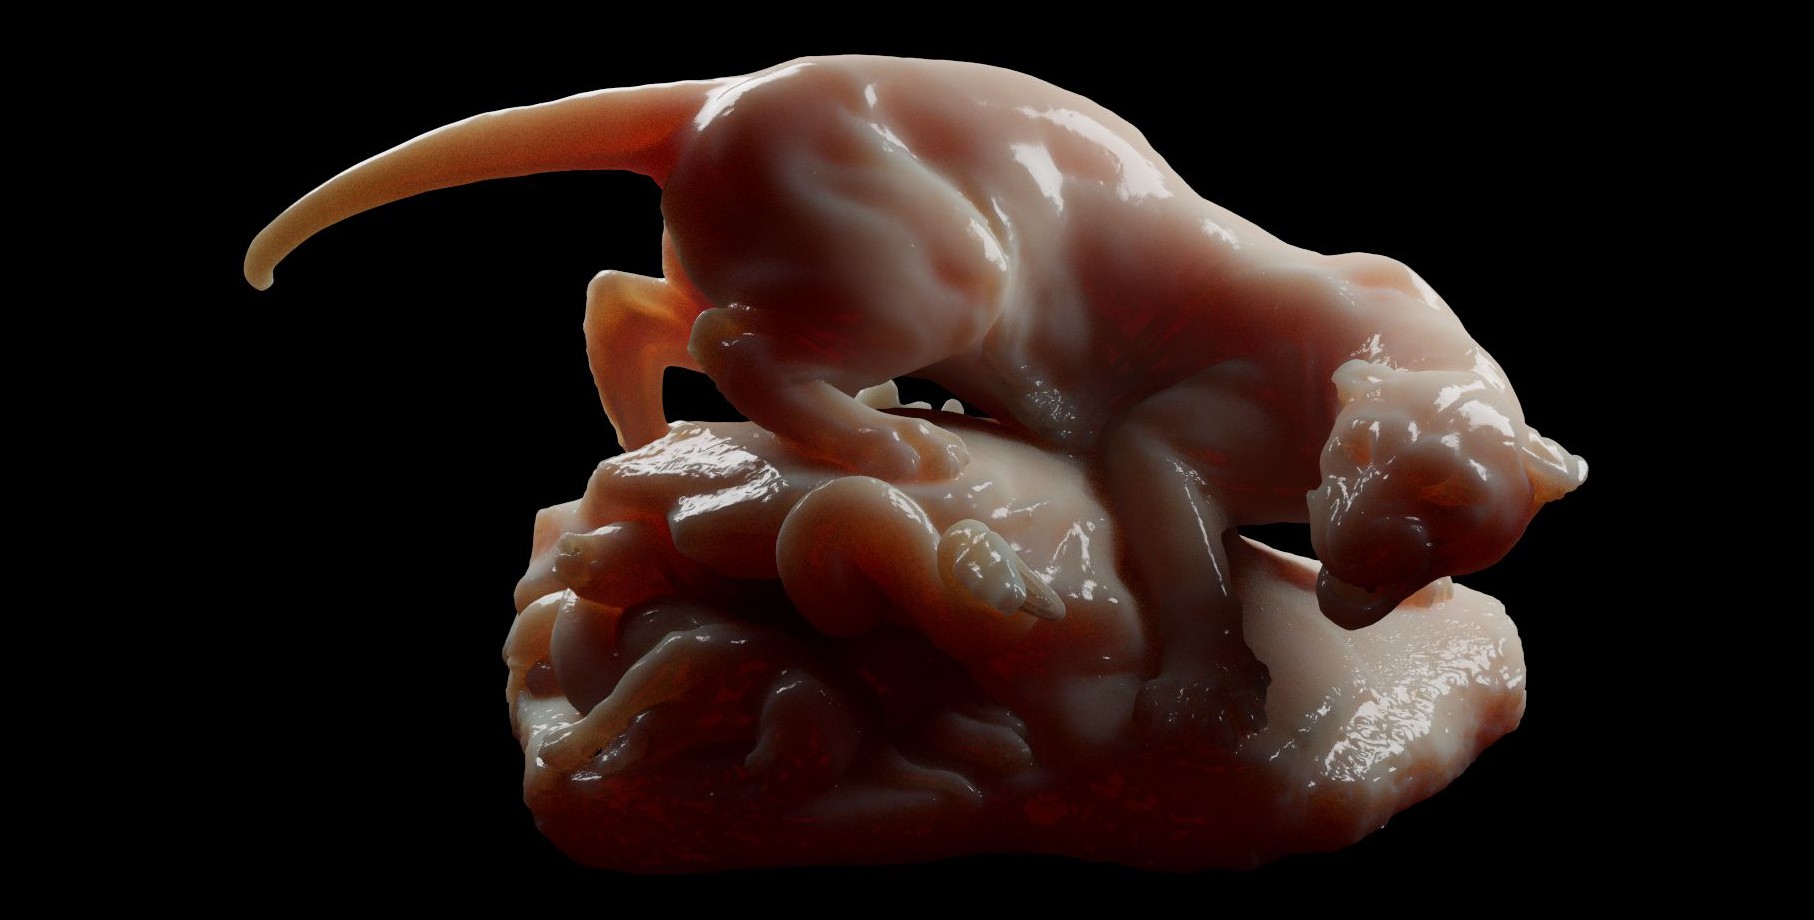
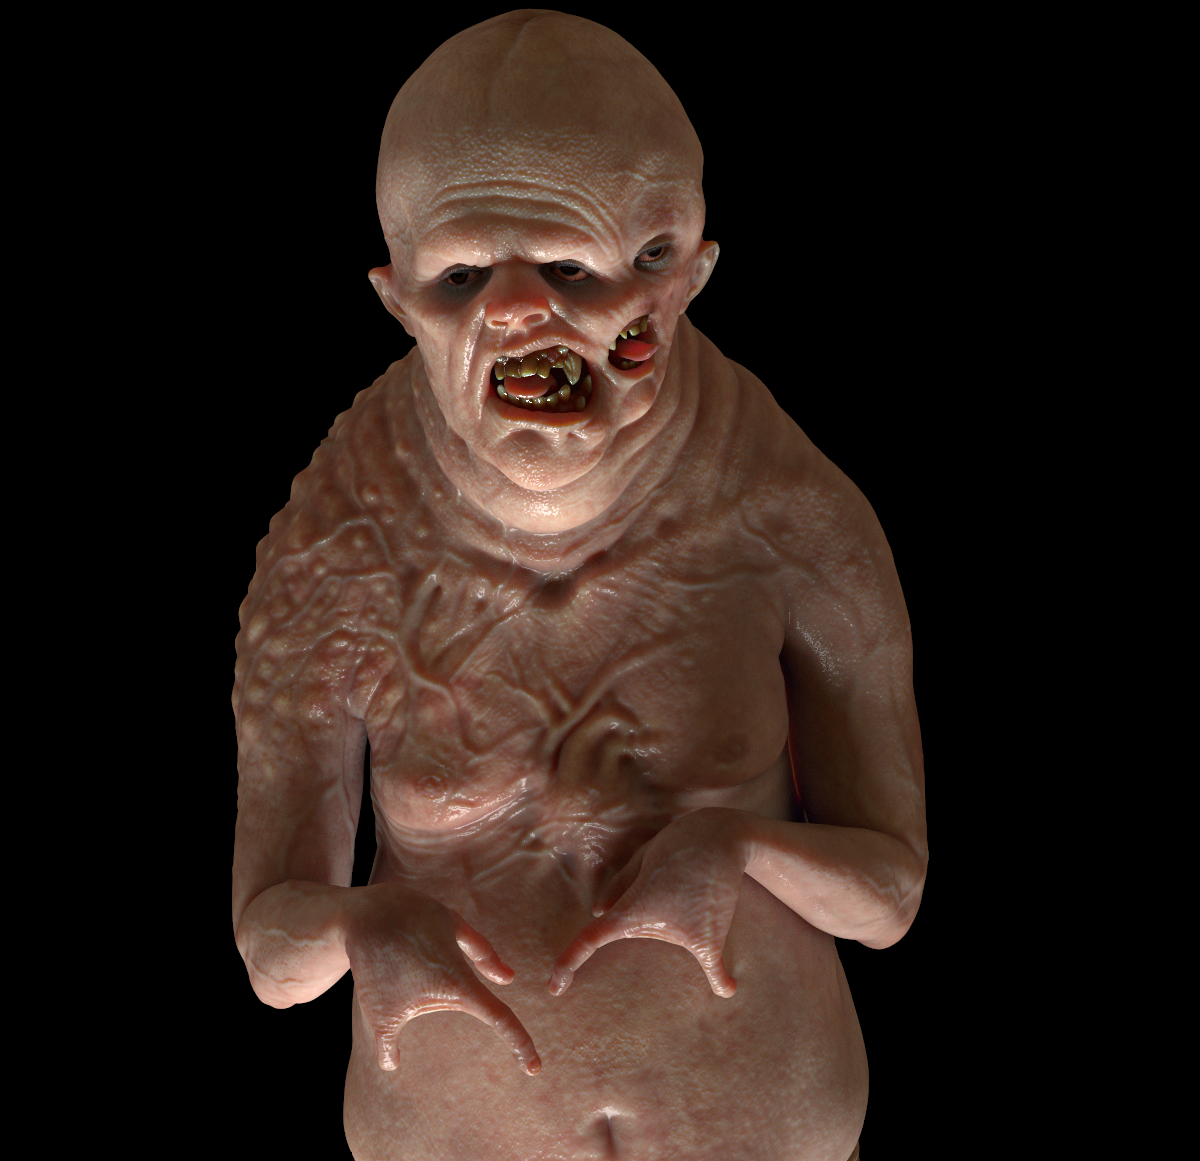
Renders courtesy Andrew Comb. Mutant model by Luis Santos
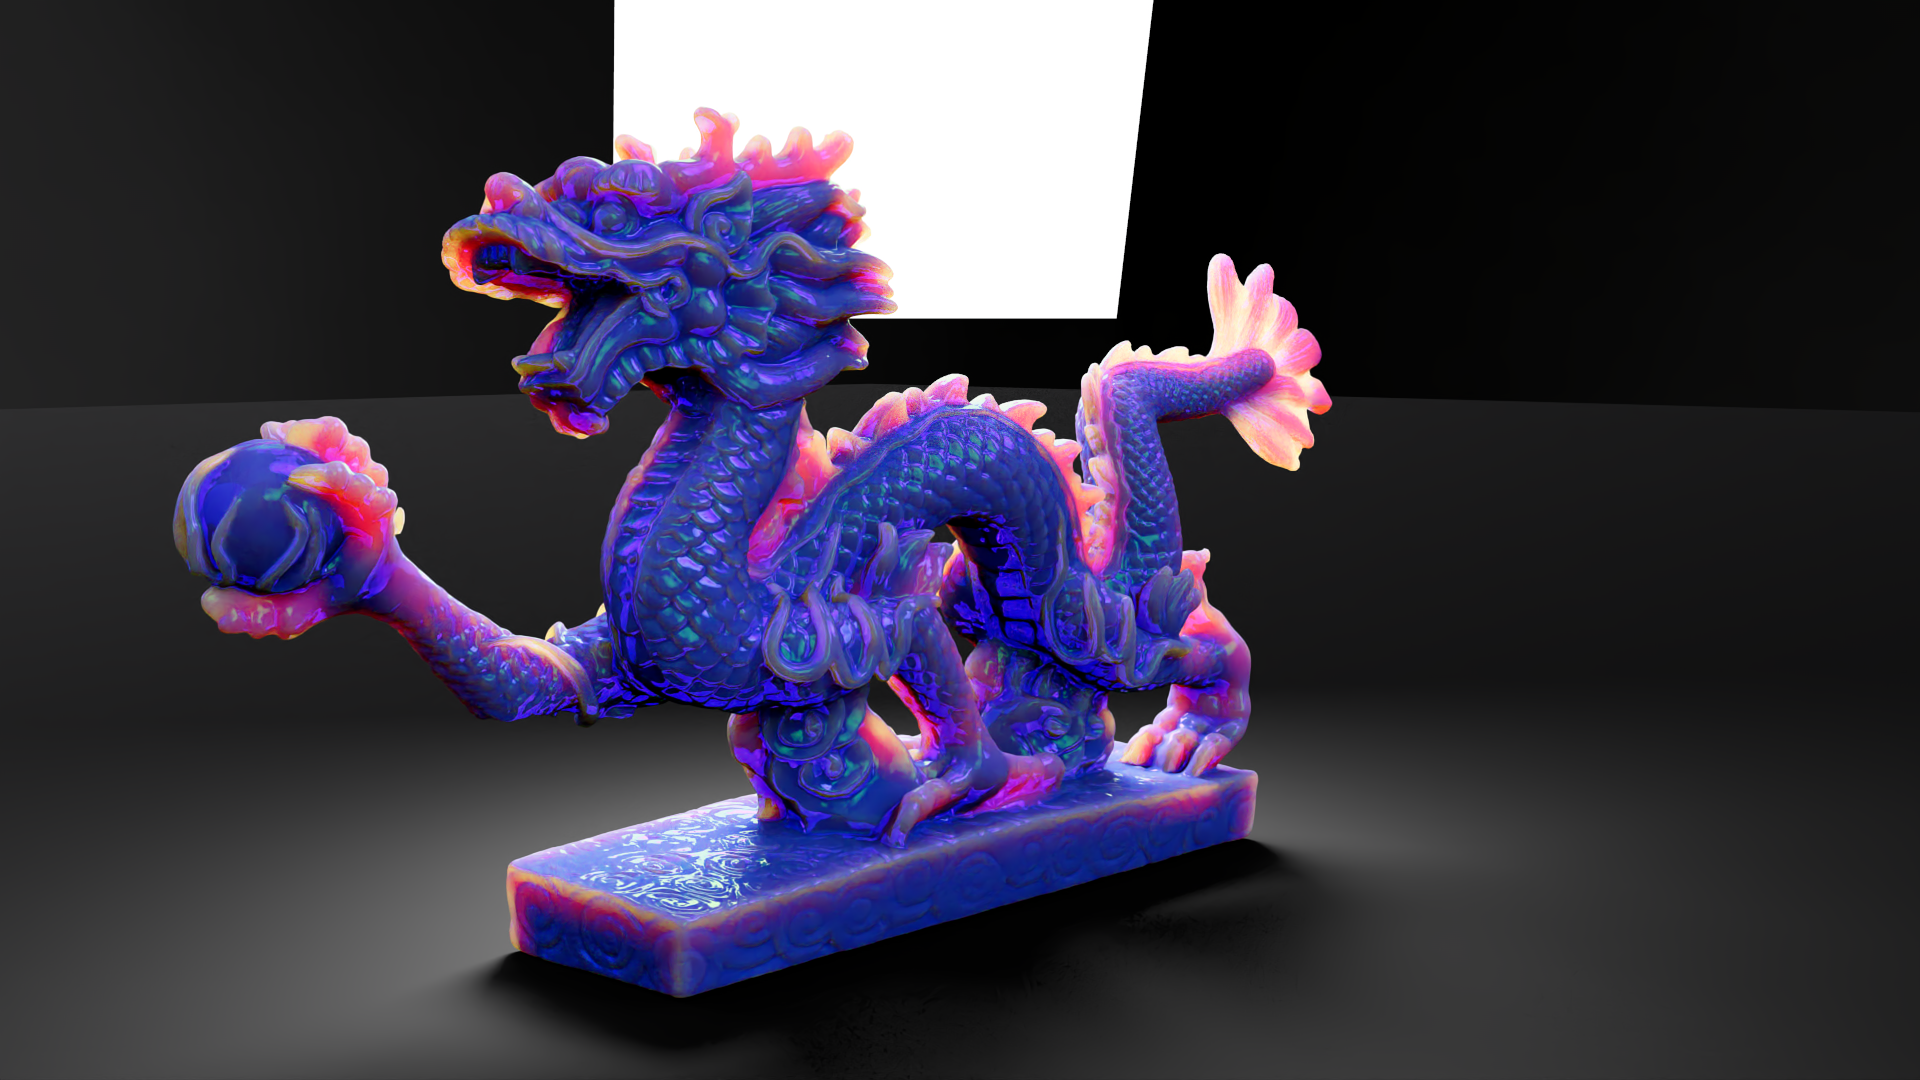
Render courtesy Tim Laird, who says, "The node setup uses the component nodes. Two SSS nodes, one fully forward scattering (blue), and the other one fully backward scattering (orange). It then uses their respective SSS distance settings to mix the SSS. Then I added an iridescence fresnel with the GGX reflection, to give that look."
A comparison between 2019.1.5 and 2020:
Note the Subsurface amount is much reduced in 2019.1.5 for a more accurate comparison with 2020
The new Random Walk SSS is included in these new content scenes, kindly provided by ace LightWaver Tim Laird, for you to try. One of the main results of this new implementation is that subsurface colors converge on white in use but don't get there.
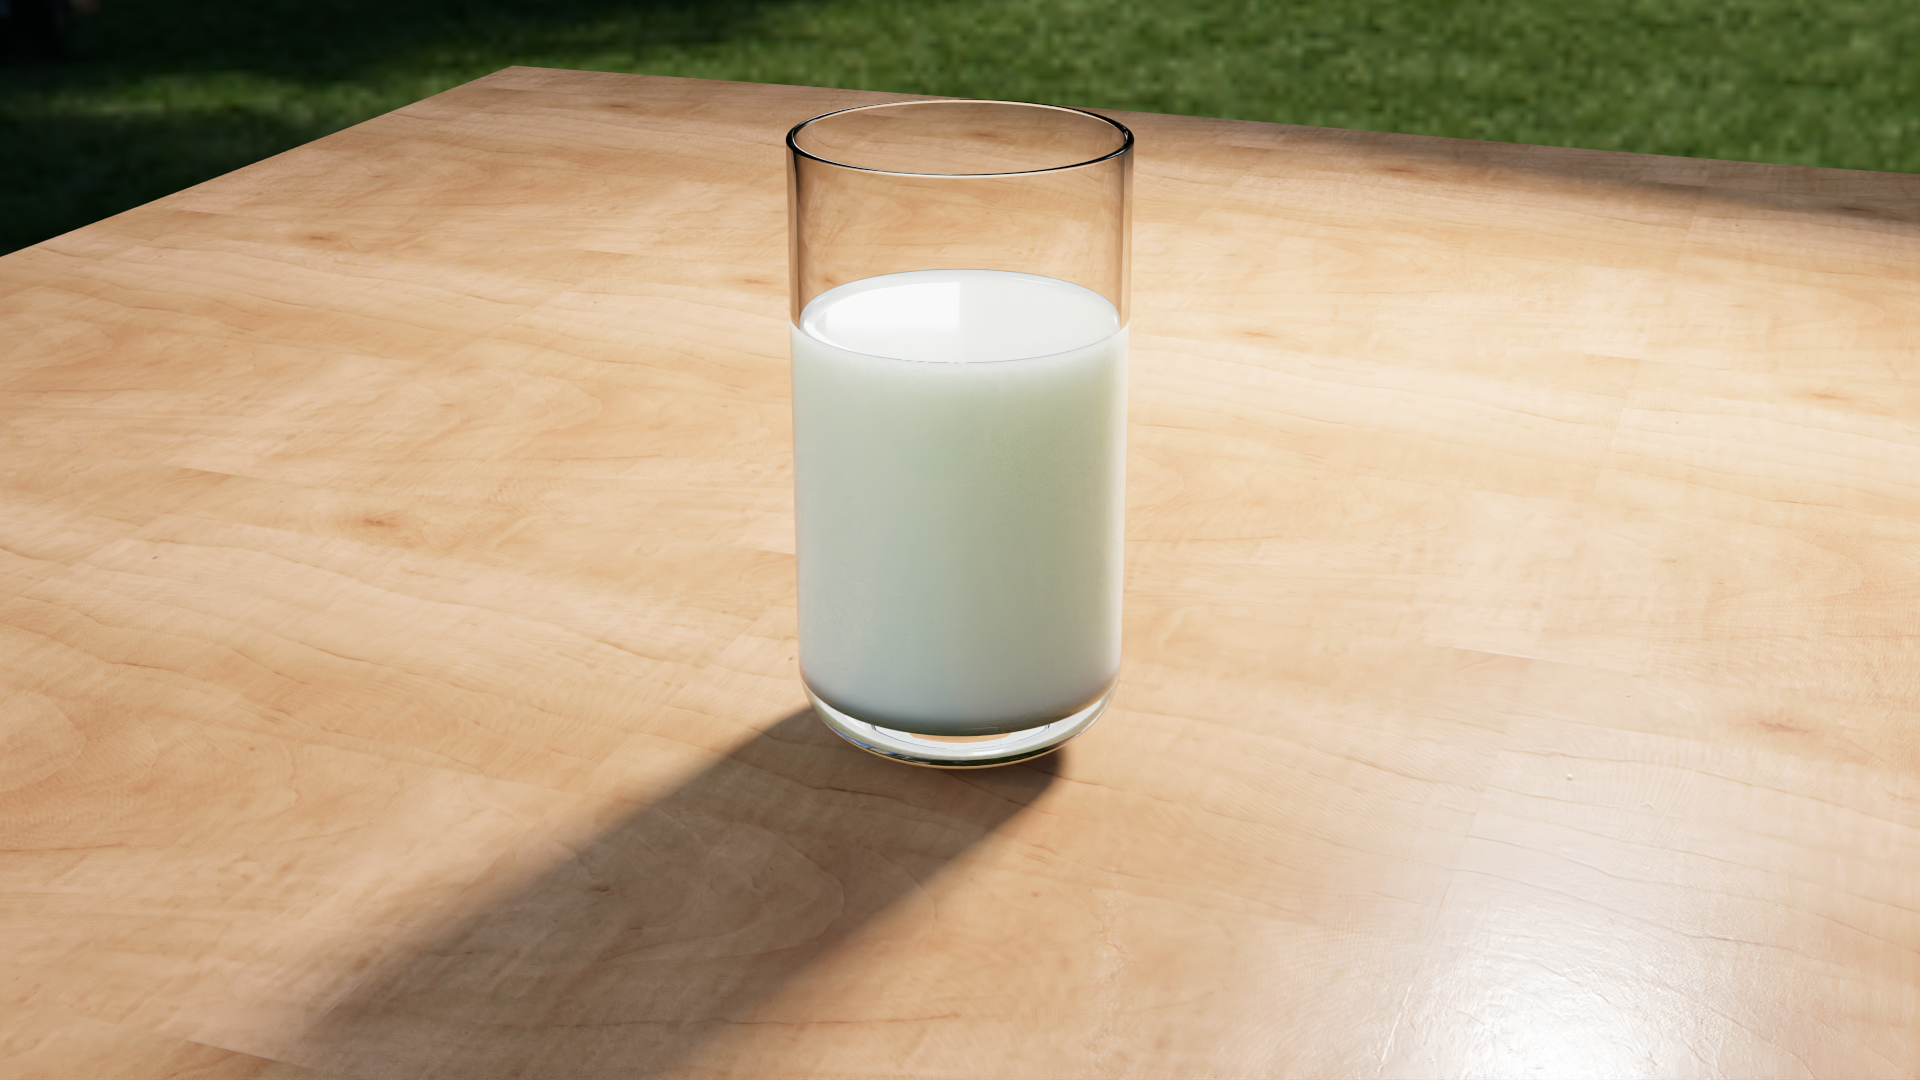
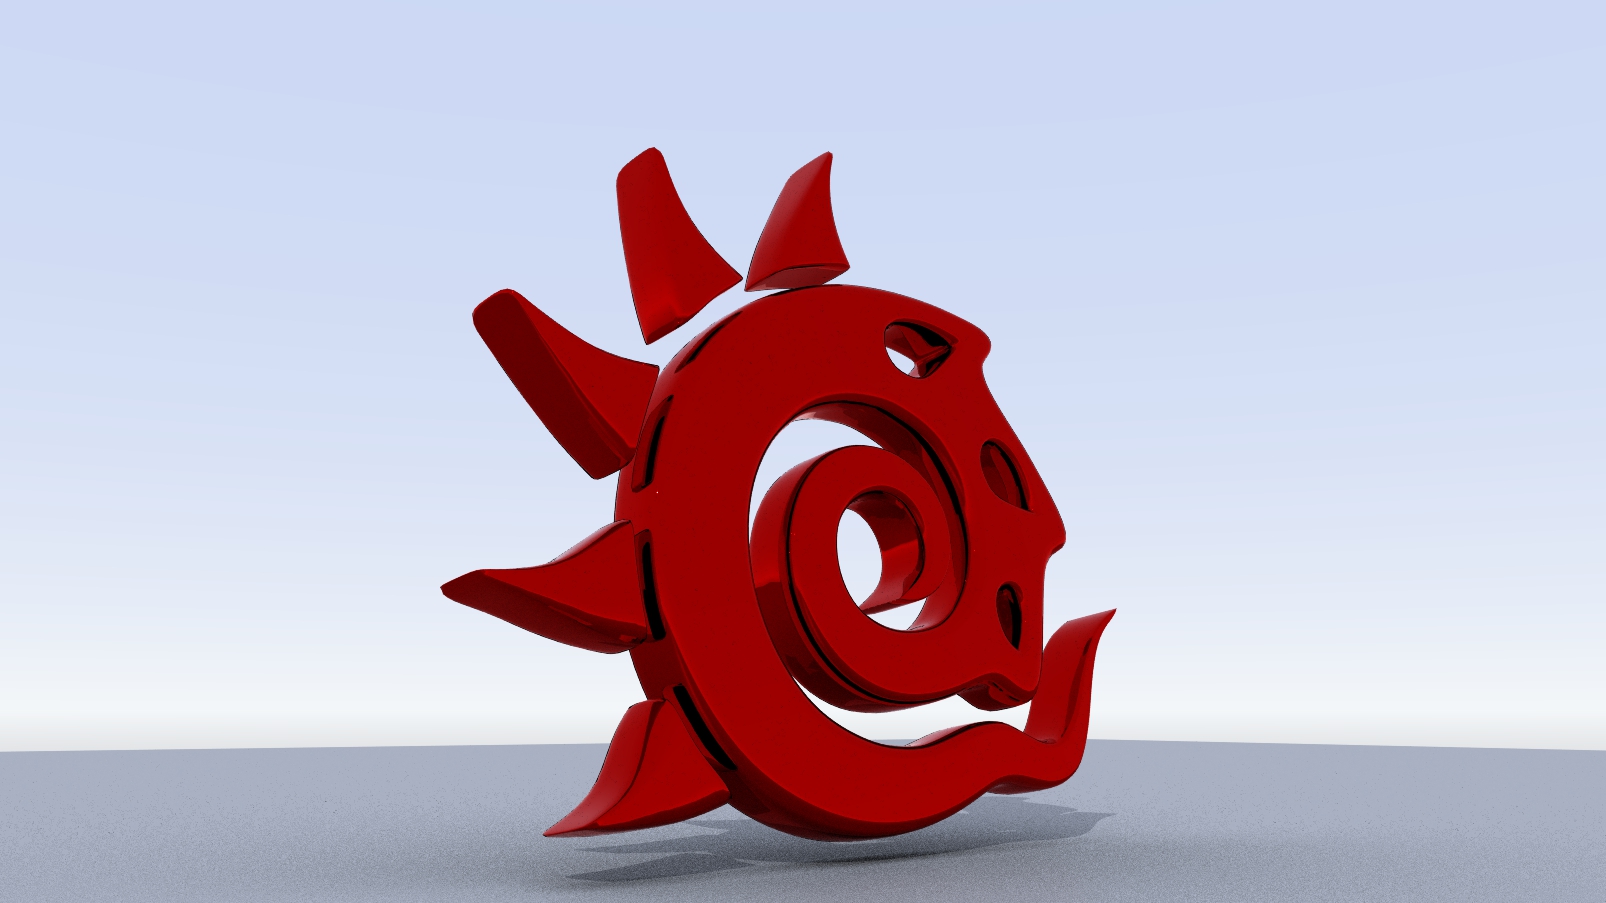
![]() SSS Bleed Logo and SSS Milk (which will need a new HDR for the background. The one used in the render is not included)
SSS Bleed Logo and SSS Milk (which will need a new HDR for the background. The one used in the render is not included)
![]()
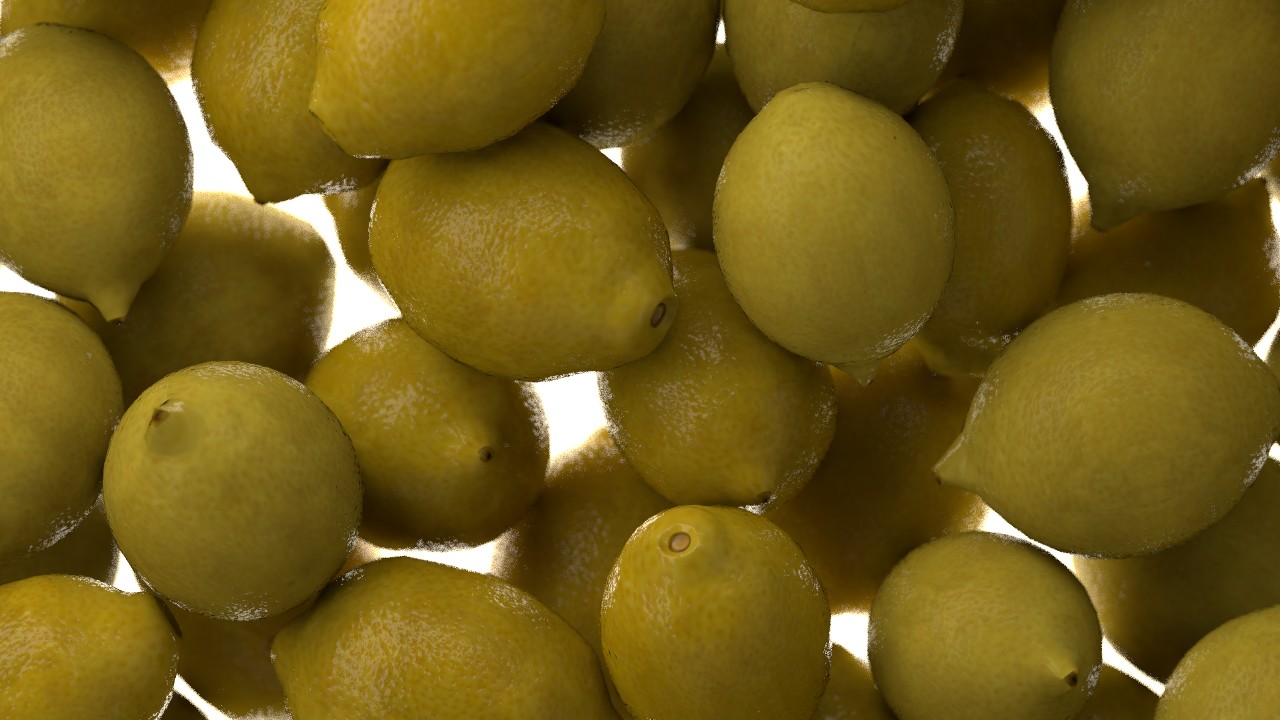
Lemons! by Dave Tracey (using PBSDF)
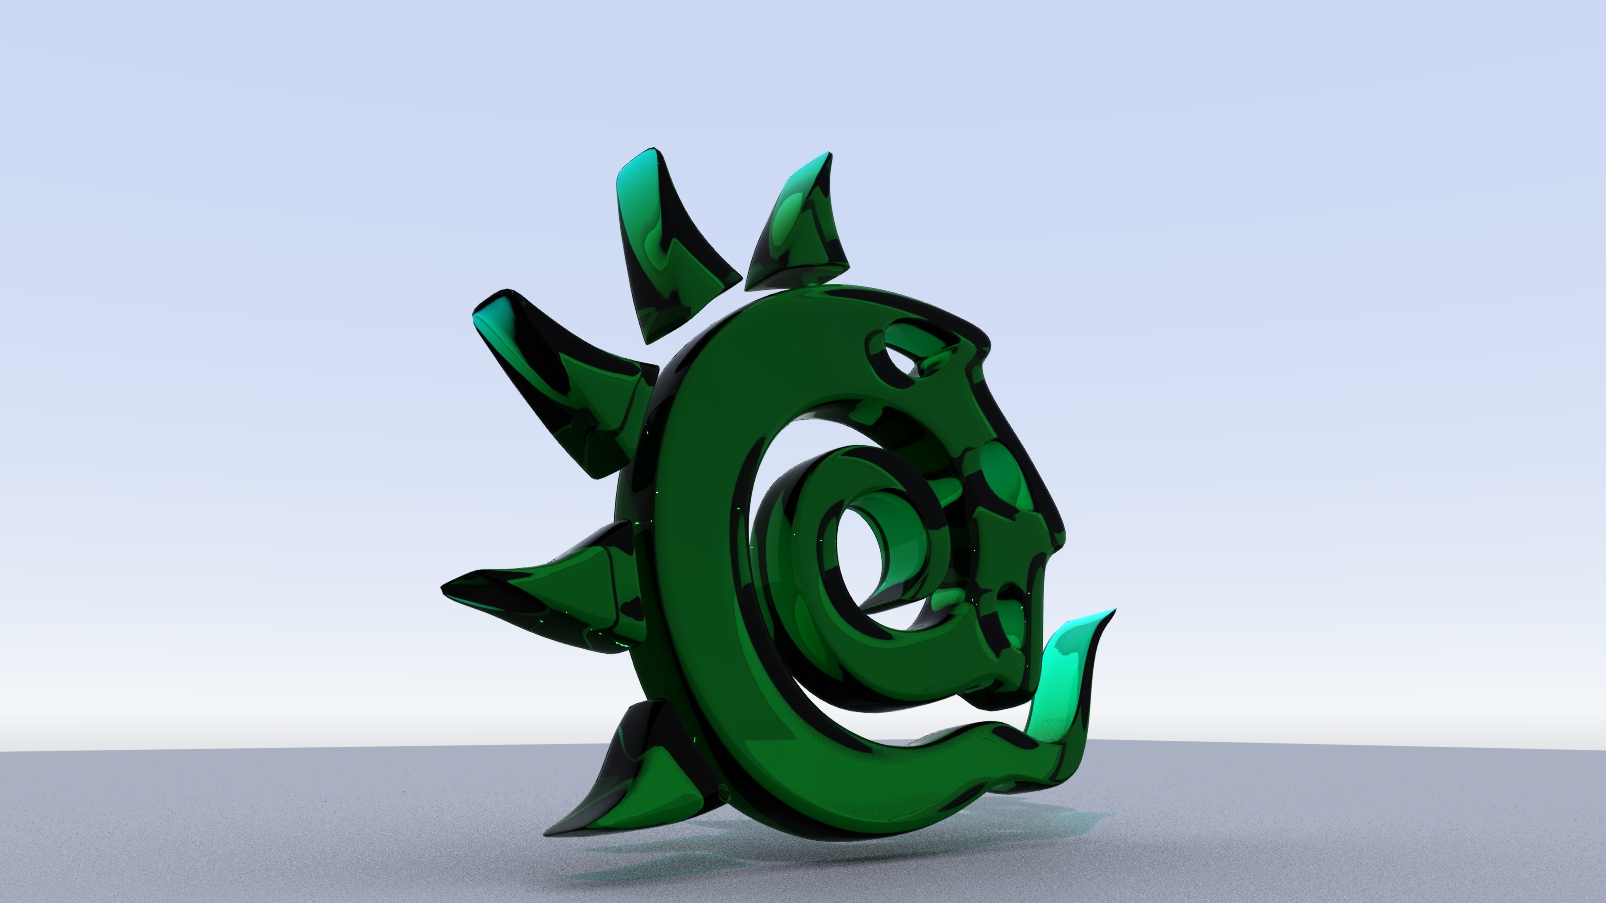
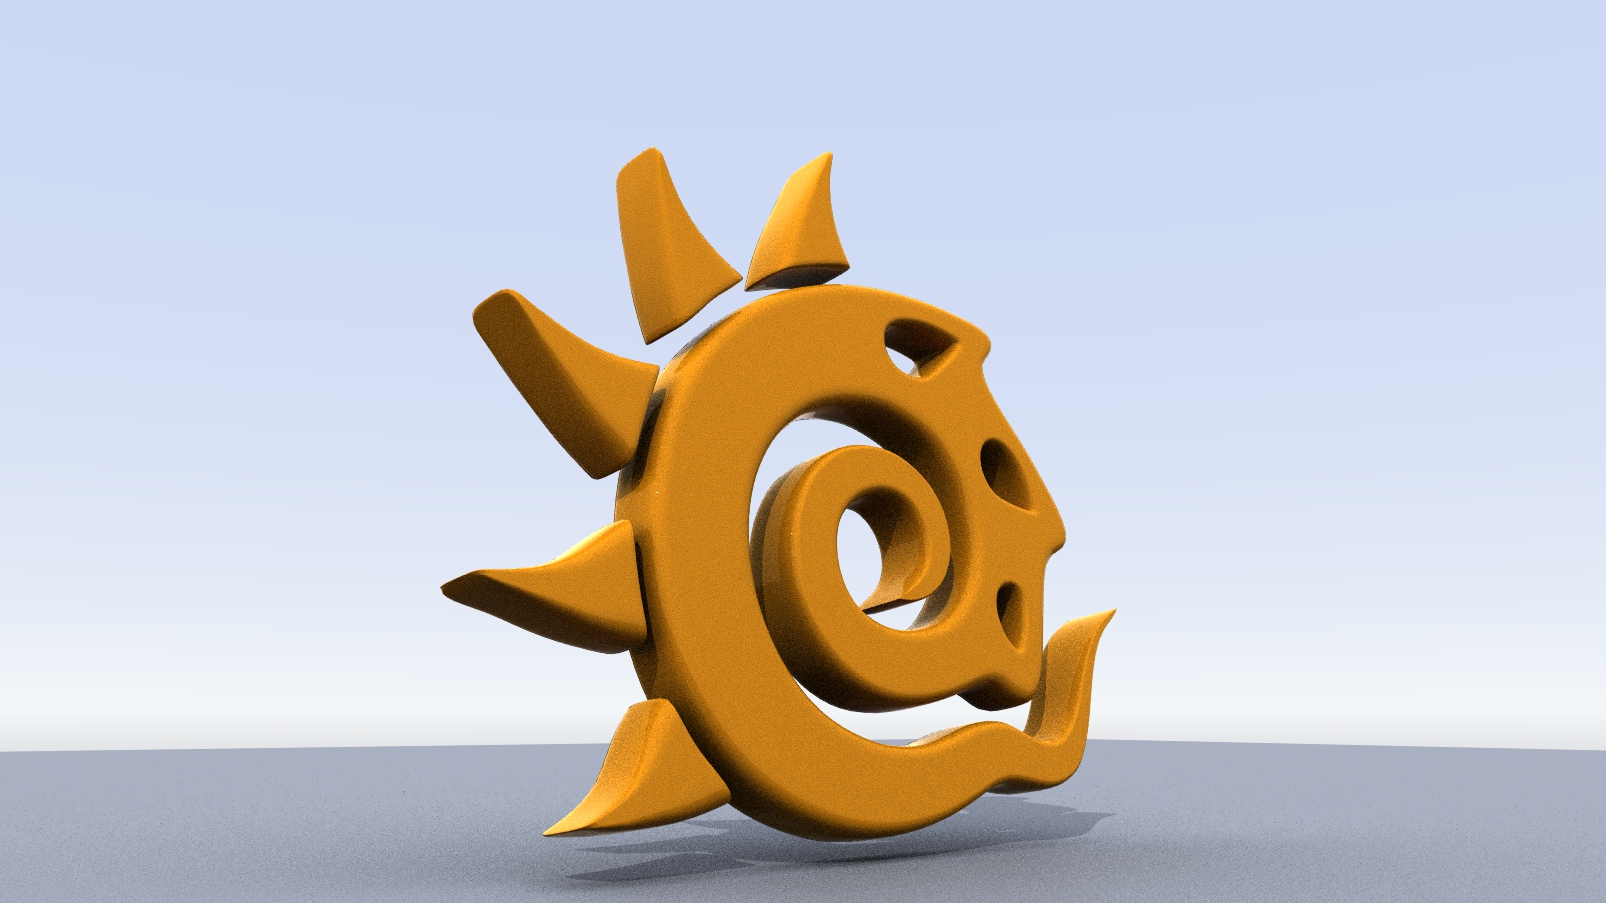
Three examples of surfacing using the Principled BSDF material. Only settings in the panel have been changed; no inputs have been filled.
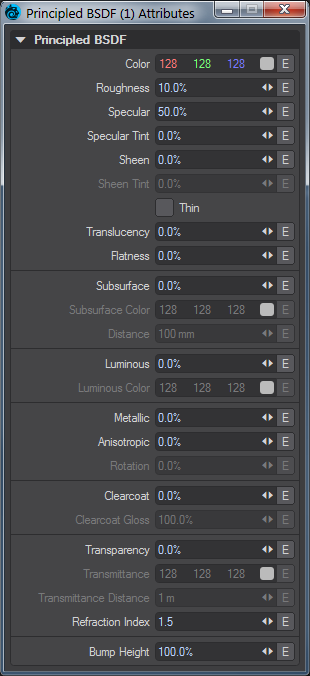
Edit Panel
Color (Color)
The surface color, often supplied by texture maps.
Roughness (Scalar)
This setting is usually paired with Specularity and defines how tight the reflection will be. A high roughness will mean that the surface might be reflective but the reflection will be diffused and unrecognizable.
Specular (Scalar)
Specularity is the correct term for reflection. Normally all surfaces have some element of incident reflection and this setting is usually accompanied by a Roughness setting (in the Standard material this accompanying setting is called Glossiness and works in the opposite direction - 100 % Glossiness is the same as 0 % Roughness).
Also, for artistic freedom, setting Specular at 0 % turns off the Fresnel function for entirely matte surfaces. The following animation shows this clearly. Specular is progressively lowered, but even at 0.1 %, the fresnel effect of a slight sheen at the edge of the sphere is visible. Only when Specular is at exactly 0 % is the sphere completely matte.

Specular Tint (Scalar)
A concession for artistic control that tints incident specular towards the base color. Grazing specular is still achromatic.
Sheen (Scalar)
An additional grazing-angle component (primarily for cloth)
Sheen Tint (Scalar)
Amount to tint sheen towards base color.
Thin
Thin mode makes translucency function, so you can use that instead of subsurface scattering, for making leaves from single thickness objects with double sided turned on.
Translucency
The amount of translucency to use with the Thin switch.
Flatness (Scalar)
Flatness is an alternate, flatter diffuse shape. The effect is subtle and not always easy to see when combined with other material properties. The example has 100 % Roughness, 0 % Specular and 0 % Fresnel.
Subsurface (Scalar)
Defines how much you want your subsurface color to be visible. If you set this to 100 % it completely replaces the surface color.
Subsurface Color (Color)
The subsurface color you want under the surface of your material. The quantity of visible subsurface color is defined by the following two options:
Distance (Scalar)
How far "into" the surface before the subsurface color is seen. If you make this value larger than the object that uses this material then the subsurface scattering will not be visible.
Luminous (Scalar)
How luminous your material is. This value can far exceed the 0-100 % range.
Luminous Color (Color)
The color with which your surface will glow. As normal, glowing objects only light others if GI is used.
Use luminous geometry sparingly for lighting a scene - using lights is far more efficient. If the luminous object you want to use to light the scene is roughly spherical, add a Spherical Light for the effect instead. If it's more of a box shape, use an Area Light shaped to the rough dimensions. Only use a Primitive Light when you cannot roughly replicate the shape of your luminous object
Lights are directly sampled, and Importance sampled, by a scene's GI. Luminous geometry is not. The scene knows exactly where the lights are and samples them, luminous objects are only sampled when hit by GI calculations.
Metallic (Scalar)
The metallic-ness (0 = dielectric, 1 = metallic) - this is a linear blend between two different models. The metallic model has no diffuse component and also has a tinted incident specular, equal to the base color.
Anisotropy (Scalar)
Anisotropy is a bias in the direction of lighting a surface. At 0 % a surface is isotropic, meaning there's no bias. As you approach 100 % your surface will become maximally anisotropic. Some degree of Roughness is necessary for anisotropy to be visible, and the amount tells the anisotropic highlight how far to "spread".
Anisotropy requires that there is a Projection node input otherwise you will get strange polygonal shapes in the render.


Left: Anisotropy at 100 %, Rotation at 15 %, Roughness at 30 %. Right: No Projection
Rotation (Scalar)
This determines the angular rotation for your anisotropic highlights. At 0 % the rotation will follow the curve of your object and at 50 % will be perpendicular to it.
Clearcoat (Scalar)
Clearcoat Gloss (Scalar)
Transparency (Scalar)
The amount of transparency for the surface.
Transmittance (Color)
The transmittance of a material is its effectiveness in transmitting light - how transparent it is - and what color light it transmits through the material it is paired with.
Transmittance Distance (Scalar)
This is the distance at which the medium absorption color reaches Transmittance Color.
Transmittance requires Volumetrics to be enabled; otherwise, there will be no color.
![]()
Refraction Index (Scalar)
When there is some level of Transmittance (Transparency), this determines how light passing through the medium is bent.
Bump Height (Scalar)
Specifies the bump height or “amplitude” of the Bump directional vectors.
* Physically plausible materials forgo 100 % reciprocality for artistic control. For PBSDF, the fact that a 0% Specular turns off the Fresnel effect, is not strictly accurate but it works well for artistic purposes. However, for almost all other values, PBSDF is energy conserving and designed to mimic real-world materials.
Video