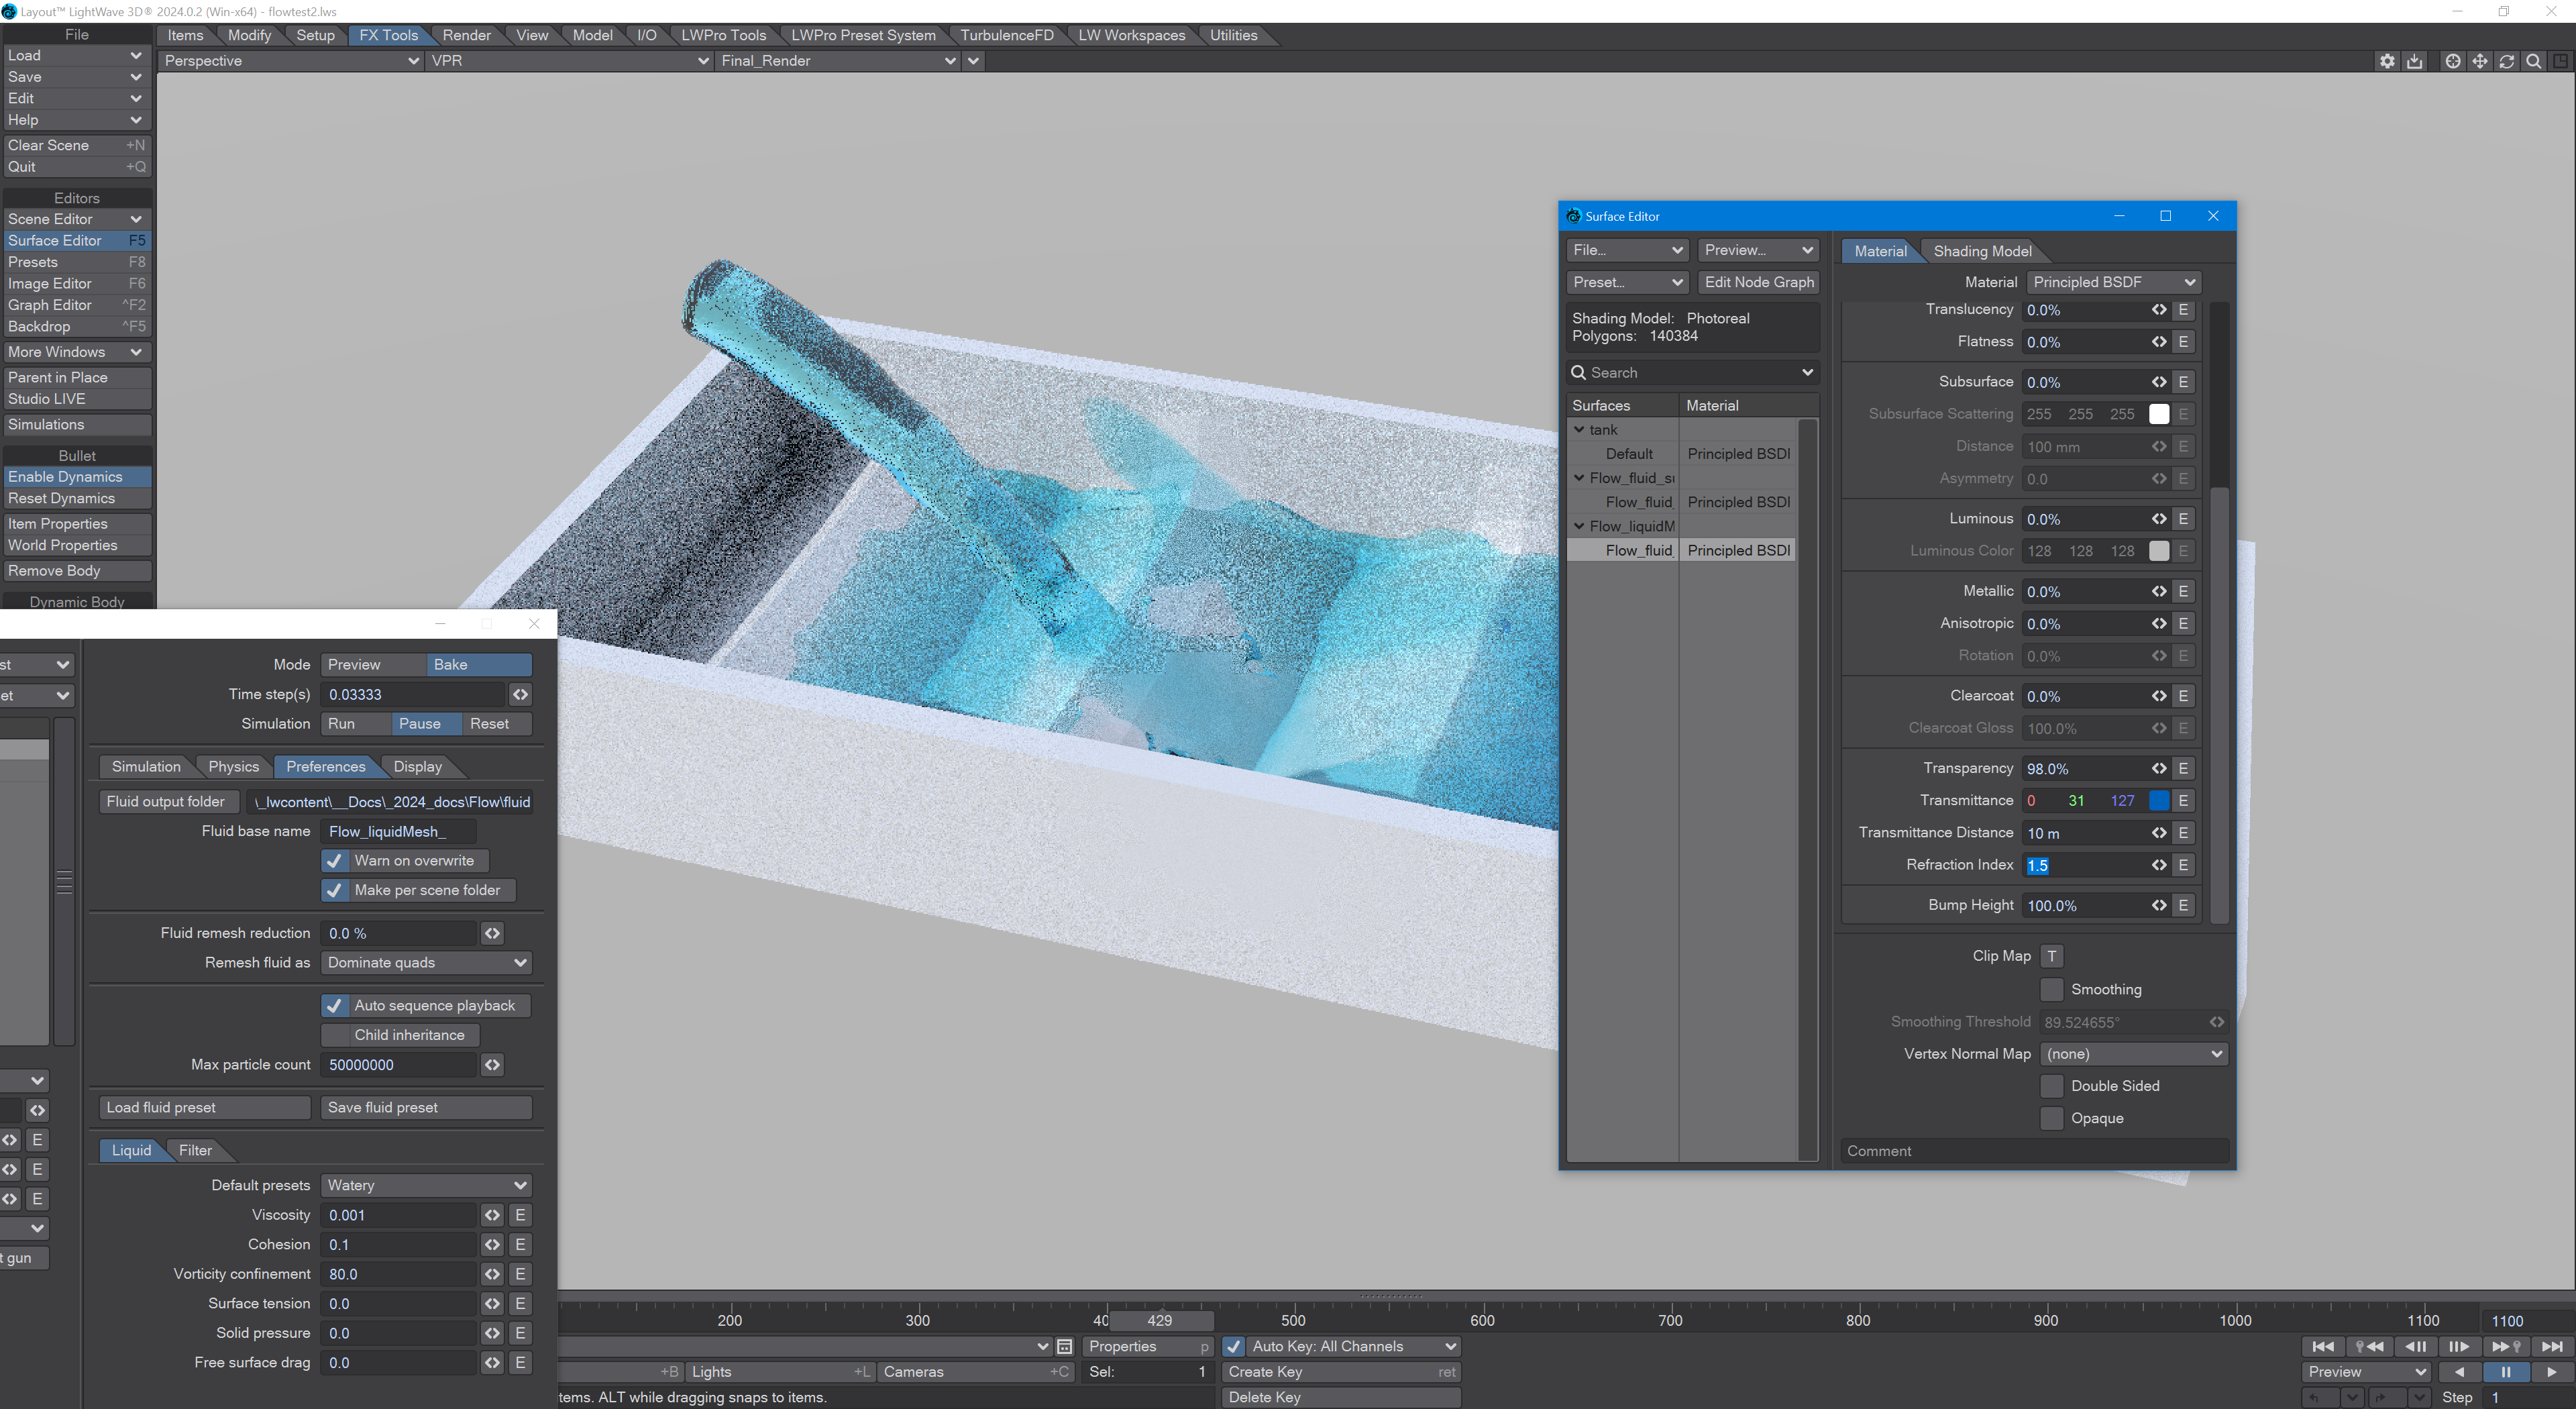
First go with Flow
Here's a receptacle to use for this experiment. You can replace it with your own object, if you prefer. Make sure the object you use is centred (F2) and a closed object - no un-merged polys or 1- or 2-pt polygons.
Once loaded, go to the FX Tools tab and select LW Flow at the bottom of this menu.
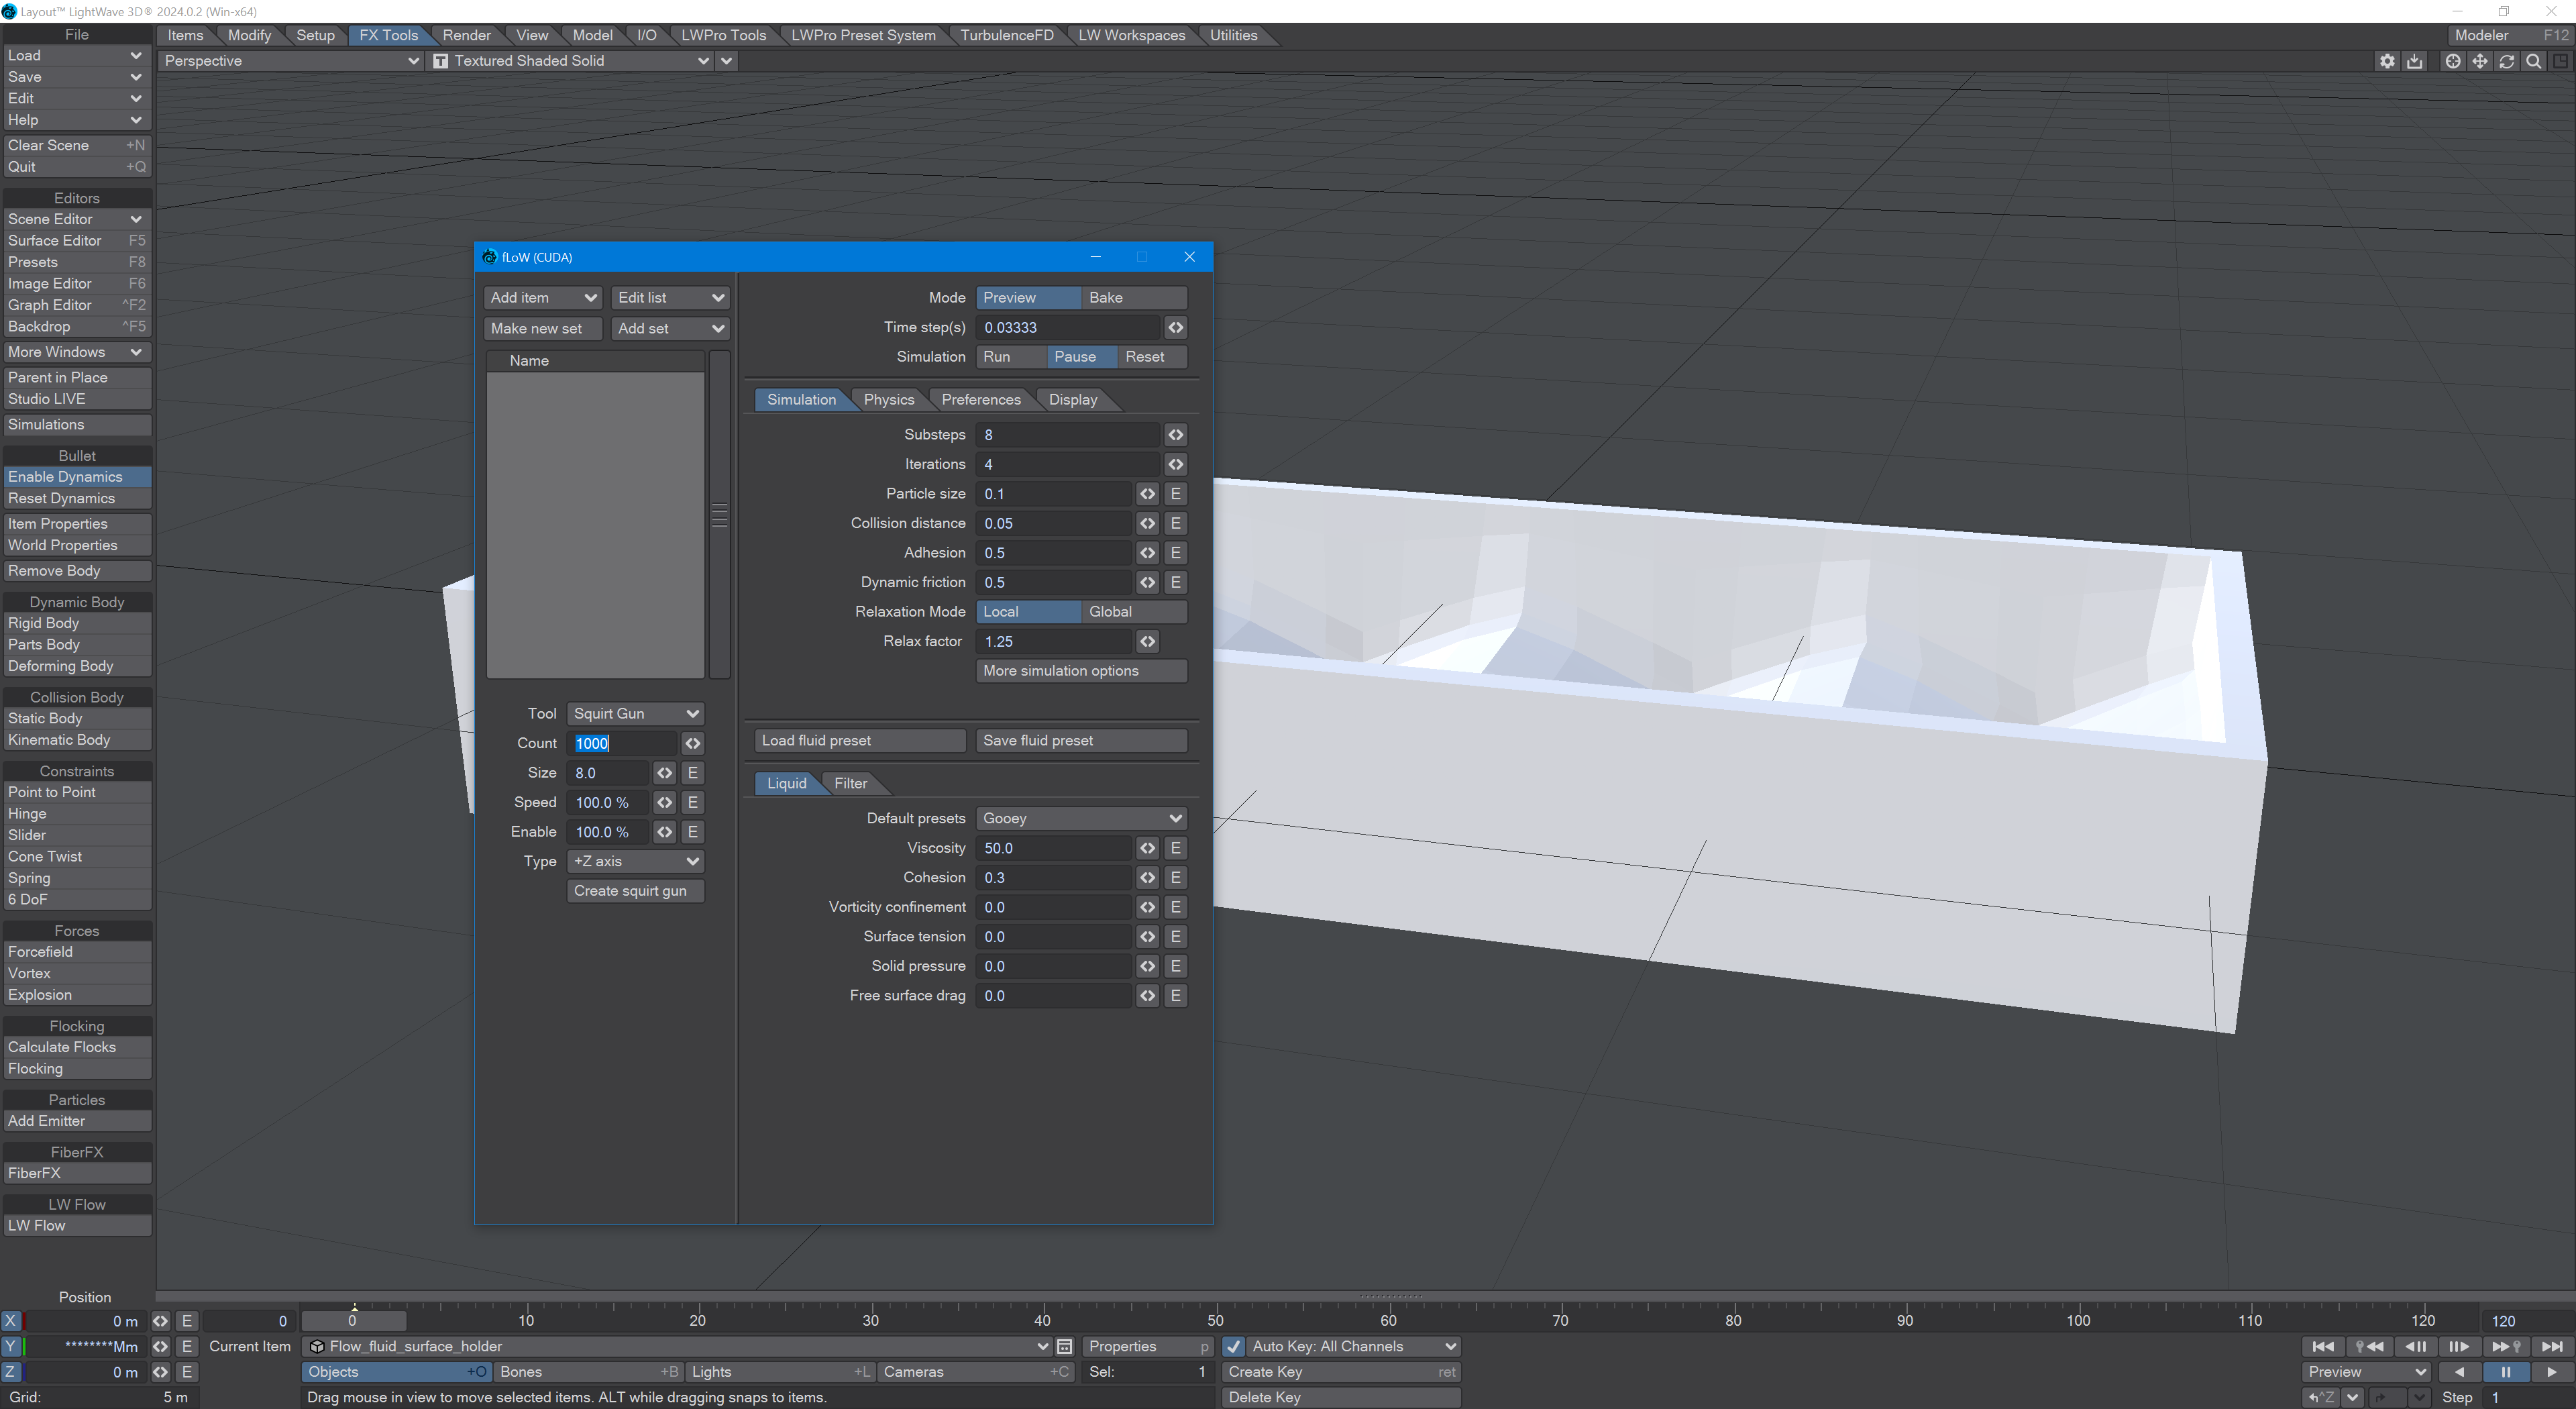
Choose Add item from the dropdown menu at the top left of the Flow panel. On the Physics tab, select **Kinematic ** from the Body type menu. Your tank should go orange.
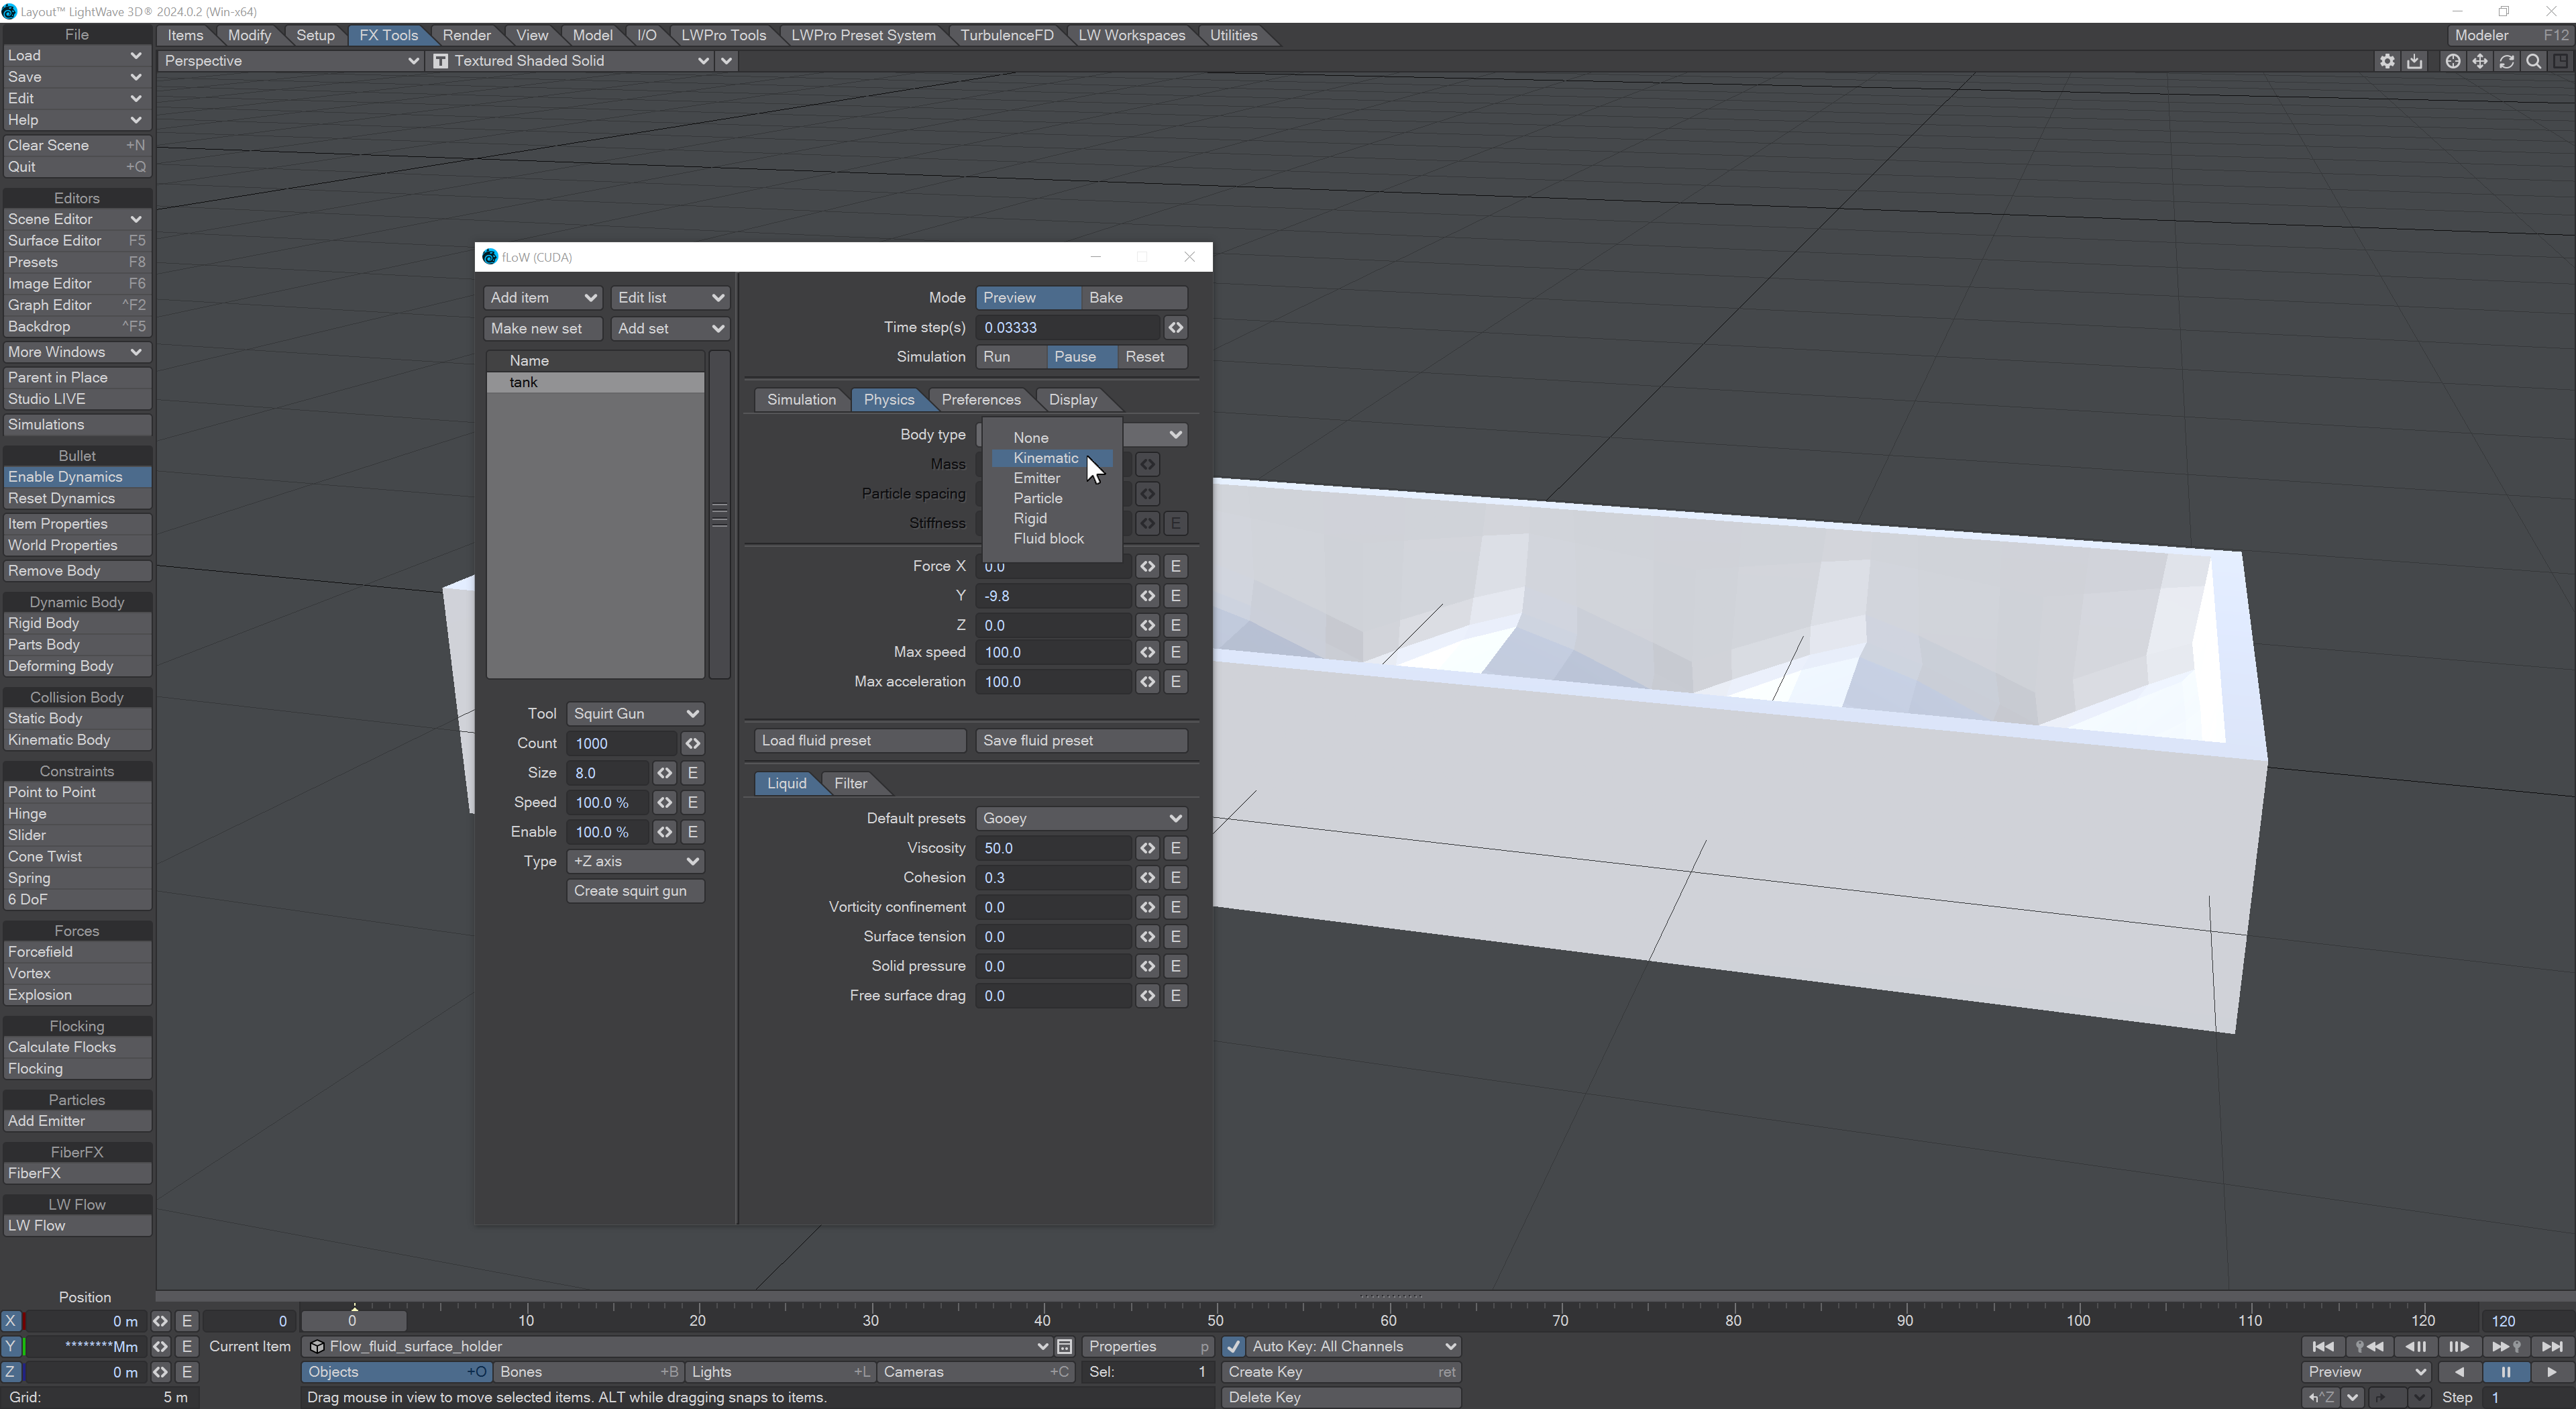
Last thing, change the Default Presets to Watery.
Add a null and call it Emitter (or Splash, Spray, Hose - you could even leave it as Null). Lift it up a bit and move nearer one end of the tank. In the Flow panel, use the Add item dropdown and add the null. Still in the Physics tab, change the Body type to Emitter. Your null should have a foghorn shape attached.
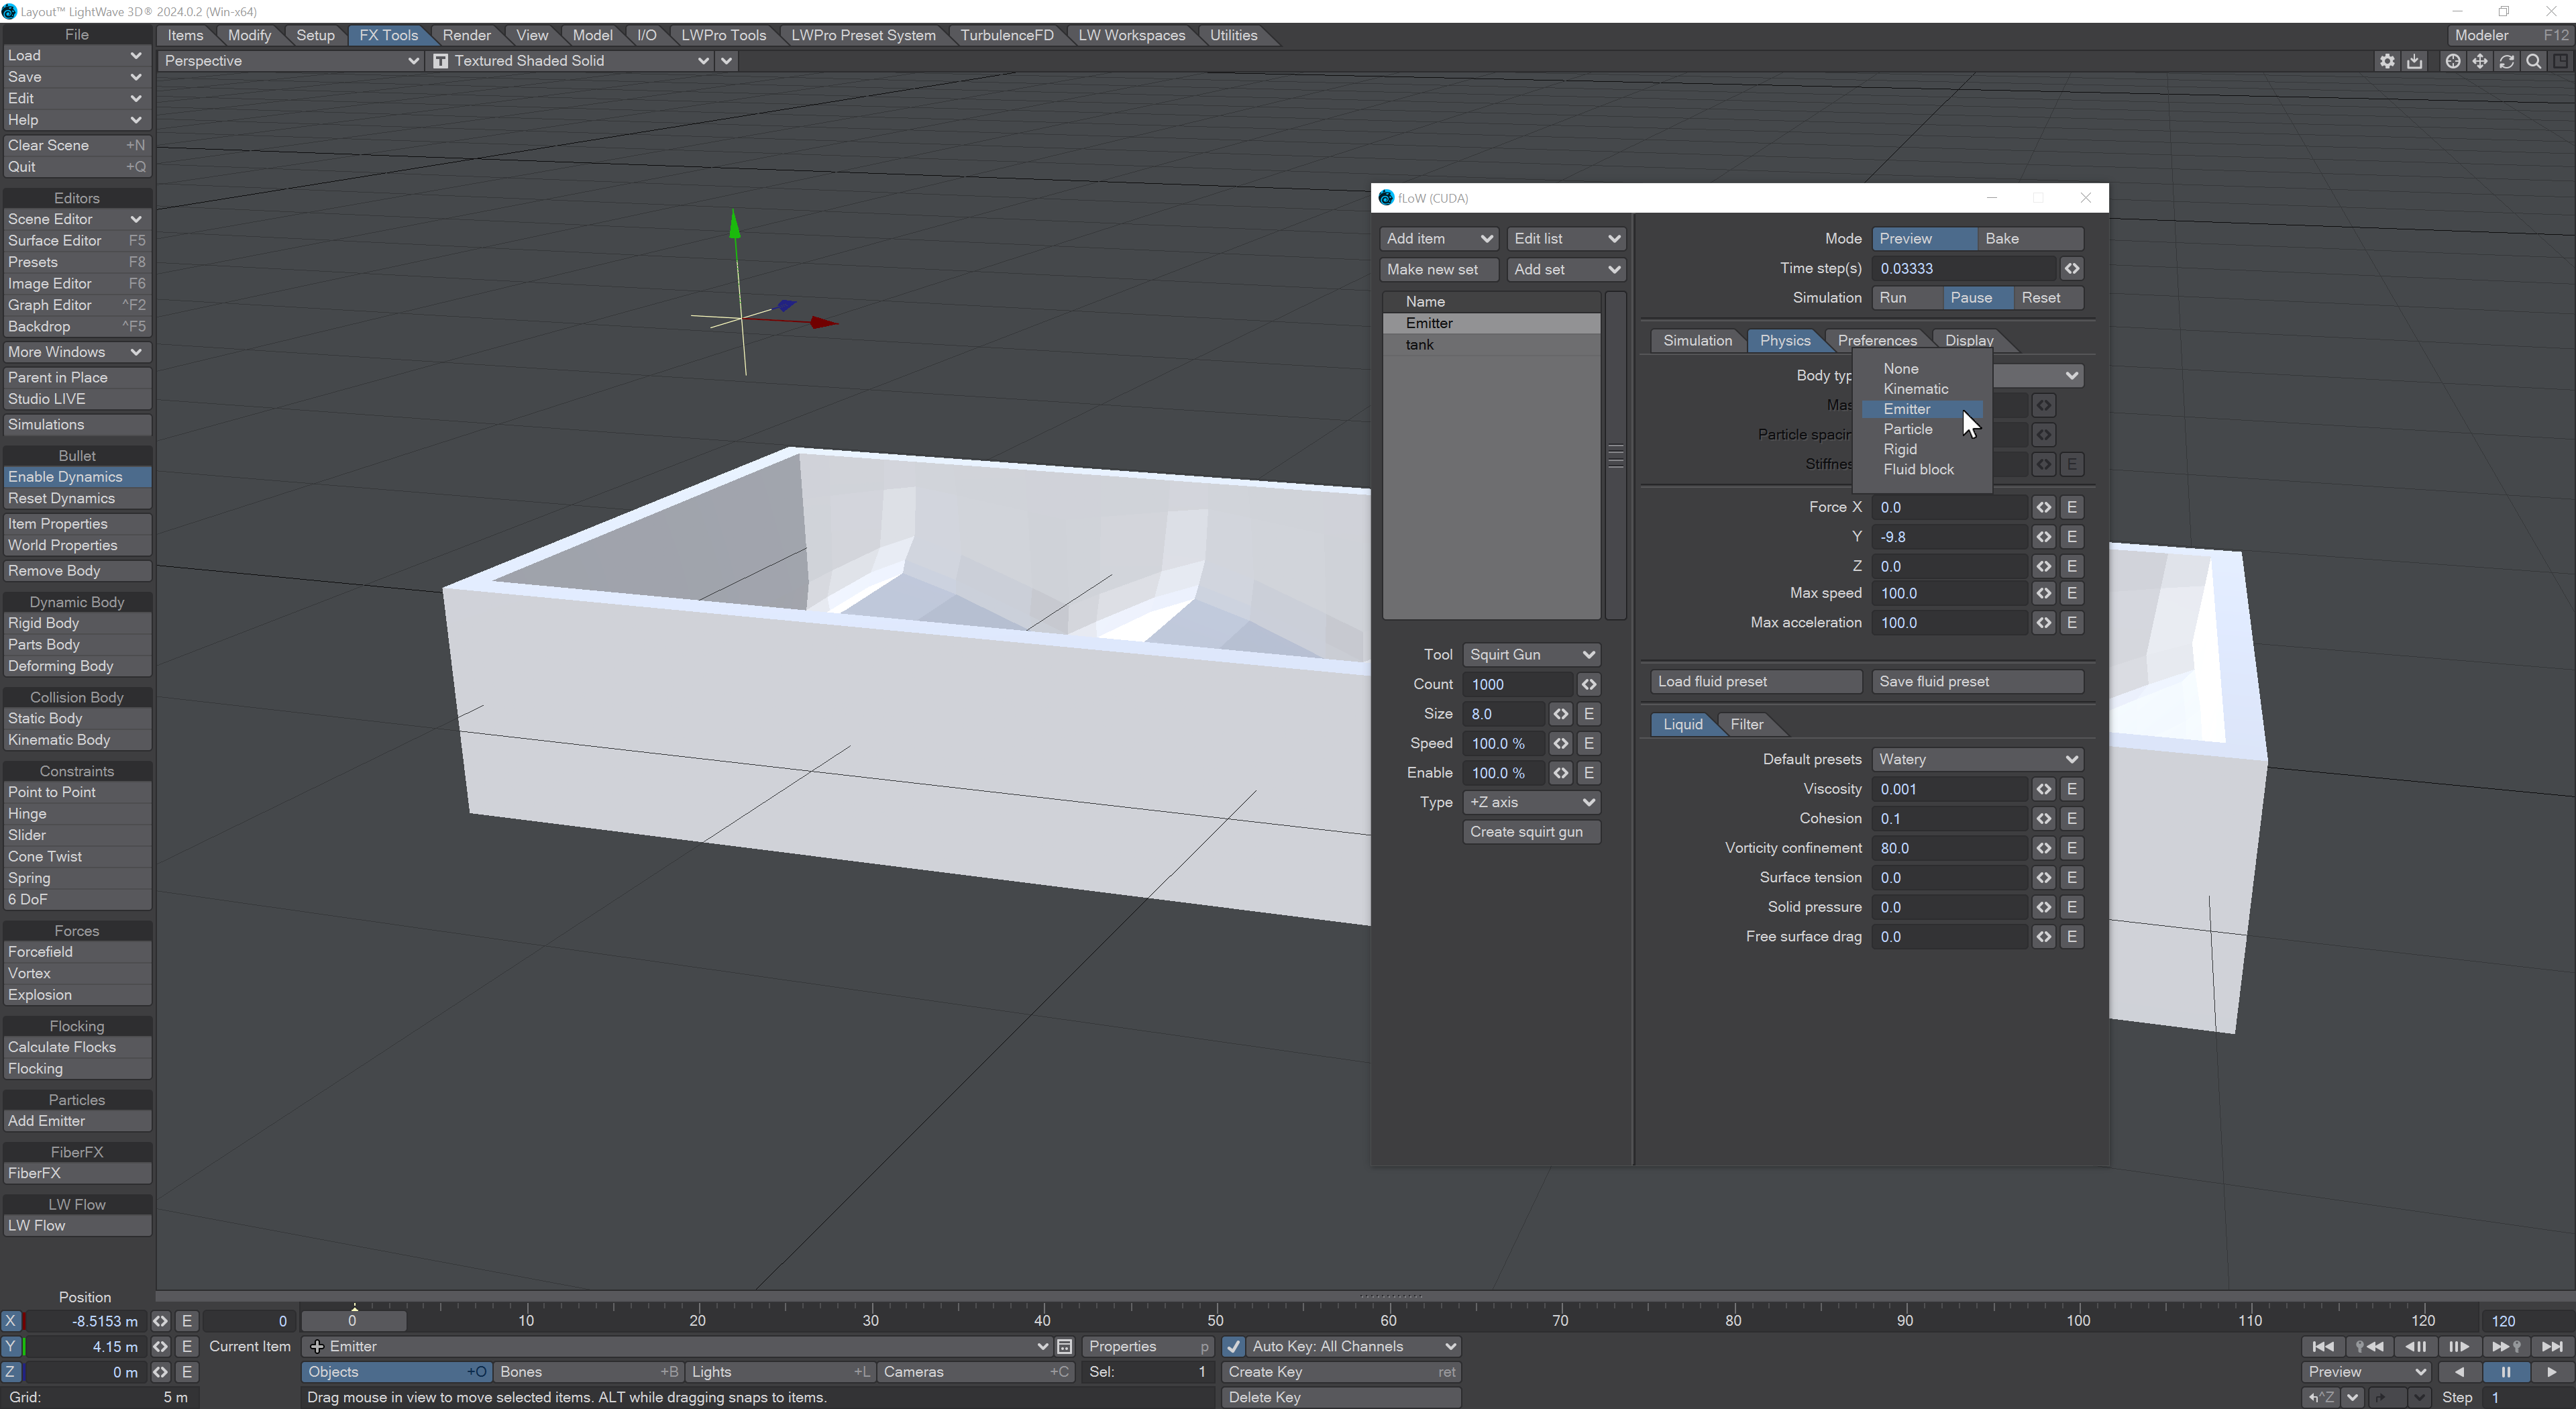
Rotate your emitter so that it's facing in a good direction for spraying into the tank.
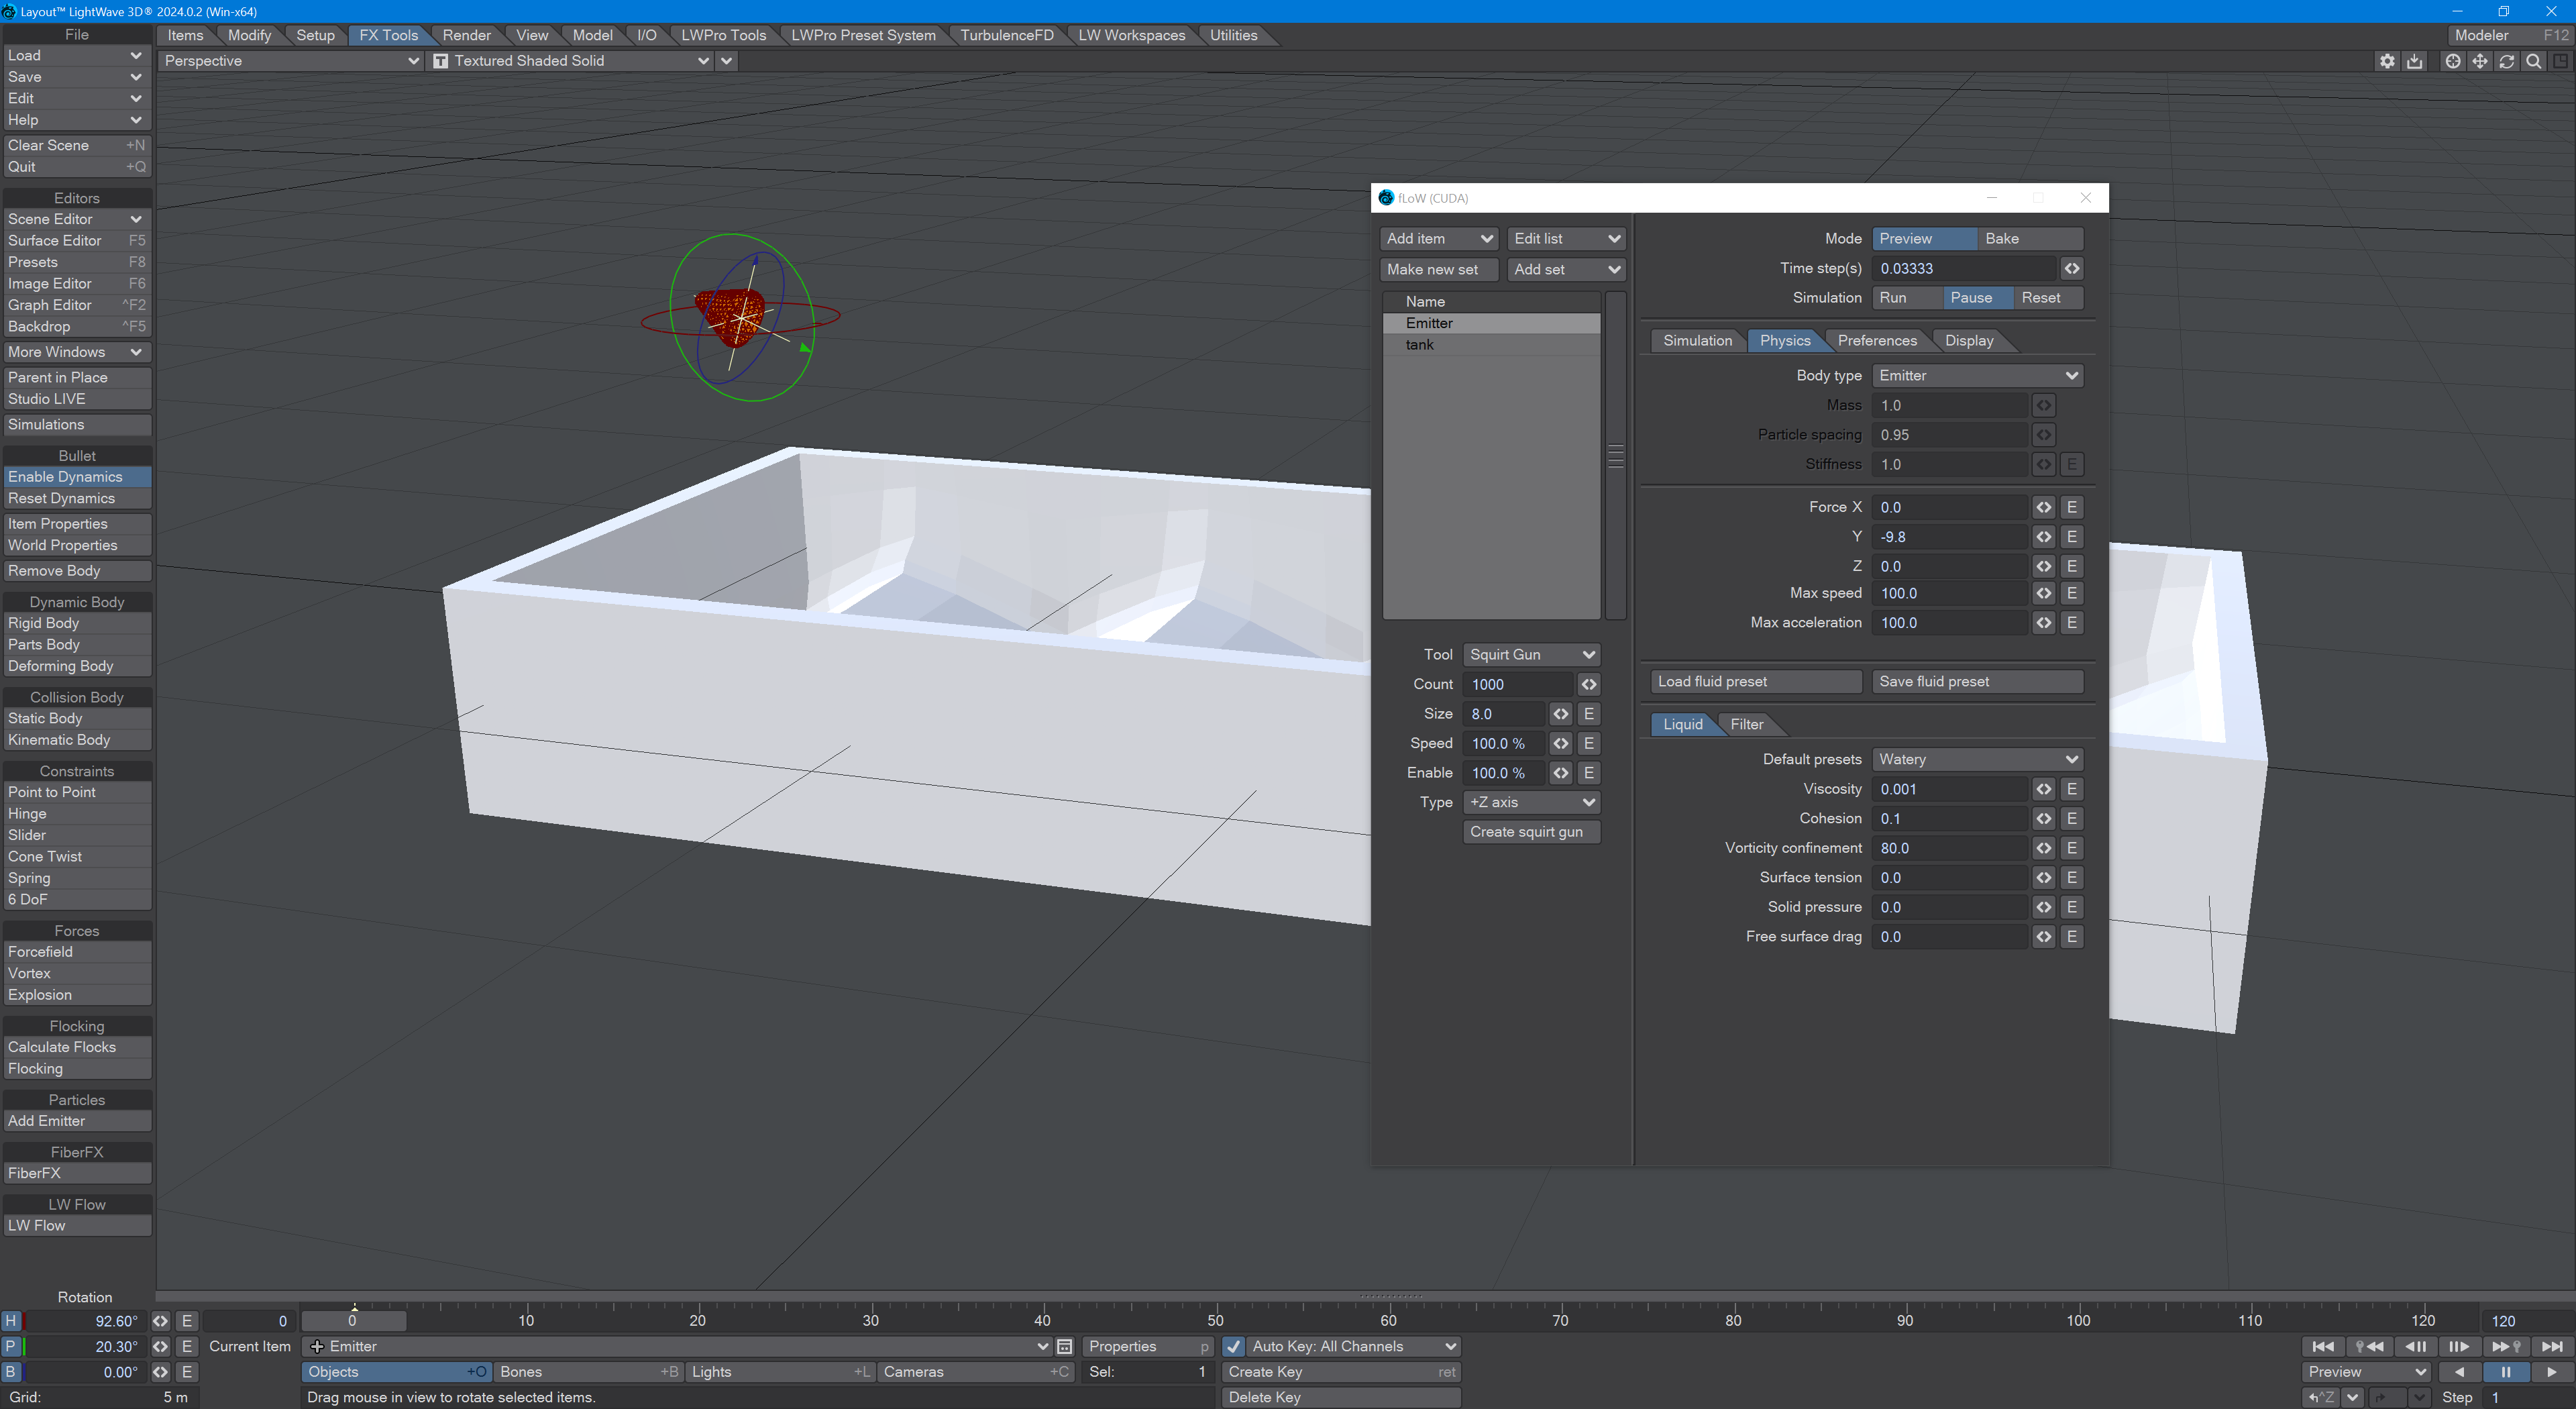
First, save your scene so far. Now, before we do anything, let's surface our liquid.
It's best to define your liquid's surface before simulating, otherwise you might up with a surface per frame. I just want a watery liquid, so I've left the Colour alone; turned the Roughness down to 5 %; Transparency to 95 % and the Transmittance colour to blue. I've left the other things as default. Now, back to your regularly scheduled programme - Testing the spray.
The next thing to do is hit the Run button. You should be in Preview mode. This will run through your simulation. It will not stop at the scene end you have defined (120 frames by default), but just keep going. You should see a splash from your null, but nothing else.
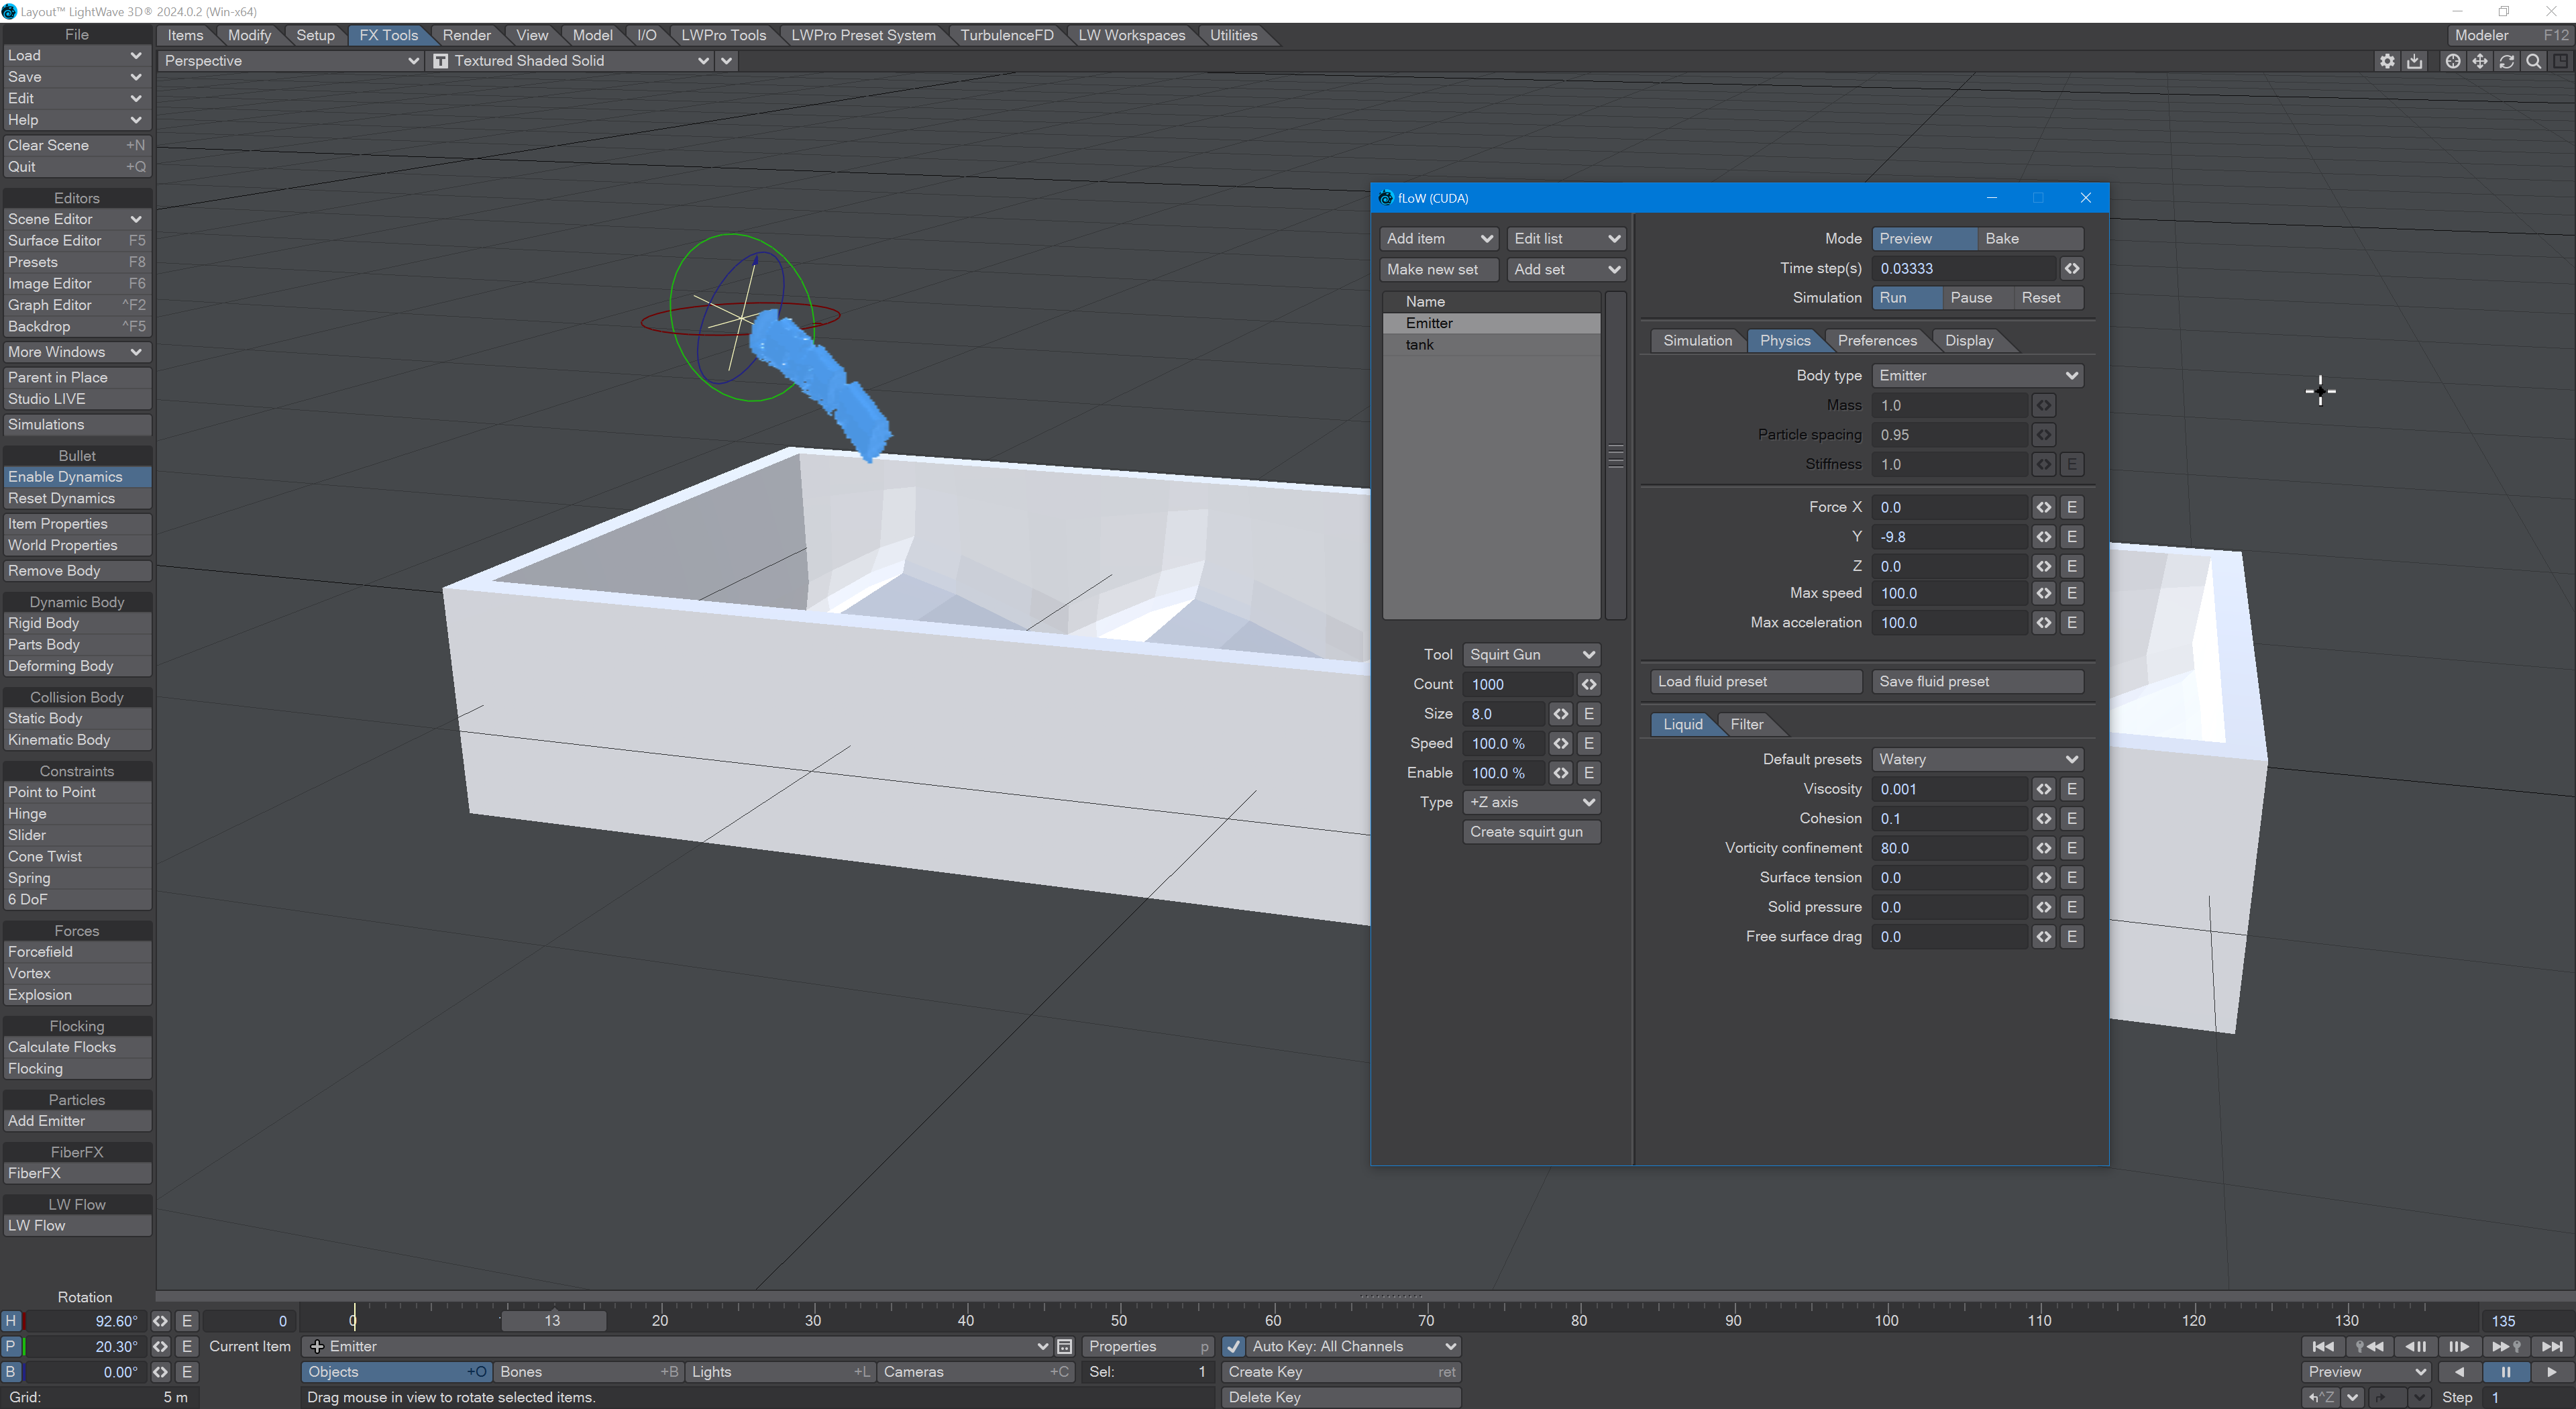
To get more liquid, you need to up the Count at the lower left of the Flow window. Here, we've made our count 100,000.
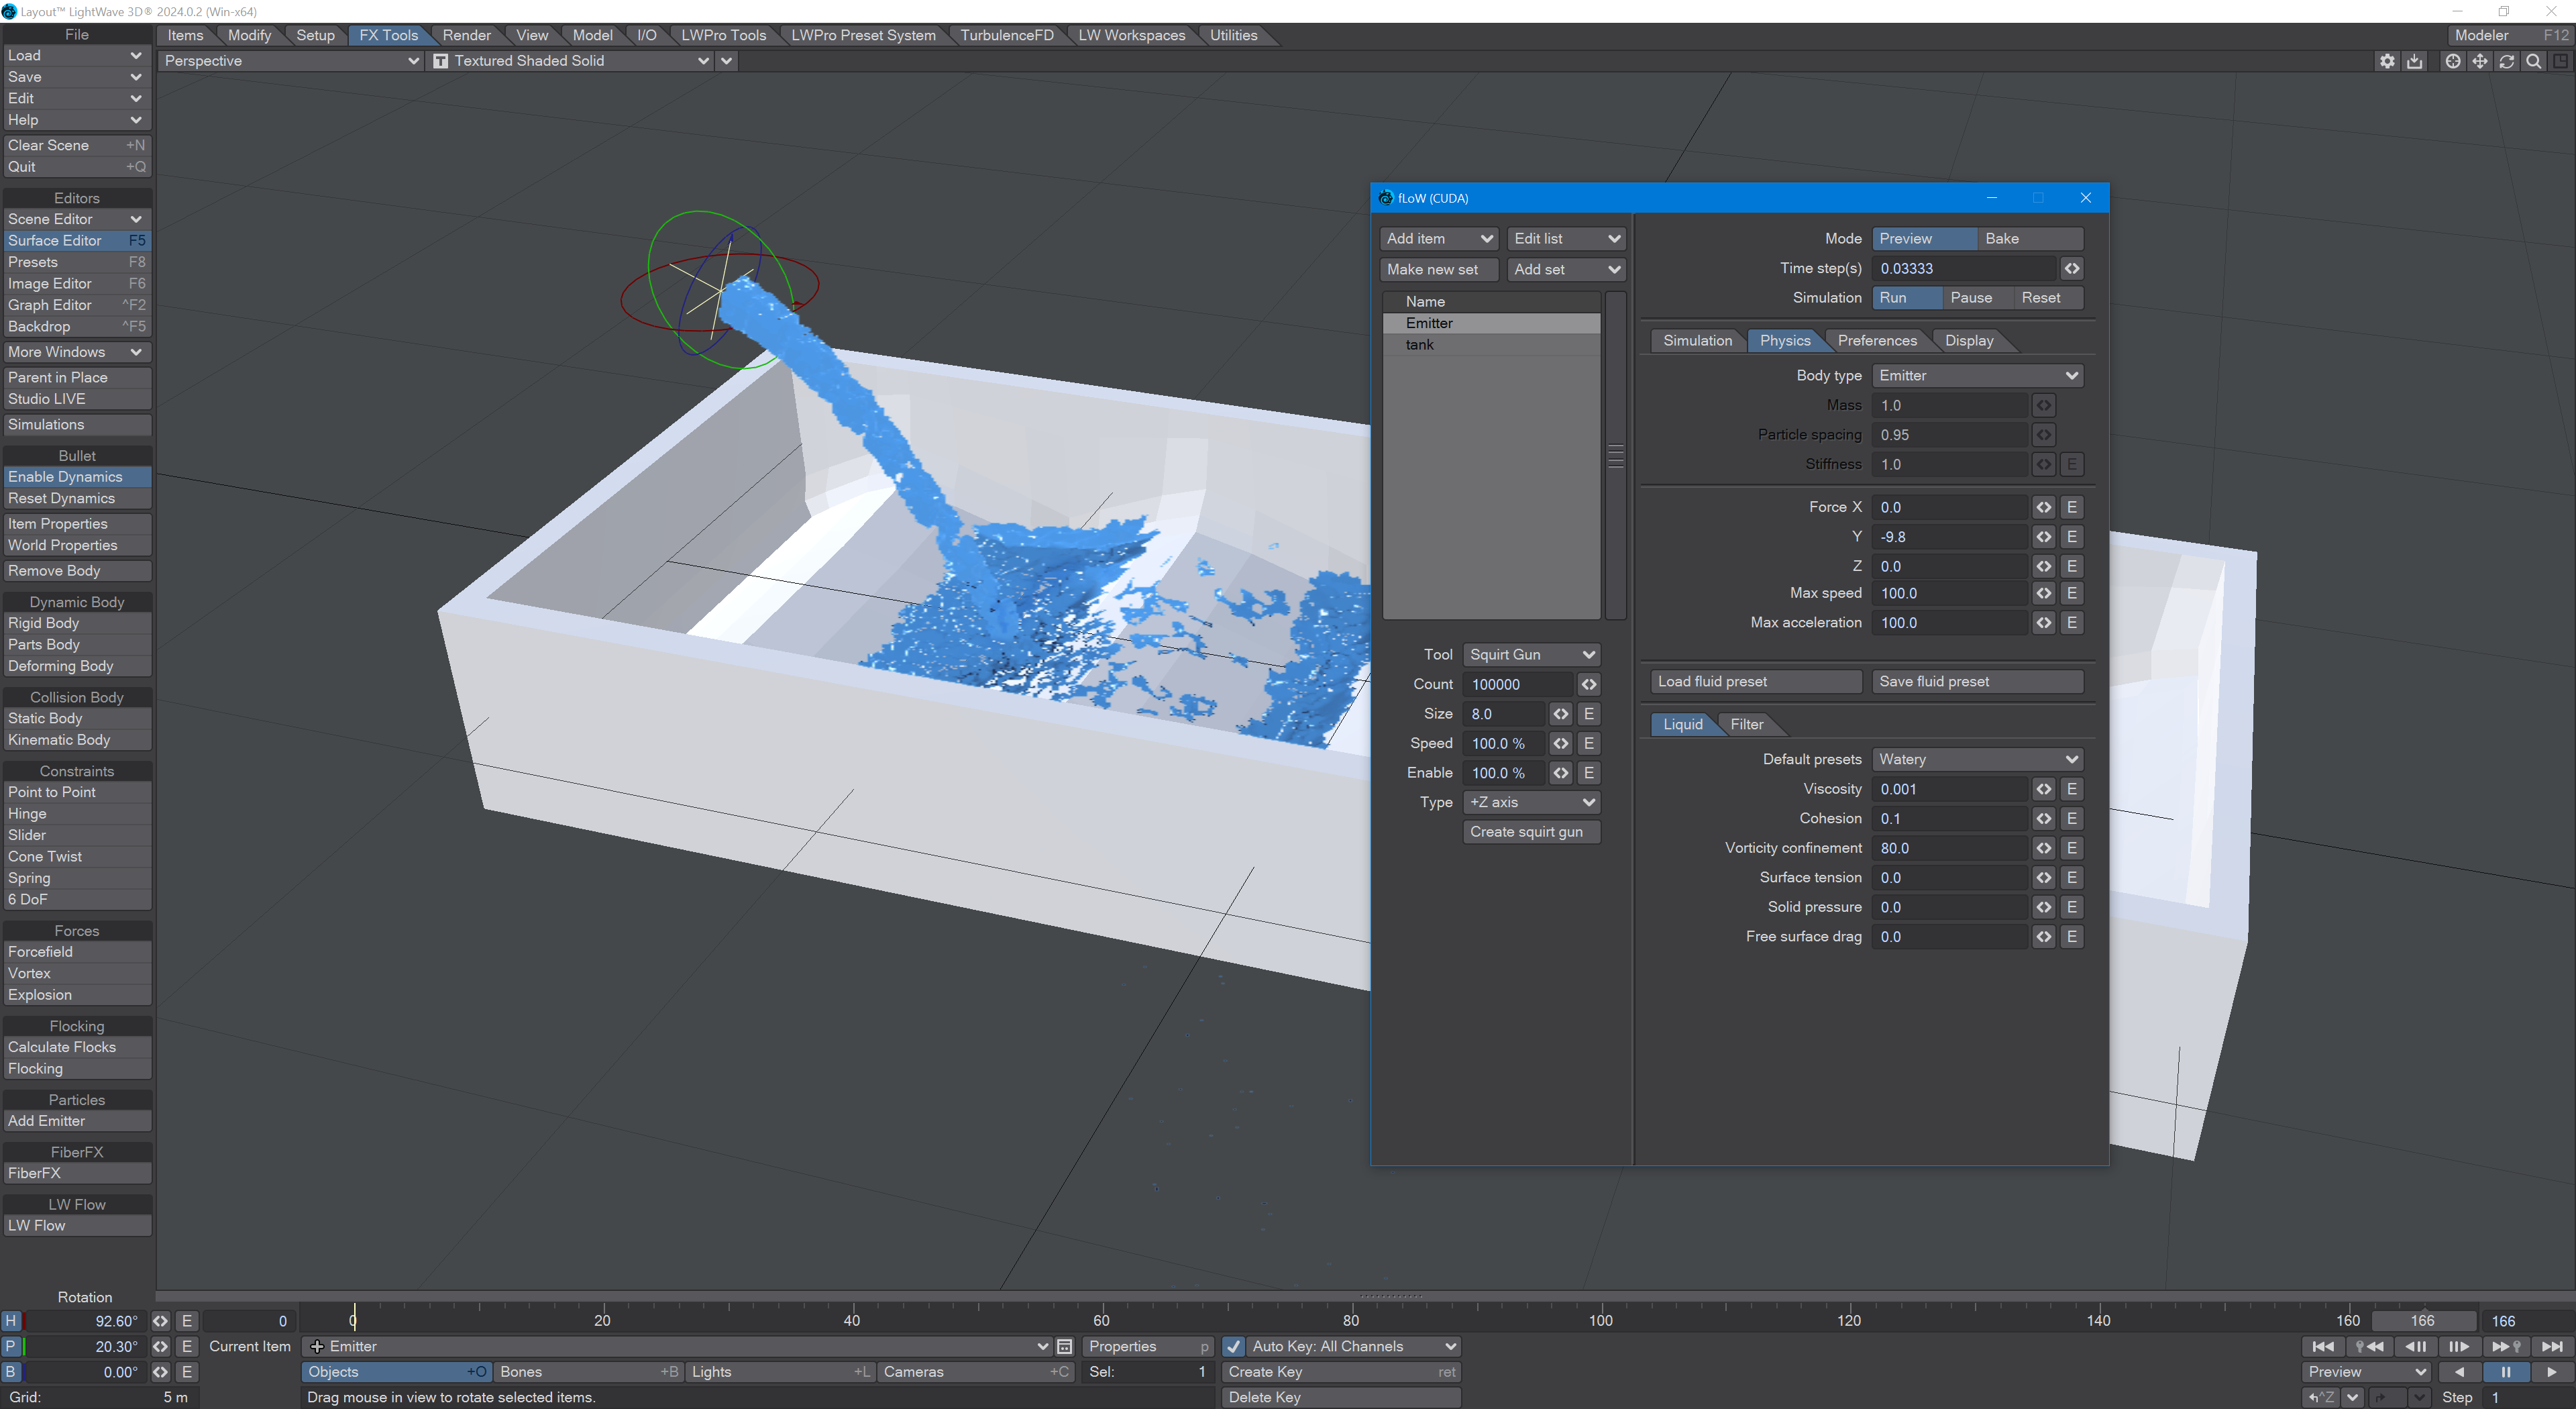
You can add further zeroes, but you will receive this warning:

If you get this warning, got to the Preferences tab and increase the Max particle count.
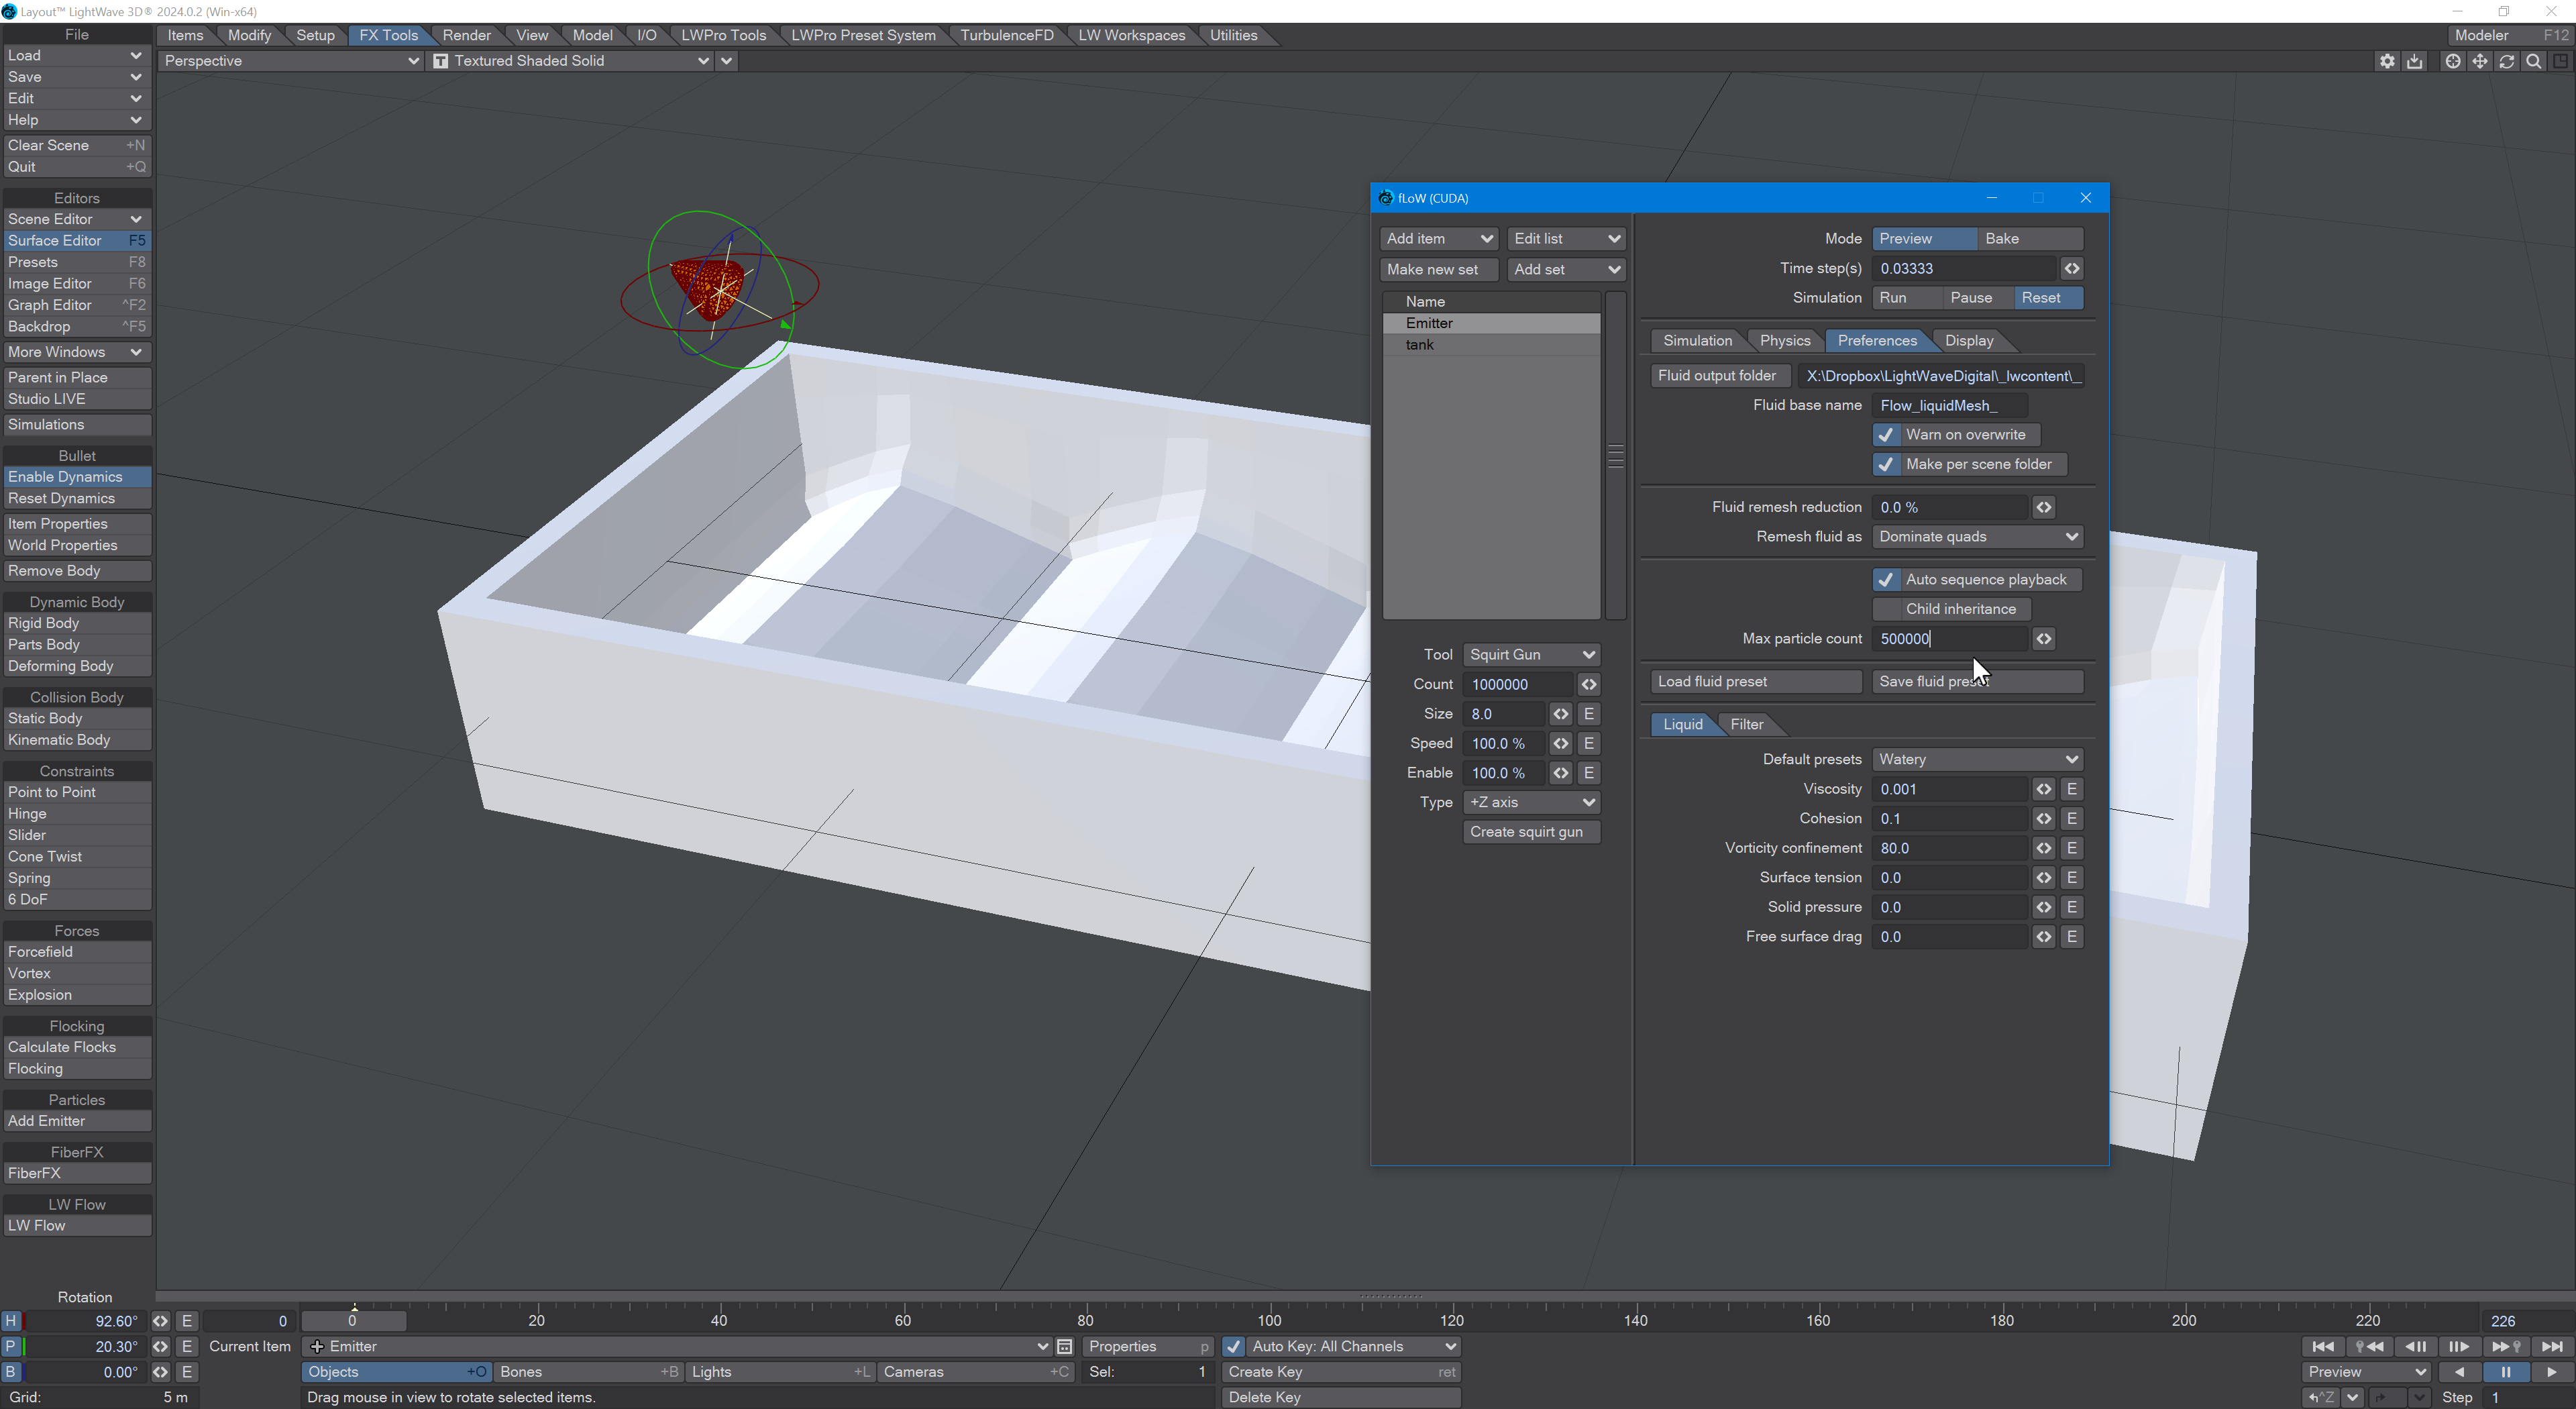
You might have parts of your liquid escaping the tanks. Like so:
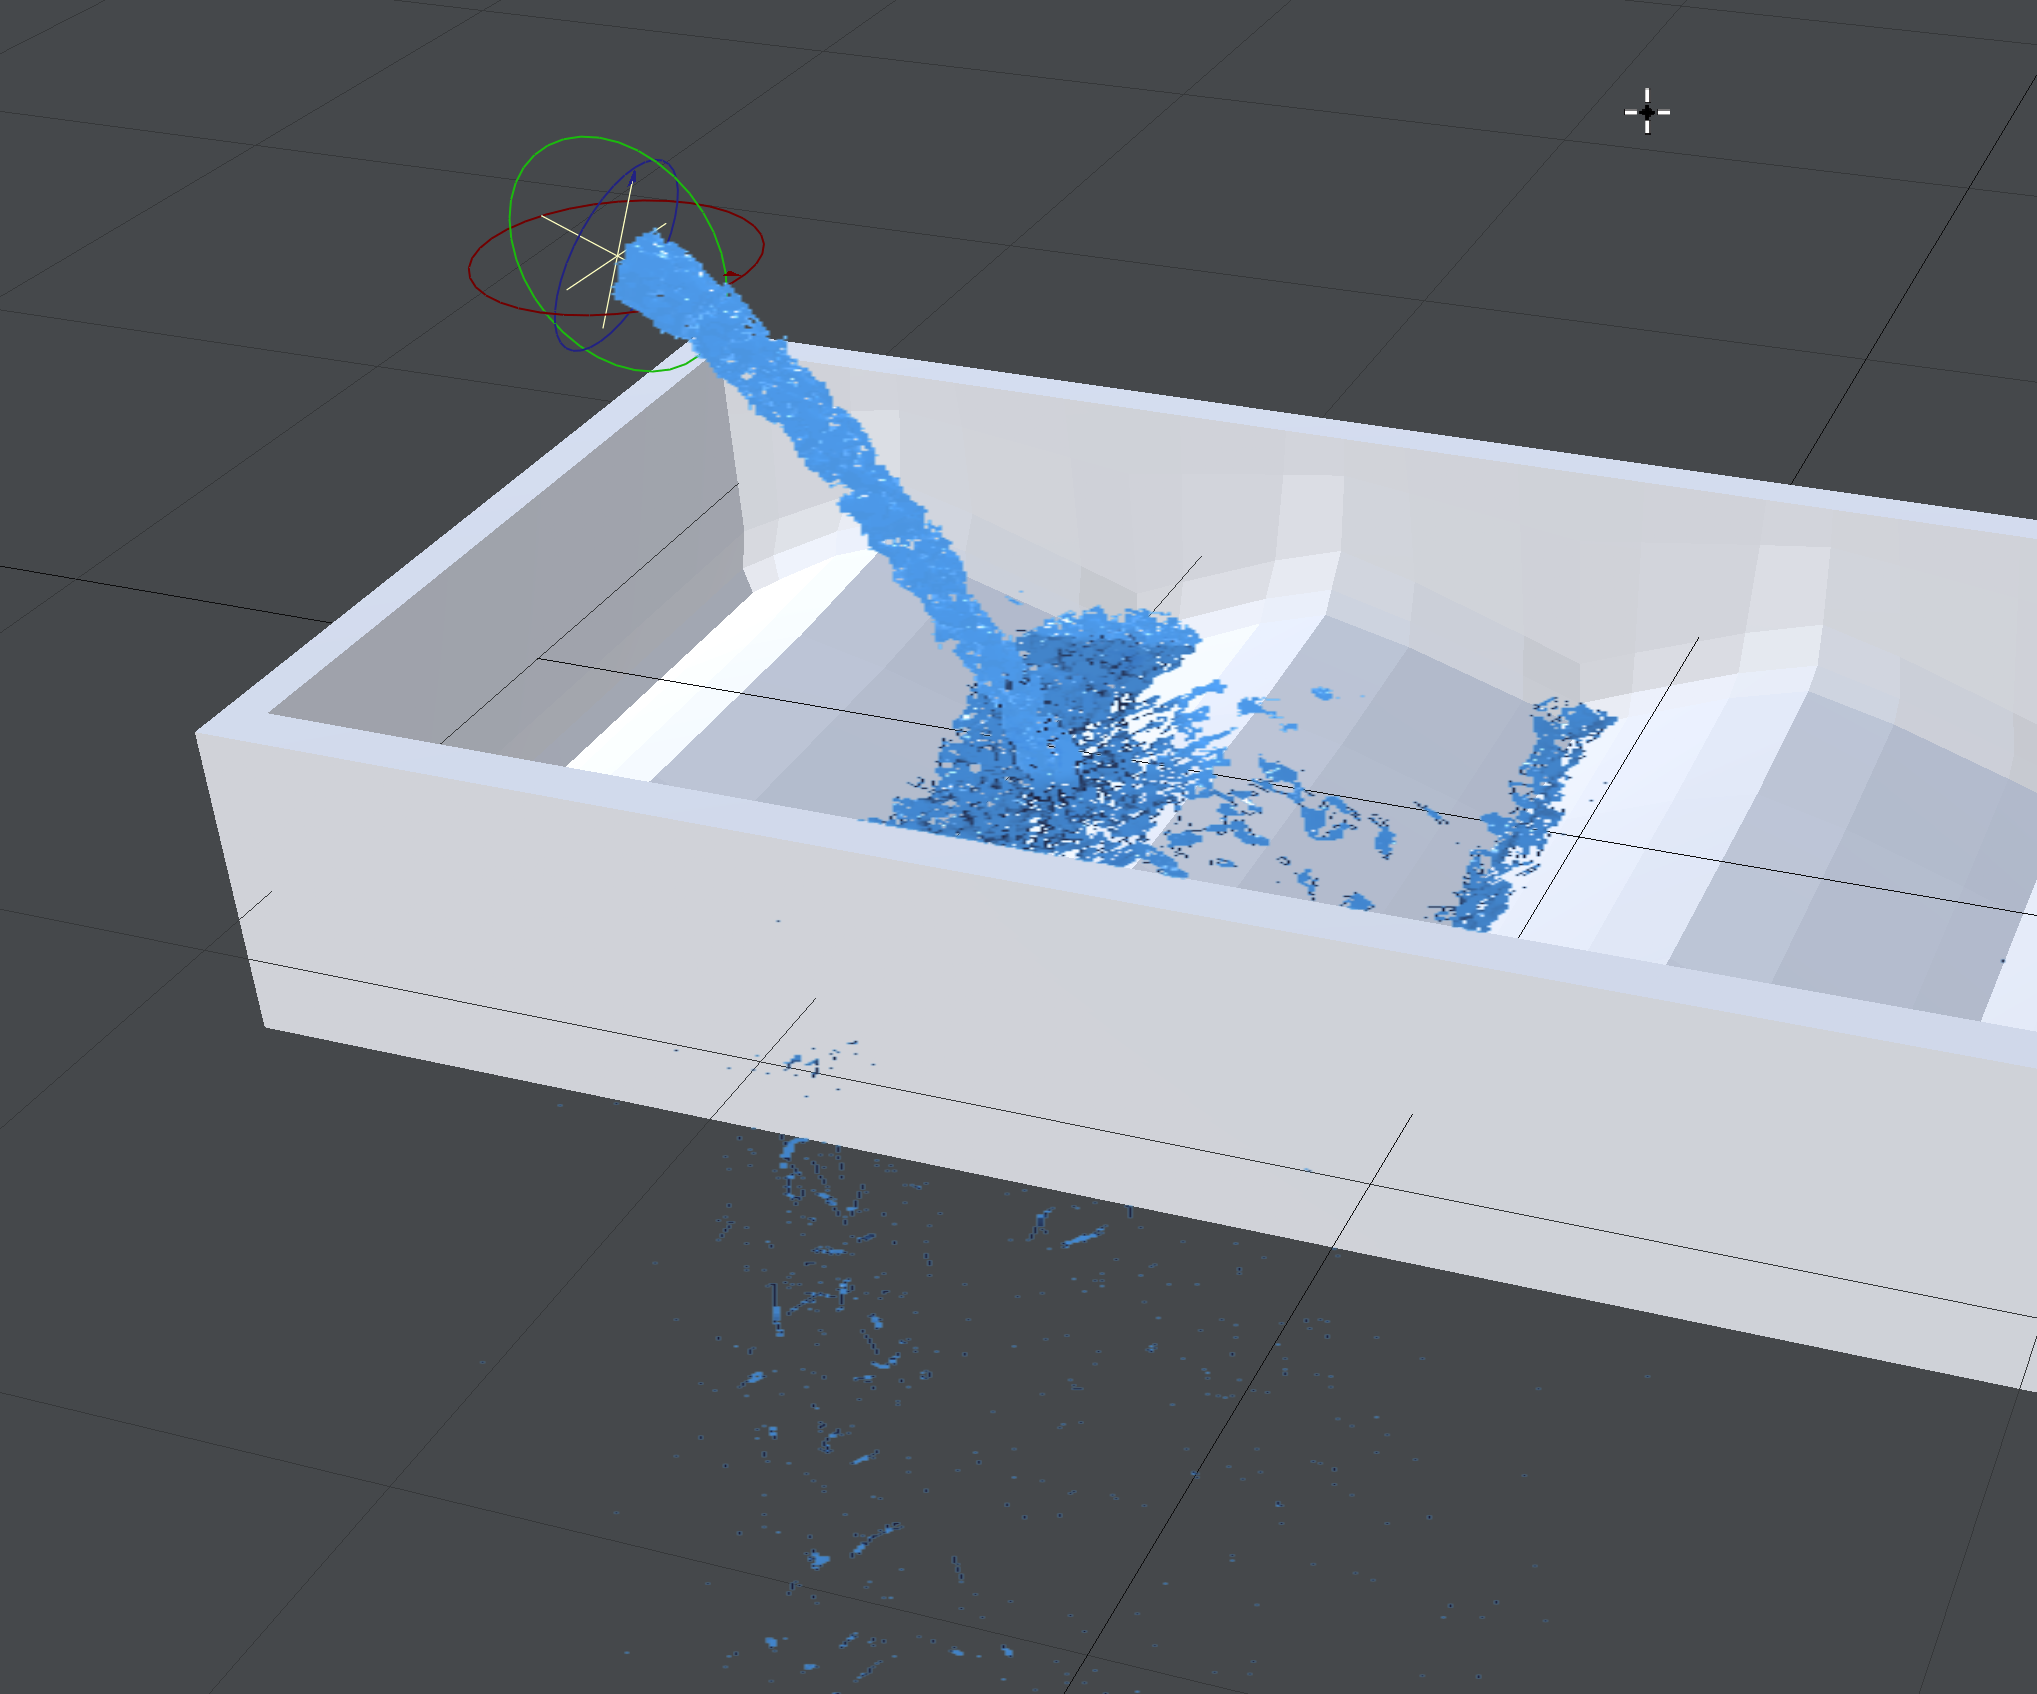
There are several solutions, but the easiest for your first go is to visit the Simulation tab in the Flow panel. Increase the Collision distance variable a bit. You shouldn't increase it too much or your liquid will float over your tank, a bit like water on a hydrophobic surface.
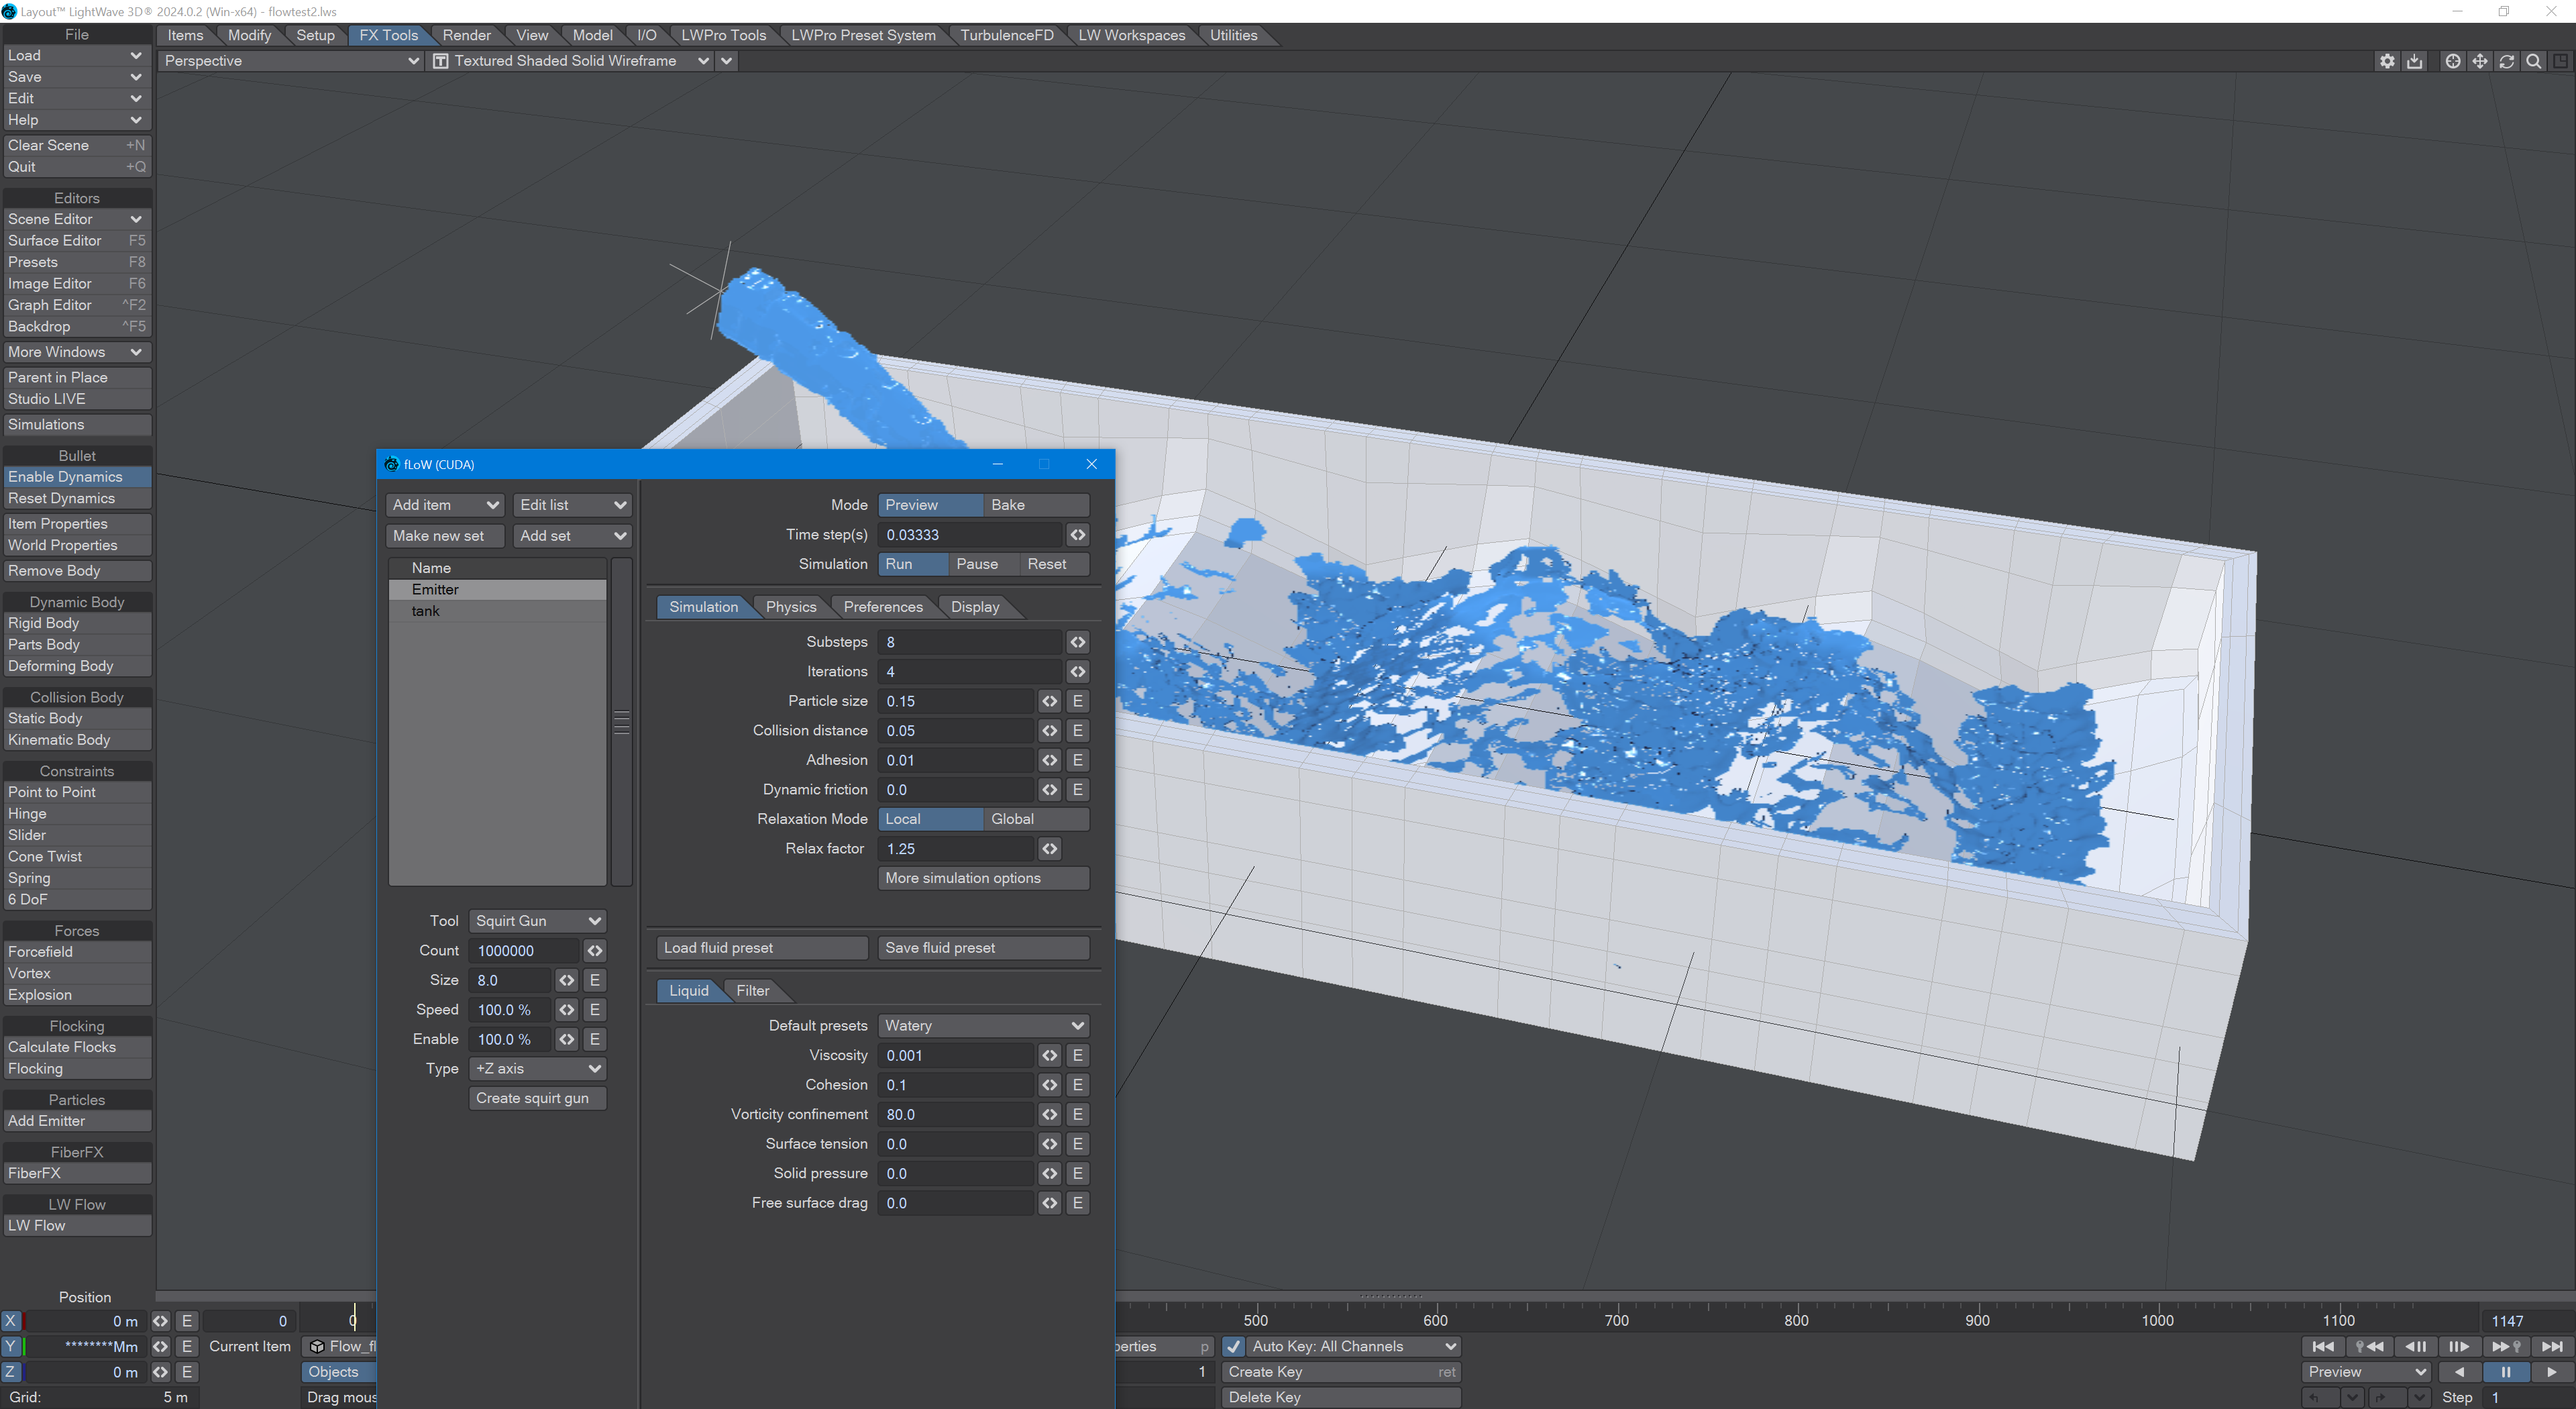
You have been playing in Preview mode, now's the time to finalise our simulation. At the top of the Flow window, switch the mode to Bake. In the Preferences tab, make sure there's a directory set for the Fluid output folder. When you hit Run, you will receive the following warning:
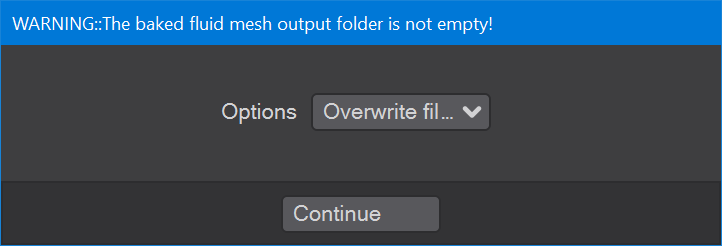
Hit Continue to start your baked simulation. It will take a lot longer than Preview mode, but once you have baked you will be able to use the usual Layout transport controls to play your scene back.
We have barely scratched the surface of Flow's capabilities here. There will be a second tutorial coming soon with more in-depth control explanations.
