Example - Curve to Spline and Spline Instancing
In a very bling example, our client wants their name to appear in diamonds. We have created similar scenes with Flocking before, but now let’s use Curve to Spline and Spline Instancing for a similar effect.
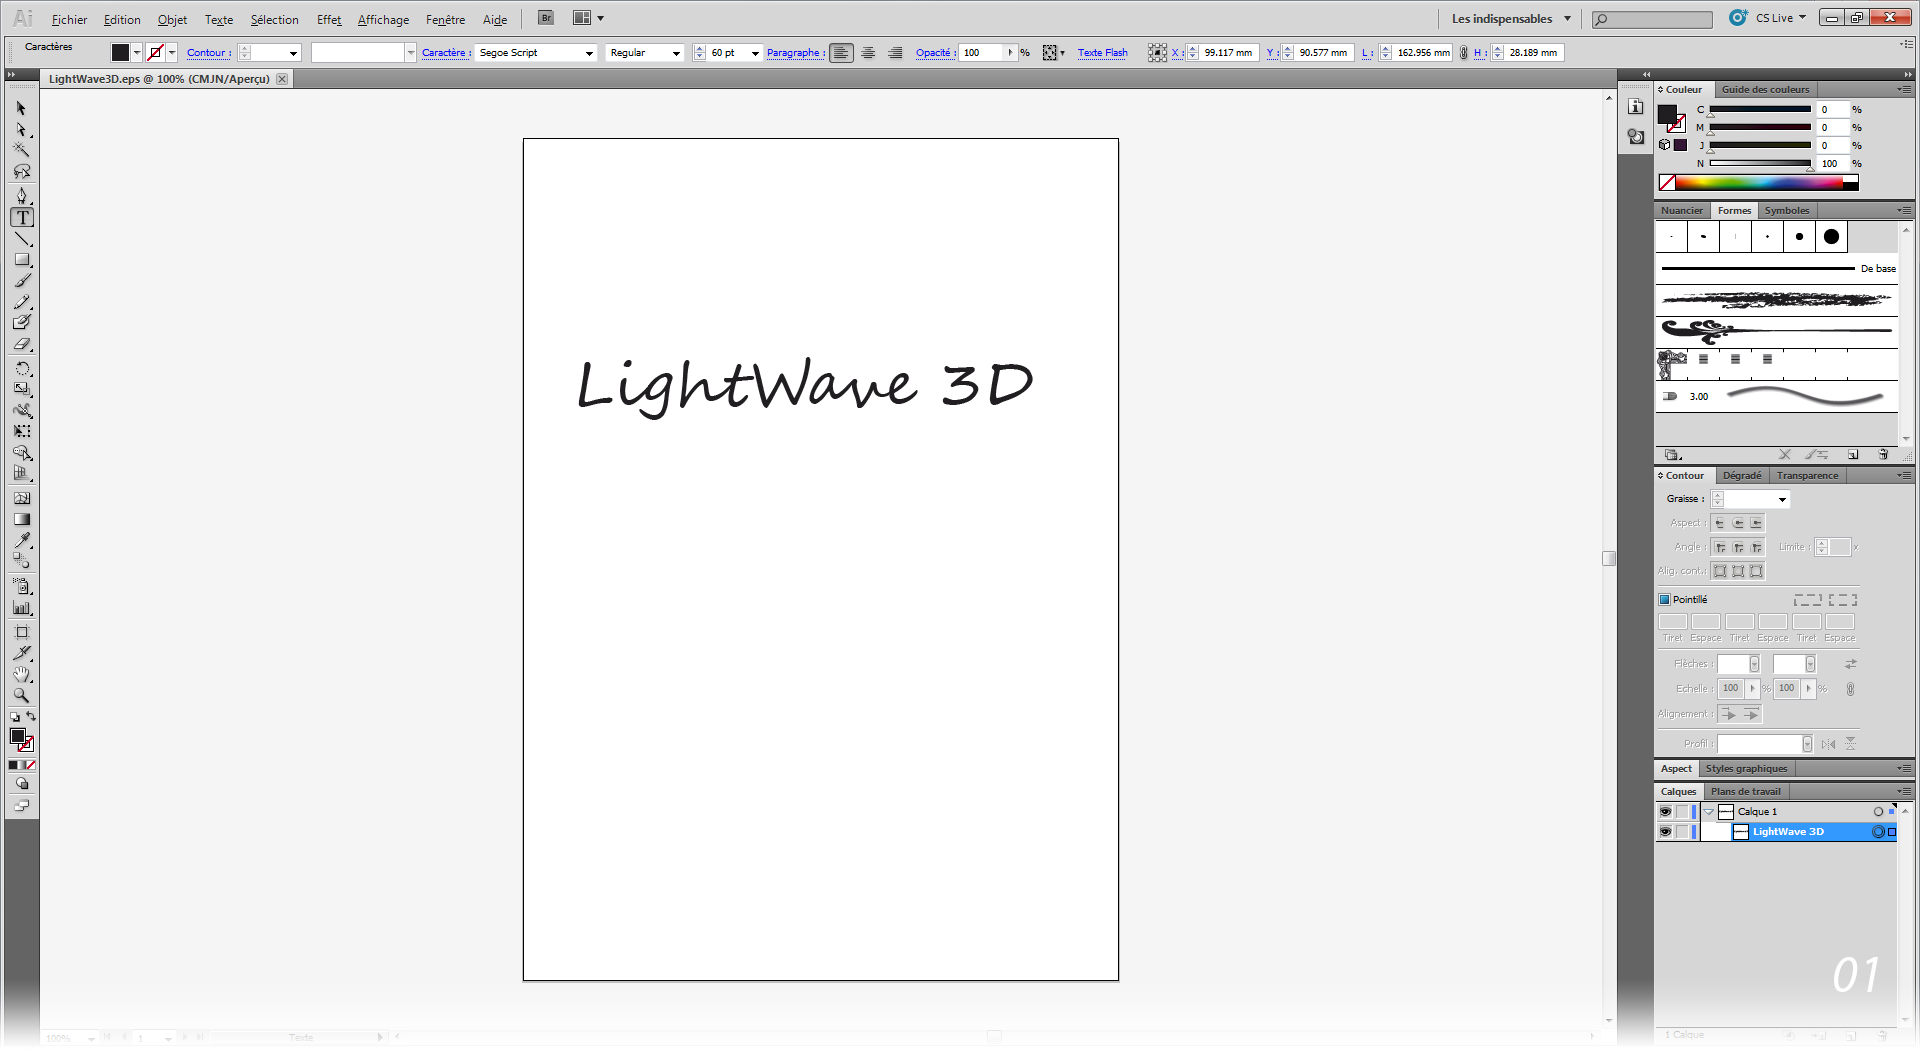
- Starting in a vector drawing package we will create our logo and export it as an EPS file.
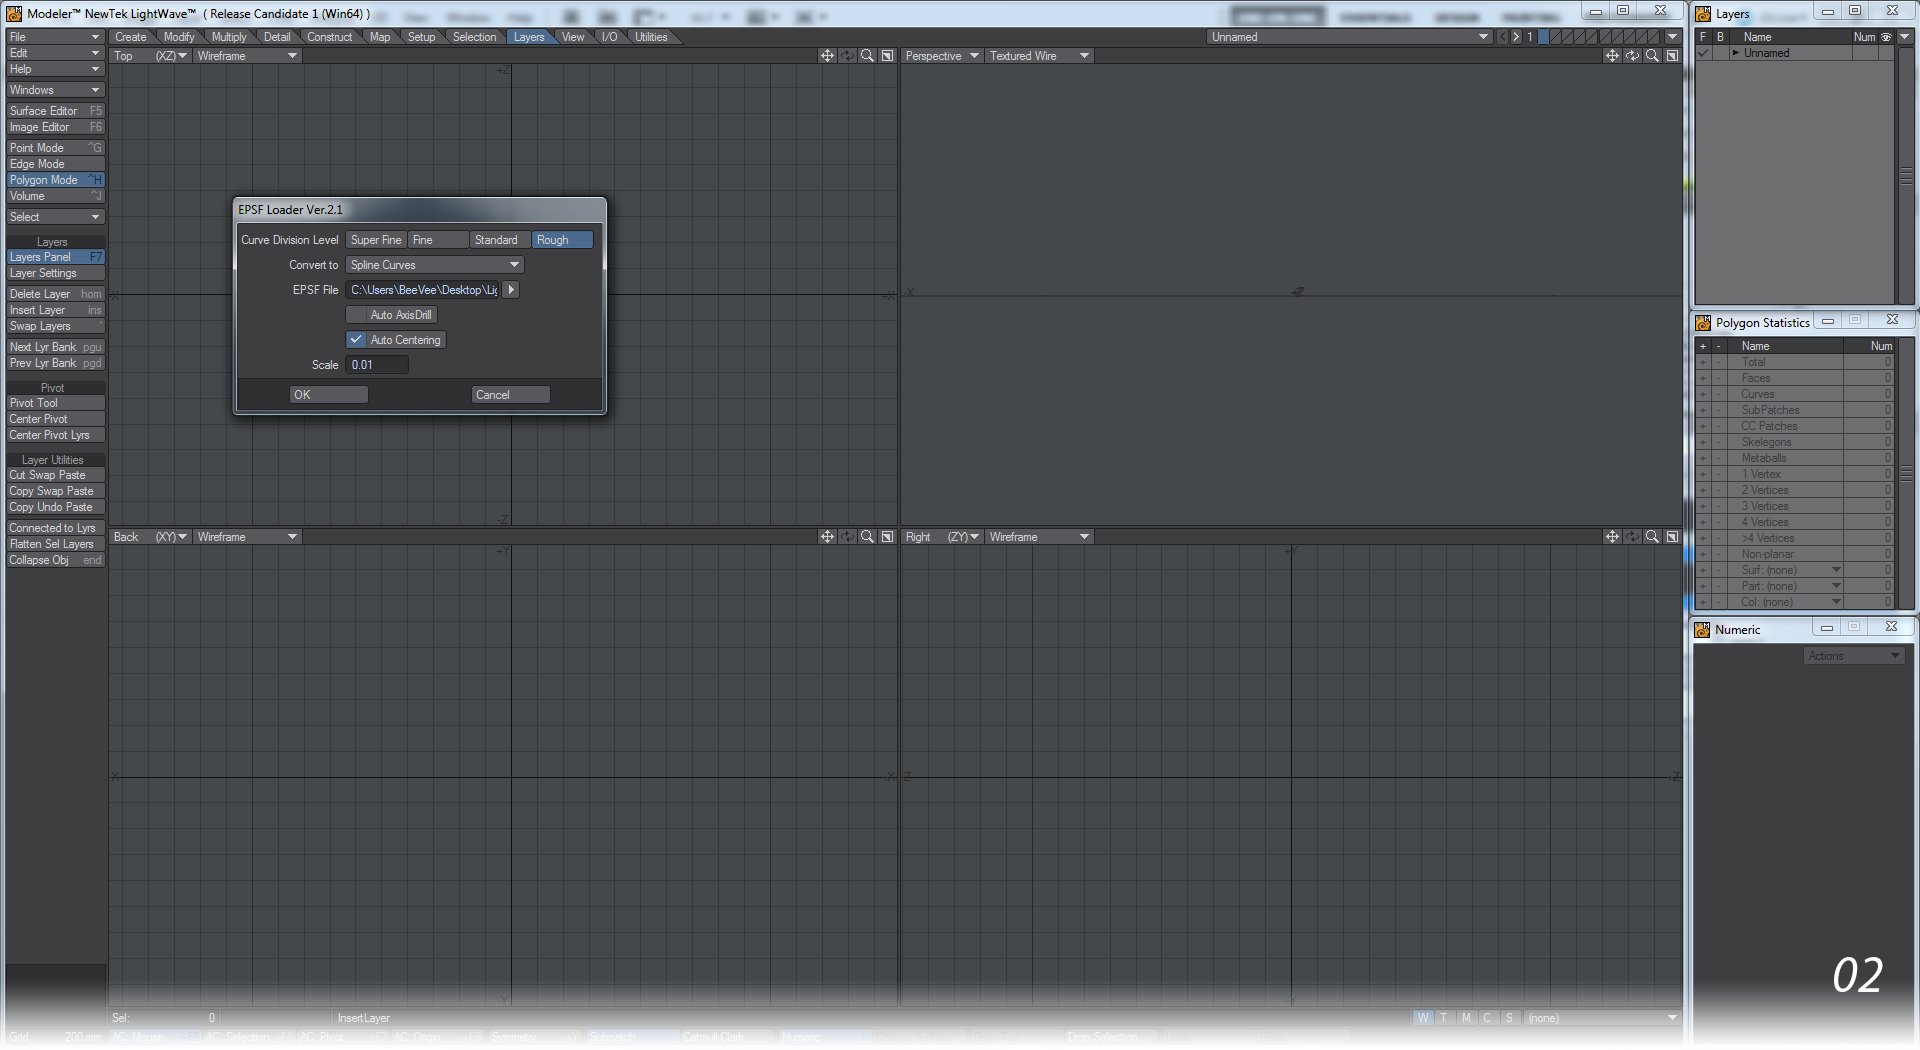
- Bringing the EPS into Modeler we will use the Spline Curves option and the Rough Curve Division Level will be plenty. Use Layers > Connected to Lyrs to split all the characters onto their own layers. Because we have imported splines, the centers of letters and dots on lower case Is will be separated. If you are using a script font, the text will come in as though joined, but you may well want to Kill Polygons and recreate the spline as a single loop.
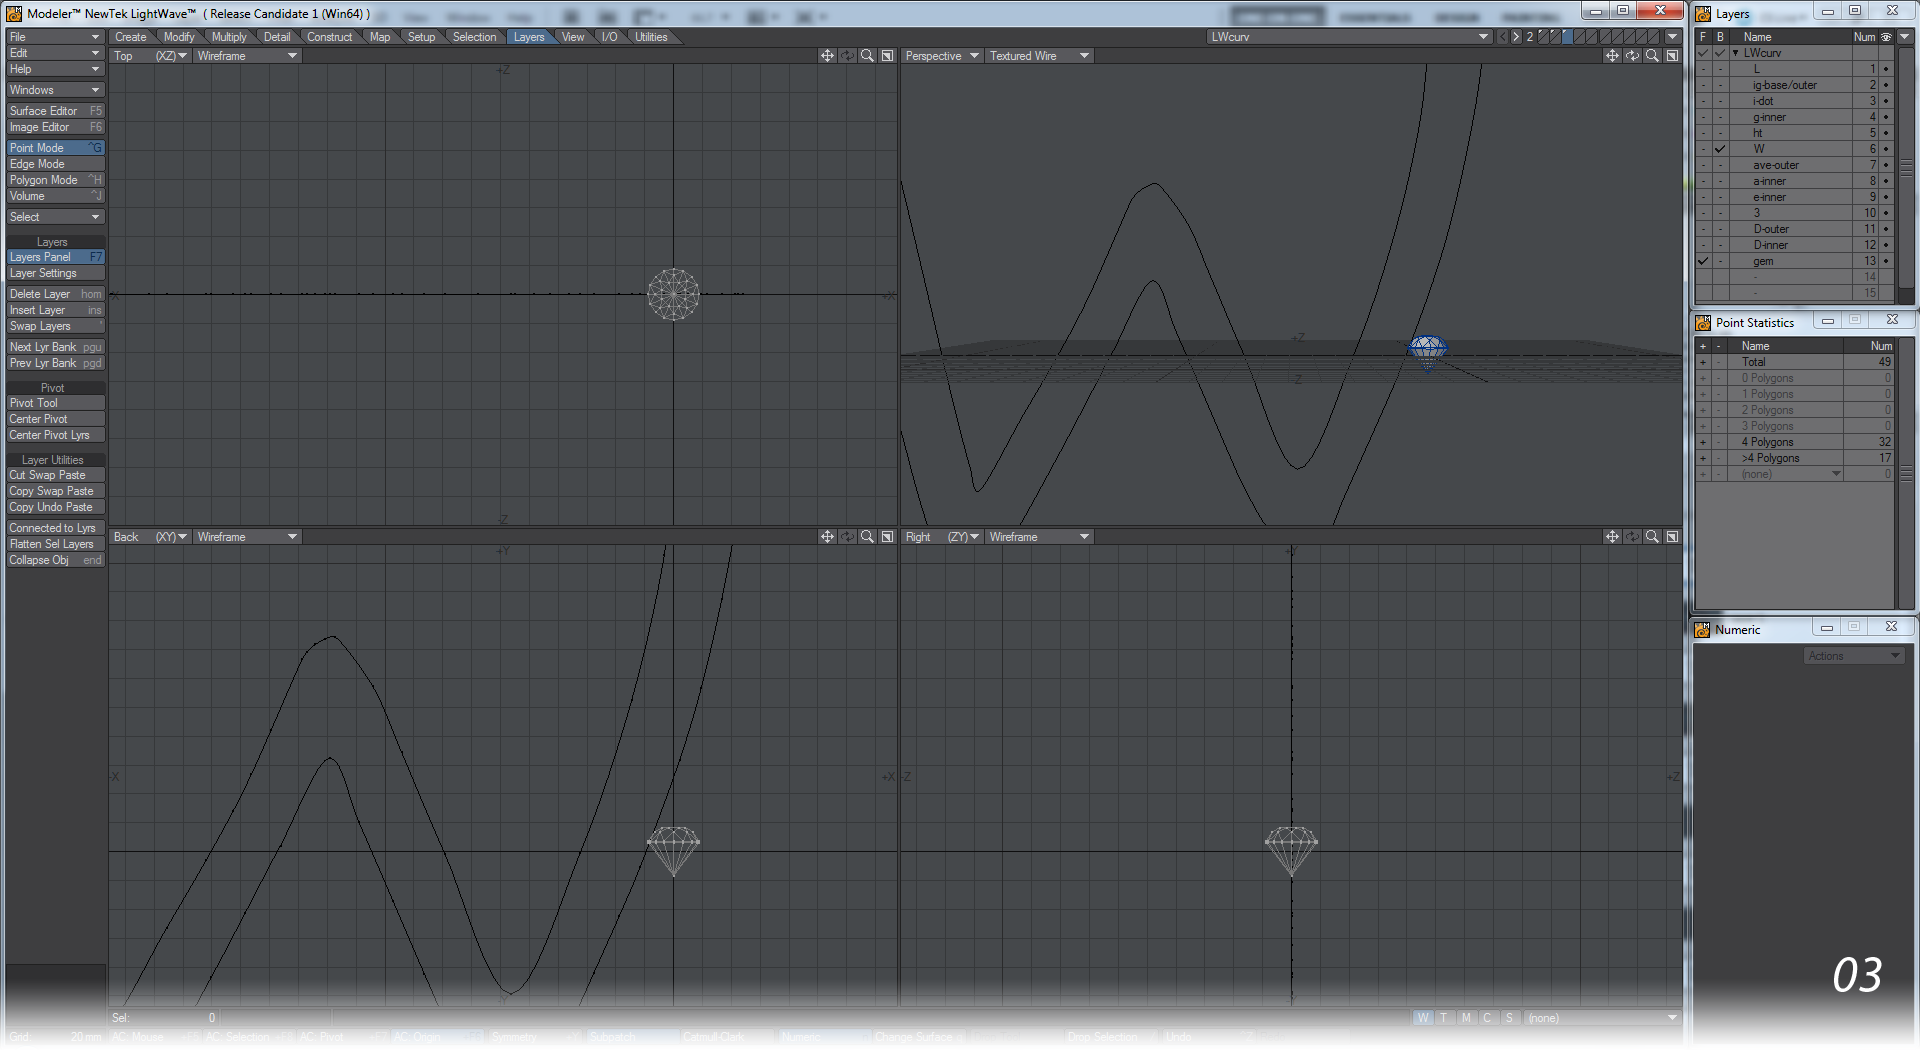
- Name all the layers of your object to make things easier. For each object making the logo we will want an object to instance. For our example, use the Gemstone tool to create a new layer in our spline object.
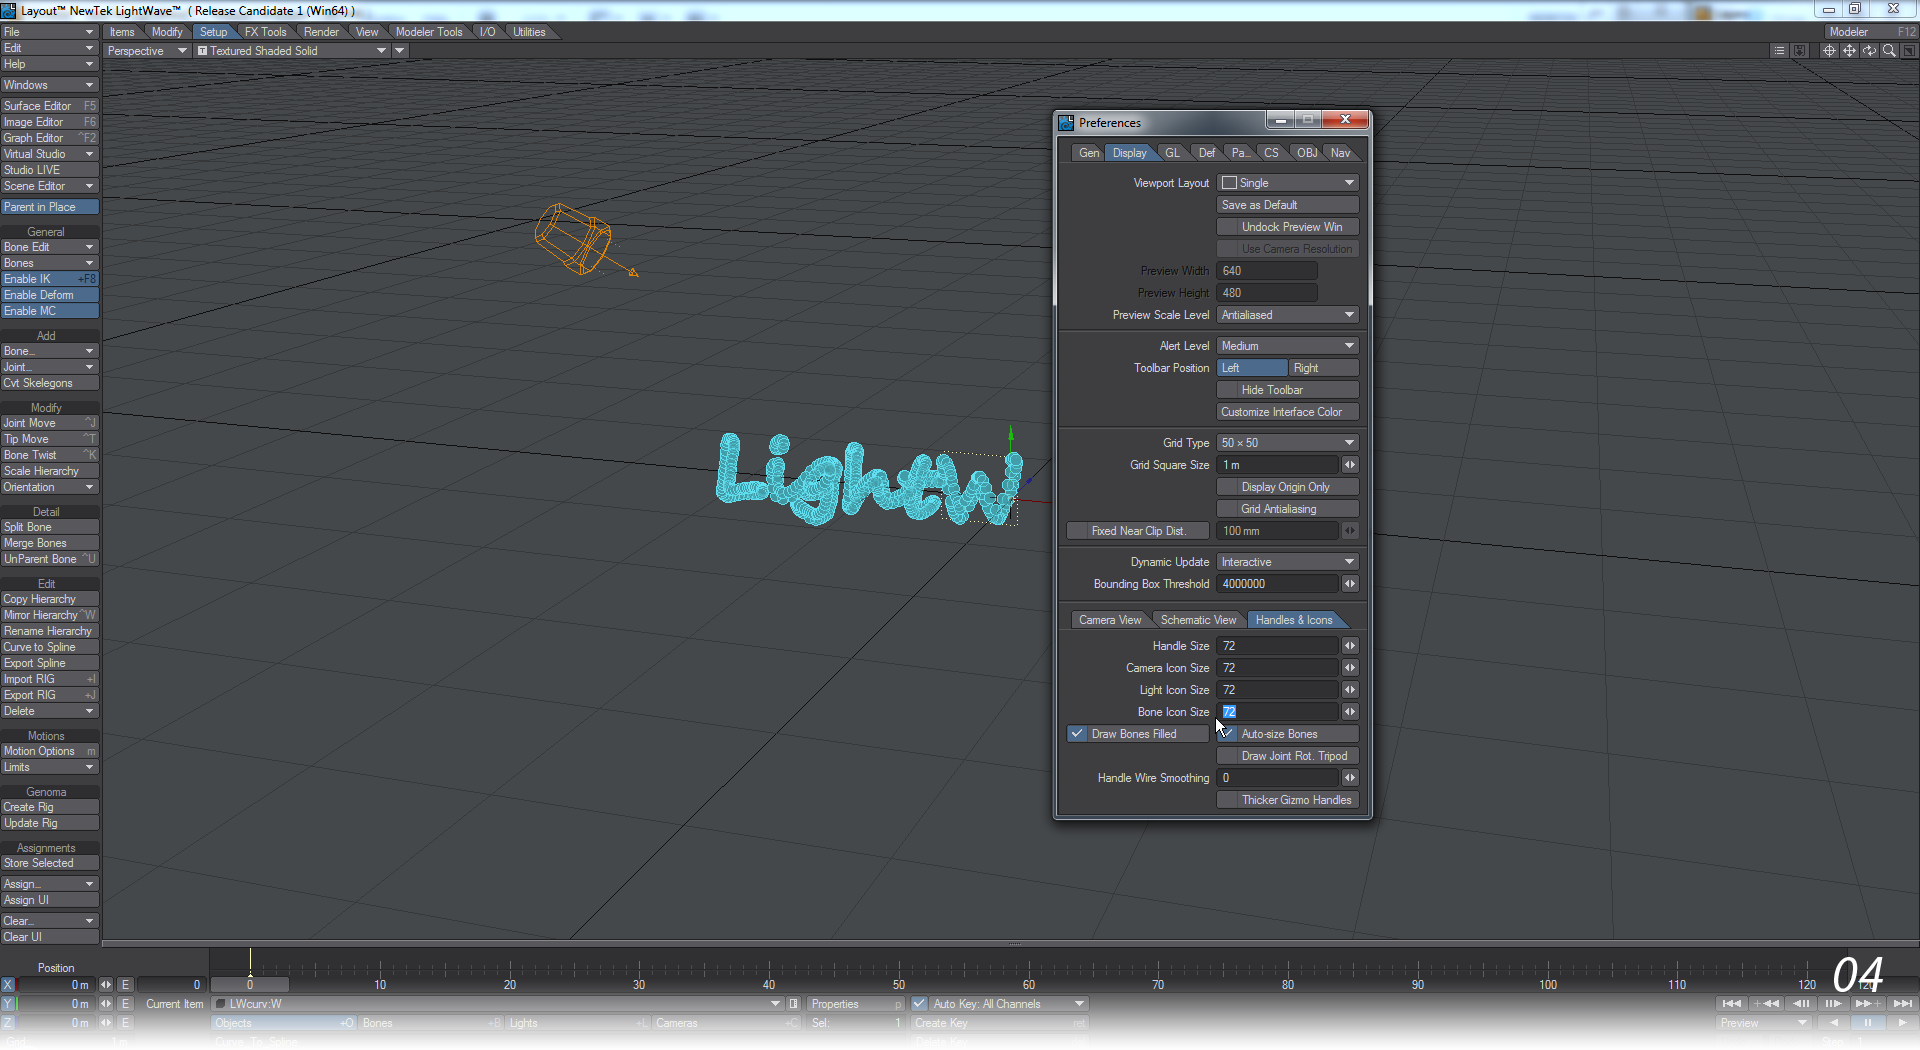
- Save the object and send it to Layout. In Layout use Setup > Edit > Curve to Spline to convert your curves into Spline Control splines. If the Bone icons are too big, hit D to enter Display Options and change the Bone Icon Size.
- Get Properties on your Spline objects and add an Instancer. In the Instancer choose the gem to Instance and set the Instance Type to Spline. Choose a number of instances that seems right for the letter and check Distribute. You’ll want to mess around with Scale and Rotation to give a more random appearance.

- By default, an Instanced object is set to World Coordinates and we will use that to our advantage to create an implosion where the diamonds come together to form our word. At frame 0 move the instanced object away from 0, 0, 0. At after the delay you want, say 60 frames, move it back to 0, 0, 0. This will form a cloud of diamonds that come together to create your logo.
